

You pull the trigger expecting a dense blanket of suds, but the foam gun spits a thin stream across the driveway. The bottle is full, the car is ready, and the hose is connected. Still, the output looks more like diluted dishwater than car wash foam.
Most spray foam problems with consumer car wash guns aren't mysterious. They usually come from a restricted water path, a loose connection, dried soap, an unsuitable dilution, or a setting that's pulling more air and water than the tool can handle. Diagnose those points in the right order, and you can often restore the spray pattern without replacing the entire gun.
Why Your Foam Gun Is Sputtering and Leaking
A watery, sputtering foam gun usually gives you useful clues before it fails completely. If the stream pulses, the gun may be starved for water. If it sprays normally but leaks around a fitting, the internal mixing system may be fine and the connection is the actual problem. If the spray is consistent but the foam won't cling, look at the soap setting and product choice rather than the trigger assembly.
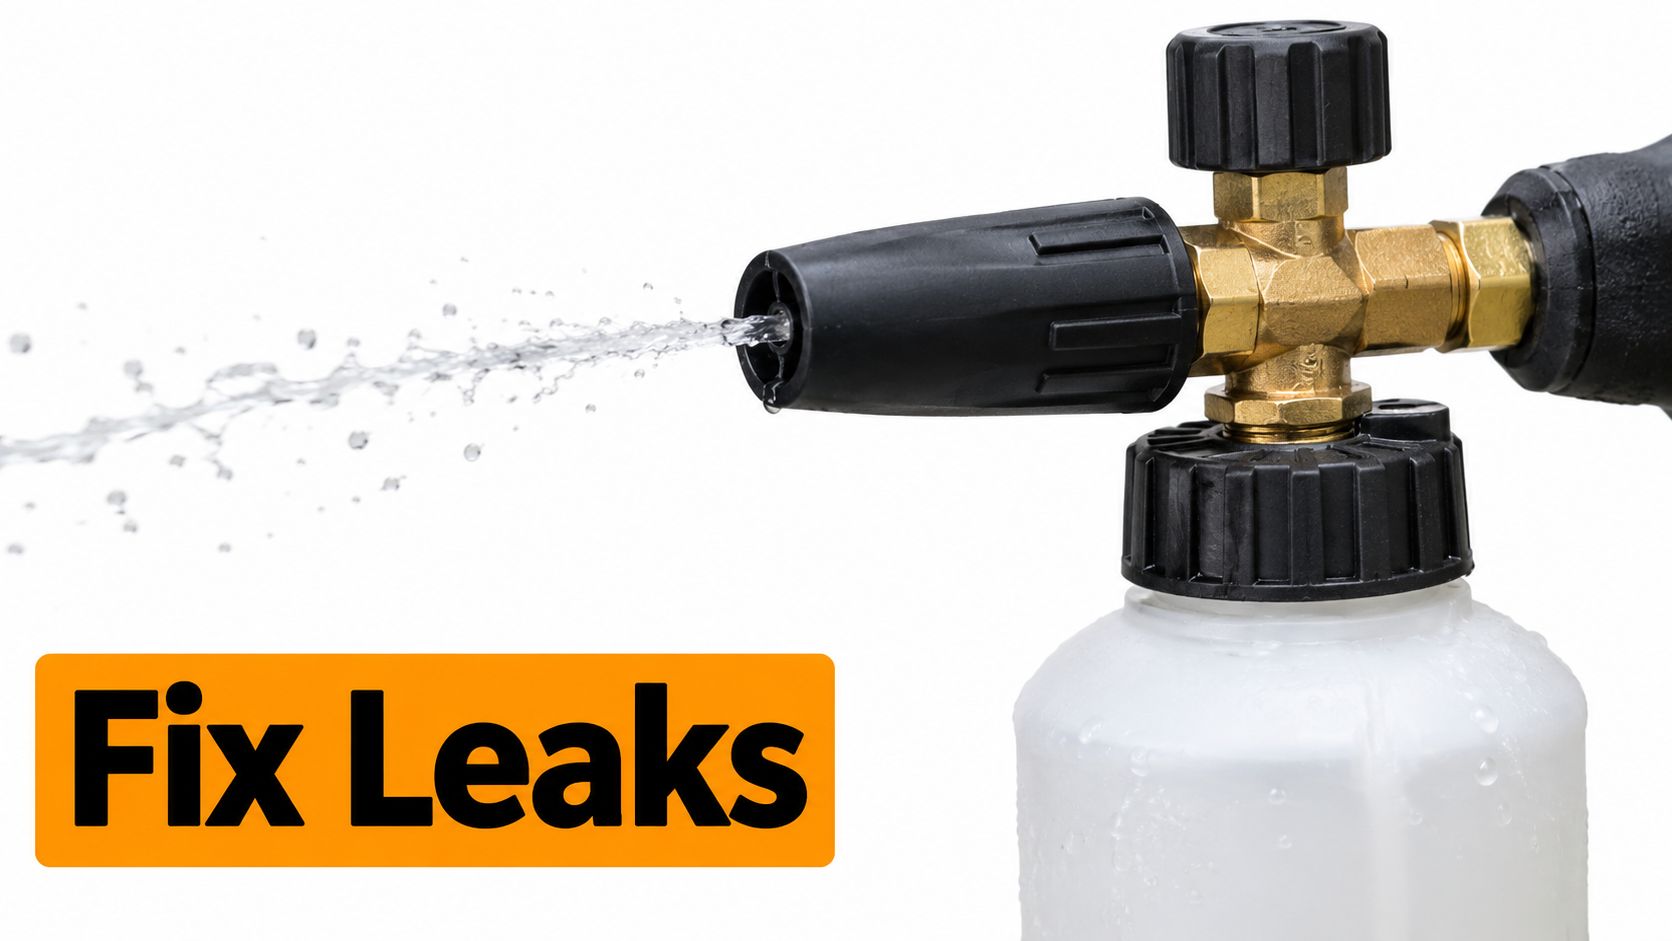
Start with the simplest test. Remove the soap bottle or reservoir, run the gun with clean water, and watch the stream. A steady water pattern points toward soap pickup, dilution, or residue. A weak or interrupted water pattern points toward the supply hose, quick-connect fitting, inlet screen, or internal passage.
Find the weak link before taking anything apart
Check the hose for sharp bends, crushed sections, and fittings that aren't fully seated. A garden hose can look intact from the outside while its inner liner restricts flow, especially near a connector that has been dragged across concrete or left under a vehicle tire.
Inspect every connection by hand. A loose fitting can draw air, leak water, and make the gun pulse even when the household supply is adequate. For a practical look at diagnosing and correcting hose-side leaks, use this guide to fix hose connection leaks.
Practical rule: Test the gun with water before changing the soap mixture. Otherwise, you may try to correct a mechanical restriction with chemistry.
If the water stream is strong but the foam output remains thin, turn the top adjustment gradually instead of spinning it from one extreme to the other. Check the pickup tube as well. It should sit securely and remain clear of thick residue. A tube that is loose, cracked, or partially blocked can create a sputtering draw that resembles low water pressure.
Don't assume thicker foam is always safer or more effective. Foam should spread evenly and stay wet long enough to loosen surface dirt. The contact wash still does the actual cleaning, so a stable spray pattern matters more than chasing an exaggerated layer of suds.
Clearing Clogs and Fixing Pressure Drops
Once clean-water testing points inside the tool, disconnect the hose and depress the trigger to release trapped pressure. Work over a bucket or towel. Dried soap can loosen suddenly, and you don't want residue pushed into the nozzle or onto freshly washed paint.
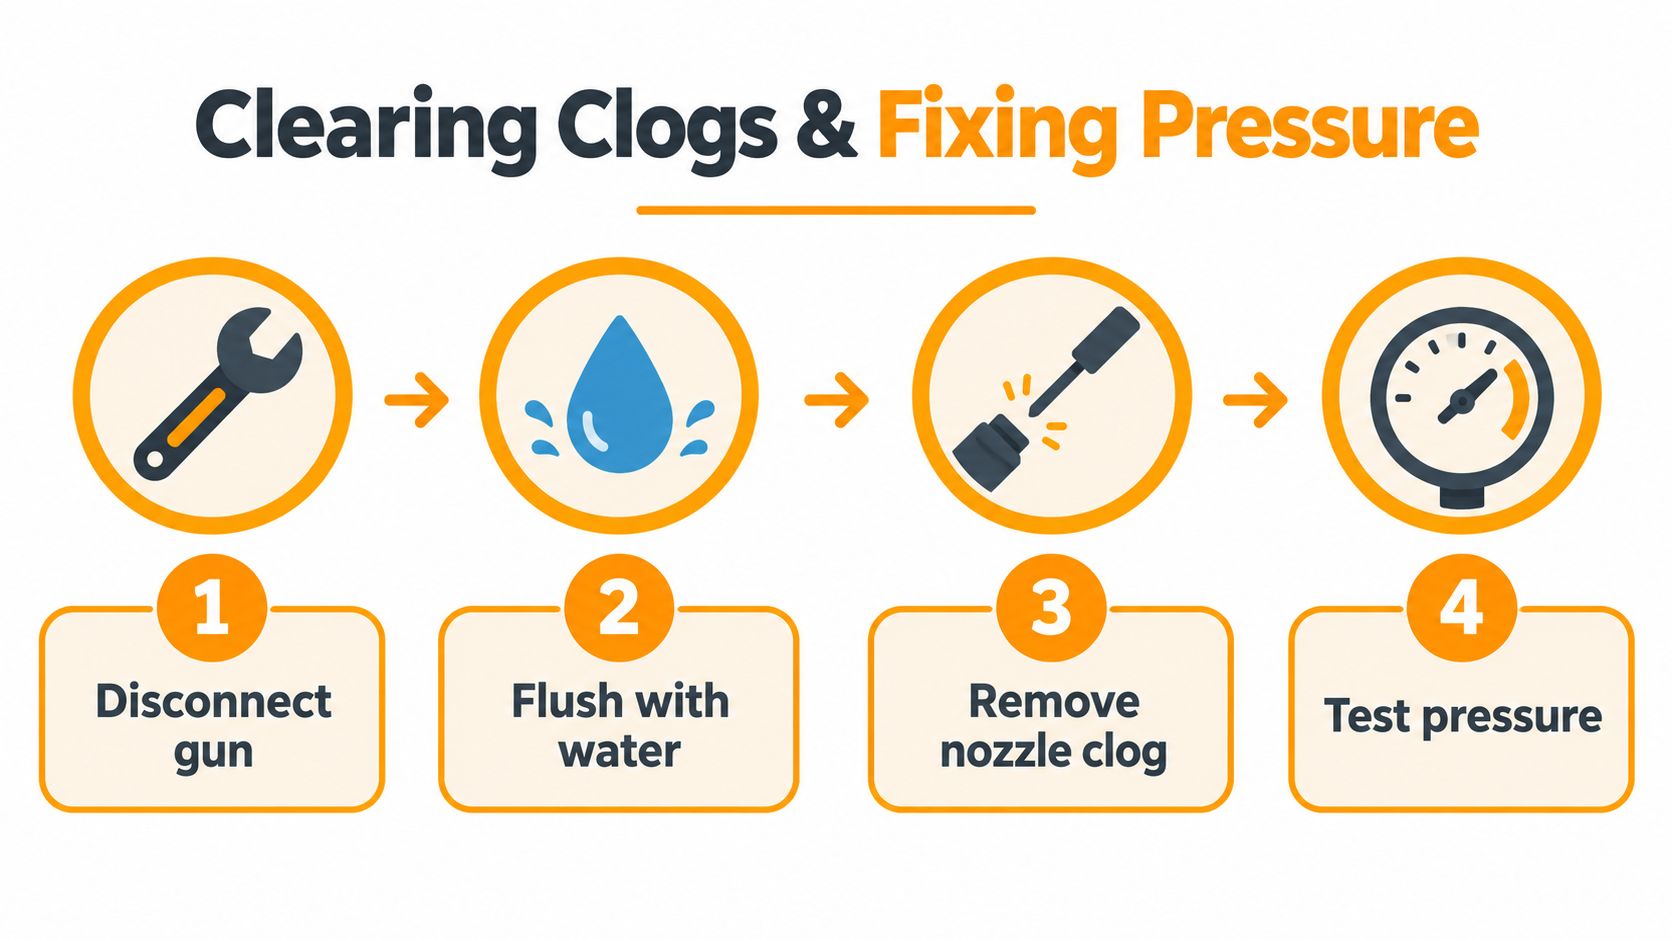
Inspect the water path in order
- Remove the bottle and pickup tube. Rinse the tube with warm, clean water. Hold it toward a light source and check for cloudy sections, flakes, or a blocked opening. Don't force a stiff wire through a narrow tube, because a scratch or split can create a new leak.
- Check the inlet screen or filter. If the model has a removable screen, take it out carefully and rinse it from the clean side outward. Mineral scale and grit can reduce water volume even when the hose itself is flowing well.
- Examine the nozzle and mixing chamber. Hardened soap often forms at the smallest passage. Soak removable parts in warm water, then use a soft brush or the cleaning tool supplied with the equipment. Avoid enlarging a small orifice with a drill bit or sharp pick.
- Inspect seals and threads. Look for flattened O-rings, cuts, missing washers, and cross-threaded plastic. A seal should sit flat in its groove. Threaded parts should turn smoothly by hand before you use a wrench for a light final snug.
After reassembly, run clean water through the gun. A strong, even stream means the restriction has probably been removed. If the output still surges, disconnect the gun and run water through the hose alone. That separates a supply problem from a foam-gun problem without guessing.
A kinked hose isn't the only source of a pressure drop. A partially closed outdoor tap, a quick-connect that hasn't opened fully, or a connector with a damaged internal valve can all limit flow. Test each component separately, then reconnect the system with the shortest practical hose path.
Mineral deposits deserve extra attention if the gun sits unused between washes. They can narrow passages gradually, so the foam becomes weaker over time rather than failing in one dramatic event. Follow a careful nozzle cleaning routine instead of scraping aggressively at the opening.
Here's a visual demonstration of the disconnection and flushing approach:
Dialing In the Perfect Soap and Water Ratio
A mechanically sound gun can still produce poor foam if the mixture and adjustment are mismatched. The bottle, soap, water temperature, inlet flow, and top dial all influence the result. Treat the dial as a metering control, not a thickness switch that can compensate for a blocked filter or weak supply.
Begin with the soap manufacturer's recommended dilution. Pour carefully so the pickup tube remains submerged, then open the water supply fully. Use the on/off trigger to control application rather than repeatedly choking the flow at the tap. Sudden changes in water volume make it harder to judge whether the mixture is improving.
Read the spray pattern instead of guessing
A good starting pattern is broad, even, and wet enough to cover a panel without breaking into isolated droplets. If the foam runs immediately, reduce the amount of concentrate being drawn or check whether the product is designed for a garden-hose foam gun. If the stream looks dry and airy, the tool may be drawing too much air relative to water, or the supply may not be delivering enough volume.
Water temperature matters, but hotter isn't automatically better. Use water that's comfortable for the equipment and safe for the vehicle's surface. Extremely warm water can change how quickly soap spreads and dries, while cold water may make some products look less active. Never use temperature to hide a dirty filter or a damaged seal.
| Symptom | Likely Cause | The Fix |
|---|---|---|
| Thin, fast-running foam | Too much water, too little concentrate, or a low-foam soap | Follow the product dilution guidance, then adjust the dial gradually |
| Thick foam that stops flowing | Concentrate is too strong or residue is restricting the pickup path | Dilute the mixture and flush the tube and chamber |
| Pulsing foam | Inconsistent water supply, air entering at a fitting, or a partial clog | Check the hose, connectors, inlet screen, and pickup tube |
| Wide spray with weak coverage | Nozzle setting is too open or water volume is limited | Narrow the adjustment slightly and restore full hose flow |
| Foam appears only intermittently | Pickup tube is loose, blocked, or not seated in the bottle | Refit the tube and rinse away residue |
For product selection, compare the soap's intended equipment and lubrication properties before changing the dial. This guide to car wash foam soap can help you choose a formula that suits a consumer foam gun rather than a pressure-washer-only setup.
Foam quality is a balance. More concentrate can make the bottle empty faster without solving a water-side restriction.
Make one adjustment at a time. Change the dial, spray a test area, and observe the pattern. Then alter the mixture if needed. That process gives you a repeatable setting for your hose, water supply, and soap instead of a random combination that works only on one wash day.
The Post-Wash Cleaning Routine You Cannot Skip
The most preventable foam-gun failure starts after the vehicle is clean. Soap left in the pickup tube, mixing chamber, and nozzle dries into a hard residue. The next time you pull the trigger, that residue breaks loose in pieces, narrows the passages, and can make the spray sputter from the first second.
Clean the gun before disconnecting it from the water supply. The job is simple, but the order matters.
Flush the tool before storage
- Empty the soap container. Pour unused mixture back into a suitable container only if the product instructions allow it. Otherwise, dispose of it properly and rinse the bottle.
- Rinse the bottle and pickup tube. Run clean water through the tube and remove any film around the opening. Check that the tube isn't curling above the water line during operation.
- Run clean water through the gun. Attach the water supply, leave the soap container filled with clean water if the design requires liquid for pickup, and operate the trigger until the spray no longer carries suds. The water should leave the nozzle clear and consistent.
- Flush the bottle-side path separately. If the pickup tube can be removed safely, rinse it from both ends. Don't leave a concentrated pocket of soap inside a narrow tube.
- Drain before storage. Shake out standing water, wipe the fittings, and leave removable parts open to air in a clean, shaded place. Store the gun away from freezing conditions, direct sunlight, and loose grit.
Protect seals without contaminating the system
Inspect O-rings while the parts are clean. A light application of a lubricant approved for the seal material can keep the ring flexible, but avoid petroleum products unless the manufacturer specifically permits them. Excess lubricant can migrate into the water path and attract dust.
Don't store the gun with the bottle full. Weight on the pickup tube can distort the assembly, and leftover chemical can continue attacking seals or hardening around the threads. A clean, dry connection is easier to inspect before the next wash.
Storage habit: A foam gun should be ready for inspection, not merely put away wet.
This routine also gives you an early warning system. If the clean-water spray is already weak before soap enters the bottle, you can fix the mechanical issue before wasting concentrate or discovering it halfway through a wash.
When to Repair Versus Replace Your Foam Cannon
Some foam-gun problems are maintenance items. Others indicate that the pressure path has been permanently compromised. The decision becomes easier when you separate replaceable wear parts from damaged structural components.
A flattened O-ring, blocked filter, loose pickup tube, or worn washer is usually worth addressing. These parts are small, inexpensive compared with a complete tool, and directly connected to symptoms such as drips, air leaks, or inconsistent pickup. Clean the mating surfaces before installing anything new. A replacement seal won't hold if grit remains in the groove.
Salvageable faults
Repair the gun when:
- The housing is intact and the threads still engage cleanly.
- The nozzle has a clear opening after soaking and gentle brushing.
- The filter can be cleaned or replaced.
- The leak follows a specific O-ring or washer.
- The spray improves when the pickup tube and bottle are removed.
- The adjustment dial turns smoothly and remains in position.
A damaged seal should be replaced with the correct size and material. Don't stack extra washers to compensate for the wrong part. That can misalign the passage and create a worse restriction.
Signs replacement makes more sense
Replacement is more practical when the brass housing is cracked, the threads are stripped, or a valve remains corroded after cleaning. Persistent leakage from a damaged body can waste water and soap while exposing the tool to further contamination. If the gun repeatedly loses pressure despite a clean hose, clear filter, sound tube, and fresh seals, the internal passage may no longer be holding a reliable seal.
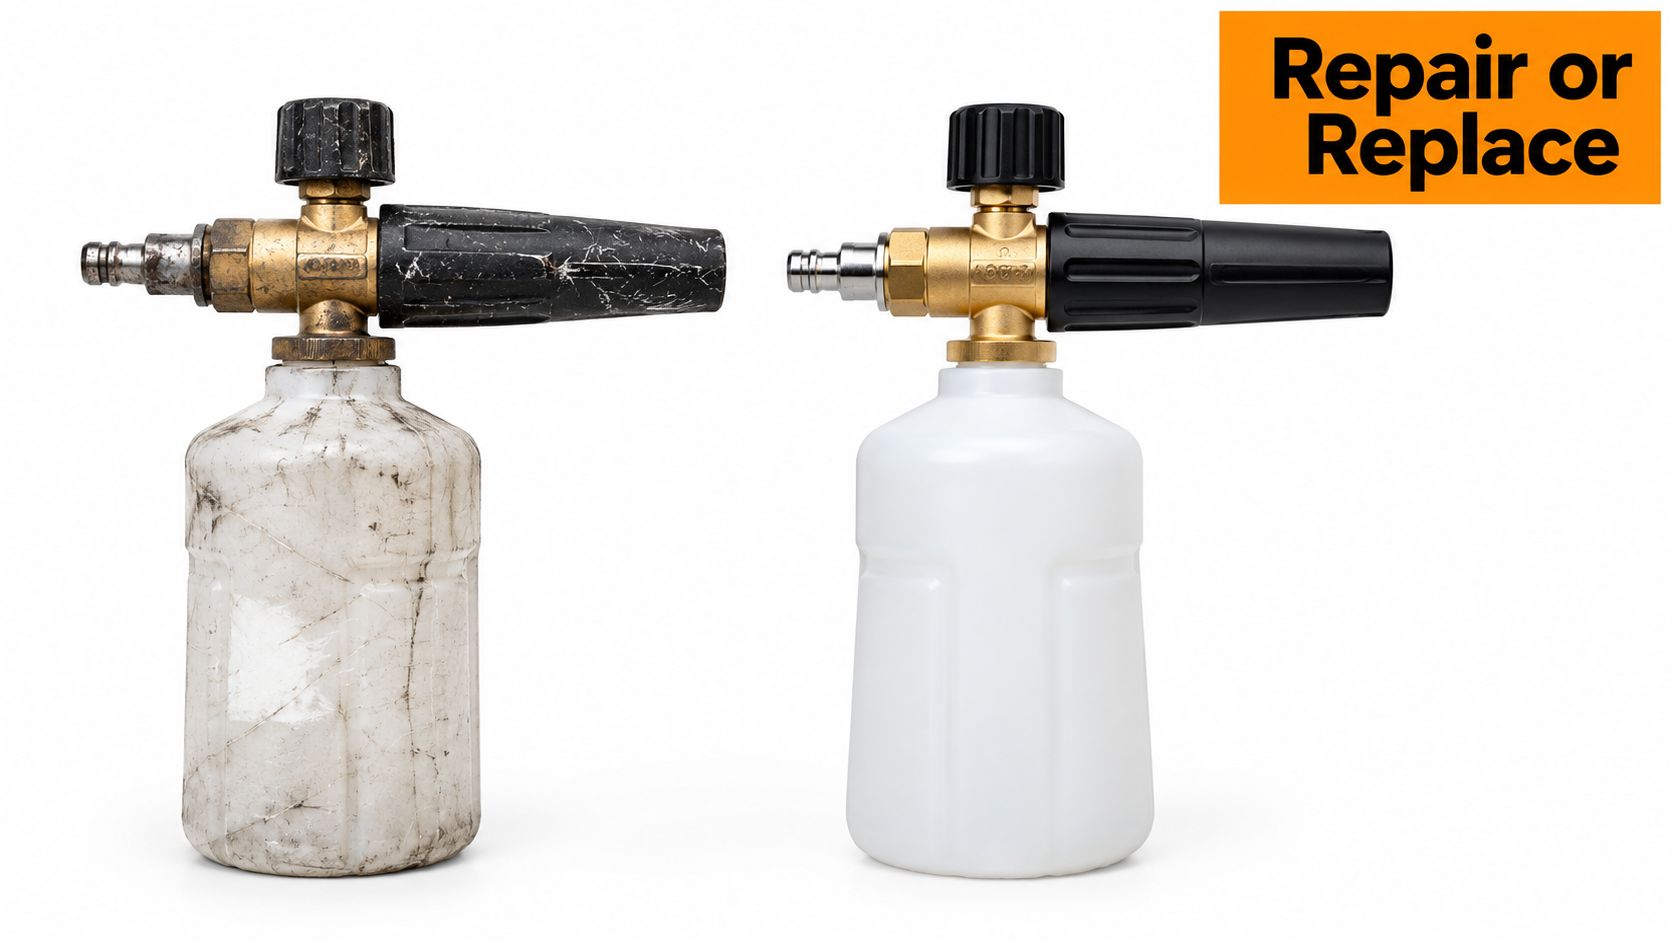
When choosing a replacement, match the tool to your actual setup. A garden-hose foam gun should connect securely to your hose fittings, offer a controllable trigger, provide a usable soap adjustment, and allow the bottle and pickup path to be rinsed. A compact design helps mobile detailers and RV owners, but portability shouldn't come at the expense of accessible seals and passages.
The SwiftJet Car Wash Foam Gun is one garden-hose option. It uses an on/off trigger, includes a microfiber wash mitt, and is offered in orange, blue, or black finishes. Those features address convenience, but the same maintenance rules still apply. Any foam gun performs more consistently when the water path stays clear and the soap is flushed after use.
Your Quick-Reference Maintenance Checklist
Consistent foam comes from controlling the whole system, not from turning one dial harder. Check the water supply before blaming the soap, keep the pickup path clean, and treat the post-wash flush as part of the wash itself.
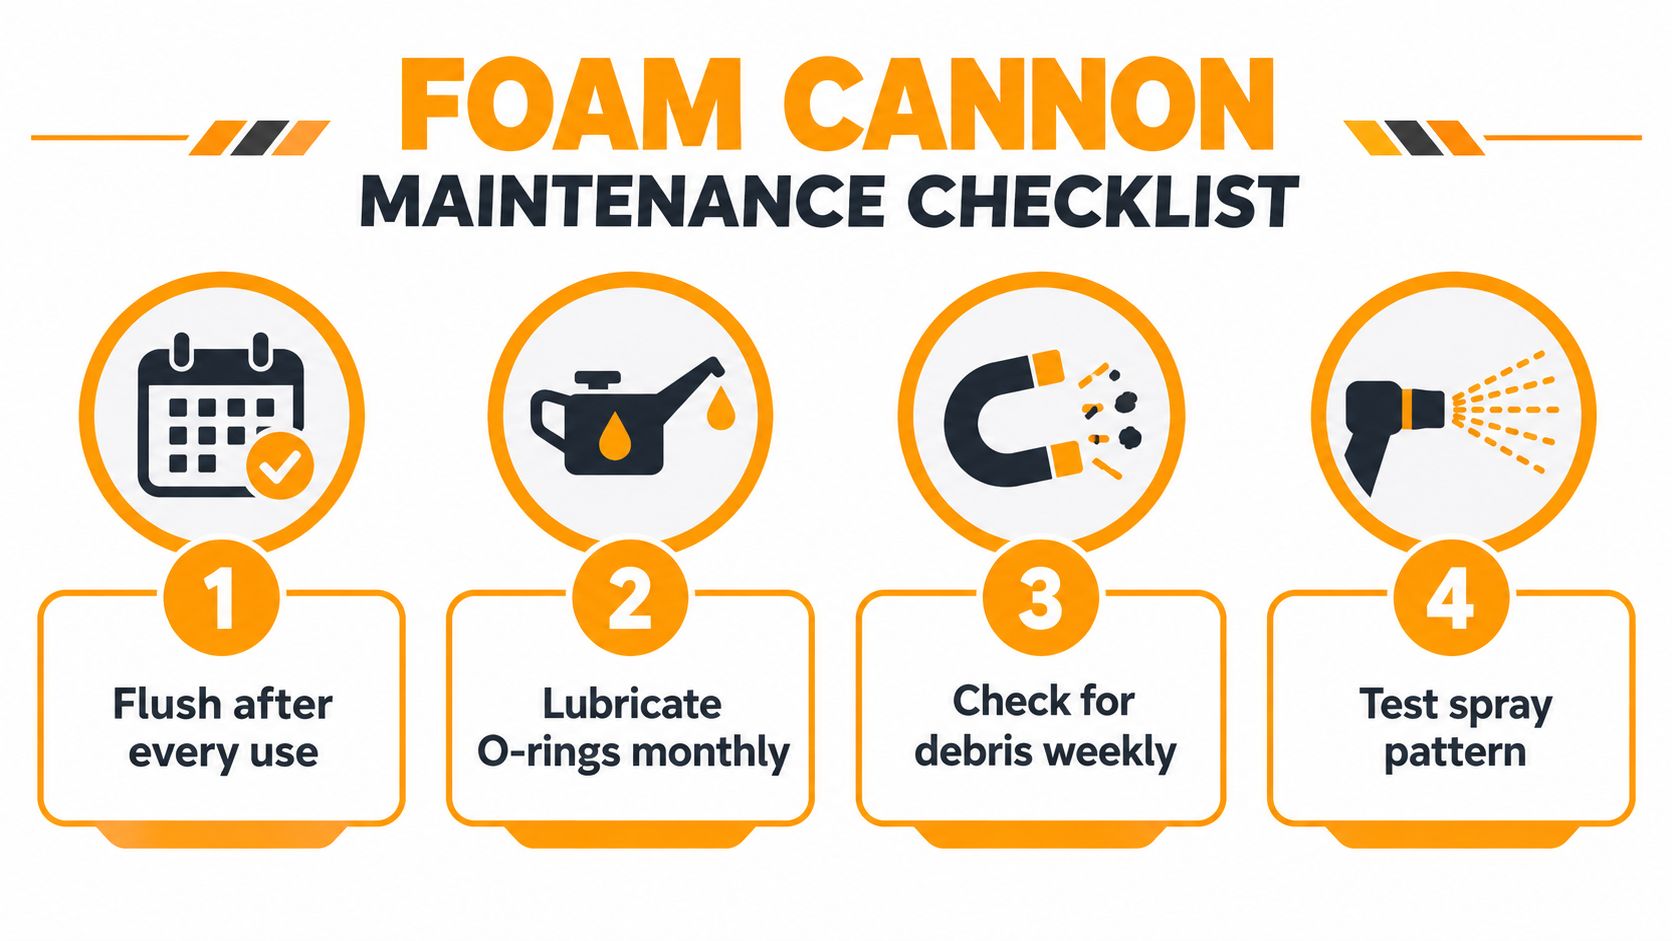
Before you spray
- Inspect the hose: Remove kinks, confirm the tap is fully open, and check that quick-connects seat completely.
- Check the fittings: Look for missing washers, flattened O-rings, cross-threading, and visible drips.
- Rinse the pickup path: Confirm that the tube is clear, secure, and positioned correctly in the bottle.
- Test with water: Use a clean-water spray to identify pressure or flow problems before adding soap.
While you wash
- Adjust gradually: Move the top dial in small increments and observe the spray after each change.
- Watch the pattern: Look for steady, even coverage rather than isolated spurts or a dry mist.
- Use compatible soap: Follow the product's dilution guidance and avoid assuming every car shampoo foams the same way.
- Protect the paint: Let the foam loosen surface grit, then use a clean wash mitt and sensible rinsing technique.
After the vehicle is clean
- Empty the bottle: Don't leave diluted soap sitting in the reservoir.
- Flush with clean water: Run water through the bottle-side path, mixing chamber, and nozzle until the output is clear.
- Drain the tool: Remove standing water and wipe the connectors before storage.
- Store intelligently: Keep the gun shaded, protected from freezing, and away from dust that can enter open fittings.
Bookmark this checklist and use it whenever the spray changes. A sputtering gun is easier to correct at the first sign of restriction than after dried residue, damaged seals, and neglected fittings have turned a small maintenance task into a replacement decision.
SwiftJet offers a garden-hose car wash foam gun with an on/off trigger, a microfiber wash mitt, and color choices for home, vehicle, camping, and RV cleaning. Visit SwiftJet to review the foam gun and choose a setup that fits your washing routine.
