
The secret to a truly brilliant, scratch-free wash isn't elbow grease—it's the soap. The best foam soap for your car is always a pH-neutral formula that's slick, loaded with powerful cleaning agents, and gentle enough that it won't strip your existing wax or sealant. It should create a thick, stable foam that clings to your car, lifts the grit, and lets you rinse it all away with barely any scrubbing.
Your Guide to Finding the Best Foam Soap for Cars
Picking the right foam soap is one of the most critical moves you can make for your car's paint. This is about more than just getting dirt off; the right soap is your first line of defense against the fine scratches and swirl marks that often come from a DIY wash. It’s what transforms a Saturday chore into a pro-level detailing session.
First things first: step away from the dish soap. While it's great for greasy pans, it's a disaster for your car. Those harsh degreasers will strip your protective wax layer right off, leaving your paint exposed to harsh sun and environmental grime. A proper car foam is engineered from the ground up to be tough on dirt but gentle on your car's finish. This guide will show you exactly what to look for to get that showroom shine every time.
Why the Right Foam Matters
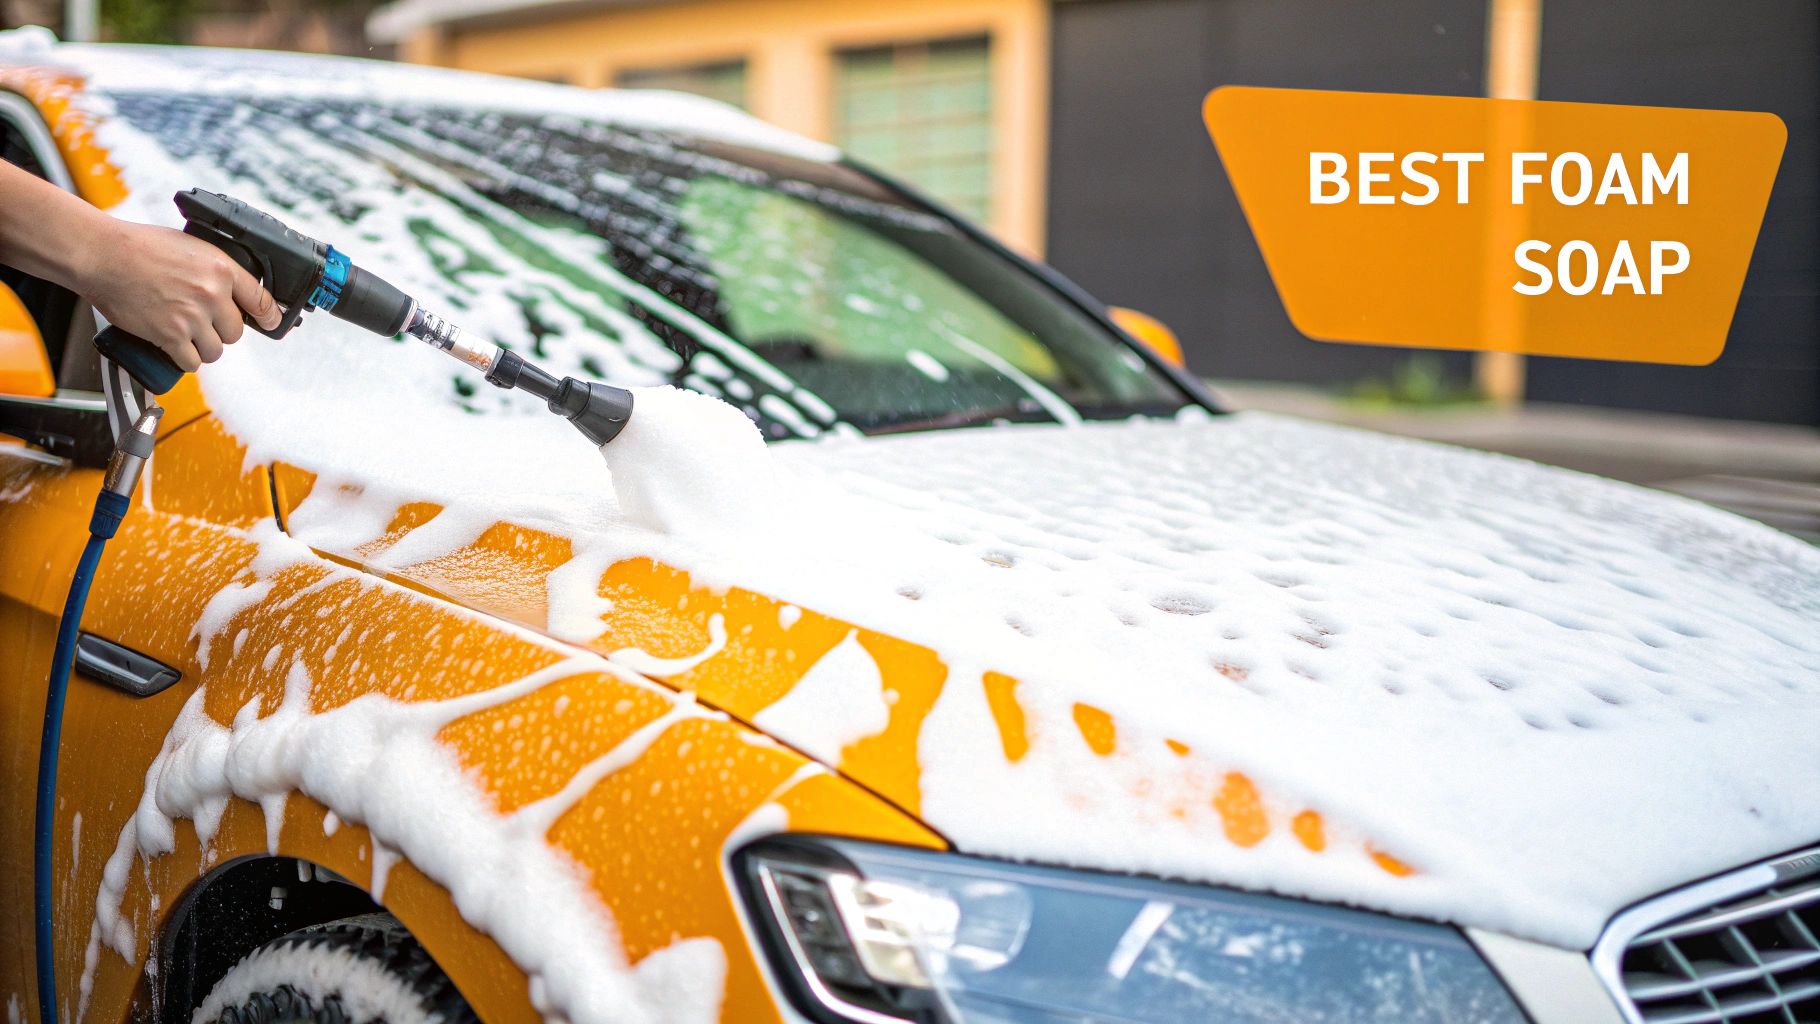
The real genius of foam washing is how it virtually eliminates friction. When you run a quality soap through a foam gun or cannon, you're not just making bubbles—you're creating a thick, shaving-cream-like blanket that sticks to every surface of your vehicle.
This "dwell time" is where the work gets done. The soap's cleaning agents, called surfactants, have time to get in there, break down road film, and lift grime away from the paint. This pre-soak does most of the hard work for you, so by the time you pick up a wash mitt, the foam is providing a super-slick cushion for it to glide on.
It’s no surprise that the market for these soaps is booming. The foam-based segment of car wash detergents is expected to jump from USD 7.61 billion in 2025 to a massive USD 11.17 billion by 2031. Detailers and enthusiasts are catching on because foam not only cleans better but can also cut water usage by up to 50% compared to an old-school bucket wash.
A beautiful wash is fantastic, but it’s just one piece of the puzzle. It fits into a larger picture of general vehicle maintenance that protects your investment and keeps your car looking and running its best for the long haul.
Getting to Grips with the Science Behind Car Foam Soap
Ever wondered what separates a top-tier foam soap from, say, dish soap or that bargain-bin car wash liquid? It’s all in the chemistry. A good foam soap is meticulously engineered to tackle road grime while being gentle on your car's delicate finish.
Think of it like this: you wouldn't wash your face with a harsh household cleaner, right? You'd use a product designed for skin. The same principle applies here. To find the best foam soap, we need to look under the hood at three key things: pH balance, lubricity, and surfactants. Let's break down what really makes those suds work.
Why pH Neutrality Is Your Paint's Best Friend
You've probably seen "pH-neutral" slapped on car soap bottles, but what does it actually mean for your ride? The pH scale, running from 0 (acidic) to 14 (alkaline), is just a way to measure chemical harshness. 7 is the sweet spot—perfectly neutral.
Your car’s clear coat is surprisingly sensitive. Hitting it with a harsh acidic or alkaline cleaner is like giving it a chemical peel; it strips away everything, including the good stuff. In your car's case, that means eating away at your wax, sealant, or ceramic coating. This leaves the paint exposed and vulnerable to UV rays, bird droppings, and all the other gunk the road throws at it.
A pH-neutral foam soap, which typically sits between 6.5 and 7.5 on the scale, is the gold standard. It’s got enough muscle to break down dirt but isn't aggressive enough to mess with your paint protection. This gentle balance is the secret to keeping that deep, glossy shine, wash after wash.
Stick with a pH-neutral formula, and you can be sure you're only removing the grime, not the protective layers you’ve worked so hard to apply.
The Power of Lubricity in Preventing Scratches
Next up is lubricity. It’s just a fancy word for how slick and slippery the soap is, and honestly, it’s one of the most critical factors in preventing those hideous swirl marks and micro-scratches.
Imagine you're trying to slide a heavy box across a dry concrete floor. Now, imagine that floor is wet and soapy. The box glides effortlessly without scratching, right? That’s lubricity in action on your car's paint.
The best foam soaps are loaded with lubricating agents that create a super-slick cushion between your wash mitt and the paint. Here's what's happening:
- The foam wraps around sharp dirt and grit particles, effectively encapsulating them.
- It then lifts these particles up and away from the paint's surface.
- Most importantly, it provides a slippery layer so your mitt glides over the top, rather than grinding that dirt right into the clear coat.
This is why a proper foam wash is fundamentally safer than just going at it with a bucket and sponge. The thick foam does the heavy lifting for you, minimizing the elbow grease needed and drastically cutting the risk of inflicting new scratches.
Surfactants: The Unsung Heroes of Cleaning
Finally, let’s talk about surfactants. These little molecules are the real workhorses in any soap. The name is short for "surface active agents," and their main job is to make water "wetter" by reducing its surface tension, which helps it penetrate and lift away grime.
Picture a surfactant molecule as a tiny tadpole. It has a water-loving "head" (hydrophilic) and an oil-and-dirt-loving "tail" (hydrophobic). When you blanket your car in foam, billions of these get to work. Their tails grab onto the oily road film and dirt, while their heads stay put in the water. This action pries the gunk off the surface and traps it inside the foam bubbles until you rinse it all away.
This is exactly why a foam’s cling time is so important. Industry analysis shows that high-quality foam can cling 3x longer than a simple liquid wash, boosting cleaning power by up to 35%. This extra "dwell time" gives the surfactants more time to do their job, breaking down stubborn contaminants and helping to reduce the water spots that plague 62% of traditional washes. If you want to dive deeper, you can read more about how foam is changing the car wash soaps and detergents market.
How to Match Soap to Your Foam Gun for Perfect Foam
Picking a soap with the right chemistry is a huge step, but it’s only half the battle. To get that thick, satisfying, shaving-cream-like foam, you need to create a perfect partnership between your soap and your foam gun or cannon. It’s all about dialing in the right settings and understanding how the two work together to create magic.
Think of it like a barista pulling the perfect espresso shot. They don't just grab great coffee beans; they obsessively adjust the grind size, water temperature, and pressure. Getting the best foam for your car wash is the same kind of art—you have to tune the soap-to-water ratio until the consistency is just right.
Decoding Dilution Ratios for Maximum Suds
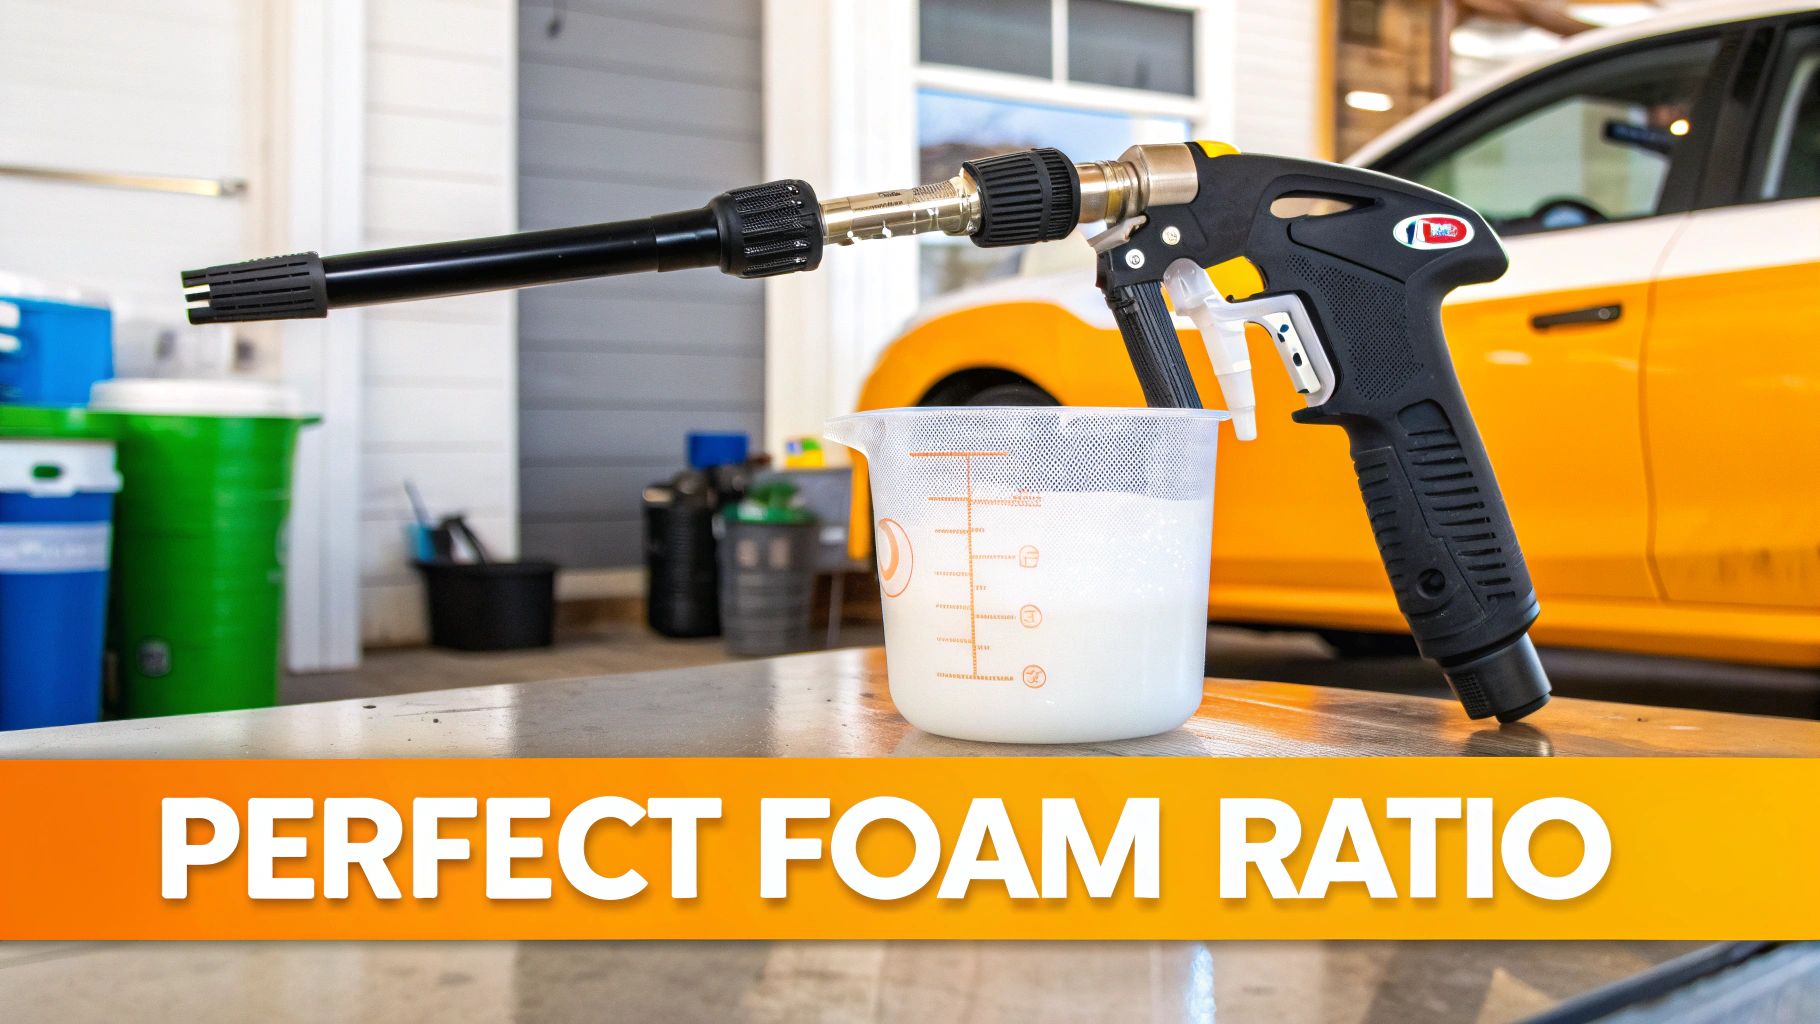
The term dilution ratio sounds technical, but it’s really just about how much soap you mix with water. This ratio is the most important thing you can control to get thick, effective foam. If you get it wrong, you end up with one of two frustrating problems: foam that’s watery and slides right off, or suds so thick they clog your equipment.
Most high-quality foam soaps will give you a recommended starting point, often around 1:10 (one part soap to ten parts water). Treat this as a friendly suggestion, not a hard rule. Your specific setup and even the water from your tap will require some fine-tuning.
Start by following the guidelines on the bottle. Add the recommended amount of soap to your foam gun’s reservoir, then fill the rest with warm water. A little tip: warm water helps the soap dissolve and mix much more effectively, which gives you better suds right from the start. From there, you can start experimenting.
Adjusting Your Foam for Ideal Consistency
Finding the sweet spot for your foam gun is a simple process of making small adjustments. The goal is to create foam that’s thick enough to cling to your car's vertical panels for several minutes, but not so heavy that it just falls off in big clumps.
Here are the key factors that affect your foam and how to adjust for them:
- Water Hardness: If you have hard water, it’s full of minerals that fight against your soap’s surfactants, leading to weak foam. If you’re in a hard water area, you’ll likely need to use a bit more soap to get that rich lather you’re after.
- Foam Gun Settings: Most foam guns have an adjustable dial that controls how much soap solution gets mixed into the water stream. I always start in the middle and tweak it up or down until the flow is perfect for that specific soap.
- Soap Viscosity: Thicker, more concentrated soaps usually need less product to create rich foam. On the other hand, you might need a higher concentration for thinner soaps. Don't be afraid to add a little more soap or a touch more water until you hit that perfect, clingy consistency.
To get the most out of your gear, it helps to understand how it works. You can see how a quality car wash foam gun is designed and how those features directly impact foam production.
Pro Tip: When you’re dialing in your ratio, test it on a small, out-of-the-way spot first. Spray the foam and just watch it. Does it cling, or does it run? If it slides off in a few seconds, you need more soap. If it’s overly dense and heavy, add a bit more water to your reservoir.
This hands-on approach is truly the best way to master your setup. Every combination of soap, water, and equipment is a little different. Taking a few minutes to tune your ratio at the beginning of each wash is the secret to getting professional-grade results every single time.
Choosing Specialty Soaps for Specific Needs
Once you've got a handle on the fundamentals like pH levels and lubricity, you can start exploring specialty soaps that do a whole lot more than just clean. The right foam soap for your car might be one that multitasks, saving you precious time while delivering very specific results. These more advanced formulas are built for unique goals, whether it's adding a layer of protection on the fly or washing your car with the environment in mind.
Think of a good, basic pH-neutral soap as your reliable daily driver—it’s safe and gets the job done every time. Specialty soaps are more like picking the right tires for the road ahead; one set might offer incredible grip in the rain (protection), while another is designed for minimal impact on the terrain (eco-friendly).
Let's dive into two of the most popular categories that can seriously upgrade your wash routine.
Adding Protection with Wash and Wax Soaps
For anyone who loves that "just waxed" look but doesn't always have time for a separate waxing session, a wash and wax foam soap is a game-changer. These formulas are cleverly designed to clean your paint and leave behind a thin, protective layer of wax or a synthetic sealant, all in one go.
Now, this won't replace a proper, dedicated hand wax application, but it's a fantastic way to top up the protection you already have. As you wash, the tiny wax or sealant particles in the foam bond to your car's clear coat, creating a hydrophobic surface. Water beads up and rolls right off, taking dirt along with it and making your next wash even easier.
- Boosts Shine: The protective layer fills in microscopic swirl marks and imperfections in the paint, which really enhances its gloss and depth.
- Extends Protection: It acts like a booster shot for your existing wax or sealant, helping it last longer between full applications.
- Saves Time: You’re essentially combining two crucial detailing steps into one, which is perfect for a quick yet effective maintenance wash.
This dual-action approach not only keeps your vehicle looking fantastic but also helps protect its finish in the long run. The lubricity in these soaps is absolutely critical—superior foam has been shown to prevent 60% more swirl marks, which can extend the life of a car's clear coat by up to two years. Protecting your paint is a huge part of maintaining your vehicle's value, a fact supported by extensive market research on car wash detergents.
Making an Eco-Friendly Choice
If you're like me and wash your car on a driveway or any surface where the runoff heads straight for a storm drain, choosing an eco-friendly soap is the responsible thing to do. These products are formulated to break down naturally, minimizing their impact on local waterways and wildlife.
The magic word here is "biodegradable." It means the ingredients, especially the surfactants that do the cleaning, can be broken down into simple, harmless stuff by microorganisms in the environment. Many of these formulas use plant-based surfactants from sources like coconut or corn, which are far gentler than harsh, petroleum-based chemicals.
By choosing a biodegradable foam soap, you're not just cleaning your car; you're actively preventing harmful chemicals from entering the water supply. It's a small change that makes a significant positive impact on the environment around you.
Don't think for a second that these eco-friendly options skimp on performance. Today's biodegradable formulas, like a well-made pH-balanced citrus vehicle shampoo, are engineered to produce that thick, clinging foam we all love. They clean effectively without leaving a harmful trace behind, giving you a brilliant shine and peace of mind. Your car wash routine can be as green as it is clean.
Mastering the Pro Foam Wash Method at Home
Alright, you've picked out the perfect foam soap and have your gear ready to go. Now, let's put it all together and give your car a wash that would make a professional detailer proud, right in your own driveway. The secret isn't just about the soap; it's about the process. Following these steps is the key to getting that flawless, swirl-free shine.
This is more than just hosing down your car with suds. It’s a systematic approach designed to lift dirt away safely and leave nothing but a clean surface behind. We'll walk through the five essential steps, from the first rinse to the final wipe-down, turning your weekend wash into a proper detailing session.
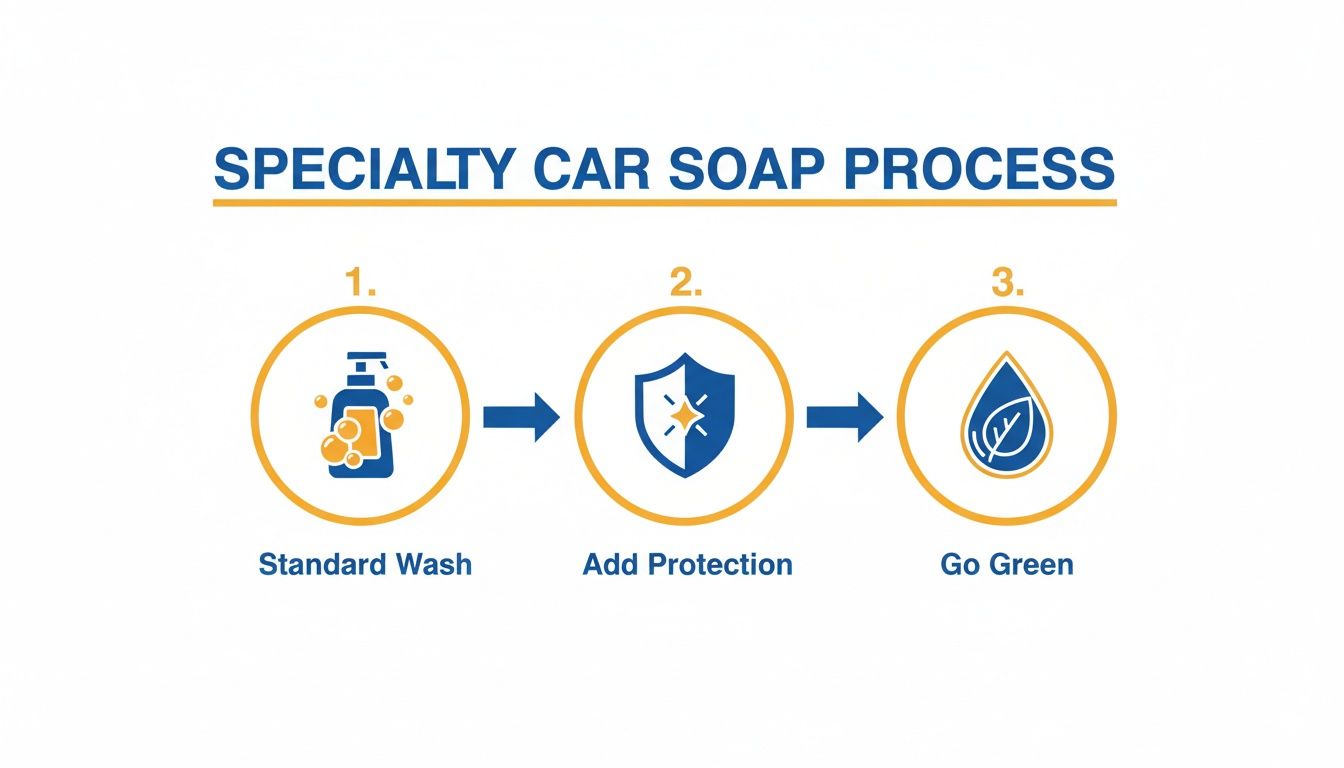
As you can see, you can tailor your wash to exactly what your car needs today—whether it's a simple cleaning, adding a layer of protection, or going with an eco-friendly option.
Step 1: Start With a Thorough Pre-Rinse
Before a single bubble of foam touches your paint, grab your pressure washer or garden hose. This first step is non-negotiable. You need to knock off all the loose, heavy gunk—think of it as clearing the battlefield. Dust, mud, pollen, and bird droppings need to go now.
Skipping this part is a rookie mistake. If you don't, all those gritty particles just turn into sandpaper the moment you touch the car with a wash mitt. Always work from the top down, letting gravity do the work for you. Give some extra love to the wheel wells and lower panels, since that’s where the worst of the road grime collects.
Step 2: Apply a Thick Blanket of Foam
Now for the fun part. With your foam cannon or gun dialed in, it's time to lay down a thick, shaving-cream-like blanket of foam. There's a right way to do this that really lets the soap do its job.
Start spraying from the bottom of the car and work your way up. It might feel backward, but there’s a good reason for it. This method prevents the foam on the cleaner upper panels from running down and prematurely rinsing the dirtier lower sections. It gives the entire car a more even "dwell time."
Let that foam sit and work its magic for about 3-5 minutes. This is when the surfactants are busy breaking their bond with the paint, encapsulating the dirt, and lifting it away. You'll literally see the grime dripping off the car with the suds. That's a good sign. If you want to dive deeper into getting your setup just right, check out our complete guide on using a car foaming gun.
Step 3: Use the Two-Bucket Contact Wash
Even with a great foam pre-soak, some stubborn road film will hang on for dear life. This is where the two-bucket wash method comes in—a technique that separates the pros from the amateurs. It’s all about preventing cross-contamination.
Here’s your setup:
- Wash Bucket: Filled with your car soap solution.
- Rinse Bucket: Filled with nothing but clean water. A grit guard at the bottom is a great addition here.
Dunk your clean microfiber wash mitt into the soapy water and gently wash one small section at a time, starting from the top. After you finish a panel (like a door or half the hood), rinse the dirty mitt out completely in the plain water bucket. Only then should you go back to the soap bucket. This simple habit keeps the dirt you just took off from getting mixed back into your clean soap.
Step 4: Perform a Complete Final Rinse
Once you've given every surface a gentle hand wash, it's time for the final rinse. Using clean water from your hose, rinse the entire vehicle thoroughly from the top down. Be methodical. You want to chase every last bit of soap out of all the nooks and crannies.
Lingering soap residue is the number one cause of streaks and spots. Pay close attention to areas around trim, door handles, and mirrors where suds love to hide. A clean rinse is just as important as a good wash.
Step 5: Dry and Troubleshoot for Perfection
Don't let your hard work go to waste by letting the car air dry. As soon as you finish rinsing, get to drying. This prevents water spots, which are just mineral deposits left behind when water evaporates. A big, plush microfiber drying towel or even a leaf blower will do the job perfectly and safely.
Troubleshooting Common Issues
Even with the best foam soap, things can sometimes go sideways. If your foam looks thin and watery, you probably just need to add a bit more soap concentrate to your cannon. If you’re seeing streaks after you dry, that's almost always leftover soap residue—just be more thorough on your final rinse next time.
And while you're at it, don't forget the little details. A truly clean car is clean everywhere, so learning how to clean your backup camera lens is a great final touch for both looks and safety. Stick to this process, and you'll get a stunning, professional-level wash every single time.
Got Questions About Foam Soap? We've Got Answers.
Even after you've got the basics down, a few questions always seem to pop up. Nailing down these details is what separates a decent car wash from a truly professional one. This is where we tackle the most common questions we hear from car enthusiasts and weekend detailers alike.
Think of this as your go-to cheat sheet for solving those last few uncertainties. Our goal is to give you the confidence to get that thick, satisfying, and scratch-free foam wash every single time.
Can I Just Use My Regular Car Wash Soap in a Foam Cannon?
It's a tempting shortcut, but honestly, it's not a great idea. While you technically can pour regular car soap into a foam cannon, you’ll almost certainly be disappointed with the results.
Standard car soaps are designed for a bucket and a mitt. They just don't have the right blend of surfactants or the right consistency to whip up into the thick, clinging foam you're looking for. More often than not, you'll get a watery, sad-looking mixture that just runs right off the paint.
When the foam doesn't stick, it can't do its job. This drastically cuts down the "dwell time," giving the cleaners no chance to break down dirt. If you want that rich, shaving-cream-like foam that actually protects your paint, you need to stick with a soap made specifically for foam cannons.
How Often Should I Be Foam Washing My Car?
This really comes down to where you live and how you drive. For most people, a good foam wash every two weeks is a great rhythm to stay ahead of grime, road film, and dust.
But that’s just a baseline. You'll want to adjust based on your situation:
- Harsh Conditions: If you’re dealing with road salt in the winter, or live in a place with a lot of tree sap, pollen, or bird droppings, stepping it up to a weekly wash is a smart move to protect your paint.
- Easy Living: Is your car a garage queen that only comes out on sunny days? You can probably get away with washing it once every three or four weeks.
The key is using a quality, pH-neutral foam soap. A gentle formula like that means you can wash as often as needed without worrying about stripping off your wax or sealant.
Does a Higher Price Tag Mean a Better Foam Soap?
Not always. It's easy to assume that more expensive means better, but price isn't the whole story. While a premium price can sometimes signal a more concentrated formula or fancy additives like gloss enhancers, it’s not a guarantee of superior performance. The best foam soap for cars is simply the one that works best for your car, your water, and your foam cannon.
Don't get caught up in the price. Focus on the things that actually matter: is it pH-neutral? Does it have great lubricity? Does it create thick, stable foam with your setup? A soap that checks those boxes is a winner, no matter the cost.
Plenty of fantastic, mid-range soaps from trusted brands will give you amazing results without breaking the bank. The real goal is finding a product that’s safe, effective, and fits your budget.
Will Hard Water Mess Up My Foam Soap?
Oh, absolutely. Water hardness is one of those sneaky variables that can make or break your foam. Hard water is full of minerals like calcium and magnesium, and these minerals get in the way of your soap's surfactants.
When that happens, the soap can't create suds properly. You end up with weak, watery foam, which is why a top-rated soap might work great for one person and fall flat for another. Even worse, those minerals are the main culprit behind those stubborn water spots left behind after the car dries.
Luckily, you can fight back. Many premium foam soaps include water-softening agents to neutralize these minerals. If you know you have hard water and your foam is looking a little limp, you can:
- Try using a little more soap concentrate in your foam cannon.
- Look for a foam soap specifically formulated for hard water.
- For the ultimate fix, install a simple in-line water filter on your hose.
Getting your soap and water chemistry right is a pro-level move that guarantees you'll get that rich, effective foam you're after.
Ready to transform your car wash routine with thick, satisfying foam? The SwiftJet Car Wash Foam Gun connects to any garden hose to deliver professional results right in your driveway. Experience a faster, safer, and more effective wash today at https://swiftjetusa.com.