

Washing your car the right way is about more than just getting the dirt off. It’s a craft. Done properly, it’s a systematic process that uses a pre-soak, the two-bucket method, and specific drying techniques to keep your paint free of scratches and swirl marks. This is how you get that deep, long-lasting shine and truly protect your investment.
From Simple Rinse to Flawless Finish
Sure, you can just blast your car with a hose and call it a day, but there's a world of difference between a quick rinse and a professional-level detail that actively preserves your paint. This guide is all about bridging that gap. We're going to show you how the pros avoid common pitfalls like swirl marks, fine scratches, and those annoying water spots that seem to etch themselves into your car's finish.
Let's start by clearing up a few things. You’ll learn exactly why reaching for dish soap is one of the worst things you can do for your paint and why washing under the hot sun is a recipe for baked-on residue. The secret lies in a smart, systematic approach, beginning with a pre-wash that does the heavy lifting before a wash mitt ever touches your car.
A proper wash isn't just about cleaning; it’s about preservation. Every step is designed to minimize contact with abrasive dirt, which is the primary cause of paint imperfections. The goal is to clean the car with the least amount of physical friction possible.
Think of this as the foundation for achieving a pro-grade wash right in your own driveway. It's less about elbow grease and more about using the right tools and, most importantly, the right techniques.
Here’s a sneak peek at the core principles we’ll break down:
- The Power of Pre-Soaking: We'll cover how to use a foam gun to lay down a thick blanket of suds that gently encapsulates and lifts grit away from the paint.
- The Two-Bucket Method: This is the non-negotiable technique that keeps your wash mitt clean and stops you from grinding dirt right back into your finish.
- A Systematic Approach: You’ll learn why you should always work from the top down and tackle the wheels first to avoid spreading brake dust and road grime onto clean panels.
Beyond just looking good, a flawless car wash is fundamental preventative maintenance that can save you from costly paint correction down the road. It’s a lot like understanding the smaller details that help you save on bigger repairs, such as when decoding electric vehicle maintenance costs and other long-term upkeep.
The global car wash market was valued at around $31 billion back in 2022, a number that shows just how much people are shifting toward wanting professional-quality results. That's what makes having effective at-home tools and techniques so valuable. You can dig into more insights on this growing industry over at Research and Markets.
Assembling Your Car Washing Toolkit
Before you even think about turning on the water, let's talk about gear. To wash your car properly—without adding a fresh set of scratches—you'll need more than an old sponge and whatever bucket is lying around in the garage. Having the right equipment is your first and best defense against damaging your paint.
Think of it this way: you wouldn't use a kitchen scouring pad on a grand piano. Your car's clear coat is just as delicate. That's why common household items like dish soap or old bath towels are a definite no-go. They're far too aggressive and will strip away protective waxes, leaving your paint vulnerable.
Getting the Essentials Right
Building a solid car wash kit starts with mastering the basics. Let's start with a quick-reference table of the absolute must-haves.
Essential Car Washing Tools and Their Purpose
| Tool | Why It's Essential | SwiftJet Recommendation |
|---|---|---|
| Two 5-Gallon Buckets | Enables the two-bucket method, keeping dirty rinse water separate from clean, soapy water to prevent scratches. | Any durable, heavy-duty buckets will do the trick. |
| Grit Guards | This simple insert traps dirt at the bottom of the bucket, preventing you from picking it up with your mitt and grinding it into the paint. | A Grit Guard insert is a non-negotiable for safe washing. |
| pH-Neutral Car Soap | Designed to clean effectively without stripping existing waxes or sealants. It provides crucial lubrication for your wash mitt. | A high-foaming soap designed for foam guns. |
| Microfiber Wash Mitt | The deep pile pulls dirt and grit away from the paint's surface, trapping it safely within the fibers. Sponges just push it around. | Look for a high-GSM (grams per square meter) plush mitt. |
| Waffle-Weave Drying Towel | The unique weave is incredibly absorbent, allowing you to blot the car dry instead of wiping, which dramatically reduces the risk of marring. | A large, high-quality waffle-weave towel is a game-changer. |
| Dedicated Wheel Brushes | Wheels are covered in abrasive brake dust. Using separate, softer brushes prevents that grime from ever touching your paint. | A set with various sizes for faces, barrels, and tires. |
Having these items on hand ensures that every part of the wash, from the first spray to the final buff, is done safely and effectively.
Your Secret Weapon: A Good Foam Gun
Now, let's talk about the single biggest upgrade you can make to your wash routine: moving from a standard hose nozzle to a foam gun. A quality tool like the SwiftJet Foam Gun attaches right to your garden hose and blankets your car in a thick, clinging foam.
This isn't just for show. That foam is actively working for you, encapsulating and lifting heavy dirt before you ever have to touch the car with a mitt.
This pre-soak step is the secret sauce that professional detailers use. The foam dwells on the surface, breaking down stubborn grime so it can be safely rinsed away. This simple action massively reduces the risk of creating swirl marks when you finally start the contact wash.
The Right Soap for the Job
Of course, a foam gun is only as good as the soap you put in it. You'll want a quality, pH-neutral car shampoo. These are engineered specifically to produce rich suds that provide excellent lubrication, helping your wash mitt glide effortlessly across the paint instead of dragging. If you want a deep dive into what to look for, check out our guide on the best foam soap for cars.
Ditching Sponges for Microfiber
It's time to throw away those old yellow sponges for good. A plush microfiber wash mitt is the only thing you should be using for the contact wash. Its long, soft fibers pull dirt particles deep inside, keeping them away from the paint surface. A flat sponge, on the other hand, just traps grit between itself and your clear coat, essentially turning it into a sheet of sandpaper.
You'll also want a small arsenal of microfiber towels for different jobs:
- Waffle-weave drying towels: As mentioned, these are superstars for absorbing huge amounts of water safely.
- Plush general-purpose towels: Perfect for buffing off a spray wax or applying a quick detailer.
- Utility towels: Keep a separate, cheaper set of towels for the really dirty jobs like wiping down door jambs, exhaust tips, or engine bay components.
Finally, don't forget the dirtiest part of your vehicle. A set of dedicated wheel and tire brushes is a must. The soft-bristled brushes are made to tackle heavy brake dust and road grime without scratching your rims. Using a separate set of tools for wheels is a golden rule—it prevents cross-contamination and keeps that nasty brake dust far, far away from your precious paint.
Your Guide to the Perfect Washing Process
Alright, you've got your gear ready to go. Now, let's get into the actual process of washing your car the right way—using techniques that will leave you with a professional finish and, more importantly, protect your paint. This isn't about speed; it's about being methodical. The real secret to avoiding those dreaded swirl marks and fine scratches is to remove dirt with as little aggressive physical contact as possible.
First things first: get out of the sun. Washing your car in direct sunlight is a recipe for disaster. The heat causes water and soap to evaporate way too quickly, leaving behind stubborn water spots and soap residue that are a pain to remove. If you don't have a garage, plan your wash for the early morning or later in the evening. You want the car's panels to be cool to the touch.
Prep Work: The First Crucial Steps
Before a single sud touches your car's paint, you need to tackle the dirtiest parts first: the wheels and tires. Your wheels are magnets for abrasive brake dust and thick road grime. By cleaning them before anything else, you prevent that nasty gunk from getting slung onto your freshly cleaned paint later on.
Once the wheels are done, give the entire vehicle a thorough pre-rinse. Grab your hose or pressure washer and knock off all the loose dirt, dust, bugs, and whatever else is sitting on the surface. This simple step removes a huge amount of grit before you even think about touching the paint, making the main wash infinitely safer for your finish.
Here’s a quick look at the key players you'll be using for the main event.
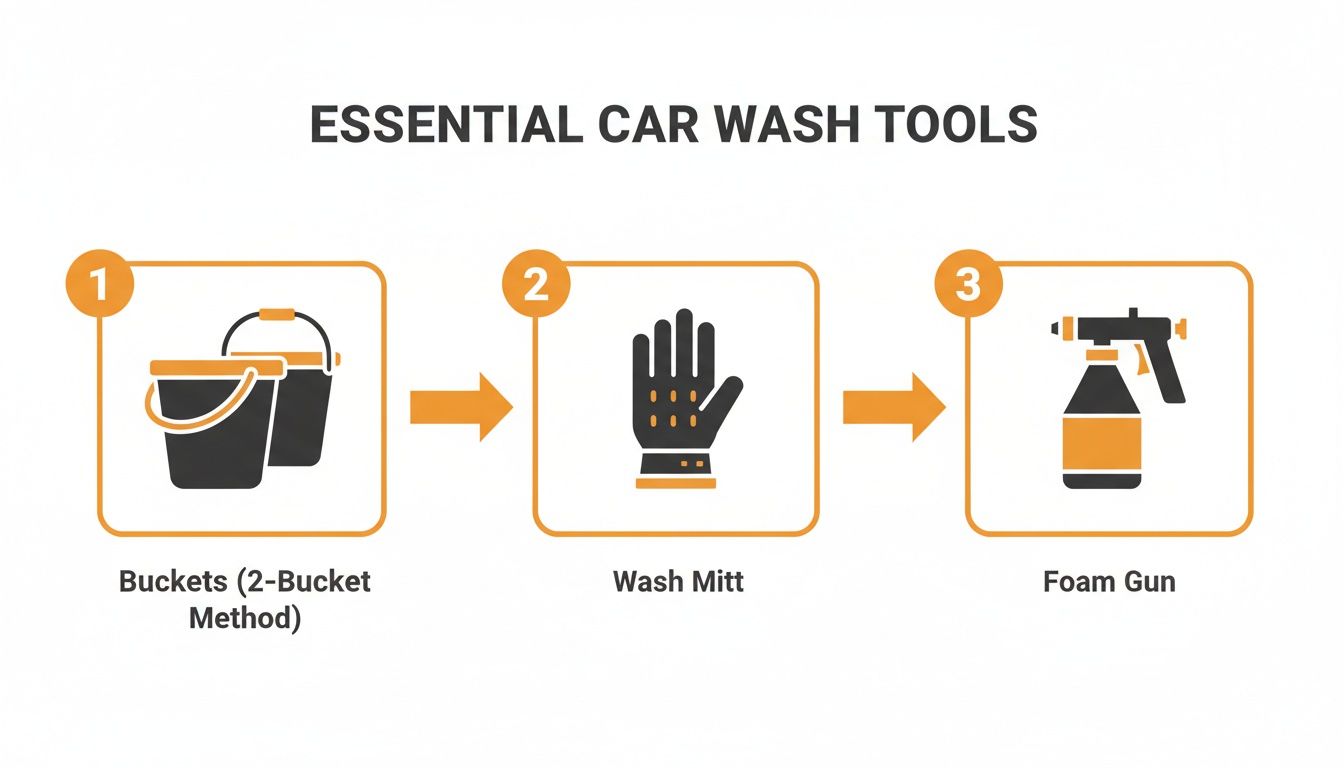
This image nails the essentials of a modern, safe car wash: two buckets to keep your wash water clean, a soft microfiber mitt that won't scratch the paint, and a foam gun to pre-soak the grime.
The Foam Application and Contact Wash
Now for the fun part: laying down a thick blanket of foam. Using a foam gun like the SwiftJet, cover the entire car, starting from the roof and working your way down. Just let that foam sit and do its thing for several minutes. You'll actually see it start to drip, pulling dirt and grime down and away from the paint. This pre-soak is critical because it encapsulates the dirt and provides a slick, lubricating barrier for the next step.
The two-bucket method is absolutely non-negotiable if you're serious about protecting your paint. One bucket is for your soapy water, and the other is just plain water with a grit guard at the bottom. This setup is the key to preventing you from dragging the dirt you just removed right back across the car.
After the foam has had a chance to dwell, it’s time for the contact wash. Dip your clean microfiber wash mitt into the soap bucket and start washing, always working from the top down. Begin with the roof, then move on to the windows, hood, and trunk, saving the dirtiest lower panels for last.
There's a good reason for this top-down strategy:
- Work with Gravity: Dirt and grime naturally collect on the lower parts of your car. By starting at the top, you let gravity pull the dirty suds downward, away from the panels you've just cleaned.
- Avoid Cross-Contamination: This method prevents you from picking up heavy grit from the rocker panels and accidentally dragging it across the more delicate paint on your hood or doors.
- Stay Organized: It gives you a logical workflow, ensuring you don't miss a spot.
After washing a single section (like one door or half the hood), dunk your dirty mitt into the plain water rinse bucket. Swirl it around and scrub it against the grit guard at the bottom—you'll be shocked at how much dirt falls out. Only after your mitt is clean should you dip it back into the soap bucket and move on to the next panel. If you're really looking to fine-tune your setup, it's worth learning about the ideal pressure settings for a car wash.
Rinsing and Final Thoughts
Once you've washed the entire car, it's time for the final rinse. Again, start from the top and use a steady, gentle stream of water to wash away every last bit of soap. Make sure to get into all the nooks and crannies like the panel gaps, around the mirrors, and in the trim where suds love to hide. A thorough rinse is the secret to a truly spot-free finish.
Mastering a Spotless Drying Technique
You've done the hard work of washing, but don't drop the ball now. The drying stage is where so many people accidentally undo all their effort, causing the very swirl marks and fine scratches they were trying to avoid.
Letting your car air-dry might seem harmless, but it's a guaranteed recipe for stubborn water spots. Those little circles are mineral deposits left behind as the water evaporates. On the other end of the spectrum, grabbing an old bath towel and aggressively wiping the car down is even worse—it's like taking a mild scouring pad to your clear coat.
The mission is simple: get every drop of water off the paint as gently and efficiently as you can.
The Touchless First Pass
Before you even think about laying a towel on your paint, reach for a leaf blower or a dedicated car dryer. This is an absolute game-changer for getting the bulk of the water off, especially from all those nooks and crannies.
Water has a knack for hiding in the worst places, only to drip out minutes after you think you're done, leaving ugly streaks. Think about these common trouble spots:
- Behind your side mirrors
- Inside door handles and between body panels
- All over the front grille and emblems
- Around the seals of your headlights and taillights
Blasting these areas with air first pushes all that trapped water out, preventing those frustrating drips from ruining your work. It's a trick straight from the professional detailer's playbook.
This "touchless" approach is getting more popular everywhere. The commercial car wash industry is seeing a global growth rate of 8.2% a year for touchless systems, as they adopt better drying tech to improve results. Now, you can get those same benefits right in your driveway.
Blotting, Not Wiping
Once you've blown off most of the standing water, it's time for the towel. Forget cotton bath towels; you need a high-quality, plush microfiber drying towel. Look for one with a deep, soft pile designed specifically to soak up a massive amount of water. Waffle-weave towels are another fantastic option.
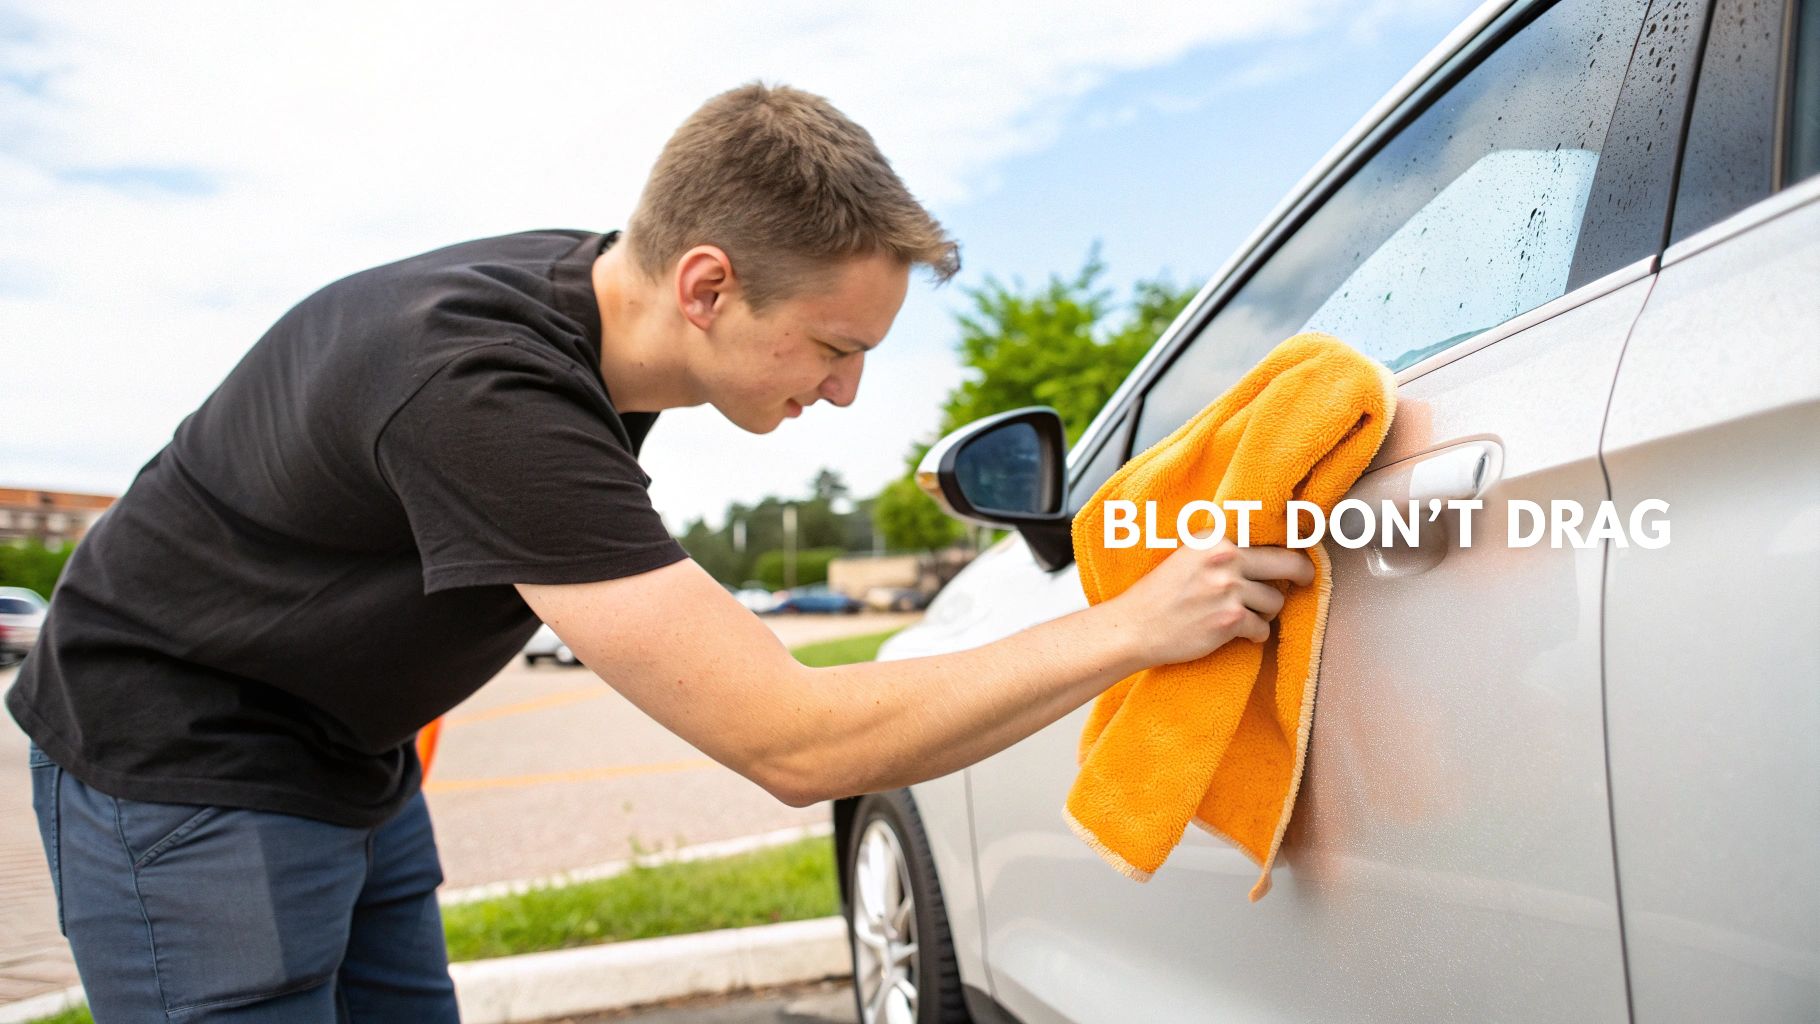
The single most important technique to learn here is blotting, not wiping. Lay your large drying towel flat across a panel, like the hood or roof. Gently pat the towel, letting the fibers do the work of absorbing the water. Then, lift it straight up and move to the next section.
This method creates minimal friction, which dramatically cuts down the risk of creating new swirls. If you drag a towel—even a clean one—and it happens to pick up one tiny piece of grit you missed, you'll drag that particle across the entire panel. Blotting keeps things safe.
For a deeper dive into choosing the right tools for the job, check out our guide on the best uses for different microfiber towels for cleaning.
Add a Layer of Protection
With your car perfectly clean and bone-dry, this is the perfect time to add a quick layer of protection. This isn't just about making it shiny; it's about making your next wash way easier.
Modern spray waxes and paint sealants are incredibly easy to use. Just mist a light, even coat onto one panel at a time, gently spread it with a clean microfiber towel, and then flip the towel to a dry side to buff off the excess.
In just a few minutes, you've added a slick, hydrophobic layer that makes water bead up and roll right off. It also helps repel dirt, boosts the gloss, and gives your paint a shield against the elements. It’s the perfect final touch.
Common Car Washing Mistakes to Avoid
Even if you have the best gear and all the right intentions, a few simple missteps can wreck your results. It's frustrating, but you can end up causing the very same swirl marks and scratches you were trying so hard to prevent. Knowing how to wash a car is just as much about what not to do.
The classic rookie mistake? Washing the car in direct sunlight or when the paint is hot to the touch. That heat makes your soap and water evaporate in seconds, leaving behind ugly soap scum and mineral spots that are a real pain to get off. Do yourself a favor and work in the shade, or plan your wash for the early morning or evening when it’s cooler.
The Tools and Soaps You Use Matter
Another all-too-common error is reaching for the wrong kind of soap. It's tempting to just grab the dish soap from the kitchen, but don't do it. Those soaps are designed to strip grease, and they'll strip the protective wax or sealant right off your paint, leaving it totally exposed. Always stick with a dedicated, pH-neutral car shampoo.
Your choice of tools is just as critical. Old bath towels, t-shirts, and those yellow sponges from the hardware store are way too harsh for your car’s paint. Their surfaces just trap dirt and drag it across the finish, creating a nasty web of scratches. The only things that should be touching your paint are high-quality microfiber wash mitts and proper drying towels.
The Cardinal Sin of Car Washing: If you drop your wash mitt on the ground, stop immediately. Seriously. Do not put it back on your car. It's now loaded with grit and tiny rocks that will act like sandpaper. Set it aside for a deep clean and grab a fresh mitt.
Rethink Your Washing and Drying Process
The old single-bucket wash is a recipe for disaster. Think about it: you pull dirt off the car, then dunk your mitt right back into your one and only bucket of clean water. You’ve just contaminated the entire thing. Now you're just rubbing that same grit all over the next panel. This is why the two-bucket method isn't optional—it's essential for keeping the dirt isolated in a separate rinse bucket.
Finally, whatever you do, don't just let the car air-dry. That's a surefire way to get water spots etched into your clear coat. A much better approach is to first use a leaf blower to blast most of the water out of the emblems, mirrors, and grilles. Then, come back with a plush, waffle-weave drying towel to gently blot the rest. This method drastically reduces contact with the paint and leaves a perfectly spot-free finish every time.
Common Car Washing Questions, Answered
Even with the best guide in hand, a few questions always seem to pop up when you're in the driveway, bucket and mitt ready to go. Let's tackle some of the most common ones I hear, so you can wash your car with total confidence.
One of the biggest questions is always about timing: "How often should I really be washing my car?" A good rule of thumb for most people is every two weeks. This is the sweet spot for keeping everyday grime from bonding to your paint and causing real trouble down the road.
Of course, that’s just a baseline. Where you live and what your car goes through matters more. If you're dealing with road salt in the winter or a biblical amount of pollen in the spring, you’ll want to wash it weekly to head off corrosion and stains. The same goes for cars that are magnets for bird droppings or tree sap—that stuff is nasty and acidic, and you need to get it off your clear coat ASAP.
Getting Your Gear Straight
A lot of folks think you need a powerful pressure washer to get that pro-level foam. I'm happy to report that you absolutely don't. A quality foam gun, like the SwiftJet, is a game-changer because it’s built to work with a regular garden hose. It masterfully uses your home's water pressure to whip up that thick, satisfying foam you need for a safe pre-wash.
That brings us to another essential technique: the two-bucket method. Why all the fuss? It's your number one defense against inflicting those dreaded swirl marks and fine scratches.
Think of it this way: the two-bucket method is all about quarantine. You're trapping the dirt you just pulled off the car in a separate rinse bucket. By dunking your dirty mitt there before putting it back in the clean soap, you prevent all that abrasive grit from scratching up your paint.
It’s a simple concept, but it's truly the foundation of a safe, scratch-free wash. You ensure only clean, sudsy lubrication ever touches your finish.
Taking on the Tougher Spots
Sooner or later, you'll pop the hood and wonder, "Can I actually wash this?" Yes, you can clean your engine bay, but you have to be smart about it. The absolute first rule is to make sure the engine is 100% cool to the touch. Never spray water on a hot engine.
Before a single drop of water hits anything, protect the sensitive bits. Grab some plastic wrap or a few shopping bags and cover up these key components:
- The alternator
- Any exposed air intakes or filters
- The fuse box and any other electronics you can see
From there, go easy. Use a gentle degreaser with some soft brushes, not a high-pressure blast. Rinse carefully with a low-pressure stream from your hose, making sure to steer clear of the areas you covered. Modern engine bays are built to handle some water, but these precautions are your best bet against causing any electrical headaches.
Ready to see what a real pre-soak can do for your wash routine? The SwiftJet Foam Gun hooks right up to your garden hose, delivering that thick, dirt-lifting foam that makes washing safer and way more effective. Get your SwiftJet Foam Gun today and see the difference for yourself!
