

Removing tree sap from your car is a pretty simple job when you break it down: pre-wash to soften it up, use a solvent to dissolve it, gently lift it away, and then re-seal the paint. But here's the kicker: speed is everything. If you let that sticky mess sit, it can cause some serious, permanent damage to your paint.
Why Removing Tree Sap From Your Car Is So Urgent
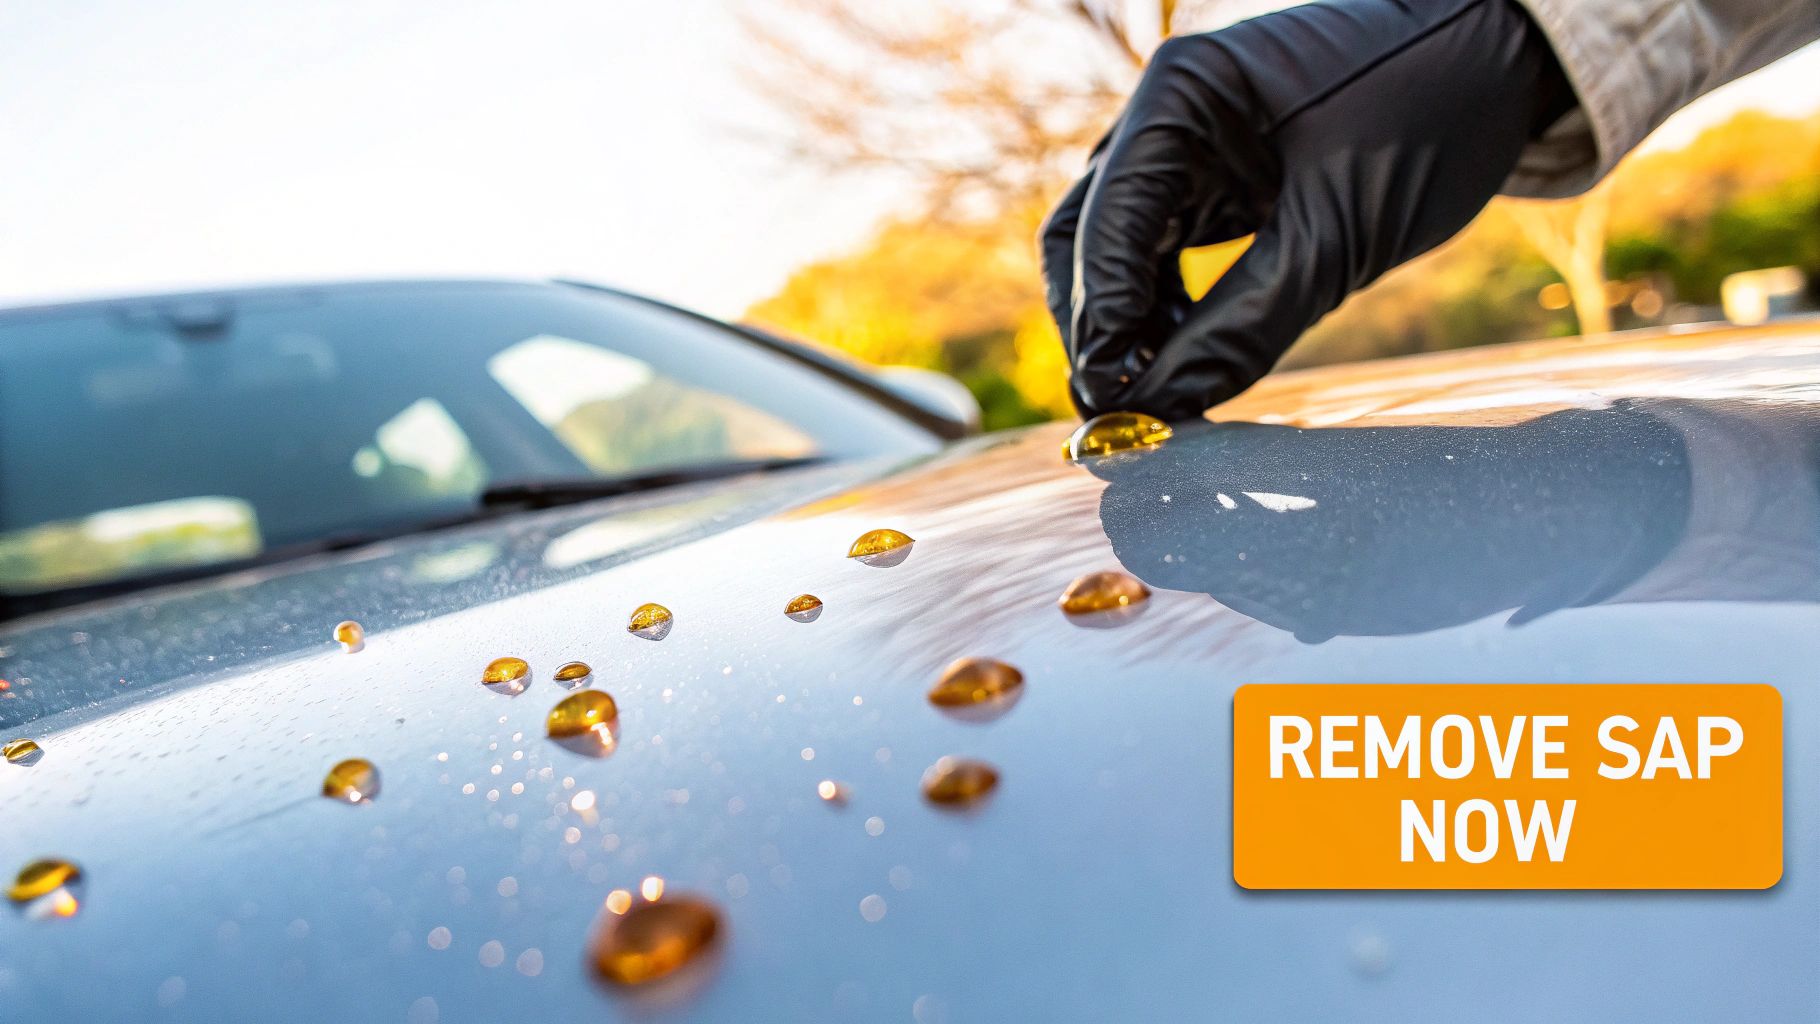
Finding those sticky, amber-colored dots on your car is more than just an annoyance—it's a race against the clock. Think of tree sap as the 'blood of trees,' a complex brew of sugars, minerals, and acids. The moment it lands on your car, it starts to bond with the clear coat, which is that critical layer protecting your paint and giving it that glossy shine.
The real trouble begins when the sun comes out. Heat bakes the sap right into the finish, hardening it and allowing its corrosive acids to literally etch into the clear coat. This leaves behind dull, discolored spots that are a nightmare to deal with. If you ignore it for just a few days, that etching can become permanent, forcing you into a professional paint correction job to fix it.
The Financial Cost of Waiting
Letting tree sap linger can get expensive, fast. What starts as a simple sticky spot can evolve into a major paint defect, with professional repairs easily running $500 to $2,000 per panel. There's a reason the global car care products market is so huge—it hit over USD 11.6 billion in 2020 because car owners are trying to prevent this exact kind of expensive damage. You can find more insights about the growing car care market and see just how common this problem is.
Waiting to clean tree sap off your car is like watching a small crack in a windshield spread. What starts as a minor, fixable issue can quickly become an expensive, permanent problem that tanks your vehicle's value and appearance.
A Quick Look at Your Options
Before we dive deep into the step-by-step process, it's helpful to see the main removal methods at a glance. Each one has its place depending on how fresh the sap is and what tools you have on hand.
| Method | Best For | Safety Level | Key Tip |
|---|---|---|---|
| Specialized Sap Remover | Hardened, stubborn sap | High | Always follow the product's specific instructions. |
| Isopropyl Alcohol (IPA) | Fresh to moderately cured sap | Medium | Dilute to 70% and test on an inconspicuous spot first. |
| Clay Bar | Small, hardened specks after washing | High | Use with plenty of clay lubricant to avoid scratching. |
| Hand Sanitizer | Emergency spot treatment | Medium | Use only alcohol-based gel in a pinch; wash the area after. |
This table should give you a good idea of which approach to start with. Now, let's get into the details.
Your Four-Step Game Plan
The good news is that you can absolutely learn how to clean tree sap off your car safely without causing more harm. I've found the most effective strategy boils down to a simple, four-part process:
- Soften: First, you need to gently loosen the sap's death grip on your paint. A thick pre-soak with a foam gun like the SwiftJet works wonders here, letting the foam dwell and do the hard work for you.
- Dissolve: Next, use the right solvent to break down the sap's chemical structure, turning that hard blob into a soft residue.
- Lift: With the sap dissolved, you can carefully wipe it away without grinding it into the paint and causing scratches.
- Protect: Finally, and this is a step too many people skip, you have to re-apply wax or a sealant to restore the paint's protective barrier.
Sticking to this plan ensures you not only get rid of the sap but also fortify your car's finish against the next time you park under the wrong tree.
Preparing Your Car For Safe Sap Removal
Let's get one thing straight: trying to scrub sticky tree sap off a dirty car is a recipe for disaster. You'll just grind all that surface grit, dust, and road grime right into your paint, leaving a nasty web of swirl marks and scratches. It’s like trying to wipe a spill with sandpaper.
So, before you even think about touching that sap, you need a clean slate. This isn't just a suggestion; it's a non-negotiable first step if you want to get the sap off without damaging your car's finish. A good wash clears away all the loose debris, so the only thing you're working on is the sap itself.
Start With A Gentle Pre-Soak
Your best friend here is a thick, clinging layer of foam. Blasting the car with a foam gun, like the SwiftJet, covers every panel in a rich lather that just sits there and goes to work. This isn't just for looks—the foam immediately starts to soften the dirt and the sap, loosening their bond before you ever lay a hand on the car. It’s the perfect touchless first step.
The whole point of the pre-soak is to let the foam do the heavy lifting. Give it a few minutes to dwell. You’re letting it hydrate and break down that hardened sap, which makes the actual removal process worlds easier and much safer for your clear coat.
Once the foam has worked its magic, follow up with a proper two-bucket wash. This is key to preventing you from just dragging dirt right back onto the paint. If you're not familiar with the method, our guide on how to properly wash a car will walk you through it. After the car is washed and fully dried, you’ll be able to see exactly what you’re up against.
Gather Your Sap Removal Toolkit
Alright, with the car clean, it's time to get your gear in order. You don’t want to be running around looking for a towel while a chemical solvent is drying on your paint. Get everything you need within arm's reach first.
Here's the essential checklist for getting a pro-level result:
- Plush Microfiber Towels: Grab a few. Seriously, you can never have enough clean ones. You'll want at least two for applying solvent and wiping residue, plus a fresh one for buffing.
- A Quality Sap Remover or Isopropyl Alcohol (IPA): Time to choose your weapon. A dedicated sap remover is usually the safest, most effective option. But in a pinch, a solution of 70% IPA can work wonders.
- Clay Bar and Lubricant: For those stubborn, fossilized bits of sap that a solvent just can't dissolve, a clay bar is your secret weapon.
- Car Wax or Paint Sealant: This is the final, crucial step. Don't skip it. The sap removal process will strip away any wax or sealant on your paint, leaving it exposed. You must re-apply a layer of protection when you're done.
Having these tools ready means you can handle anything, from fresh, gooey drips to old, petrified resin spots. It's how you set yourself up for a flawless finish.
Choosing The Right Solvent To Dissolve Sap
Alright, your car is clean and ready. Now it's time to pick your weapon for tackling that stubborn tree sap. This isn't about scrubbing harder; it’s about working smarter with a solvent that chemically dismantles the sticky resin without touching your car’s clear coat. What you choose really depends on how long the sap’s been sitting there and what you have on hand.
Most of the best options fall into a couple of key groups. Each has its pros and cons, so knowing the difference will help you grab the right one for the job.
Commercial Sap Removers
Honestly, purpose-built products are usually the fastest and safest bet. These are specifically formulated to melt away sap, tar, and bug guts while being gentle on modern paint jobs. They’re a cocktail of effective solvents designed to work quickly, meaning you won't have to let them sit for ages.
The biggest advantage here is peace of mind. These removers have been tested like crazy to ensure they won't harm your paint. Sure, they might cost a few bucks more than a bottle of rubbing alcohol, but for tough, baked-on sap, that investment pays for itself in results and reliability.
Before you even reach for a solvent, this quick flowchart lays out the prep work.
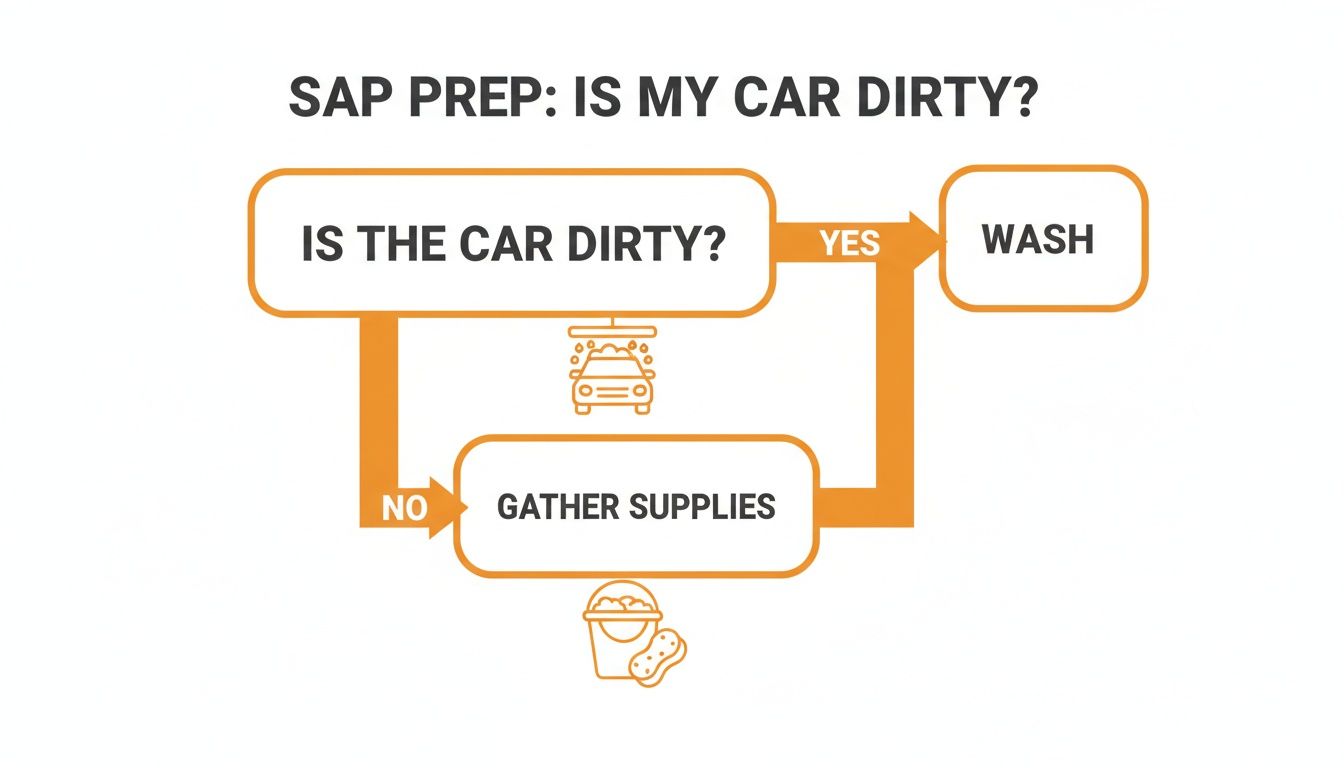
It’s a simple reminder: a clean, prepped surface is non-negotiable for getting this done right.
Isopropyl Alcohol and Household Alternatives
If you don't have a dedicated sap remover, no sweat. Isopropyl alcohol (IPA), or plain old rubbing alcohol, is a fantastic fallback. A solution between 70% to 90% is usually potent enough to break down most fresh or semi-cured sap without being too harsh on the finish.
You might even have a few other surprise solutions already in your house:
- Hand Sanitizer: Yep, the high alcohol content makes it a surprisingly effective spot treatment, especially if you catch the sap while you're out and about.
- WD-40: This garage staple can soften sap pretty well. Just be warned: it leaves an oily film that you absolutely must wash off with car soap when you're done.
Here’s a wild fact: a stressed-out tree can pump out up to 400% more sap. While rubbing alcohol is a great go-to, using it full-strength can be risky on some finishes. That’s why a pre-wash foam soak is so valuable—it softens the sap safely before a strong solvent is even needed. You can find more great insights on how to get sap off your car from Monster Tree Service.
The Correct Application Technique
How you apply the solvent is just as critical as which one you pick. Get this part wrong, and you could end up with a bigger problem, like fine scratches.
The Golden Rule of Detailing: Always apply the solvent to your tool, not directly to the paint. Spraying it on the car lets it run everywhere, potentially drying and leaving streaks or high spots you'll have to deal with later.
Follow this simple, paint-safe process:
- First, grab a clean microfiber towel and fold it into a small square. Dab a small amount of your chosen solvent onto one side of the towel.
- Gently lay the saturated part of the towel directly over the sap spot. Don’t wipe yet.
- Just let it sit there for 30-60 seconds. This is called "dwell time," and it gives the solvent a chance to work its magic and break down the resin from the inside out.
- After it has dwelled, use a fresh part of the towel and very light pressure to gently wipe the softened sap away. If it doesn’t budge, don’t scrub. Simply reapply the solvent and give it more dwell time.
- And a final pro tip: always test a new product on a hidden spot first, like a lower door jamb. It's a quick check to make sure it plays nice with your paint before you use it on a visible area.
Using a Clay Bar for Stubborn Sap Spots
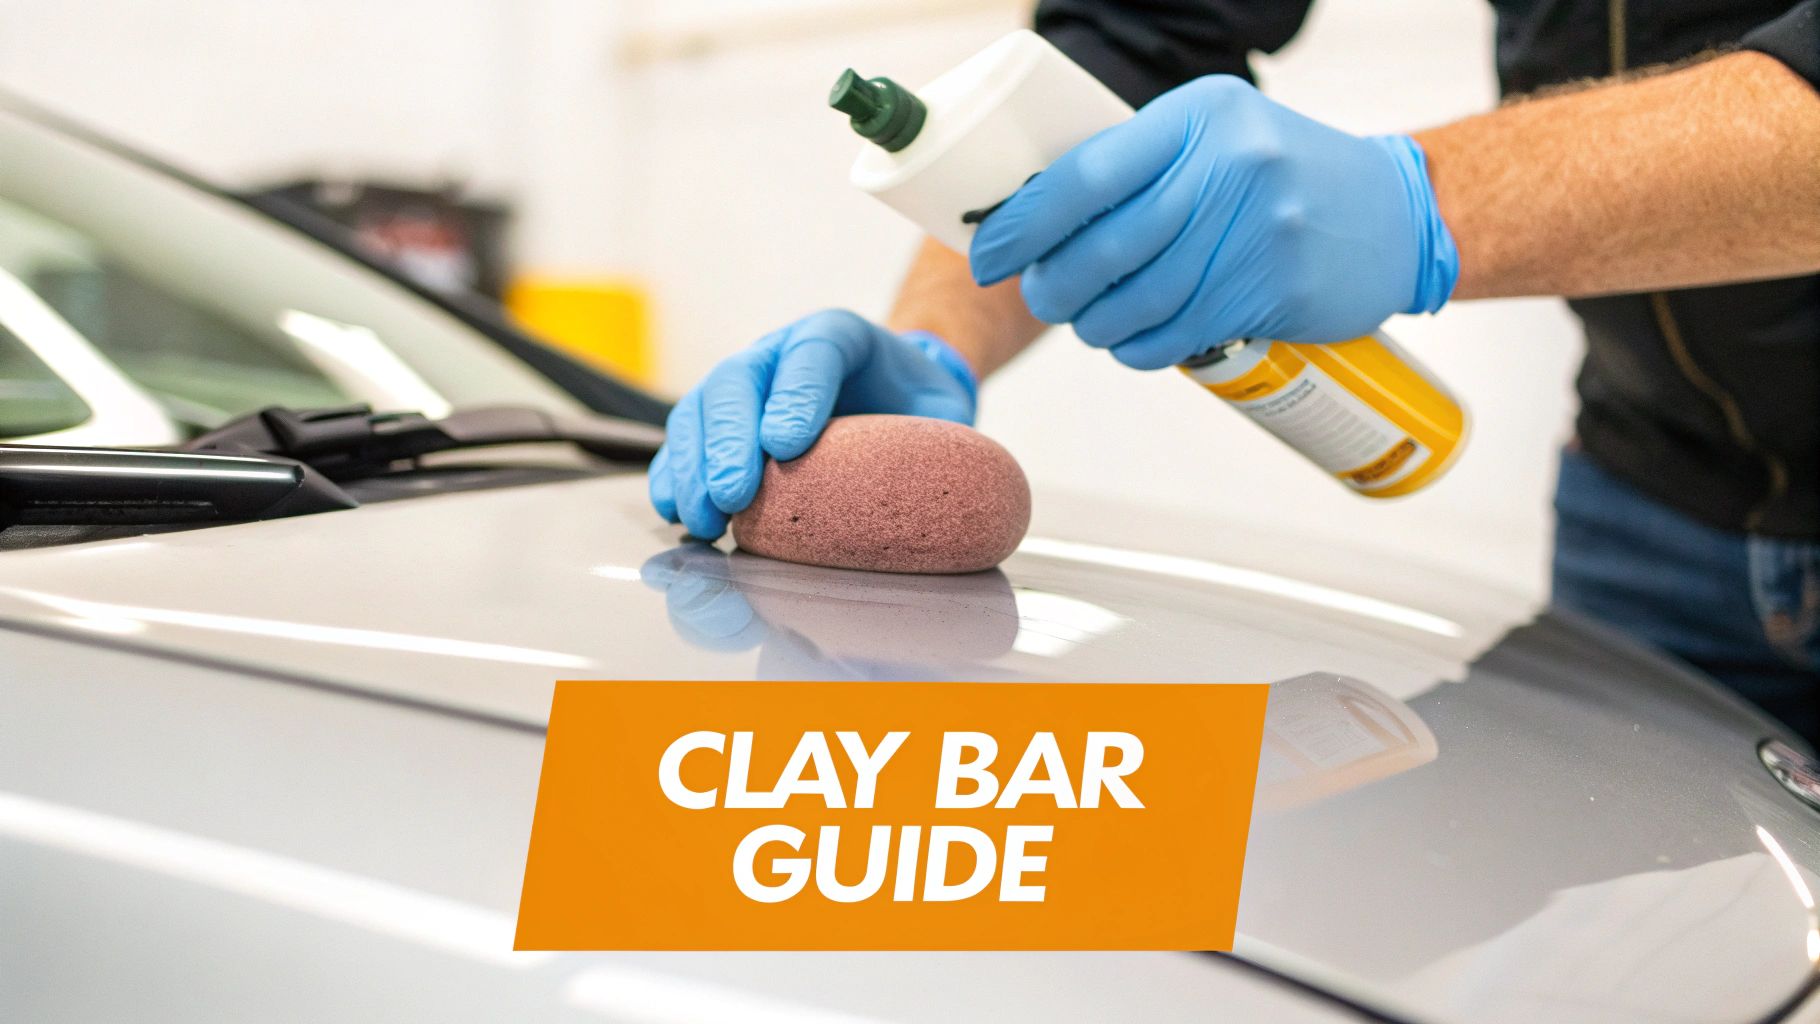
Sometimes, chemical solvents just don’t have enough muscle. You’ll come across sap that’s hardened into a stubborn, resinous lump, completely ignoring your attempts to dissolve it. When you’re faced with that kind of baked-on gunk, it's time to pull out a detailer's secret weapon: the clay bar.
A detailing clay bar isn't abrasive like you might imagine. It's a pliable, resin compound made to glide over your paint and gently shear off anything bonded to the surface. Think of it less like sandpaper and more like a high-tech eraser for your clear coat. It physically lifts and grabs embedded particles—like rock-hard sap—without digging into the finish underneath.
Mastering the Clay Bar Technique
Using a clay bar is pretty straightforward, but the technique is everything. If you rush it, you’ll end up with micro-scratches. Patience is your best friend here. The goal is to let the clay and its lubricant do all the hard work for you.
Here’s how to approach it:
- Prep the Clay: Break off a small, manageable piece of the clay bar. Warm it in your hands, kneading it until it’s soft and pliable. Then, flatten it into a small pancake about the size of your palm.
- Lubricate, Lubricate, Lubricate: This is the most important part. Spray a generous amount of clay lubricant (or a dedicated quick detailer spray) onto a small section of the car over the sap spot. You cannot use too much lube—the surface should be dripping wet.
- Glide, Don't Press: Gently place the flattened clay on the slick surface and glide it back and forth using only light fingertip pressure. You might feel the clay grabbing at first; that's it working. As it picks up the sap, you'll feel the surface become perfectly smooth.
Keep your work area small, maybe two feet by two feet at most, and re-apply lubricant if you feel any drag. Never, ever let the clay touch a dry surface.
Critical Clay Bar Mistakes to Avoid
The market for exterior car care is growing for a reason—products like clay bars can help remove up to 99% of bonded contaminants when used correctly. In Europe, where fresh sap is a constant battle, around 80% of owners act fast to prevent damage. You can find more details on trends in the global car care product market outlook at Research and Markets.
The Unforgivable Sin of Detailing: If you drop your clay bar on the ground, throw it away immediately. Don't even think about rinsing it. It will be loaded with grit and dirt that will act like sandpaper on your paint, causing serious damage. It's simply not worth the risk.
Also, pay attention to the clay itself. As its surface gets dirty from the sap, fold it in on itself and knead it again to expose a fresh, clean face. This stops you from dragging the old grime back across the paint.
Once you’re done, run your hand over the surface. The paint will feel incredibly smooth and slick, perfectly prepped for a new coat of wax or sealant.
Restoring and Protecting Your Car's Paint
Getting that stubborn sap off is a huge relief, but the job isn't quite done. The same solvents and clay bars that broke down the sap also stripped away your car's protective layer of wax or sealant. This final step is all about bringing back that crucial barrier.
Think of it this way: your car's clear coat is clean but completely exposed. It’s a sitting duck for UV rays, acid rain, bird droppings, and yes, more tree sap.
Before you do anything else, take a moment to inspect the area you just worked on, preferably under good lighting.
Check for Lingering Haze or Dullness
Run your fingers over the spot. Does it feel perfectly smooth? Now, look at it from different angles, letting the light catch the surface. It's not uncommon for the chemicals needed to remove sap to leave behind a slight haze or dull spot on the paint.
If you notice the area lacks the gloss of the surrounding paint, don't worry. A light polish can work wonders. Using a finishing polish with a soft foam pad will gently buff the surface, restoring that deep, rich gloss and making the finish look uniform again.
Rebuild Your Paint's Protective Shield
Once the surface looks perfect, it’s time to lock in that shine. This is arguably the most important part of the whole process. Applying a fresh coat of a high-quality carnauba wax or a modern paint sealant does a lot more than just make your car look shiny.
This new layer creates a slick, hydrophobic barrier that plays two critical roles:
- Defense: It acts as a shield for your clear coat, keeping all sorts of environmental gunk from bonding directly to your paint.
- Easy Cleaning: It makes washing your car so much easier. Dirt, grime, and even fresh sap will struggle to get a grip on the slick surface.
This protective step is your best defense against future headaches. A good layer of wax or sealant is the difference between a quick 10-minute cleanup and another hour-long battle with hardened sap.
There's a reason the car care market is projected to hit USD 10.5 billion by 2027—protection matters. Applying a quality wax after a deep clean like this can prevent up to 80% of future sap adhesion issues, saving you a ton of frustration. You can see more details about the growth of the car care products market on gminsights.com. For the best finish, always use a clean applicator pad to apply the wax and a plush, high-quality towel for buffing it off—you can find more tips in our guide to using microfiber towels for cleaning.
Common Mistakes That Can Ruin Your Paint
Knowing how to get tree sap off your car is one thing, but knowing what not to do is what will save you from a costly trip to the body shop. It's shockingly easy to turn a simple cleaning job into a paint-damage nightmare if you grab the wrong tools or just get a little impatient.
One of the absolute worst things I see people do is try to scrape or chip off hardened sap. Using your fingernails, an old credit card, or—and this makes me cringe every time—a razor blade is a surefire way to gouge your paint. Those tools are just way too aggressive for your car's delicate clear coat.
Another classic mistake? Reaching for whatever cleaning supplies you have under the kitchen sink.
The Dangers of Household Chemicals and Tools
It’s a common assumption: if it works on tough grease in the kitchen, it should work on the car, right? Wrong. This is a critical error that can cause irreversible damage.
- Abrasive Sponges: That green scouring pad on your kitchen sponge is made for scrubbing burnt food off metal pots. On your car's glossy finish, it will instantly create a mess of fine scratches and swirls, dulling the paint permanently.
- Harsh Chemicals: Cleaners like dish soap, Goo Gone, or even acetone are often too harsh. Dish soap completely strips away any wax or sealant, leaving your paint totally exposed. Stronger solvents like acetone can actually soften or even melt the clear coat on contact.
Think of your car’s clear coat as its skin. It's the first and most important line of defense against UV rays, acid rain, and everything else the environment throws at it. When you attack it with harsh chemicals or abrasive scrubbing, you're compromising that shield for good.
The fight against tree sap is a big one. In 2022, over 280 million vehicles on US roads were at risk, and the problem gets worse in summer when sap flow can spike by 300%. If you let sap sit for just 48 hours, there's a 25% chance it will permanently etch into your paint. You can find more data on the global car care market at Research and Markets.
The only safe bet is to stick with products made specifically for automotive paint. A dedicated sap remover and a few soft microfiber towels are your best friends here. By avoiding these all-too-common pitfalls, you make sure you’re actually fixing the problem, not creating a much bigger, more expensive one.
Got Questions? Let's Talk Tree Sap
Even with a solid plan, you're bound to run into a few tricky spots when dealing with stubborn tree sap. I get these questions all the time, so let's clear up some of the most common ones you might face.
What About Using Goo Gone or Acetone?
This is a big one. While a product like Goo Gone can dissolve sap, it’s an oily, citrus-based solvent. It works, but it leaves behind a greasy film that you'll have to wash off completely.
But here’s a critical warning: never use acetone on your car’s paint. Ever. Acetone, the main ingredient in most nail polish removers, is far too aggressive and will start to dissolve your clear coat on contact, causing permanent damage. Just don't do it.
How Do I Get Sap Off My Windshield?
Glass is a different story. It’s much tougher than your car’s paint, which means you have a few more options in your arsenal.
For that rock-hard sap baked onto your windshield, a fresh, sharp razor blade is your best friend. The trick is to hold the blade at a shallow 45-degree angle and use plenty of glass cleaner as a lubricant. This allows the blade to glide right under the sap and lift it off without scratching the glass. If you're not comfortable with a blade, a healthy dose of isopropyl alcohol on a microfiber towel will also make short work of it.
It's easy to lump all sticky messes together, but sap is a unique problem. Its resinous base is what makes it bond so stubbornly to your paint. Other gunk, like bird droppings, is primarily acidic and needs a different removal strategy. You can see just how different the approach is in our guide on how to remove bird poop from a car.
Is It Sap or Honeydew?
Sometimes what looks like sap isn't sap at all. You might be dealing with honeydew, which is a sugary, sticky substance left behind by aphids feeding on the tree.
How can you tell the difference? True sap comes out in thicker, amber-colored blobs. Honeydew usually looks like a fine, clear mist of tiny, sticky dots all over your car. The good news is that honeydew is water-soluble and typically washes right off with a good car wash, unlike true sap which almost always requires a solvent.
