

A garden hose quick connect leaking is almost always suffering from a worn or dirty O-ring, and the usual fix is to clean it or replace it. The water escapes because that small seal isn't sitting flush between the connector halves.
You turn on the spigot expecting water on the lawn, then get a cold spray across your hand or trouser leg. The hose itself looks fine, yet the quick-connect collar drips, pulses, or sprays as soon as pressure builds. In most cases, the connector is telling you exactly where to look: at the small internal seal, not along the hose body.
The repair is usually simple, but tightening the fitting harder isn't the answer. A damaged O-ring, grit in the groove, mineral residue, a cracked housing, or a connector that hasn't fully engaged can all produce similar symptoms. The reliable approach is to identify the first point where water appears, inspect the seal and mating surfaces, then test the repair under low pressure before returning to normal use.
Why Your Garden Hose Quick Connect Is Leaking
The fastest way to narrow down a garden hose quick connect leaking problem is to dry the joint completely, turn the water on gently, and watch for the first bead or spray. Water at the collar usually points toward the internal O-ring or washer. A fine spray from the push-fit joint often means the ring is missing, dry, nicked, flattened, or displaced.
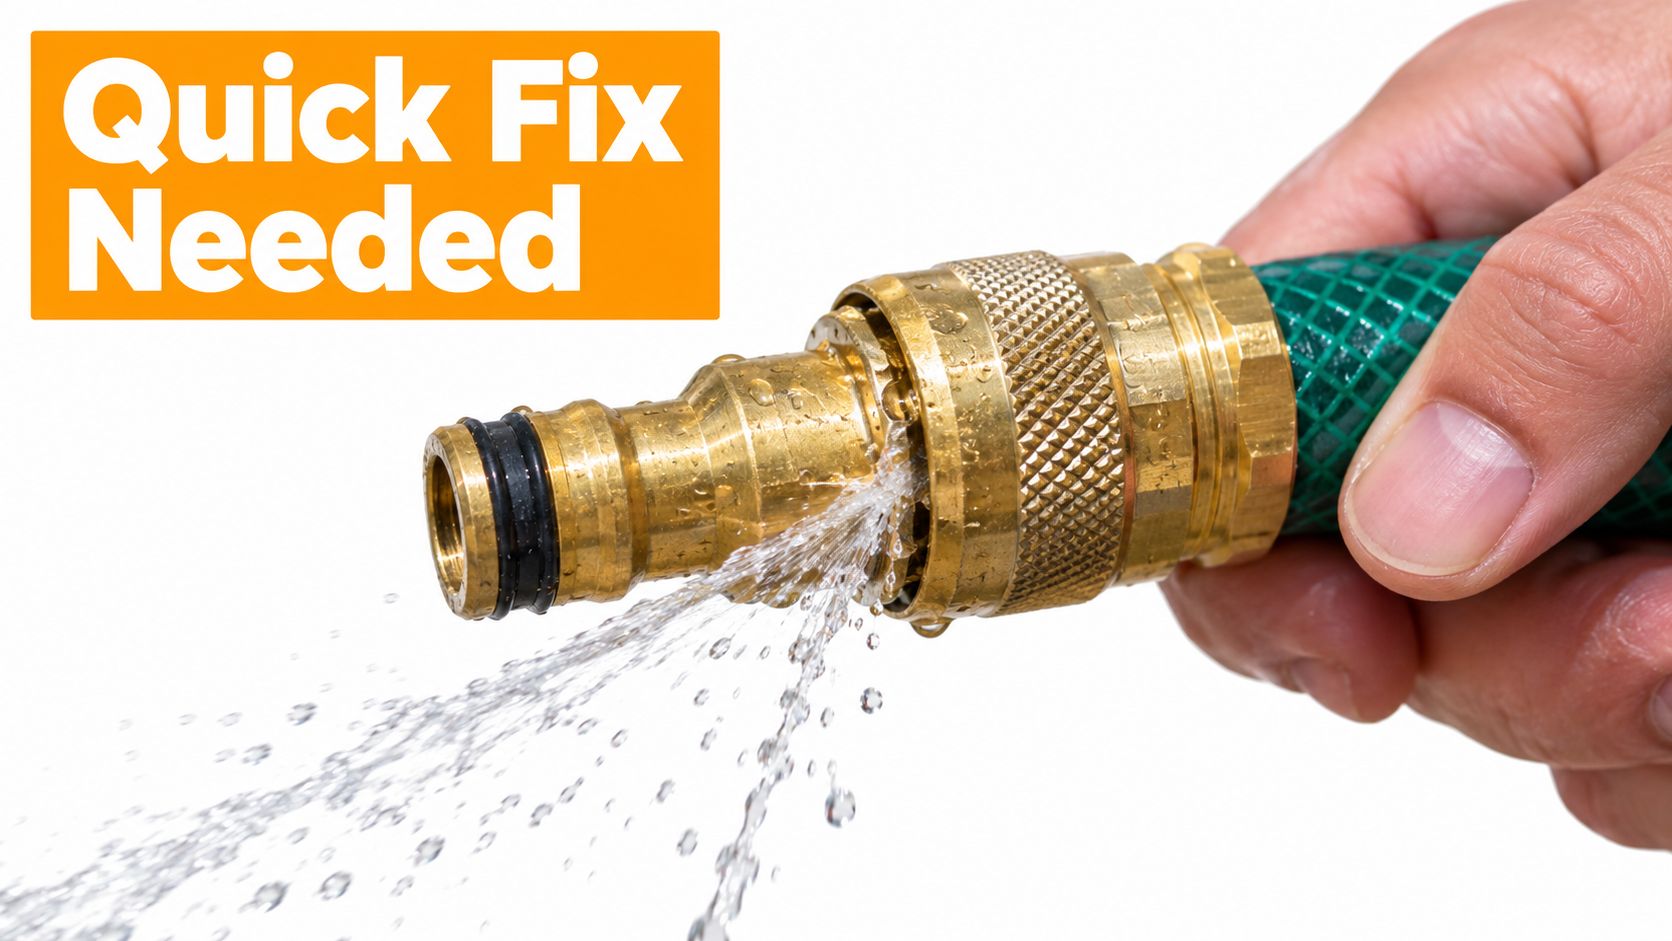
Repair guidance consistently identifies the small internal O-ring as the usual failure point, rather than the hose body itself. The practical remedy is to replace the ring, apply a thin film of silicone grease, and reconnect the fitting, as described in this garden hose connection repair guide.
Read the leak pattern
A slow drip doesn't necessarily mean the fitting needs replacing. It may indicate a seal that has hardened or picked up a small piece of grit. Pulsing seepage can appear when the ring is only partly seated, while a fine spray under pressure suggests that water is finding a narrow path past the seal.
Don't start by wrapping tape around every visible thread. Standard garden-hose connections commonly use 3/4-inch GHT or NH threads, and those threads are usually there to hold the parts together. The sealing work is done by the washer or O-ring.
Practical rule: Find the first wet point, not the largest puddle. The water can travel along the connector and make the wrong part look guilty.
If the seal looks sound, check whether the two halves are fully engaged. A collar that feels loose, a connector that doesn't lock firmly, or a fitting that pops apart under pressure points to wear in the locking mechanism or damage in the connector body. At that stage, replacing the assembly is more dependable than repeatedly tightening it.
Understanding the Anatomy of a Quick-Connect Fitting
A quick-connect fitting has two working halves. The female coupler contains the locking collar and release mechanism, while the male adapter slides into it and presents the sealing face. Between those parts sits the washer or O-ring that keeps pressurized water inside the passage.
At the threaded base, garden-hose fittings commonly follow a straight 3/4-inch profile, often described as 1 1/16 inches in diameter with 11.5 threads per inch, as documented in the garden hose standards overview. Because the thread isn't tapered, it doesn't wedge itself shut like a tapered pipe thread. The washer or O-ring must sit flat and compress against the mating face.
What each part contributes
The threaded end attaches the adapter to a tap, hose-end fitting, spray gun, or other accessory. Its job is mechanical connection. The compression face provides the flat surface that presses against the elastomeric seal.
The O-ring or washer is the actual water barrier. If grit holds it slightly above its groove, water can pass. If it has flattened from repeated compression, it may no longer fill the gap. If it has dried out, the ring may drag, twist, or fail to seat as the connector is assembled.
The collar and internal locking parts keep the halves together. They don't replace the seal. A connector can click into place and still leak if the O-ring is contaminated or damaged. Conversely, a clean seal won't help if the collar is worn and allows the halves to separate under pressure.
Why over-tightening works against you
Hand-tightening or snugging the threaded base is normally sufficient. More force doesn't make a straight garden-hose thread seal better, because the seal isn't created by thread interference. Excessive force can deform the washer, distort the O-ring groove, or crack a plastic body.
Thread tape has a limited role here. It can help on a separate tapered threaded connection, but wrapping tape around the quick-connect sealing face won't repair a missing or damaged internal ring. For a broader comparison of connection types, see this explanation of quick-disconnect fitting design.
How to Diagnose and Permanently Fix the Leak
Start with the water off and the line depressurized. Disconnect the quick-connect halves without forcing the collar, then wipe both pieces dry. The repair becomes much easier when you can inspect the seal instead of chasing water around a wet fitting.
Inspect the seal before touching the threads
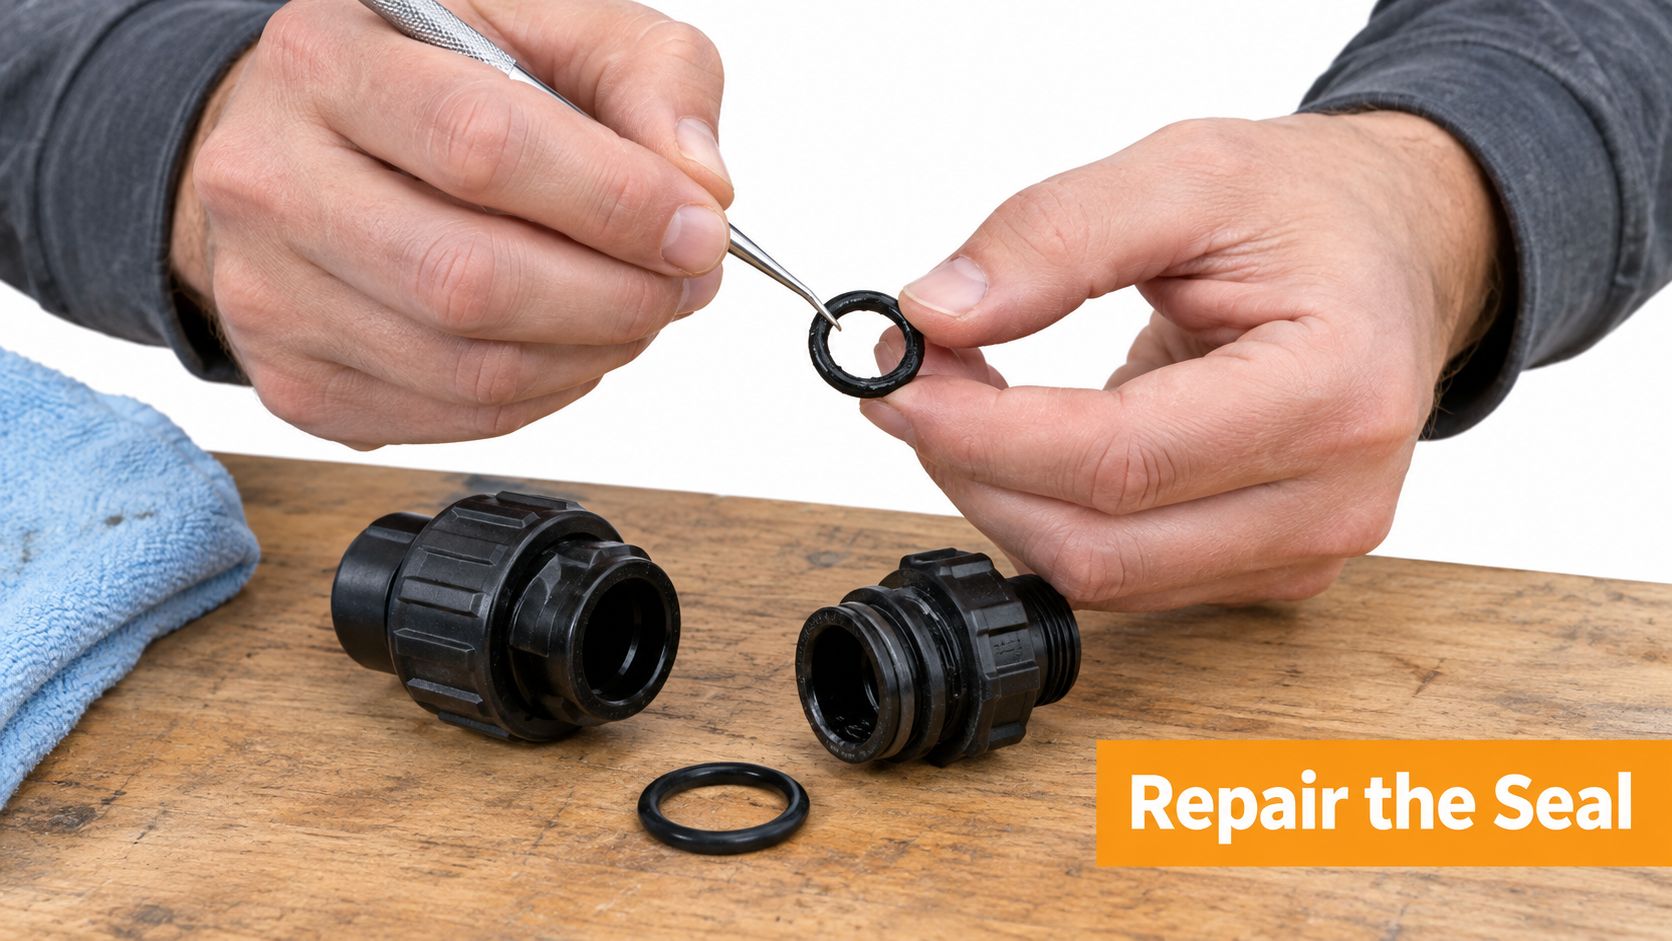
Look inside the female body and examine the O-ring in its groove. You're looking for a cut, flat spot, split, missing section, dry surface, or ring that has rolled out of position. A ring can appear intact and still leak if its edge is packed with grit or dried residue.
Remove the O-ring carefully with a plastic pick or the blunt end of a small tool. Avoid stabbing the groove or scraping the sealing face. If the ring is hard, visibly damaged, or no longer rounded, replace it with a correctly sized replacement rather than trying to stretch it back into shape.
Clean the groove and the mating face with clean water and a soft cloth. A small, soft brush can loosen debris from corners, but don't use anything sharp enough to gouge the plastic. Mineral deposits and corrosion can create a raised spot that prevents the new ring from sitting evenly.
A replacement ring won't solve a dirty groove. Clean the seat before you install the new seal.
Check the connector body and hose end
With the seal removed, inspect the female housing, male adapter, collar, and locking area. Hairline cracks may open only when the fitting is pressurized. Also check for stripped threads, a distorted compression face, or a collar that feels weak and fails to hold the halves together.
If the leak begins where the hose enters the connector, the hose end may be split, crushed, or cut unevenly. A quick-connect replacement won't correct a damaged hose end. Cut back to clean, undamaged hose if the connector design allows it, then refit the end according to the connector instructions.
Apply a thin film of silicone grease to the replacement O-ring. The grease helps the ring slide into position without twisting and helps protect a dry seal. Don't use a thick coating that can collect grit, and don't substitute a petroleum product unless the seal manufacturer specifically approves it.
Reassemble and test in stages
Set the lubricated ring flush in its groove. Insert the male half straight into the coupler until the locking mechanism engages, then give the connection a gentle pull to confirm it has seated. Thread the base back on by hand and snug it without leaning on a wrench.
Turn the water on at low pressure first. Watch the collar, the threaded base, the connector body, and the hose entry point. If the joint stays dry, increase pressure gradually and inspect it again. The repair instructions in this hose connection leak reference follow the same principle, secure seating first, then a controlled leak test.
If water still appears, stop tightening and return to diagnosis. Recheck the ring's position, flush the mating surfaces, and look for a crack or damaged locking mechanism. When the housing is cracked or the threads are stripped, replacement is the permanent fix. If the repair involves a larger pressurized plumbing setup or the leak is beyond a simple hose fitting, a trusted plumbing repair service can assess the connection safely.
Temporary Fixes and Preventative Maintenance Tips
If water is needed before a replacement seal is available, shut the supply off and use a temporary measure only for a short watering job. Never hold a leaking joint together by hand while the line is pressurized. A stopgap can control a drip long enough to finish the task, but it does not correct a damaged seal or fitting.
For a threaded base, plumber's tape may help when water is traveling through the threads. It will not seal the O-ring interface inside a quick-connect coupler. In a flat-washer style connection, a small, clean piece of thin rubber can serve as an emergency gasket. Keep it flat and centered, and make sure it does not obstruct the locking collar.
Do not fill the coupling with loose rubber, electrical tape, or cloth. These materials can stop the male and female parts from engaging fully, allowing the connector to separate as pressure rises. If water sprays from the push-fit joint, clean and reseat the existing O-ring instead of forcing an improvised insert into the mechanism.
Prevent the same failure from returning
A replacement O-ring can fail quickly when grit, dried residue, corrosion, or mineral buildup keeps it from sitting evenly. These are common causes of leakage even when the ring still looks intact, as described in this quick-release connector troubleshooting discussion.
Disconnect the hose, rinse the coupler and adapter with clean water, and wipe both sealing faces before reconnecting. Check closely after the fitting has been dragged through soil, gravel, or a dirty driveway. In a hard-water area, remove chalky deposits carefully so the sealing surfaces remain smooth.
Side loading also wears a good connection. Leave slack near the tap or accessory, avoid a sharp bend at the joint, and pull the hose itself instead of dragging it by the fitting. A hose reel or guide can reduce movement that shifts the connector and strains the seal. For more guidance on maintaining an easy-connect setup, see this easy-connect maintenance guide.
Store the connector with the seal protected
Inspect the O-ring if the connector becomes stiff, the spray pattern changes, or a new drip appears at the collar. Keep a suitable replacement ring available when the fitting is used often. During storage, protect the connector from crushing, freezing conditions, and repeated impacts.
For a quick-connect accessory such as the SwiftJet foam gun, confirm that the brass coupling has clicked fully into place before opening the water. Afterward, start at low pressure and watch the collar and hose entry point for moisture, then increase pressure gradually. A dry joint under normal pressure is the practical test that the temporary or permanent fix is holding.
Quick Reference When to Replace vs Repair
Use the seal as the decision point when the connector body is sound. A worn O-ring is a small repair. A damaged housing is a hardware failure, and replacing only the seal won't restore the connector's strength or locking action.
| What you find | Best choice | Why |
|---|---|---|
| Dry, flattened, nicked, or missing O-ring | Repair with a replacement ring | The sealing component has failed, while the connector may still be sound. |
| Grit or mineral residue in the groove | Clean, then test | Contamination can hold an intact seal away from its mating face. |
| Cracked plastic or brass body | Replace the connector | A crack can reopen under pressure and won't be fixed by grease or tape. |
| Stripped threaded base | Replace the damaged fitting | The parts may no longer align or stay snug. |
| Weak collar or unreliable locking action | Replace the assembly | The connector may separate even with a new O-ring. |
| Leak at a damaged hose end | Recut or replace the hose end | The connector can't seal against split or uneven hose material. |
The most efficient habit is to inspect before buying parts. Clean the joint, confirm where the water starts, and replace the least expensive failed component first. If the body, threads, and locking mechanism remain intact, an O-ring repair is sensible. If several parts show wear, a complete connector replacement is usually the less frustrating option.
With the right seal seated flush and a low-pressure test completed, this is a manageable household repair rather than a reason to abandon the hose.
For a quick-connect accessory that needs a dependable garden-hose connection during vehicle or equipment washing, visit SwiftJet to explore its hose-connected foam gun. Check the coupling, seat it fully, and keep a clean replacement seal on hand so the next wash isn't interrupted by a preventable leak.
