

If you're after that brilliant, just-detailed shine, the secret is a car wash soap that does more than just clean. The best car wash soap with wax infuses your wash water with protective Carnauba or durable synthetic polymers, giving you two crucial benefits in one easy step.
Products like Mothers California Gold Carnauba Wash & Wax or Meguiar’s Gold Class Car Wash are popular for a reason—they deliver a fantastic clean while leaving behind a glossy, water-beading finish. You’re not just saving time; you're actively adding a layer of defense to your car's paint every time you wash it.
The Secret to a Lasting Shine: Choosing Your Soap and Wax
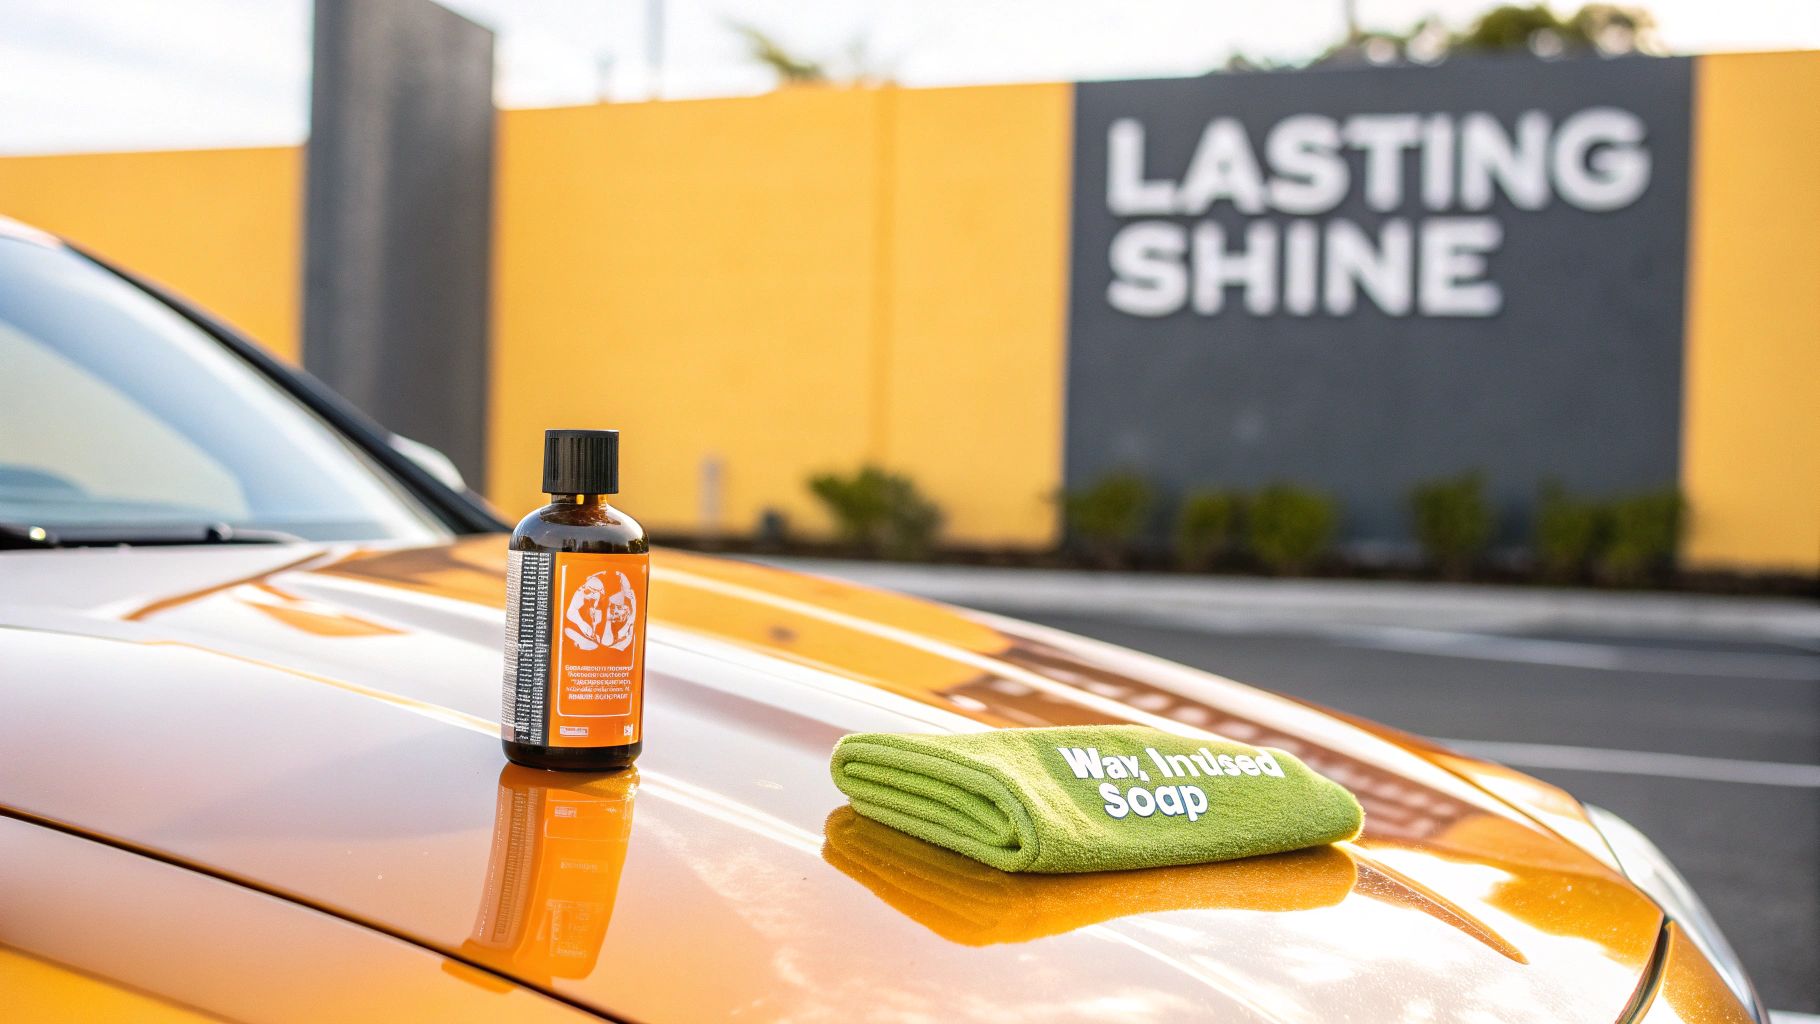
Picking the right car wash soap is what separates a quick rinse from a true detail. A standard soap gets the job done, sure, but a top-shelf wash and wax formula works smarter. It cleans away the grime while embedding a protective layer right into the process. This isn’t just about getting a head-turning gloss; it's about practical, long-term paint preservation.
These modern soaps offer some very real advantages that help shield your car from the daily grind. A good wax-infused soap gives you:
- Enhanced UV Protection to fight off sun-induced fading and oxidation.
- Superior Water Beading (hydrophobicity), which makes rain and water sheet right off, dramatically cutting down on ugly water spots.
- A Smoother, Slicker Surface that gives dirt, grime, and bird droppings less to cling to.
Why Wax Matters More Than Ever
The growing popularity of these protective soaps isn’t just a passing trend. It's a smart move to protect your investment. The global car wash soap market shot up to $1.2 billion in 2023 and is on track to hit $2.1 billion by 2032. This isn’t surprising when you realize that regular use of wax-infused soaps can extend a paint's life by 2-3 years. They can prevent up to 25% of UV damage and help you avoid the high cost of a repaint down the road.
A great wash and wax soap doesn't just clean; it feeds your paint. Every wash tops up the protective layer, making it more resilient against environmental fallout while deepening its shine.
Using a tool like the SwiftJet foam cannon takes these benefits to the next level. It whips the soap into a thick, clingy foam that sits on the surface, giving the cleaning agents and wax polymers more contact time to work their magic. This approach guarantees even coverage and helps lift contaminants away from the paint, which is key to minimizing swirl marks. For a deeper dive, check out our guide on selecting the best foam soap for cars.
To help you decide, it’s useful to know what kind of wax you’re getting in the bottle.
Quick Guide to Car Wash Soaps With Wax
Choosing the right wax-infused soap comes down to what you value most: a deep, wet shine or long-lasting, rugged protection. This table breaks down the three most common types you'll find on the shelf.
| Wax Type | Primary Benefit | Durability | Best For |
|---|---|---|---|
| Carnauba Wax | Deep, warm, wet-look shine | Shorter (2-4 weeks) | Show car finishes and classic cars |
| Synthetic Polymer | Sharp, reflective gloss | Longer (4-6 weeks) | Daily drivers needing lasting protection |
| Ceramic (SiO2) Infused | Extreme water beading and durability | Longest (2-3 months) | Modern vehicles and maximum protection |
Ultimately, whether you pick the classic glow of Carnauba or the modern resilience of a ceramic-infused formula, you’re making a smart choice to protect and enhance your vehicle's appearance with every single wash.
Here is the rewritten section, designed to sound completely human-written and natural.
Prepping Your Car for a Scratch-Free Wash
It's tempting to jump right in and cover your car in a thick blanket of foam, but that's a one-way ticket to swirl marks. The single most important part of getting a flawless finish happens before your wash and wax soap even touches the paint. Trust me, proper prep isn't just a recommendation—it's the bedrock of a safe, scratch-free wash.
First things first, give the entire vehicle a solid pre-rinse. A pressure washer is great, but a regular garden hose works just fine. Your goal here is to blast away all the loose, gritty stuff: sand, dirt, and general road grime. Think of it like sweeping the floor before you mop. You have to get rid of the big, abrasive particles first so you aren't just dragging them across the paint later. That's what causes those tiny scratches that build up and dull your shine.
Getting Your Soap Dilution Just Right
With the heavy lifting done by the pre-rinse, it’s time to mix your soap. Getting the dilution right is a bit of an art form, and it's key to getting maximum cleaning power without wasting your soap or leaving a weird film on the paint. The bottle's instructions are your starting point, but experience will teach you when to adjust.
A car that's just a little dusty from a week's commute needs a much weaker mix than a truck caked in mud after a weekend adventure.
Here are some real-world starting points:
- For a Traditional Bucket Wash: The standard is usually 1 ounce of soap per gallon of water. If my car's just lightly dirty, I'll sometimes back that off a bit. If it's a mess, I might bump it up to 1.5 ounces per gallon.
- For a Foam Cannon (like the SwiftJet): These are a different beast. I usually start with 2-4 ounces of soap in the canister and top it off with warm water. The real magic is the dial on the cannon itself, which lets you tweak the foam from soupy to shaving cream-thick as you go.
Here’s a pro tip I learned the hard way: always add water to your bucket first, then the soap. If you do it the other way around, you'll end up with a bucket of suds and no room for water, completely throwing off your ratio.
The Final Check Before You Foam
Okay, you've rinsed and your soap is mixed. Hold on. Don't grab that foam cannon just yet. Take a minute to walk around the car and really look at it.
Pay close attention to the lower parts of the doors, behind the wheels, and the bumpers. This is where the heaviest grime collects. See any stubborn spots still hanging on? Hit them with another quick blast of water. This two-minute check is your final insurance policy, making sure the surface is as clean as possible before your wash mitt ever makes contact. Now, your foam can do its real job: lifting away the finer stuff and leaving behind that brilliant shine.
Mastering Your Foam Cannon Application
This is where the magic happens. A good foam cannon, like the SwiftJet, transforms a routine wash into a pro-level detailing session by covering your car in a thick, cleansing blanket of wax-infused foam. But it's not just about having the right tool—it’s about how you use it.
Getting that perfect, shaving-cream consistency boils down to two simple adjustments on your cannon.
The first is the nozzle right at the front. Twisting it adjusts the spray pattern from a wide, gentle fan to a powerful, direct stream. When you're covering big areas like the roof or doors, a wide fan is exactly what you need for efficient coverage.
The second, and most critical, adjustment is the dial on top. This little knob controls the air-to-soap mixture, which is the secret to thick, luxurious foam. Crank it towards the '+' sign, and you'll pull more soap into the mix, creating a richer foam. Turn it towards the '-' sign, and you’ll get a runnier, more watery spray.
Dialing in the Perfect Foam
I always tell people to start with the top dial set right in the middle. Find an inconspicuous spot, like a lower door panel, and do a quick test spray.
Is the foam sliding right off? If it's too runny, you're not getting enough dwell time. Twist the dial a little more towards the '+'. On the flip side, is the foam so thick it just sits there in a clump? You might actually want it a bit looser to spread properly, so dial it back towards '-'. The sweet spot is a foam that’s heavy enough to cling to vertical panels for a few minutes without immediately running off.
This quick prep process is key to getting it right every time.
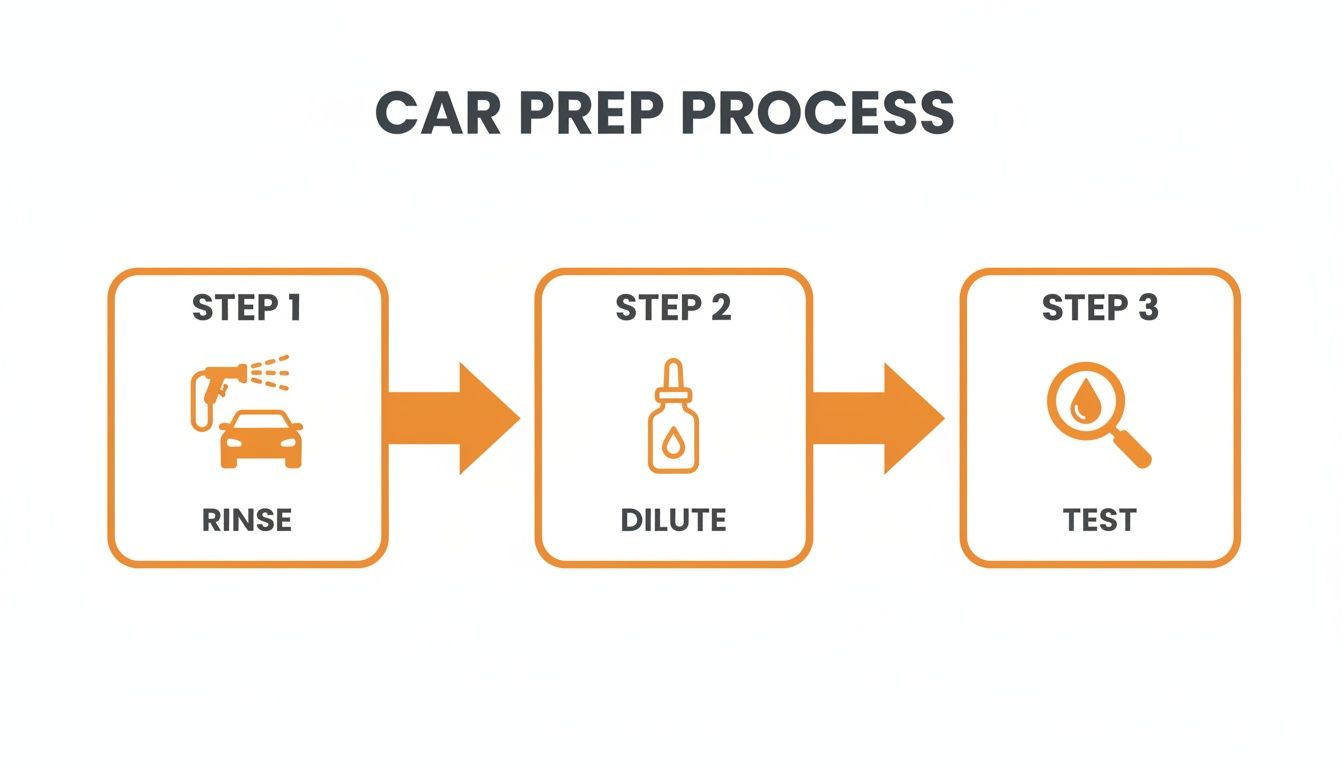
As you can see, a proper rinse, correct dilution, and a quick test patch are non-negotiable steps for a safe wash that delivers killer results.
Once you’ve got your foam just right, begin applying it from the top of the vehicle and work your way down. It’s simple, but effective—let gravity do some of the work for you. Starting with the roof allows the suds to cascade down the sides, pre-soaking the lower panels and giving the soap more time to break down grime. Overlap each pass just a bit to guarantee you’ve covered every single inch.
The Power of Dwell Time
After you’ve blanketed the car in foam, just step back. This is what we call dwell time, and frankly, it's the most important part of the whole process. Right now, that foam is hard at work, encapsulating dirt and lifting it away from the paint so it can be rinsed off safely.
The biggest mistake people make is getting impatient. They either rinse the foam off too quickly or, even worse, let it dry on the car. You want to give it about 3-5 minutes to work. This is the ideal window for the soap and wax to do their job without drying and leaving behind stubborn spots, especially if you're washing in direct sun.
Patience here is what separates a good wash from a great one. It drastically reduces the amount of physical scrubbing you need to do, which in turn minimizes the risk of introducing dreaded swirl marks into your paint. If you want to dive deeper, you can learn more about how a car foaming gun works and really perfect your technique.
Washing and Rinsing Without Swirl Marks
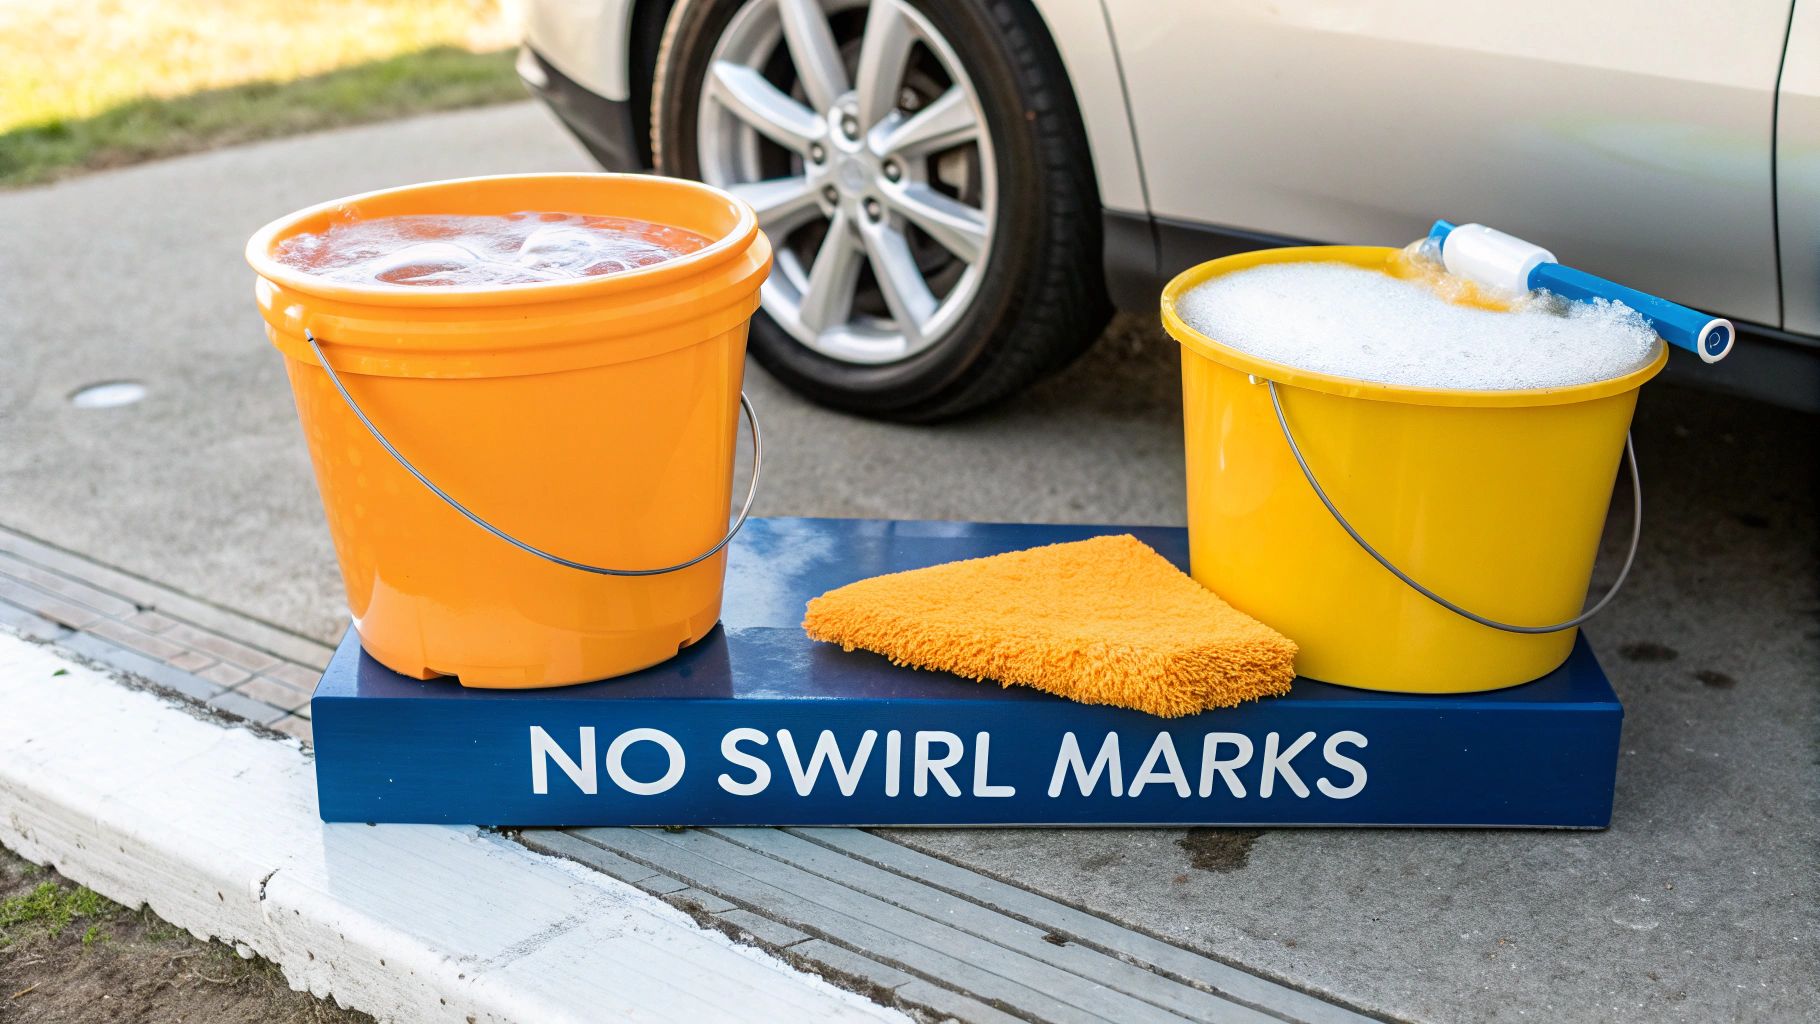
Now that your car is covered in a thick blanket of foam, it's time to start the contact wash. This is the moment of truth—the point where most swirl marks are accidentally inflicted. But don't worry, there's a simple, proven technique that will keep your paint looking pristine. For a safe manual wash, nothing beats the classic two-bucket method.
It’s an almost laughably simple setup that makes a world of difference in preventing scratches. One bucket is for your car wash soap and wax solution, and the other is just plain rinse water. The real MVP of this system is a grit guard placed at the bottom of that rinse bucket. It's designed to trap all the dirt you pull off the car and keep it from getting stirred back up into your wash mitt.
Putting the Two-Bucket Method to Work
The process itself is straightforward but requires a bit of discipline. The key is to work on one panel at a time, always starting from the top of the car and working your way down.
First, load up a clean microfiber wash mitt with plenty of suds from your soap bucket. Gently wash a single panel using straight, overlapping lines—avoid the instinct to scrub in circles!
After you finish that one section, here comes the most important step. Before you even think about getting more soap, plunge your dirty mitt into the plain water bucket. Scrub it against the grit guard at the bottom to dislodge all the dirt and grime you just lifted from the paint. You’ll see the water get murky almost immediately, which is proof that you're keeping that abrasive crud away from your finish.
This one small step—rinsing the mitt before reloading it with soap—is what makes the two-bucket method so effective. It guarantees you are only ever touching your paint with a clean mitt and fresh, slick soap, which practically eliminates the risk of dragging grit across the surface.
Once your mitt is clean, you can go back to the soap bucket, load it up again, and move on to the next panel. Just keep repeating this cycle: wash, rinse, reload. It’s a game-changer for maintaining a swirl-free finish.
Rinsing Down for a Flawless Finish
With the whole car washed, it's time for the final rinse. Your goal here is to get every last bit of soap off the surface so the wax in your formula can properly bond and shine. Grab your pressure washer or hose and rinse thoroughly, again working from the top down.
For a perfect, spot-free rinse, try this:
- Start High: Always begin rinsing at the roof, allowing the clean water to cascade down and pull the remaining suds off the lower panels.
- Check the Nooks: Give extra attention to all the little hiding spots where soap loves to collect, like behind side mirrors, in the door jambs, and around emblems and trim.
- Do a Final "Sheeting" Rinse: For the last pass, take the high-pressure nozzle off your garden hose. Let the water flow in a gentle stream over the panels. This creates a "sheeting" effect that helps pull most of the water off the car, which makes drying faster and significantly reduces the chance of pesky water spots forming.
Drying Your Car for a Spotless Finish
You can do a perfect wash, but if you mess up the drying, it was all for nothing. This is where you either lock in that flawless, mirror-like shine or end up with a mess of water spots and streaks. I’ve seen it a thousand times—people rush this last step and ruin an otherwise beautiful finish.
The tools you use here are just as important as your soap. Forget old bath towels or that dusty chamois your dad used. The standard for professionals and serious enthusiasts is a high-quality microfiber drying towel. Their super-plush fibers are engineered to soak up a ton of water without scratching the delicate clear coat you just worked so hard to protect.
Another great pro-level tool is a dedicated car air blower. It uses filtered air to blast water out of every nook and cranny—think mirror housings, grilles, and emblems—without ever touching the paint.
Choosing Your Drying Method
Your drying technique needs to be just as gentle as your wash. The whole point is to get the water off with as little friction as possible.
Here are two of my go-to methods:
- The Blotting Technique: This one is about as safe as it gets. Just lay a large, plush microfiber towel flat on a panel, like the hood or roof. Gently pat it down and let the fibers do the work of absorbing the water. Lift it straight up, and move to the next spot. No wiping, no dragging, no scratches.
- The One-Pass Wipe: Grab a high-GSM (grams per square meter) drying towel. Drape one end over your shoulder and gently pull the rest of it across a panel in one smooth, straight line. The towel's own weight and absorbency should be enough to pull all the water off in a single pass.
Pro Tip: Let the Wax Cure. This is a step most people skip, but it makes a huge difference. After drying the car, let it sit out of direct sunlight for a few hours. This gives the wax polymers time to fully cross-link and bond with your paint, which seriously boosts its protective power and that awesome water-beading effect.
The Science Behind a Protected Finish
That final drying and curing stage is where you really see the magic of using the best car wash soap with wax. The wax isn't just for shine; it's a genuine protective barrier.
Independent tests have shown that a good wax layer can reduce the appearance of swirl marks by up to 50% and helps maintain that deep gloss for much longer. As a nice bonus, these advanced soaps also cut down on rinse water needs by 30-40%, which is a great step toward more eco-friendly car care. You can dig into the numbers in this market research on car wash detergents.
By pairing the right soap with a careful drying method, you're not just cleaning your car—you're investing in its long-term health and appearance. For a deeper dive into towels, check out our guide on using microfiber towels for cleaning.
Keeping That Showroom Shine Alive
Alright, you’ve put in the work, and your car has that incredible, dripping-wet gloss. Now, how do you keep it that way? The goal is to make that shine and protective wax layer last as long as humanly possible, and thankfully, the upkeep is way easier than a full-blown wash.
For the daily annoyances—a bit of dust, a few fingerprints, or that inevitable bird bomb—your go-to tool is a quality quick detailer spray. Forget dragging out the hose and buckets. A light mist of detailer and a gentle wipe with a fresh microfiber towel is all it takes to lift contaminants safely, without scratching the paint or wearing down that wax you just applied. It’s the simplest way to maintain that just-washed look.
Remember, using a wash and wax soap is a proactive move. It’s not just about cleaning; it’s about layering on protection. Industry pros estimate this simple step can extend the life of your paint by 20-30%, saving you a fortune on potential touch-up work later. Plus, many of the best wax-infused soaps are designed for efficiency, cutting water usage by up to 40% when used in a foam cannon. If you're interested in the data, you can dig into the latest car wash soap market trends on marketreportanalytics.com.
Protecting Your Wax Finish From Common Threats
Once you roll out of the driveway, your car’s finish is immediately under attack from all sorts of environmental junk that loves to eat away at wax. Knowing what you’re up against is half the battle.
The secret to a lasting finish isn't just a great wash day; it's the small, consistent actions you take in the weeks that follow. A little prevention goes a long way.
Here’s a look at the most common culprits and the best way to fight back.
| Threat | Impact on Wax | Preventative Action |
|---|---|---|
| Bird Droppings | Highly acidic; can etch clear coat within hours. | Remove immediately with a quick detailer spray and a soft microfiber towel. |
| Tree Sap | Hardens and bonds to paint, becoming difficult to remove. | Use a dedicated sap remover as soon as possible. Avoid scraping. |
| Intense Sun (UV) | Breaks down wax polymers, reducing protection and shine. | Park in the shade or use a car cover whenever possible. |
| Hard Water Spots | Mineral deposits that etch the surface if left to bake in the sun. | Dry the car thoroughly after rain and avoid letting sprinkler water dry on it. |
Staying on top of these little things makes a massive difference. A quick wipe-down today prevents a long polishing session tomorrow.
Common Questions About Wash and Wax Soaps
Even with a solid plan, you're bound to have questions. It happens to everyone. Let's dig into some of the most frequent ones I hear about using car wash soaps with wax.
Can I Use It on a Ceramic Coated Car?
Technically, yes, but it comes with a trade-off. A good pH-neutral wash and wax soap is perfectly safe and won't strip or damage your pricey ceramic coating.
The catch is that the wax layer it leaves behind will temporarily mask your coating. It sits on top of the ceramic, which means you'll lose that signature, insane water-beading your coating is famous for until the soap's wax wears off. If you want to preserve the pure performance of your coating, stick with a dedicated ceramic-infused soap or a pure, wax-free pH-neutral shampoo.
How Often Should I Wash My Car?
For a car you drive every day, getting into a rhythm of washing it every two to four weeks is a fantastic baseline. That’s frequent enough to keep grime from building up and keeps that layer of wax protection fresh.
Of course, if your car is battling the elements—think road salt in the winter, endless rain, or brutal sun—you'll want to ramp that up. Washing every one or two weeks in those conditions will go a long way in keeping your paint healthy.
A wash and wax soap is best thought of as a maintenance tool, not a substitute for a true sealant. It's like a booster shot that keeps your main layer of protection looking and performing its best.
Does This Replace a Dedicated Sealant?
Definitely not. A wash and wax soap is a brilliant shortcut for maintenance, but it just doesn't have the same staying power as a dedicated paint sealant or a hand-applied carnauba wax.
Those products form a much tougher, more chemically resistant bond to your paint. The best car wash soap with wax is designed to work with that base layer, extending its life and reviving its shine between those bigger detailing jobs.
Ready to get that perfect, effortless shine every time? The SwiftJet Car Wash Foam Gun makes any wash feel like a professional detail. Grab yours and see just how much of a difference that thick, clinging foam can make. Shop now at SwiftJetUSA.com.
