

You've got a muddy pickup in the driveway, brake dust on the front wheels, streaks on the glass, and a cab full of dust that came home from the jobsite with your boots. A quick rinse won't fix it, and a generic car-wash routine usually misses the parts that make a truck look tired, the wheel wells, bed rails, rocker panels, and the grime hiding under the cab.
How to detail a truck the right way starts with accepting that a pickup isn't just a taller car. The larger surface area, the extra access points, and the way trucks collect dirt in seams and underbody parts mean the process takes more time and a different order of operations. A full detail is commonly estimated at 4 to 6 hours, and public industry pricing guidance often places a non-correction full detail around $150 to $250, with trucks and SUVs carrying an added $25 to $50 premium over sedan detailing, while heavy restoration can rise to $1,000+ (industry estimate and pricing context).
Why Trucks Need a Different Detailing Approach
A truck shows neglect fast. Mud packs into the wheel wells, brake dust cooks onto larger wheels, and bed rails collect grit that a quick walk-around never catches. On lifted trucks and off-road builds, car-only advice misses how the truck's shape changes where dirt settles, how water drains, and which areas you can reach without leaving film behind.
The work also runs longer than a basic wash. Detailing guidance treats the job as a multi-step process, which is why time and cost shift with truck size and condition. The bigger the cab, the more seams, trim, and touch points you have to work around. Add toolboxes, bed liners, side steps, or suspension hardware, and the routine becomes part cleanup, part preservation.
What car-focused advice usually misses
Generic guides often treat a truck like a taller sedan. That approach skips the areas that collect the worst buildup. A proper truck detail has to account for wheel-well liners, fuel-door seams, rocker panels, bed rails, suspension hardware, and undercarriage surfaces that hold grime and corrosion longer than painted panels.
Practical rule: if you cannot reach a panel easily with your wash tools, it usually gets cleaned poorly or ignored.
That mindset matters before the hose comes out. Truck owners want gloss, but they also need a process that reaches the places where dirt and salt do the most damage. Bed cleaning has the same access problem, which is why this truck bed cleaning guide fits naturally with the rest of the routine.
Pre-Wash and Foam Cannon Setup
A truck detail goes wrong fast when dirty paint gets touched too early. Brake dust, road grit, and caked mud need to be loosened before any mitt meets the surface, so I start with a strong pre-rinse and a foam stage. On lifted trucks and work rigs, that step matters even more because the panels sit higher, the lower body picks up more road film, and you do not want to drag that buildup across the finish.
Set up foam before you touch the paint
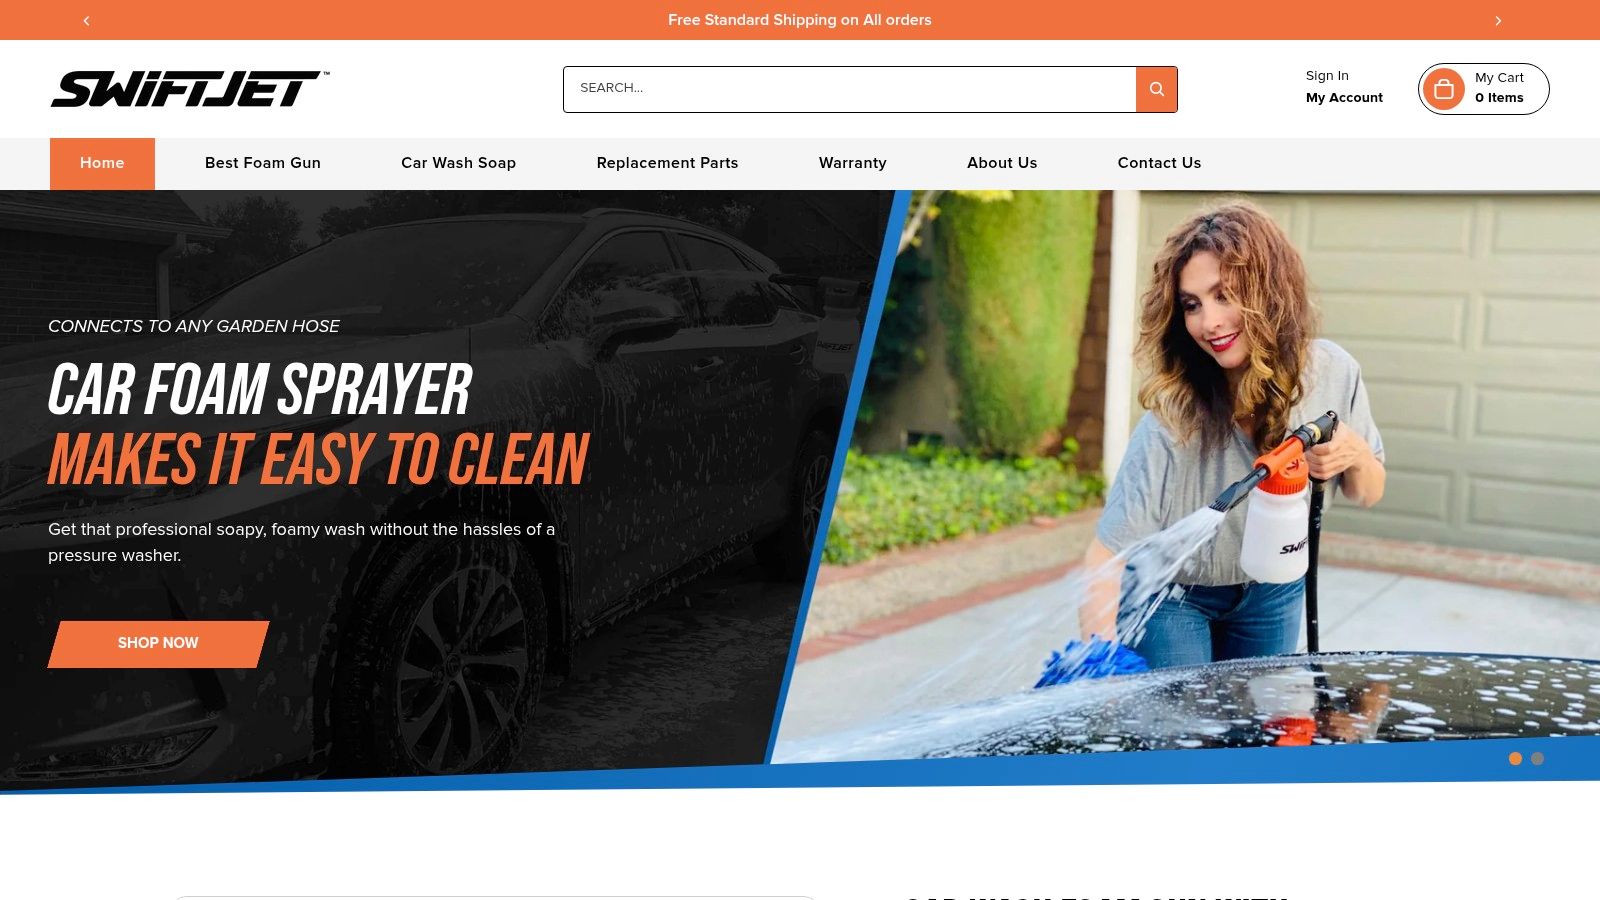
A hose-attached foam gun such as the SwiftJet foam gun connects to a standard garden hose and lays down clinging foam with an on/off trigger. That makes it easier to coat a truck's roof, hood, doors, and bed without wasting product, especially when you are working around a tall cab or reaching over a tonneau and bed rails. The goal is not cosmetic foam for show. It is to soften loose dirt so the rinse can pull it away instead of letting it ride into the wash mitt. SwiftJet also publishes a separate wash guide that covers the same pre-wash logic, use foam to loosen contamination before contact washing (foam cannon washing guidance).
Use a pH-balanced automotive shampoo, and apply the foam in sections so it does not start drying while you are still circling the truck. I aim for dwell time that lets the cleaners work, then I rinse before the surface flashes dry. In sun and heat, shorten that window and break the truck into smaller passes. A big cab or a tall bed wall can hold heat, and that makes drying patches show up faster than they do on a sedan.
Wash the dirty zones first
Start with the areas that collect the worst grit. Brake dust is harsh on truck wheels, so I rinse wheels and wheel wells before I touch body panels, then use a wheel cleaner matched to the wheel finish. After that, rinse from top to bottom so loosened grit leaves the truck instead of settling back onto cleaner sections.
Dirt falls downward once you break it loose, so your wash order should do the same.
If you use a foam gun as your pre-wash tool, the advantage is repeatability. You can run the same sequence every time, wheel rinse, foam, dwell, rinse, then contact wash, and that consistency helps keep the finish from wearing down through regular truck use. The setup does not need to be fancy. It needs to be predictable.
Contact Wash, Decontamination, and Paint Protection
Once the loose grit is gone, the contact wash starts. A truck either gets cleaned properly or gets micro-scratched by rushed technique, dirty mitts, or skipped decontamination. Keep the sequence separate in your head, wash, decontaminate, then protect. Mixing those jobs into one pass is how details get sloppy.
Wash, then strip the bonded contamination
Use the two-bucket method if you're touching the paint by hand, one bucket for soap, one for rinse water. Work top-down in sections, and don't let shampoo sit long enough to dry on the panel. After the wash, check the surface with the plastic-bag trick. If it still feels rough, embedded contamination is still there.
That's where iron-fallout remover and a clay bar or clay mitt come in. Iron remover targets bonded brake dust and rail dust, while clay lifts the surface contamination that washing leaves behind. Use them as separate stages, not substitutes for each other. If the paint feels smooth after the wash and iron treatment, you may only need light claying. If it still drags, keep going until the surface is clean to the touch.
Choose correction only when the paint actually needs it
Polish and compound are for fixing defects, not for every truck. A one-step polish makes sense when the paint needs visible cleanup but not a full restoration. Compounding is the heavier cut, and it's only worth the extra effort when oxidation, haze, or deeper marring is clearly holding the finish back.
If you're deciding between protection options, match the product to how the truck is used. Wax is the simplest finishing layer, synthetic sealants hold up better for routine maintenance, and ceramic coatings make the most sense for owners who want a longer-term protection strategy. SwiftJet's paint-protection guide breaks the product families down in the same practical way, which is helpful if you're choosing between a quick seasonal layer and a more durable approach (car paint protection products).
Protect after the surface is clean
Protection goes on after the paint is decontaminated and corrected, not before. That's the step that keeps the work from disappearing after the next rainstorm. Once protection is on, future washes become easier because dirt doesn't cling as aggressively to a clean, sealed surface.
Wheels, Tires, Wheel Wells, and Undercarriage
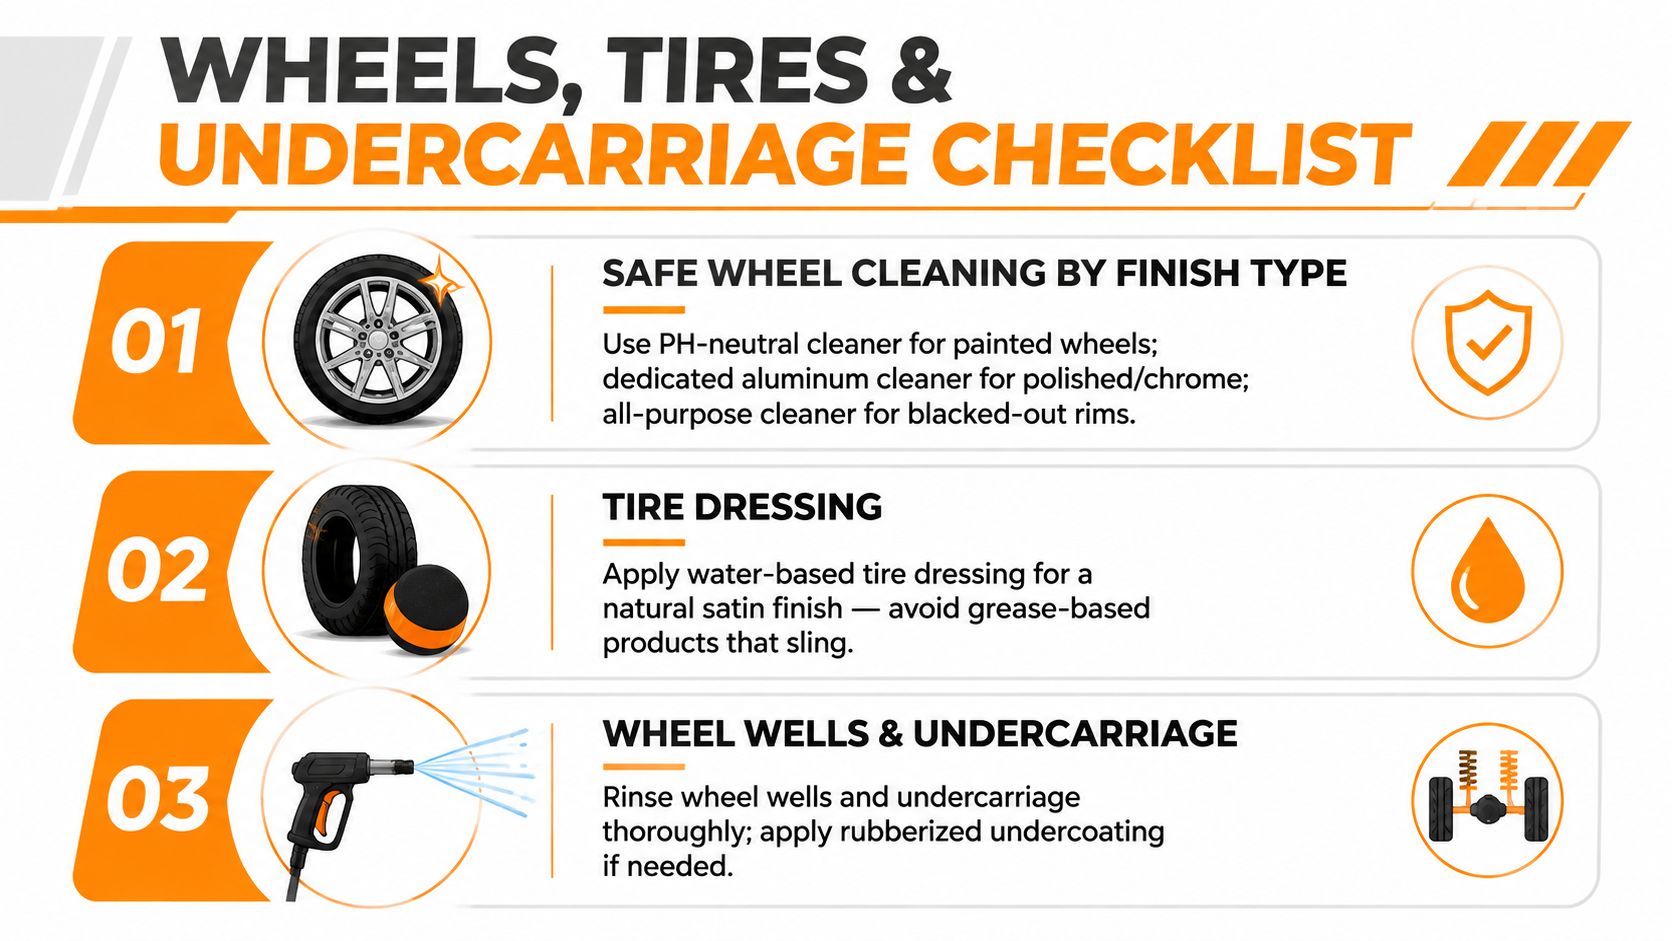
Truck owners usually notice the paint first, but the truck starts looking neglected at the wheels. That's where brake dust, tar, and winter grime stack up fastest, and it's also where car-only advice tends to stay too vague. The finish type matters. Painted wheels want a different cleaner than polished aluminum, chrome, or blacked-out wheels, and using the wrong product wastes time or leaves residue behind.
Clean the wheels by finish, not by guesswork
For painted wheels, use a pH-neutral cleaner. For polished or chrome wheels, use a cleaner made for that finish. For blacked-out rims, an all-purpose cleaner is usually the safer lane as long as it's used correctly. Deep-dish truck wheels often need a long-handled brush to reach the barrel, and that's worth doing by hand because brake dust hides where a quick spray never reaches.
Tire dressing should stay controlled. Water-based dressing gives a more natural finish and avoids the sling you get from greasy products that creep onto paint and wheel faces. Apply it thinly, then wipe off the excess before you roll the truck forward. That keeps the sidewalls looking finished instead of wet and grabby.
Don't skip the geometry that trucks create
Lifted trucks and off-road builds change the whole access problem. Wheel wells sit higher, liner ridges trap dirt, and suspension parts can collect mud where a normal wash wand won't hit. A long-reach wheel-well brush and an undercarriage wand help, but angle matters just as much as the tool. Rinse with enough pressure to move grime, not enough to shove water into connectors or nick nearby surfaces.
The cleanest truck is the one you can reach without improvising.
Steering-lock positioning helps expose the inner wheel well and suspension area on trucks with larger turning radii. Rotate the wheels as needed, clean the frame rails and exhaust tips, then rinse the undercarriage thoroughly so salt and muddy residue don't stay trapped underneath. These are the parts that corrode first, and they're also the parts most likely to be ignored when someone is rushing to finish.
Interior Deep Clean for Truck Cabs
Truck cabs take abuse in a way sedan cabins usually don't. Work boots grind in grit, pets shed in the rear seat, tools rattle around, and job-site dust settles into seams and storage pockets. The right interior workflow keeps that mess from getting pushed deeper into the fabric or scratched into plastics.
Vacuum first, then agitate, then wipe
Start with a full vacuum of the floors, seats, under-seat area, mats, door pockets, and crevices. Use the crevice tool for vents and seams, then use compressed air or a stiff detailing brush to knock out packed debris before any wet cleaning starts. That order matters because loose grit left in seams turns into scratch material once the wipe-down begins.
After the vacuum stage, clean by material. Cloth seats need upholstery-safe cleaner and extraction if they're heavily soiled. Leather needs a leather-safe cleaner and conditioner. Most truck interiors also include a lot of hard-wearing vinyl trim, which doesn't need the same treatment as leather and looks better with a clean, matte finish rather than a greasy shine. Plastics, screens, and glass should each get their own towel so you don't cross-contaminate surfaces.
Handle the truck-specific parts with a lighter touch
Bench seats with under-seat storage and fold-up rear floors hold debris in places sedan advice never mentions. Rubber floor liners are easy to remove, but they still need a full rinse and dry before going back in. Clean the glass last, inside and out, so overspray from other products doesn't leave a film behind.
Odor work is the final layer. A truck that hauls gear, pets, or smoke often needs more than a quick air freshener. Neutralizing the source matters more than covering it. A clean cab should smell like nothing at all, which is usually the best sign that the job got done right.
Detailing Frequency by Truck Use Case
A truck doesn't need the same cadence as a garage-kept weekend vehicle. The right interval depends on contamination type, not just the calendar. Salt, mud, job-site dust, and towing grime all age the truck differently, and they pile up at different speeds.
| Use Case | Quick Wash | Full Detail | Seasonal Notes |
|---|---|---|---|
| Daily driver commuter | Regular maintenance wash | Periodic full detail | Keep the paint and interior from building up light contamination |
| Work truck | Weekly quick reset | Full detail as needed | Focus on cab dirt, boots, and tool residue |
| Towing or hauling | After heavy use | Deeper clean when grime stacks up | Pay attention to bed, rear bumper, and trailer-related contamination |
| Off-road or mud use | After each outing | Full wash when the truck is muddy throughout | Undercarriage rinse matters after every trail run |
| Winter road-salt exposure | Frequent rinse during winter months | Seasonal deep clean | Salt needs faster removal than ordinary dust |
The logic behind the cadence is simple. Salt is corrosive, mud hides in places you can't see from standing height, and work-truck dust becomes interior staining if it sits too long. Fleet guidance now treats fuel economy, cost per mile, utilization rate, and preventive-maintenance compliance as standard performance indicators, and that mindset carries over cleanly to detailing, appearance care becomes part of maintenance discipline rather than a vanity project (fleet maintenance metrics overview).
If the truck gets used hard, the cleaning schedule has to follow the use, not the weekend.
For owners who want to build a repeatable calendar around the vehicle's actual duty cycle, a scheduling resource like mastering fleet maintenance scheduling is a useful way to think about cadence, even if you're only managing one pickup. The point is to match effort to exposure, so you don't over-detail a lightly used truck or under-clean one that sees salt, mud, and tools every week.
Maintenance Calendar and Common Mistakes to Avoid
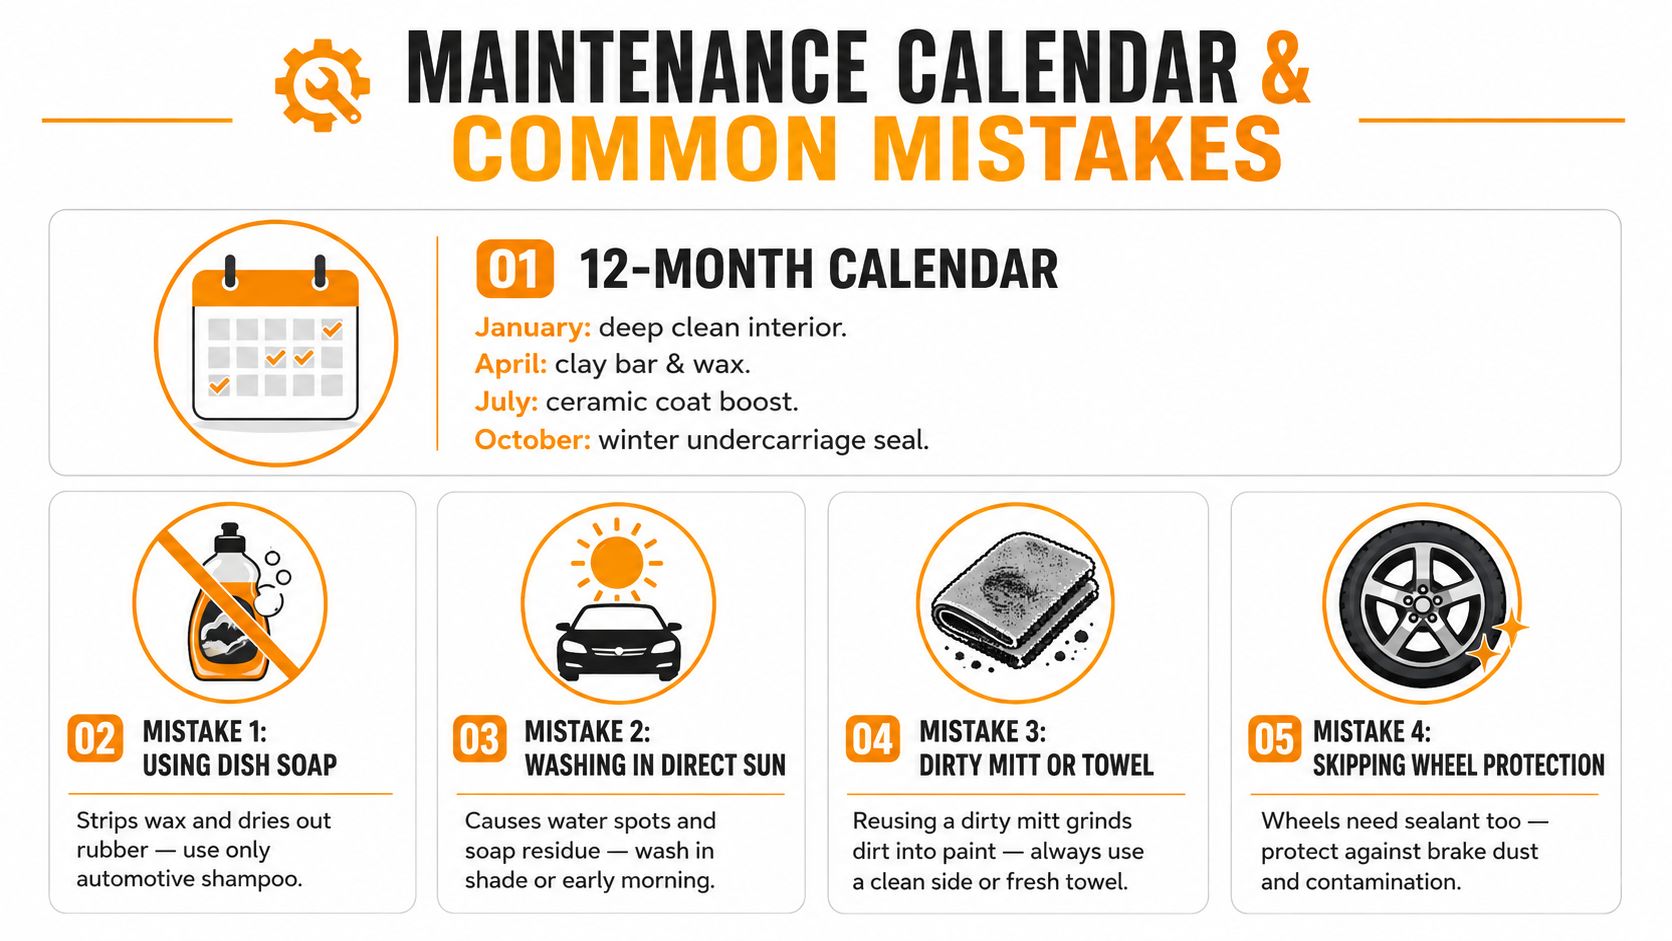
A truck stays clean when the routine stays simple. Keep a short calendar in your head, or on your phone, and repeat it instead of treating every wash like a new project. Deep clean the interior at least once in the year, hit the exterior with paint decontamination and protection during a milder season, boost protection when the weather shifts, and put extra attention on the undercarriage before winter exposure gets serious.
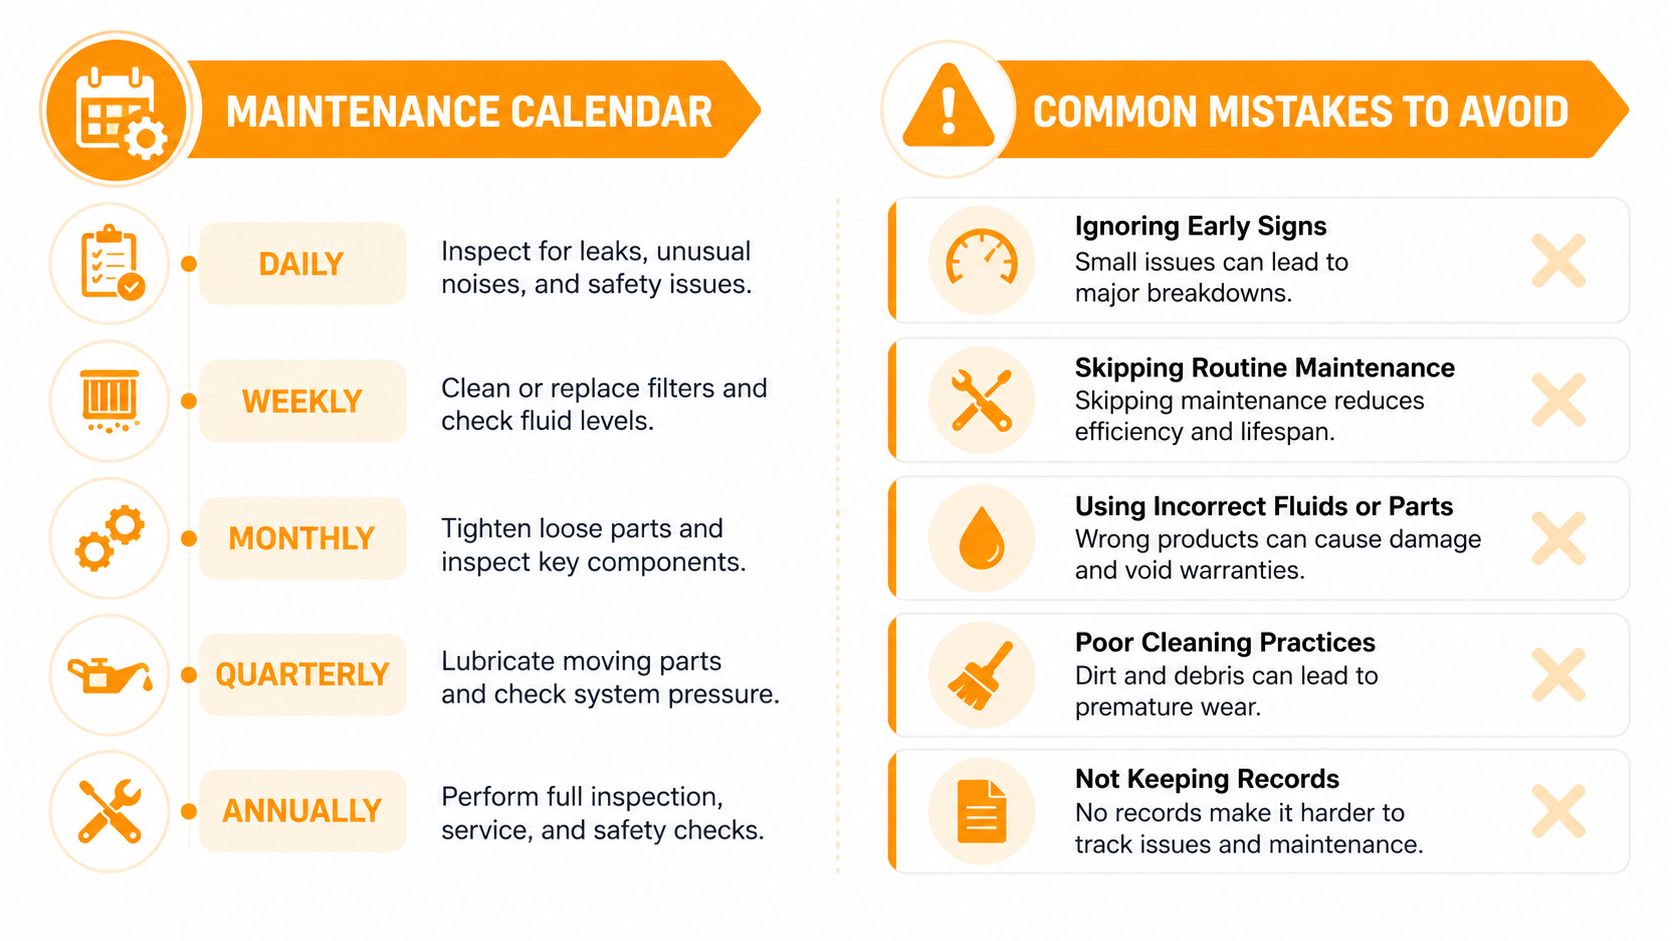
The mistakes are usually the same. Dish soap strips protection and dries out rubber, direct sun causes spotting, dirty towels grind grit into paint, skipped wheel protection leaves brake dust to bake on, and neglected bed seams or door jambs make an otherwise clean truck look unfinished. Hot tires plus heavy dressing usually end in sling, so keep the finish light and controlled.
The habit that changes everything is still the pre-wash. A foam-gun-first routine keeps dirt moving off the truck instead of under your mitt, and that's why people stick with the process long enough to maintain it. Once the wash becomes repeatable, the truck stays cleaner with less effort.
If you want a truck-wash setup that makes the first rinse and foam stage easier to repeat, take a look at SwiftJet. Their hose-attached foam gun is built for home washing on trucks, SUVs, and other large vehicles, so it fits the exact workflow that keeps a full-size pickup from becoming an all-day chore.
