

You can ignore a dirty truck bed for a week or two, right up until the next time you need it for groceries, tools, camping gear, or a load of mulch. Then the mess is staring back at you, packed into the corners, stuck in the tailgate gaps, and rubbing against whatever you throw in there next. A proper how to clean truck bed routine keeps that grime from turning into scratches, trapped moisture, and avoidable wear.
Why a Clean Truck Bed Matters More Than You Think
A truck bed doesn't get dirty like a sedan does. It gets loaded with dirt, grit, sand, broken leaves, sawdust, road salt, and whatever else the weekend or job site throws at it. Truck beds are built to carry abrasive cargo, and those contaminants love to settle into seams, corners, and the tailgate area where they're harder to flush out cleanly, especially if you drag them around while washing truck-bed cleaning guidance.
The problem isn't just about appearance. Trapped moisture can sit against metal parts and contribute to rust, while grit can chew into painted beds and liners if you skip the loose-debris step and start scrubbing too soon standard truck-bed cleaning sequence. I once saw a three-year-old truck with rust starting in the corners after damp leaves and dirt sat there through a whole winter. It looked harmless at first glance, but that kind of buildup is exactly what turns into headaches later.
Clean now, save work later
A clean bed also makes every future load easier. Cargo slides less on a dry, residue-free surface, and you're more likely to spot chips, bare metal, or early corrosion before they spread.
Practical rule: if dirt is still loose enough to move around, it should come out before water ever hits the bed.
Different bed types also reward a cleaner approach. A spray-in liner usually holds less grime, but it still hides dirt in texture and seams. A drop-in liner traps debris at the edges. Carpeted beds need the most care, since they hold moisture and fine grit longer than the other two. A foam cannon helps on all of them because it spreads soap evenly across the bed instead of forcing you to chase grime by hand, and a good truck wash setup for pickups makes that job faster without beating up the finish.
That's the mindset that keeps a truck bed in good shape. Clean it like you plan to use it hard again, because you probably will.
Gathering Your Gear for a Professional Clean
Before any water hits the bed, clear it out completely. Pull out tie-downs, mats, bins, recovery gear, and anything else that can trap dirt underneath. Then sweep or blow out the loose debris first, because that dry grit is what scratches when you start working it around.
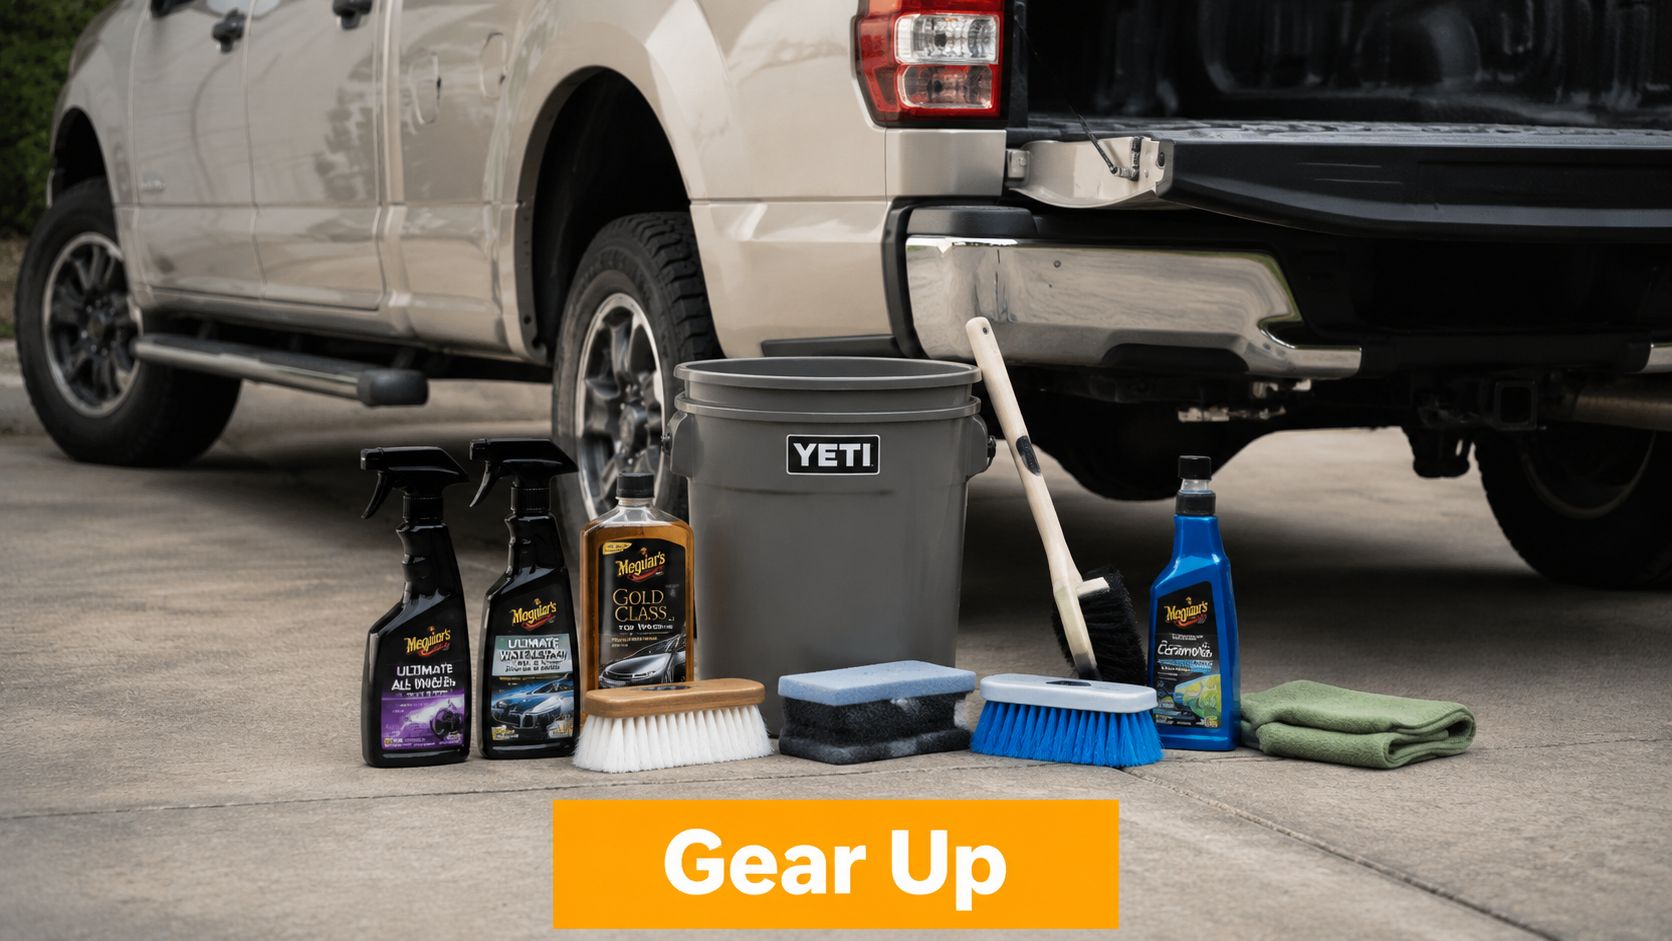
Your basic kit does not need to be fancy, but it does need to match the job. A hose, car-wash soap, microfiber towels, and a nylon brush will handle most beds, while a foam cannon is the best upgrade if you want faster, more even coverage without wasting effort. It lays soap across the floor, sidewalls, and seams so the cleaner can dwell instead of running off right away.
See the wash setup that fits a truck better than a quick rinse if you want a better setup for washing a truck bed the right way.
That foam cannon matters even more on ribbed beds, vertical walls, and tailgate seams, where foam needs time to sit on textured surfaces before you scrub. A bucket and sponge still work, but they make you chase grime by hand and usually miss the spots where dirt settles deepest. For painted beds and protected liners, a soft wash mitt or microfiber pad is the safer choice, as long as the surface has already been rinsed well and free debris is gone.
Different bed types call for different pressure on the tools. Spray-in liners usually clean up well, but the texture still holds grime in small pockets. Drop-in liners trap dirt along the edges and under the lip, so pay close attention there. Carpeted beds need the most restraint, since they hold moisture and fine grit longer than the other two, and that is where a gentle touch matters most.
Keep the prep simple and deliberate
A clean prep routine usually looks like this:
- Empty the bed completely: Remove anything that can hide dirt underneath it.
- Clear dry debris first: Use a broom or leaf blower before water touches the surface.
- Choose the right soap: Stick with car-wash soap, not household cleaners that can be too harsh.
- Pick soft drying towels: Microfiber is the safe default for painted or protected surfaces.
- Save abrasive tools for the right liner: Nylon brushes belong on tough textures, not delicate finishes.
There's a reason this sequence keeps showing up in truck-cleaning guides. Dirt and sand come out more cleanly when they are dry, and once they are floating in suds, they are more likely to get rubbed back into the finish. The same basic care applies on other surfaces too, including hardwood floor care and maintenance tips, where grit causes damage fast if it is pushed around instead of removed first.
The Core Cleaning Process from Start to Finish
The cleanest truck beds I've seen were cleaned in the right order, not with brute force. Start by clearing loose grit, wet the bed, apply soap, scrub, then rinse until the residue is gone practical truck-bed workflow. That order matters because water should carry dirt out of the bed, not turn it into slurry you keep pushing around.
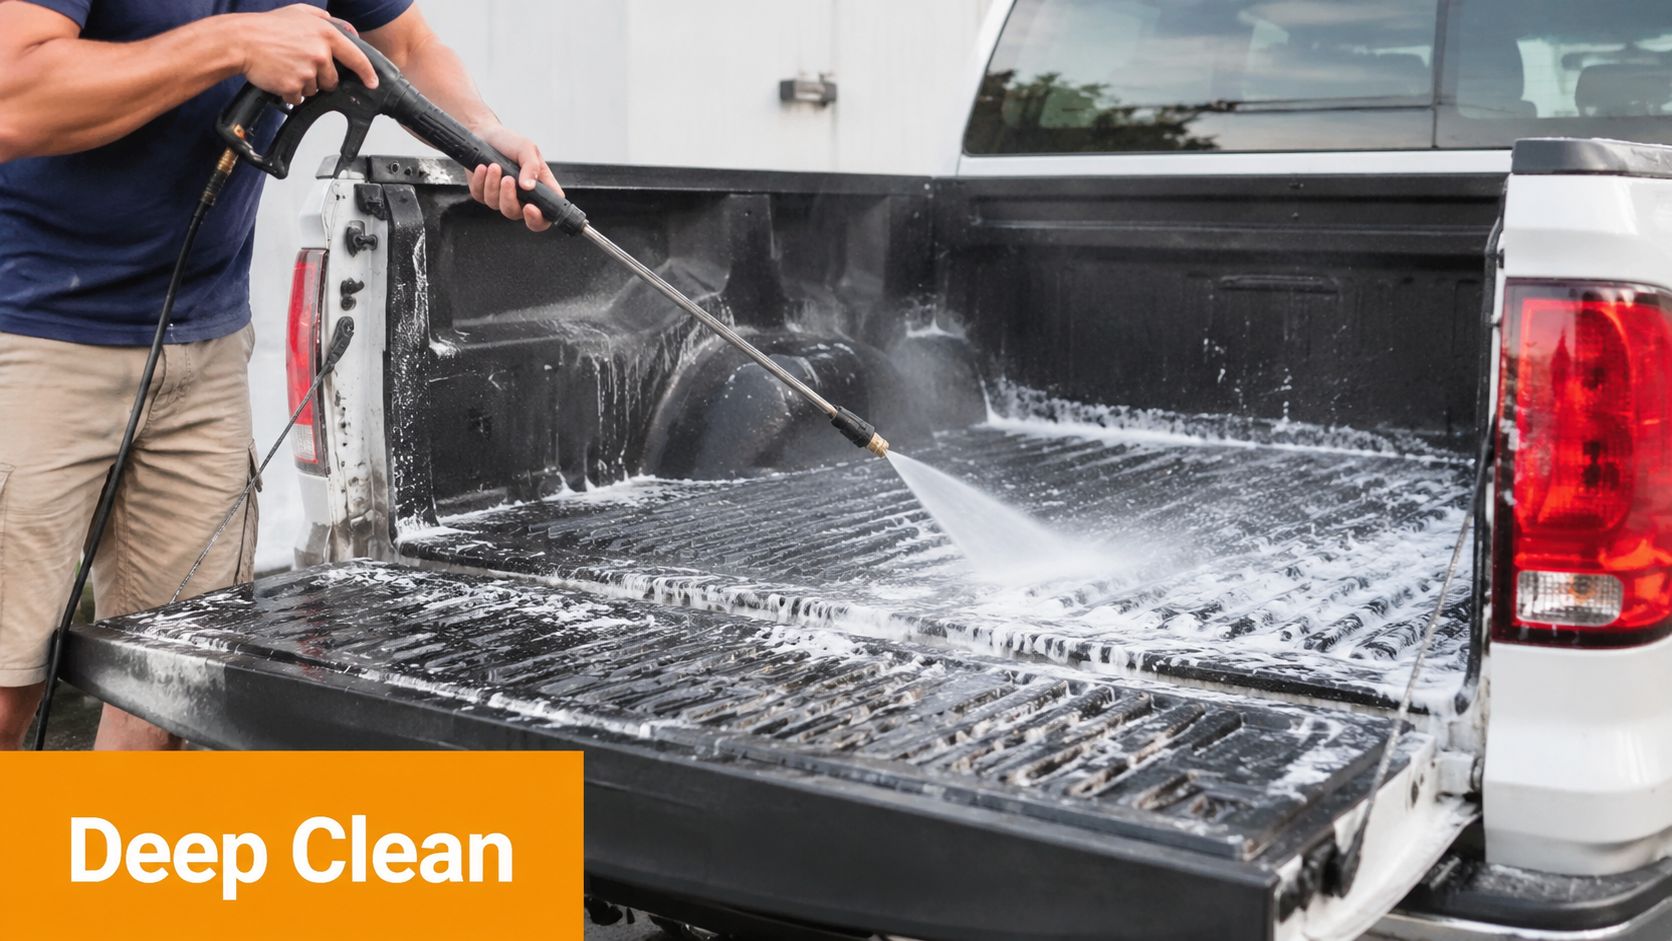
Rinse from the cab end toward the tailgate
Start the rinse at the cab side and work toward the tailgate. That direction helps runoff leave the bed instead of settling back into corners, seams, and the tailgate gap spray direction guidance. Skip that habit, and dirt tends to hang around where the water slows down.
A foam cannon makes this part faster and more even. It coats the floor, side walls, and seams in thick soap so the grime has time to loosen before you touch it with a brush. I use one whenever I want a cleaner result with less scrubbing, especially on a bed that has a few weeks of dust and road film built up. The same kind of order and moisture control shows up in other surface-care work too, including hardwood floor care and maintenance tips, where grit does damage if you drag it around instead of removing it first.
Scrub with intent, not force
Once the foam has sat long enough to work, scrub with a nylon brush or mop that matches the surface. Keep the pressure controlled on painted beds and liners, because the goal is to lift grime, not grind it into the finish. If the bed is heavily soiled, go back through the rinse-and-scrub workflow instead of leaning harder on the first pass repeat rinse-and-scrub workflow.
For the final rinse, make the same cab-to-tailgate pass again. That second pass shows whether the first one was clean or just looked clean, because leftover soap and loosened dirt will dry into streaks and seam buildup if you leave them behind. A careful finish leaves the bed ready for drying instead of forcing you to chase spots later.
Rushing the rinse is how a “cleaned” bed still ends up dirty in the corners.
Pressure washing techniques for vehicle surfaces help here, especially if you already know how to control spray angle and distance around painted panels.
Adjusting Your Approach for Different Bed Liners
A truck bed is not one surface. Spray-in liner, drop-in plastic, carpeted liner, and bare painted steel all react differently, and the wrong tool can do more harm than the grime you're trying to remove. The trick is to match the brush, soap, and drying method to the material instead of forcing every bed through the same routine.
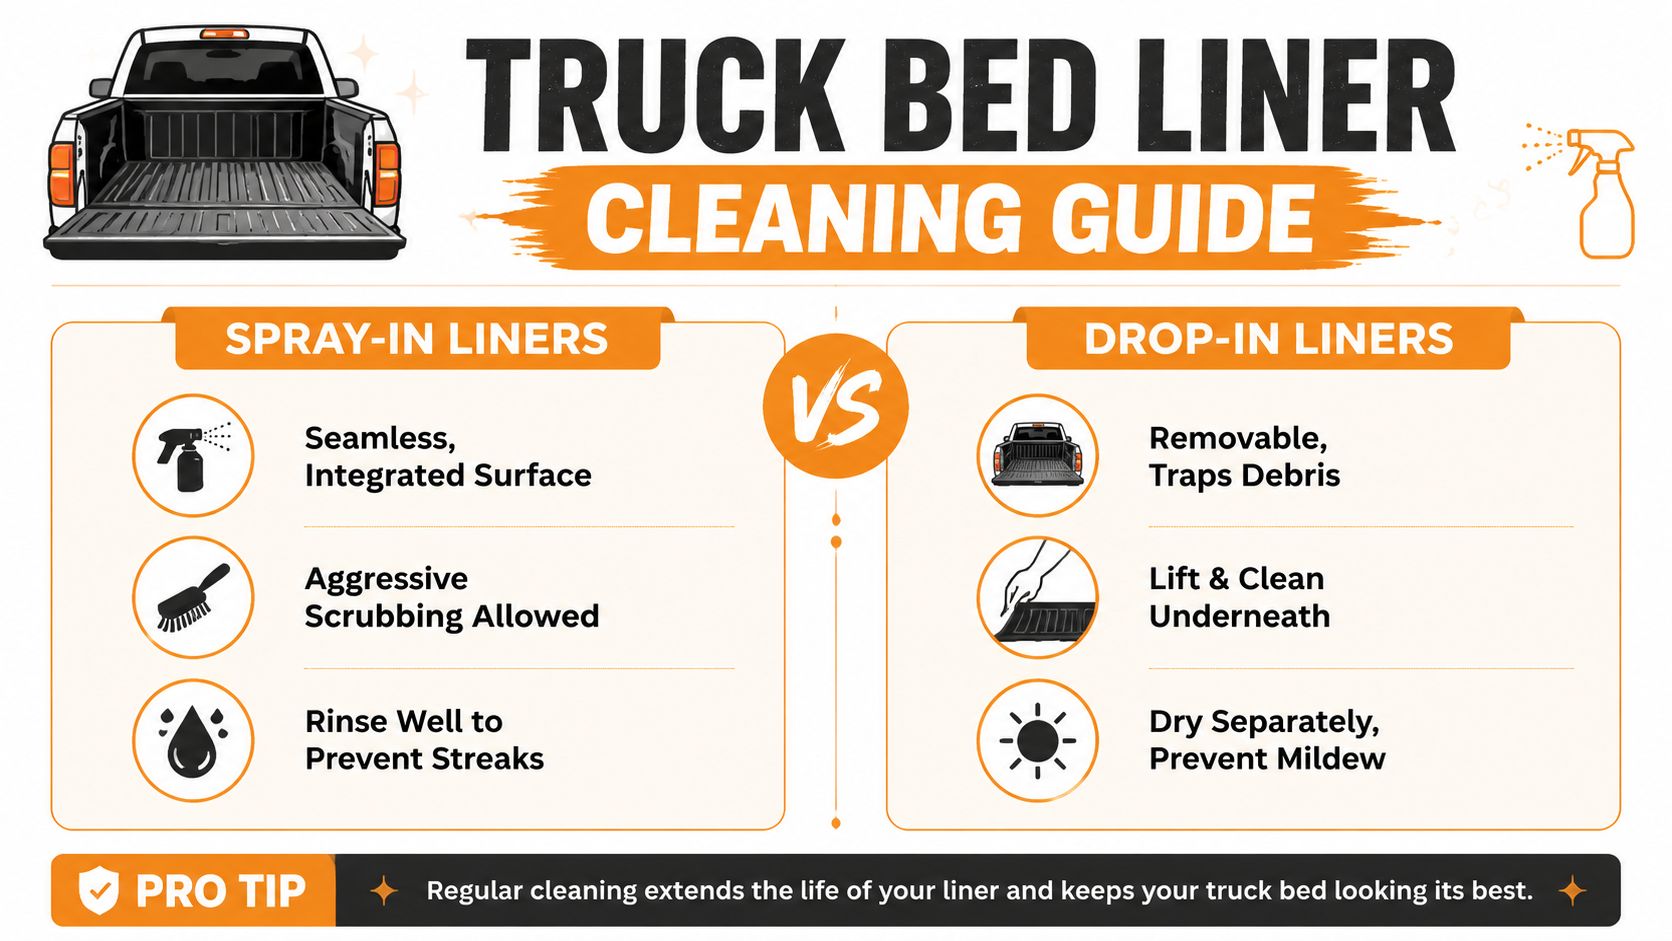
Spray-in liners need agitation, not aggression
Spray-in liners have texture, so they hold dirt in the grooves. A stiffer nylon brush works well here because it can reach into the surface without being the kind of sharp abrasive that tears things up. Use enough pressure to lift residue, then rinse thoroughly so soap doesn't leave streaks in the texture.
Drop-in liners hide dirt underneath
Drop-in plastic liners can trap dirt between the liner and the painted bed below. That's the part owners skip, and it's exactly where moisture likes to sit. Pull the liner loose if needed, clean underneath it, and dry both surfaces completely so trapped water doesn't sit there and cause corrosion or mildew.
Carpeted liners need a gentler hand
Carpeted bed liners behave more like automotive carpet than hard plastic. A carpet-safe cleaner and careful agitation make more sense than heavy scrubbing, because you want to lift embedded dirt without matting the fibers. Drying matters just as much here, since carpet that stays damp can hold odor and moisture longer than you want.
Painted beds need the softest treatment
Bare or painted beds call for soft microfiber mitts and non-abrasive soap. Impatience often leads owners to cause the very damage they were trying to prevent. Keep the surface wet, avoid rough scrubbers, and treat the finish like clear coat, because that's exactly what it is.
A good product choice helps too. If you're comparing soaps and protectants, ph-neutral cleaning products are the safer lane for most truck-bed finishes because they're less likely to fight the surface you're trying to preserve.
Tackling Tough Stains and Early Signs of Rust
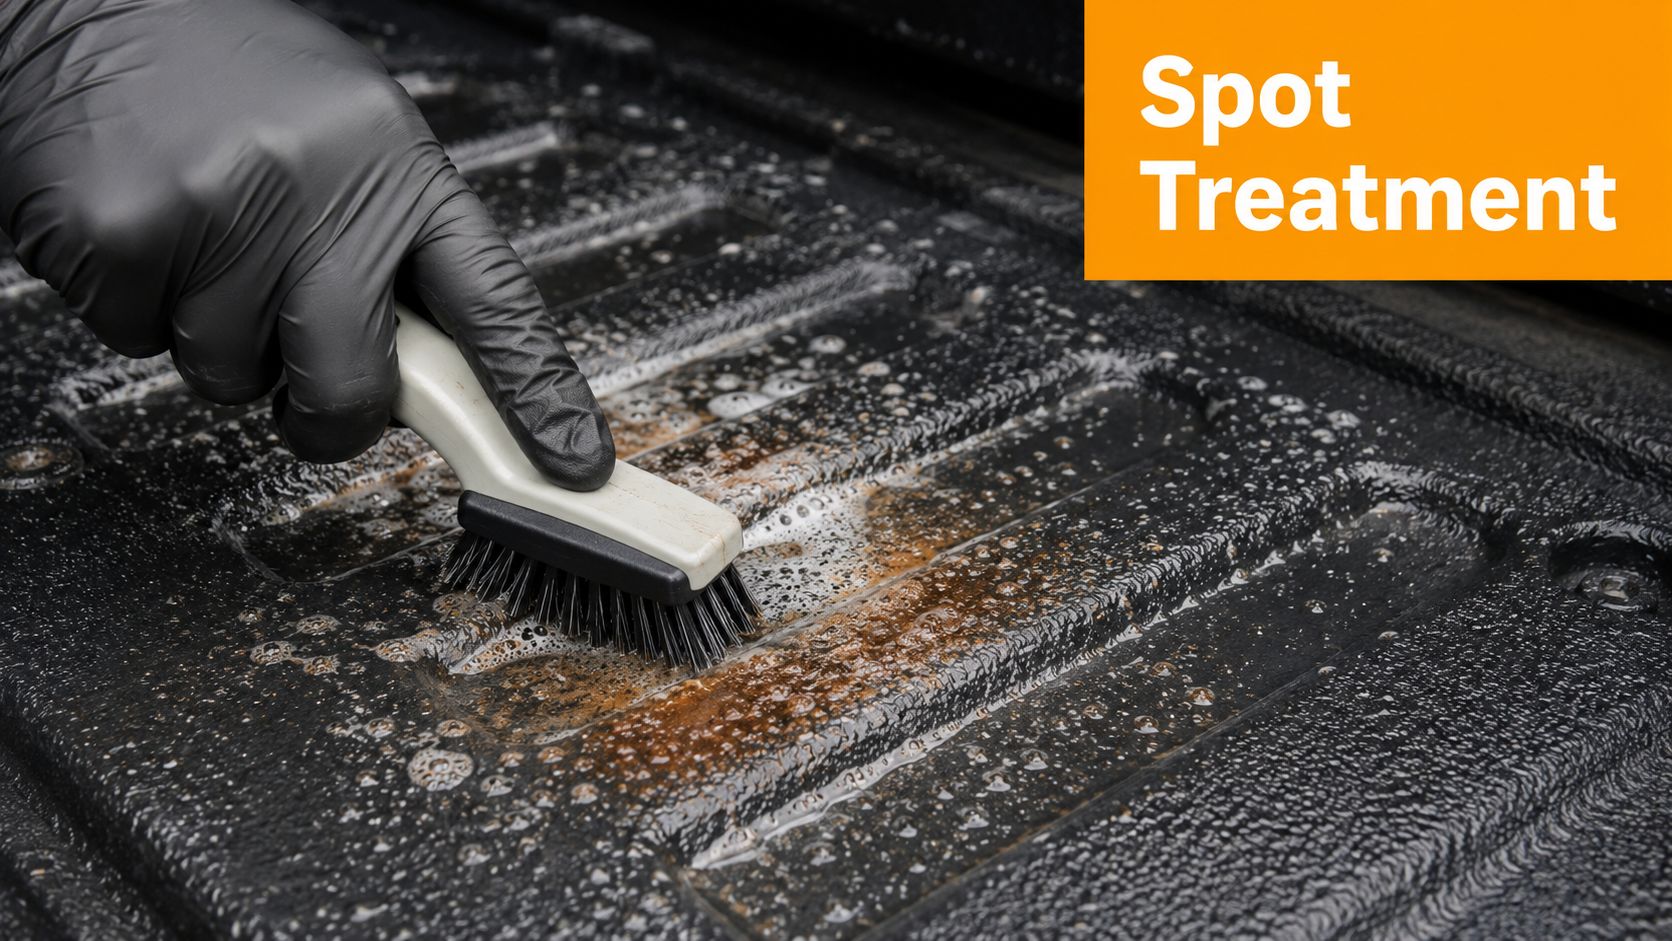
A clean truck bed can still hide a few ugly spots. Grease, road film, dried gunk, and paint transfer usually need a focused pass, and the bed liner you're working on decides how aggressive you can get. Spray the cleaner where the stain lives, work one section at a time, and avoid soaking the whole bed with chemicals that do more harm than good.
A foam cannon helps here more than a bucket and a cheap brush. It lays down a thicker coat, clings longer to stubborn grime, and gives the cleaner time to break up the mess before you start scrubbing. On spray-in liners, that means less effort to lift embedded dirt without chewing up the texture. On drop-in or carpeted beds, it helps you avoid overworking the surface while still lifting what's stuck.
Match the cleaner to the stain
Grease and oil usually give up to a degreaser sprayed directly on the spot, then brushed before rinsing. Dried paint splatter takes more patience, because scraping too hard can mark the surrounding finish even if the stain itself looks small. Mud, sap, and leaf residue are easier to remove, but they still need to come off fully before they leave discoloration behind.
Rust deserves immediate attention. After cleaning, inspect chips, seams, and mounting points for early orange spots, because exposed metal starts to change fast once moisture gets into it. The expert guide for facility managers on surface care and inspection makes the same basic point, look for damage early and deal with it before it spreads.
Treat early rust before it spreads
If you find light surface rust, clean the area, dry it completely, and remove the loose oxidation before it has room to grow. A rust converter and touch-up paint can help seal the spot once the metal is clean, which is a far better move than waiting until the edges start flaking. I've seen too many beds turn a small chip into a bigger repair because somebody left the spot alone after the first wash.
Don't leave a freshly cleaned bed damp in the corners just because the top looks dry.
That matters even more on work trucks that see daily use. Corners, seams, and bolt areas hold moisture longer than the open bed floor, so those are the first places to inspect when something looks off.
Drying Protecting and Maintaining Your Clean Bed
A clean truck bed can look finished and still cause trouble if you rush the dry-down. Moisture hides in seams, stake pockets, and around tie-down points, and those spots are where streaks, spotting, and early corrosion usually start showing up first. That matters on painted beds and any liner that seals tightly against the metal, because trapped water keeps working long after the wash is over.
Dry every hidden corner
Use microfiber towels on painted surfaces and on sprayed-in liners where you can reach the surface cleanly. For seams, corners, and bolt areas, compressed air or a leaf blower does a better job than towels alone, since it pulls water out of places your hand will miss. Drop-in liners need extra attention underneath and around the edges, because moisture can sit there and stay hidden until the next time you unload the bed. The bed should be fully dry before cargo goes back in, especially tools, camping gear, or anything that should not sit on a damp surface.
Once the bed is dry, use a protectant that matches the finish. Rubber and vinyl liners usually take a dedicated liner protectant, while painted surfaces and some sprayed-in finishes do better with a light wax or sealant that leaves the surface easier to rinse next time. The goal is simple, keep UV exposure from drying the material out and make grime less likely to stick. A drying and protectant guidance video can show the basic sequence, but the rule I stick to is dry first, protect second, and never trap water under a product you are applying.
Make maintenance easy on yourself
A truck bed stays cleaner when you keep after it instead of waiting for a full mess. Quick post-trip checks catch chips, rust spots, and stuck debris before they settle in, and routine drying keeps the bed from turning into a moisture trap.
The same prevention mindset shows up in facility care, especially in the expert guide for facility managers, where a clean, sealed surface is easier to keep in shape than a neglected one. Truck beds work the same way. A few minutes after a wash saves a lot of scraping, wiping, and correction later.
If you want the job to go faster next time, use a foam cannon instead of scrubbing every inch by hand from the start. It spreads soap evenly across spray-in liners, drop-in liners, and carpeted beds, and it does the first round of loosening without beating up the finish. I keep a SwiftJet setup around for that reason, because it makes the rinse and foam stage easier and leaves less work for the brush.
