
When you use a foam cannon, you’re essentially giving your vehicle a pre-soak, blanketing it in thick, clingy suds before you ever touch it with a wash mitt. This is the secret to a professional, swirl-free finish, and it’s something you can easily do right in your own driveway. It’s not just for looks; it’s a fundamentally smarter and safer way to clean your car.
Why a Foam Cannon Is Your Best Bet for a Scratch-Free Wash
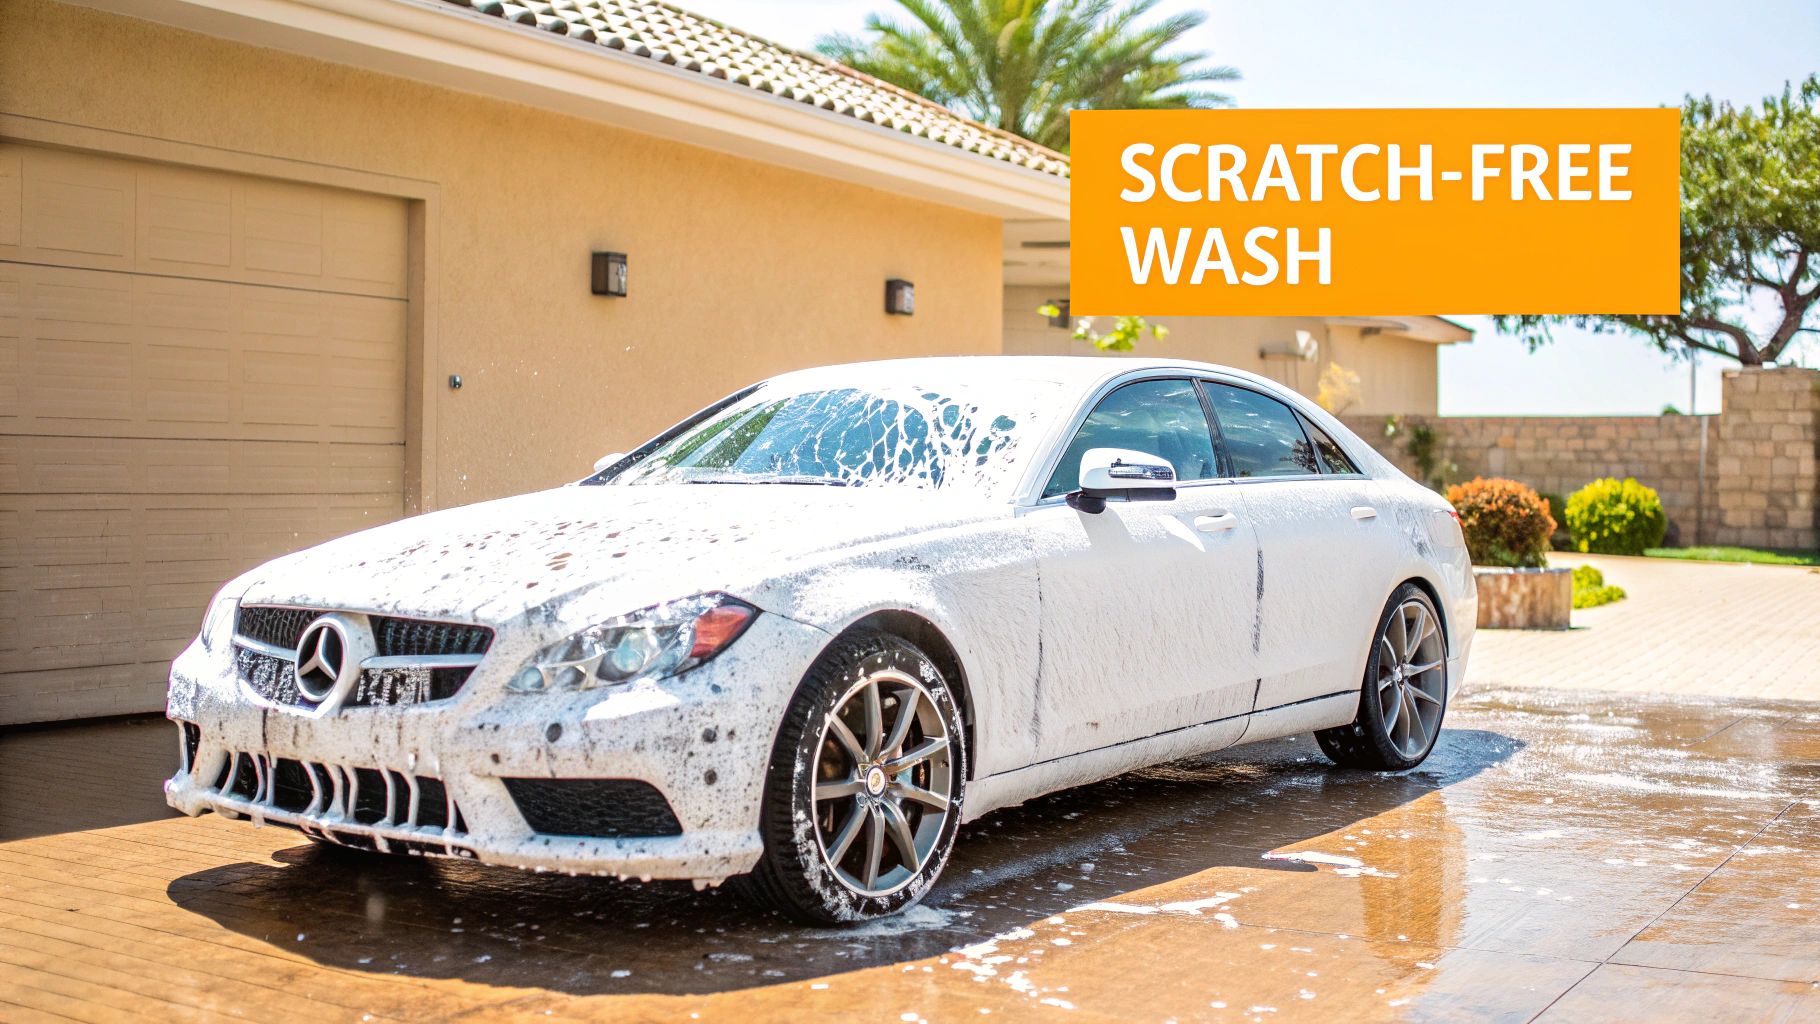
If you’re tired of finding new swirl marks and light scratches every time you wash your car, the problem probably isn't how hard you're working—it's the method you're using. The old bucket-and-sponge technique can actually grind dirt and abrasive grit right into your car’s clear coat, causing the exact damage you're trying to avoid.
This is where the foam cannon completely changes the game. By spraying a thick layer of suds over the entire vehicle, you create a slick, lubricating barrier that gets between the paint and the grime. The foam encapsulates those nasty dirt particles, loosening their grip so they can be rinsed away safely.
The Science of a Safer Clean
The real advantage of a foam cannon comes from the "touchless" pre-wash step. Think about it like soaking a muddy dish in the sink before you try to scrub it. The foam dwells on the paint, giving the cleaning agents time to break down grime, which means you rinse most of it off before the contact wash.
It’s a simple change in process, but it makes a huge difference. Because the foam is thick enough to cling to vertical panels, the soap has more time to do its job, pulling contaminants away from the surface.
The secret that every pro detailer knows is that you want to minimize how much you physically touch the paint. Every time a mitt or sponge rubs against the surface, there's a risk of creating micro-scratches. A foam cannon does the heavy lifting for you, dramatically reducing that risk.
More Than Just a Cool Look
Let’s be honest, covering your car in a thick blanket of foam is incredibly satisfying. But the benefits go way beyond the visual appeal. It’s about getting a better, safer clean more efficiently.
This practical approach has caught on with car enthusiasts everywhere, fueling massive growth in a market valued at $2.0 billion that's expected to reach $5.3 billion by 2033. People want professional results at home, and using a foam cannon can cut the risk of wash-induced scratches by up to 50%.
This gentle cleaning is also vital for cars with special finishes. If you have a ceramic coating or are maintaining paint protection film, using a foam cannon is the best way to care for that investment and extend its life and glossy appearance.
Getting Your SwiftJet Foam Gun Dialed In
Ever wonder how detailers get that super thick, shaving cream-like foam to blanket a car? It’s not magic, and it starts long before you ever pull the trigger. Nailing the setup is what separates a satisfying, effective wash from a watery, disappointing mess. Let’s get your SwiftJet ready to perform at its peak.
First things first, check your surroundings. You never want to wash a car when the paint is hot to the touch or sitting in direct sunlight. This is a rookie mistake that causes soap and water to evaporate almost instantly, leaving behind stubborn spots and streaks. Always find a shady spot and make sure the surface is cool.
With your car in a good spot, grab your garden hose and give the vehicle a solid pre-rinse. You’re not trying to get it spotless here. The goal is simply to knock off all the loose stuff—dust, dirt, pollen, and other grime. This quick step is crucial because it prevents you from dragging those larger particles across your paint later on.
Assembling the SwiftJet
Putting the SwiftJet together is a breeze. It’s designed to get you from zero to washing in just a minute or two.
- First, make sure the spray nozzle is screwed securely onto the gun's main body.
- Next, attach the quick-release connector to your garden hose. You should hear and feel a solid "click" when it's seated properly. A tight, leak-free seal is what you're after.
Now for the canister, which is the heart of the whole operation. Here’s a little tip I learned the hard way: always add the water first, leaving a few inches of space at the top for your soap. If you add the soap first, you’ll end up with a canister full of bubbles before you can even get enough water in, which completely throws off your mix.
Finding the Perfect Soap-to-Water Ratio
The secret to incredible foam is the dilution ratio. This is the single most important variable you'll control. Too much water gives you a runny liquid that just slides off the car, taking its cleaning power with it. On the other hand, too much soap is wasteful and can be a real pain to rinse off completely. Your ideal mix will depend on the soap you’re using and even the hardness of your water.
To help you get started, here are some reliable starting points. Think of these as a baseline—don't be afraid to tweak them to get the foam just right for your setup.
SwiftJet Foam Gun Soap Dilution Guide
This table provides recommended starting ratios for mixing car wash soap and water in your 32 oz SwiftJet canister. Adjust as needed to achieve your desired foam consistency.
| Car Soap Type | Soap to Water Ratio | Best For |
|---|---|---|
| Standard Car Wash Soap | 1:10 (3 oz soap) | Everyday cleaning on moderately dirty cars. |
| High-Concentrate Foam Soap | 1:16 (2 oz soap) | Maximum foam thickness; perfect for heavily soiled vehicles. |
| Wash & Wax Soap | 1:12 (2.5 oz soap) | Adding a layer of protection while you wash. |
These ratios are based on filling the rest of the 32 oz canister with water. For example, a 1:10 ratio means adding 3 oz of soap to roughly 29 oz of water.
Pro Tip: If your foam comes out a bit thin, your first instinct might be to add more soap. Don't. Instead, just turn the dial on top of the SwiftJet clockwise. This simple adjustment restricts the water flowing through the gun, instantly creating a richer, thicker foam without wasting a drop of your expensive soap.
Once you’ve added your soap and water, screw the canister tightly onto the foam gun. Give it a few gentle swirls to mix the solution together. Avoid shaking it like a cocktail, as that just creates premature suds inside the bottle.
You can get a closer look at the complete SwiftJet car wash foam gun and see how all the pieces work together to make washing your car faster and safer. With everything set up, you're officially ready to lay down some serious foam.
Mastering Your Foam Application and Rinsing Technique
Alright, your SwiftJet is loaded and you’re ready for the fun part. But applying the foam isn't just about blasting your car with soap; there's a real technique to it that separates a good wash from a great one. Getting this right means the soap does the heavy lifting, cleaning every nook and cranny of your vehicle.
The secret is to work with gravity. Start at the top. Always hit the roof first, then systematically make your way down the car. Coat the windows, hood, and trunk before moving to the lower panels, bumpers, and wheel wells. This top-down method gives the foam maximum time to work on the grimiest parts of your car as it naturally slides down.
As you spray, think long, smooth, overlapping passes. You want to lay down a consistent blanket of suds. The trigger on your SwiftJet is sensitive, so you can easily feather the spray around tricky spots like mirrors or emblems without wasting soap. The goal is a thick, rich layer that looks like shaving cream—not so thin it vanishes instantly, but not so clumpy that it just falls off in chunks.
Letting the Foam Do the Work
Once your car looks like a giant marshmallow, step back and let the foam do its thing. This "dwell time" is crucial. It’s when the cleaning agents in the soap get to work, breaking down road grime, lifting dirt from the surface, and safely encapsulating all those nasty particles.
Give it a solid 5 to 10 minutes to dwell. That's usually the sweet spot for the foam to be effective.
Here's the most common mistake I see: letting the foam dry on the paint. If you're washing in the sun or on a windy day, you have to be vigilant. Dried-on soap is a pain to get off and is a one-way ticket to water spots and streaky residue.
This simple visual guide walks you through the initial setup just before you start spraying.
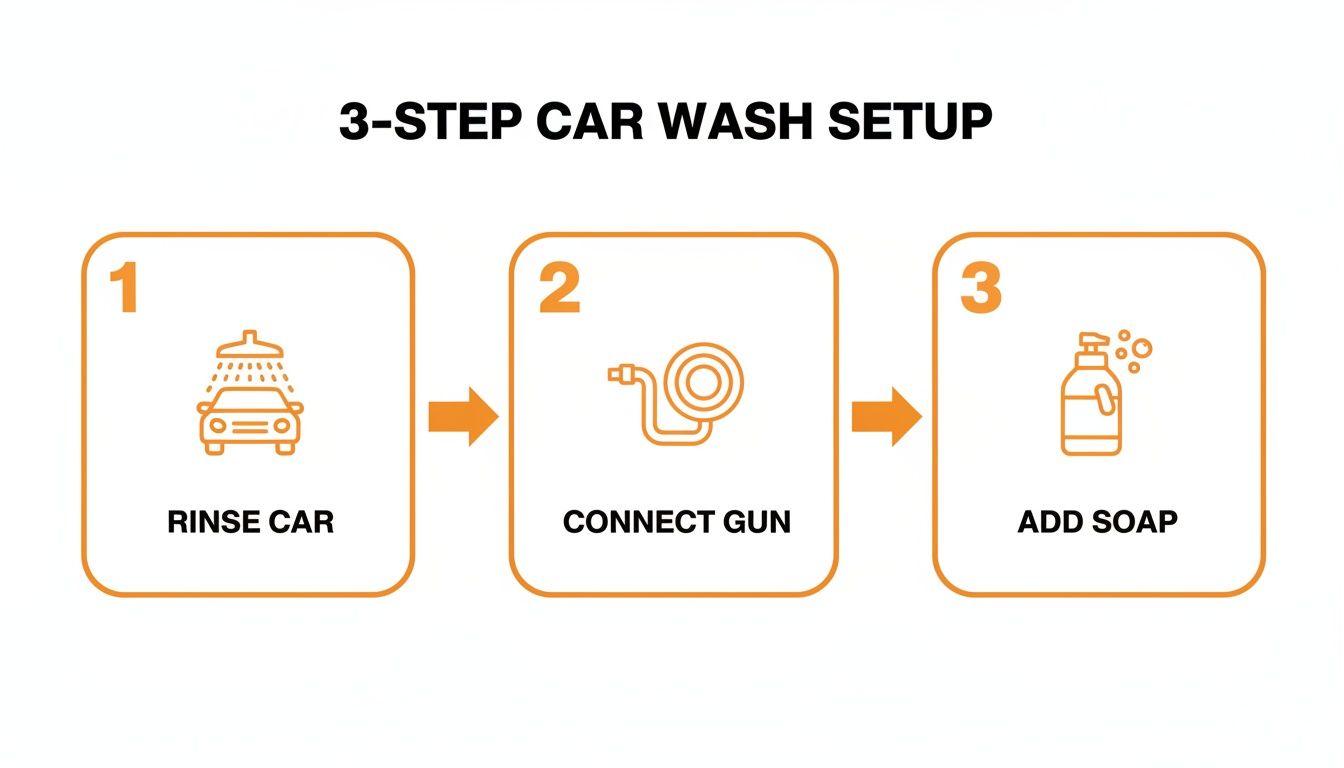
Getting this quick setup right from the start makes the whole foaming process smoother and more effective.
The Rinsing Phase
After the foam has had a chance to work its magic, it's time to rinse it all away. And just like with the application, your rinsing technique makes a huge difference.
You guessed it—start from the top and work your way down. If you rinse from the bottom up, you're just pushing dirt and soap over the areas you just cleaned. It completely defeats the purpose.
Use a nice, steady stream of water and sweep the foam and all that loosened grime off the paint. Be thorough and pay extra attention to places where soap loves to hide, like in panel gaps, behind mirrors, and around trim. You need to get 100% of the foam off the car before you even think about moving on to a contact wash. When you're done, the surface should be perfectly prepped for the next step. Of course, knowing how to pick the best foam soap for cars will make this whole process even more satisfying.
The Correct Way to Hand Wash and Dry Your Car
The foam has done its job, lifting away all that heavy, scratchy grit. Now, your car is ready for the real wash—the contact wash. This is where you’ll gently remove that last stubborn layer of road film, the stuff the foam loosened up but couldn’t quite carry away.
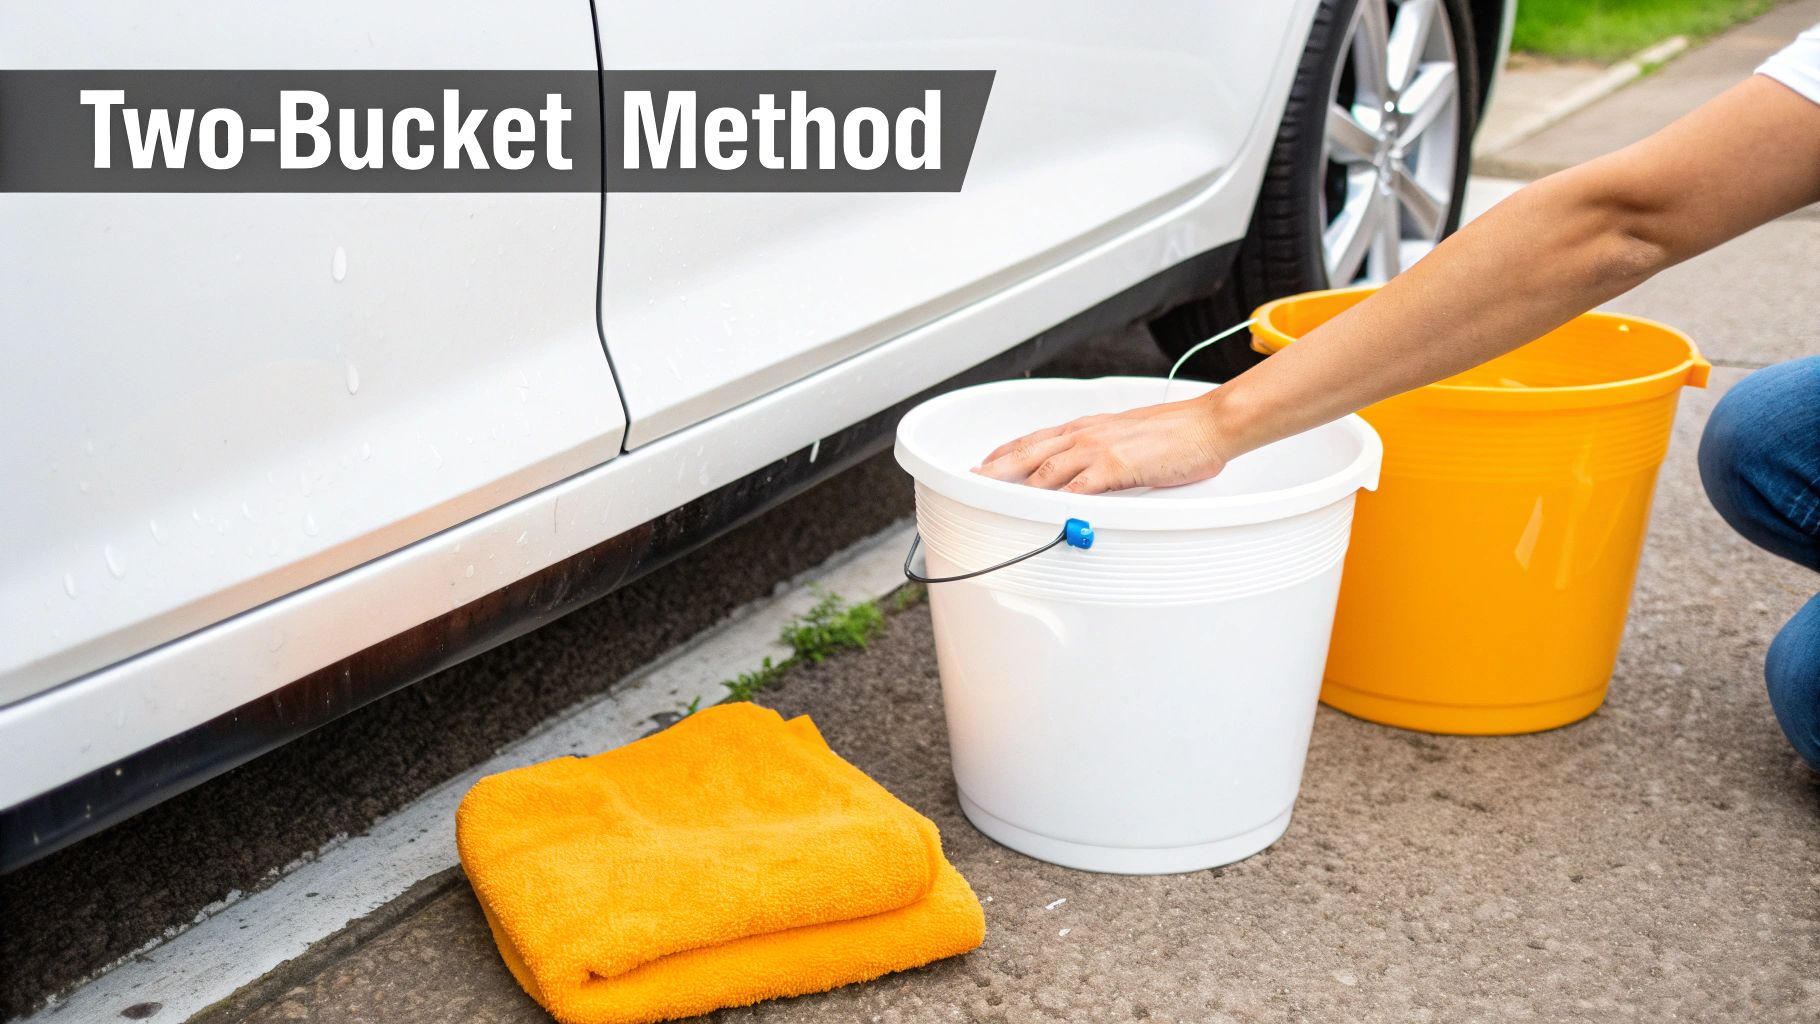
To get this done without putting new scratches into the paint, we’ll lean on a tried-and-true method that pros swear by: the two-bucket wash.
The idea is simple but seriously effective. You’ll have one bucket with your car wash soap and another with just plain, clean water. The soap bucket loads up your wash mitt, and the water bucket is strictly for rinsing it clean after you finish a panel. This little bit of discipline is what stops you from picking up dirt on one part of the car and dragging it all over another.
Executing the Two-Bucket Method
Alright, grab your SwiftJet wash mitt and give it a good soak in the soapy water. Just like with the foam, you’ll want to start at the top of the car and work your way down, tackling one panel at a time. Let’s say you start with the roof—wash one half of it first.
Here’s a key pro tip: always wash in straight, overlapping lines. Never wash in circles. That swirling motion is exactly what creates those nasty holograms and swirl marks if there's any grit left on the surface.
Once you’ve finished that section, take your now-dirty mitt and dunk it straight into the clean water bucket. Swish it around a bit to release all the grime you just picked up. Now that the mitt is clean again, you can dip it back into the soap and move on to the next panel.
You'll know you did it right when you're done. Your soap bucket should look pretty clean, but that rinse bucket will be a cloudy mess of dirt and sediment. That's the visual proof that you kept the grit where it belongs—in the bucket, not on your paint.
This method ensures you’re only ever touching your car with a clean, well-lubricated mitt, and that’s a game-changer for preventing scratches.
Perfecting the Drying Process
After that final rinse, don't just walk away and let the car air dry. That’s a one-way ticket to water spots, which are just ugly mineral deposits left behind when the water evaporates. To get a perfect, spot-free finish, you’ve got two great options.
-
Premium Microfiber Drying Towels: These things are incredibly soft and can soak up a surprising amount of water. Instead of aggressively rubbing the paint, just lay a high-quality towel over a panel and gently pat it dry. You can also carefully drag it across the surface. We go into a lot more detail on this in our guide to microfiber towels for cleaning.
-
Air Blower or Car Dryer: If you want a truly touch-free dry, an air blower is the way to go. It’s fantastic for blasting water out of all those tricky spots—think mirror housings, grilles, and panel gaps—where a towel just can't reach. This stops those annoying drips that always seem to streak your finish minutes after you've finished.
Whichever way you go, the mission is to get all the water off the surface before it has a chance to evaporate. Spending a few extra minutes on a proper dry is what really locks in that flawless, professional shine.
Keeping Your Foam Cannon in Top Shape
Think of your SwiftJet foam cannon like any other quality tool in your garage—a little bit of care goes a long way. If you want that satisfyingly thick, consistent foam every time you wash your car, the best thing you can do is spend a minute or two on maintenance after each use.
The number one enemy of a foam cannon is dried soap residue. Over time, it can clog the delicate internal mesh filter and the nozzle, which is what ruins that perfect spray.
Luckily, preventing this is dead simple. Just give it a quick flush with clean water. Once you're done washing, unscrew the soap canister, fill it up with plain water, and screw it back on. Then, just run the foam gun for about 30 seconds. This simple step forces clean water through the entire system, washing away any soap solution before it has a chance to dry and cause problems.
Making this a habit will prevent the buildup that leads to weak, watery foam and sputtering spray patterns, adding years to the life of your foam cannon.
Quick Fixes for Common Issues
Even with diligent maintenance, you might hit a snag every now and then. Before you get frustrated, know that most issues are surprisingly easy to fix.
Recent surveys show that 65% of new foam cannon buyers are using one for the very first time, and they prioritize reliability and straightforward maintenance over anything else. This user feedback drives innovations in design, ensuring tools like the SwiftJet Foam Gun are dependable for everyone, from weekend warriors to pro detailers. You can actually discover more foam cannon market insights on datainsightsmarket.com to see how the industry is adapting.
We've put together this quick reference table to help you diagnose and solve the most common foam cannon hiccups in minutes.
Common Foam Cannon Issues And Solutions
Quickly diagnose and fix common problems to keep your foam cannon spraying perfectly.
| Problem | Likely Cause | SwiftJet Solution |
|---|---|---|
| Watery or Thin Foam | Your soap-to-water ratio is too diluted, or the top dial is set for maximum water flow. | First, try turning the top adjustment dial clockwise to restrict the water and thicken the foam. If that's not enough, add another ounce of soap to your mix. |
| Leaking at the Hose Connection | The quick-connect fitting isn't fully seated, or the small rubber washer is missing or has worn out. | Disconnect and firmly reconnect the hose until you hear and feel a solid "click." If it still leaks, check for the little black rubber washer inside the connector. |
| No Foam, Just Water | The siphon tube inside the canister has fallen off or is completely clogged. | Unscrew the canister and check that the clear plastic tube is pushed securely onto the brass fitting underneath the gun's body. |
| Inconsistent Spray Pattern | The internal mesh filter or the nozzle opening is partially blocked by old, dried soap residue. | Run a thorough flush cycle with hot water for about a minute. If the issue persists, you may need to disassemble the nozzle for a deeper clean. |
Most of the time, one of these simple adjustments will get your SwiftJet back to peak performance and have you slinging suds in no time.
Have Questions? Let’s Get Them Answered
Even when you've got the basics down, a few questions always seem to surface on the path to a perfect, swirl-free wash. Let's tackle some of the most common ones we hear from people just getting started with their SwiftJet foam cannon.
Think of this as a quick-reference guide to help you fine-tune your technique. Getting these details right is what separates a good wash from a great one.
Can I Just Use Any Old Car Soap in My SwiftJet?
You can, but for that super thick, shaving-cream-like foam, you really want a soap designed specifically for foam cannons. These are formulated to be extra concentrated, which helps them whip up into dense, clingy suds that do the heavy lifting.
While most car wash soaps will produce some foam, there's one thing you should never, ever use: dish soap. It's an aggressive degreaser that will strip every last bit of wax or sealant right off your paint, leaving it totally unprotected. Plus, those harsh detergents can be tough on the seals and brass components inside your foam cannon over time. Always stick to a dedicated car soap and start with the dilution ratio the manufacturer suggests.
How Often Should I Be Doing a Foam Wash?
Honestly, it all comes down to how you use your car. If it's your daily driver, seeing action in all sorts of weather and collecting road grime, a foam wash every two weeks is a great rhythm to get into. That's frequent enough to stop dirt and environmental gunk from bonding to the clear coat.
A lot of people worry that washing their car too often will damage the paint. When you're using a foam cannon, that's simply not true. The foam pre-soak is so gentle that you can wash it as often as needed without causing any extra wear and tear.
On the other hand, if your car is more of a weekend cruiser that lives in the garage, you can probably get by with a deep clean once a month to keep it looking sharp.
Is a Foam Cannon Actually Better Than the Old Bucket Method?
In a word, yes. The foam cannon adds a critical pre-wash step that a traditional bucket wash completely misses. The whole point of the foam is to loosen, lift, and encapsulate the bigger, grittier particles of dirt before you ever touch the paint with a mitt. This one step massively cuts down your risk of inflicting swirl marks and fine scratches.
Don't get me wrong, the two-bucket method is still the best way to handle the actual contact wash. But starting with a foam cannon makes that part of the process infinitely safer and more effective. You're not just grinding dirt into your clear coat—you're washing a pre-cleaned surface.
Does a Garden Hose Foam Gun Work as Well as a Pressure Washer Version?
For the vast majority of us, absolutely. A well-designed garden hose foam gun like the SwiftJet is built to give you fantastic results without needing to invest in a pressure washer. It creates a rich, effective layer of foam that’s more than capable of handling the dirt on any daily driver.
A high-PSI pressure washer might create a slightly thicker foam simply because of the immense force it generates, but the real-world cleaning difference is pretty small. For home detailing, a garden hose foam gun hits that sweet spot of performance, value, and simplicity. You get all the benefits of a professional pre-wash right from your driveway.
Ready to see what a difference the right tool can make? The SwiftJet Car Wash Foam Gun is the easiest way to get that scratch-free shine. Grab your SwiftJet today and completely change your car wash game!