
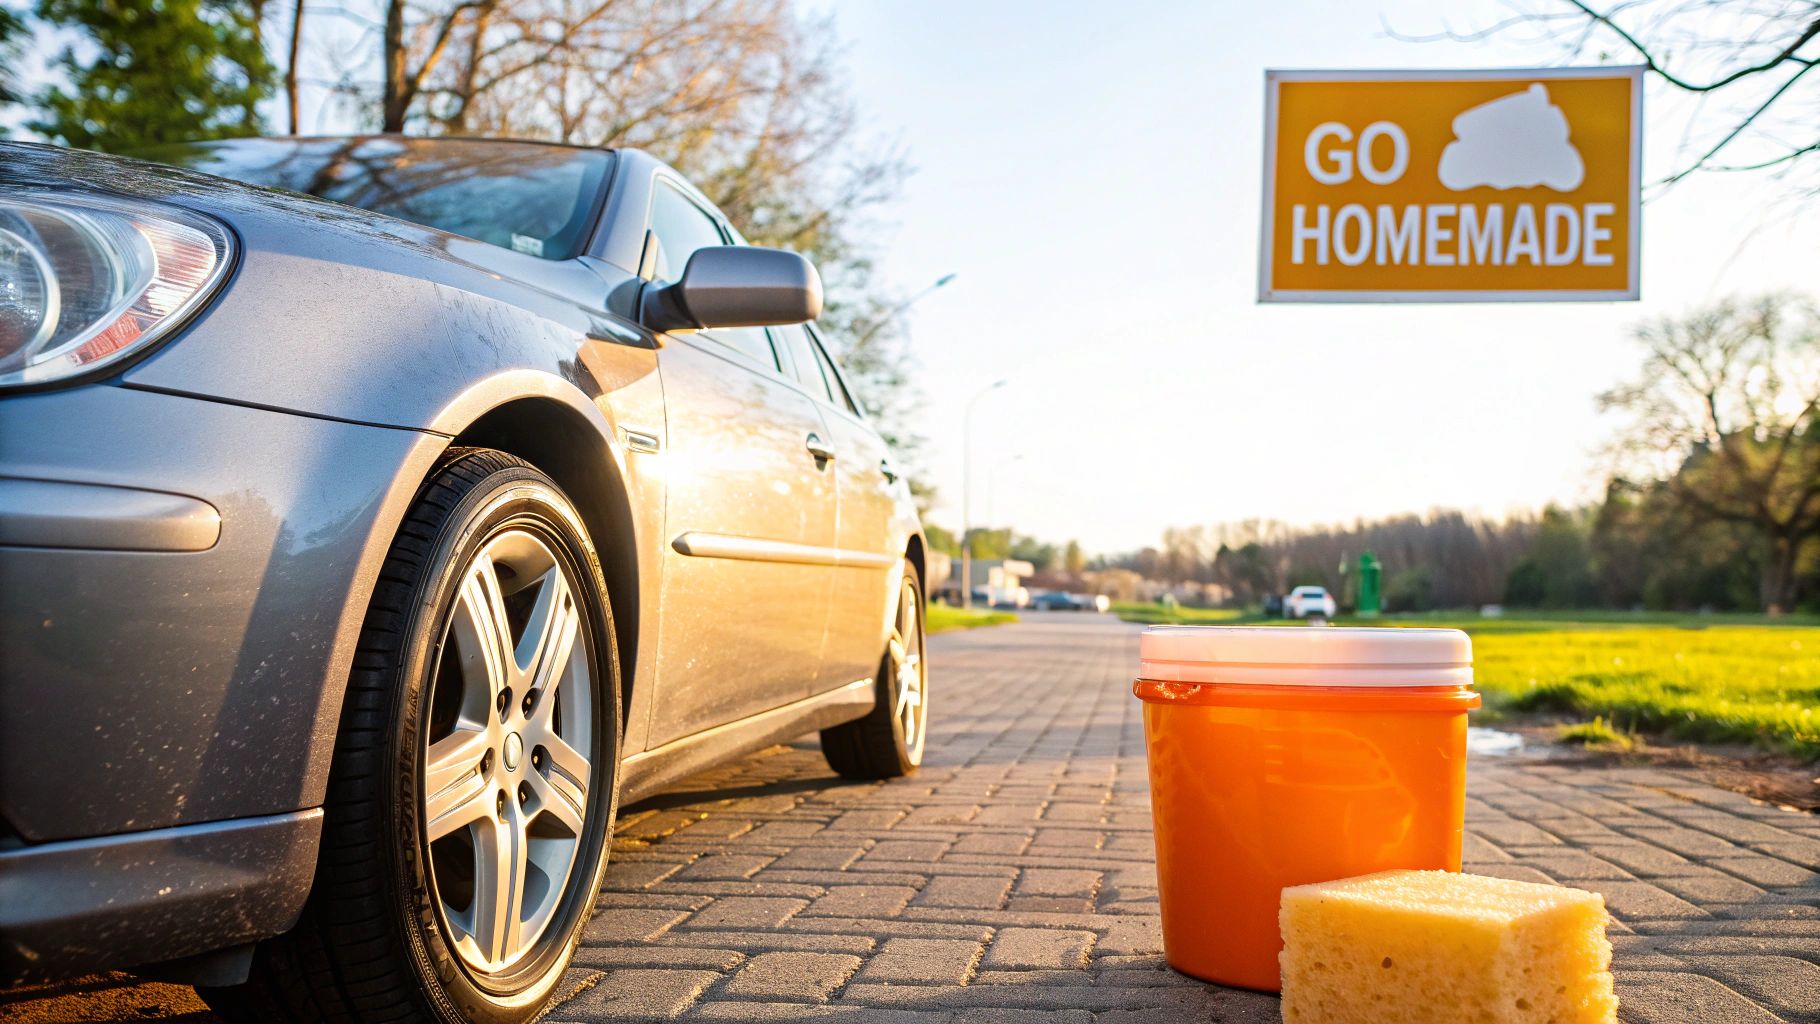
Sometimes, the best solution is the simplest one. For a great car wash at home, all you really need is a bucket of warm water and a small amount of gentle, pH-neutral dish soap. This simple mix is surprisingly effective and much safer for your car's finish than you might think, saving you a trip to the store for specialized products.
Why Bother Making Your Own Car Wash Soap?
You might have noticed more car lovers mixing their own solutions lately. It’s not just about pinching pennies—it's about having total control over what touches your car's paint. Think of it as a proactive step in your car care routine.
When you go the DIY route, you know for a fact you're avoiding the harsh detergents often lurking in commercial cleaners. Some of those heavy-duty formulas are notorious for stripping off your car's protective wax or sealant. Once that layer is gone, the clear coat is left exposed to everything from harsh UV rays to road grime and bird droppings.
The Upside of a Custom Mix
Taking a few minutes to create your own wash solution gives you some real, tangible benefits that go beyond just knowing the ingredients.
- You Protect the Paint: The biggest win. By sticking to gentle, pH-neutral ingredients, you ensure your car’s wax and clear coat stay intact, doing their job.
- You Control the Environmental Impact: You can consciously choose biodegradable soaps and be more mindful of your water usage, which drastically reduces chemical runoff.
- It’s Seriously Cost-Effective: The stuff you need is probably already under your kitchen sink. It’s a huge money-saver over time.
This hands-on approach is becoming more common, especially as people become more aware of the environmental side of car care. The global car wash service market, which hit a value of USD 34.31 billion in 2024, is seeing growth partly because of new regulations on water waste. A smart DIY wash tackles this head-on.
Honestly, the best part about a homemade car wash solution is the peace of mind. You know exactly what's in your bucket. That guarantees a clean that's not just effective but also safe for your vehicle's finish long-term.
Commercial vs Homemade Soap at a Glance
To put it in perspective, let's break down the key differences between grabbing a bottle off the shelf and mixing your own. The choice often comes down to what you prioritize: convenience or control.
| Feature | Commercial Car Wash Soap | Homemade Car Wash Solution |
|---|---|---|
| Key Ingredients | Complex chemical formulas, detergents | Simple, pH-neutral soap & water |
| Paint Safety | Can be harsh; may strip wax/sealant | Gentle; preserves protective layers |
| Cost | Higher per wash | Extremely low; uses household items |
| Control | None; you get what's in the bottle | Total control over ingredients & strength |
| Environmental Impact | Varies; can contain harsh chemicals | Minimal; can use biodegradable soap |
While commercial soaps offer convenience, a homemade solution gives you the confidence that you're treating your car's finish with the care it deserves.
Ultimately, choosing a DIY solution is often a smarter and safer way to keep your car looking its best. If you're still weighing your options, it's worth understanding the implications of washing vehicles at commercial facilities. It often reinforces why having full control over the process at home is the preferred method for many enthusiasts.
Assembling Your Car Washing Toolkit
A genuinely great shine starts well before you even think about mixing your soap. Honestly, having the right tools laid out and ready to go is just as critical as the cleaning solution you use. This isn't about running out and buying every shiny new gadget; it’s about putting together a smart, effective car care arsenal that protects your paint.
The absolute cornerstone of a safe wash is the two-bucket method. If you take away only one thing from this guide, let it be this. This technique is your number one defense against the swirl marks and fine scratches that make your paint look dull over time. One bucket is for your soapy water, and the other is just for rinsing your mitt.
Your Essential Washing Gear
This simple setup prevents you from dragging gritty dirt all over your car's finish. I like to think of the rinse bucket as a decontamination station for my wash mitt, where all the nasty stuff gets trapped at the bottom.
Here's what you'll need to get started:
- A Plush Wash Mitt: Please, throw away that old sponge. A quality microfiber wash mitt is lightyears better. Its deep, soft fibers gently lift dirt away from the paint and hold it deep inside, so you aren't grinding it into your clear coat.
- Microfiber Drying Towels: Forget the classic chamois. A couple of large, waffle-weave microfiber towels are the modern standard. They soak up a massive amount of water safely and quickly, which is your best bet for avoiding frustrating water spots and streaks.
- Soft-Bristled Wheel Brush: Your wheels face the harshest conditions, caked in road grime and corrosive brake dust. You need a dedicated, soft-bristled brush to clean them properly without scratching the rims or, worse, transferring that abrasive gunk to your car’s paint.
When it comes to applying the soap, your choice of tool can make a huge difference. A great wash mitt is non-negotiable, but if you're aiming for that professional, touch-free wash, many of us turn to specialized foam applicators.
If you want that thick, shaving-cream-like foam that clings to the car and lifts dirt away before you even touch it, it's worth checking out your options. You can explore the pros and cons of a foam cannon vs a foam gun in our detailed guide to see how you can take your home car wash to the next level.
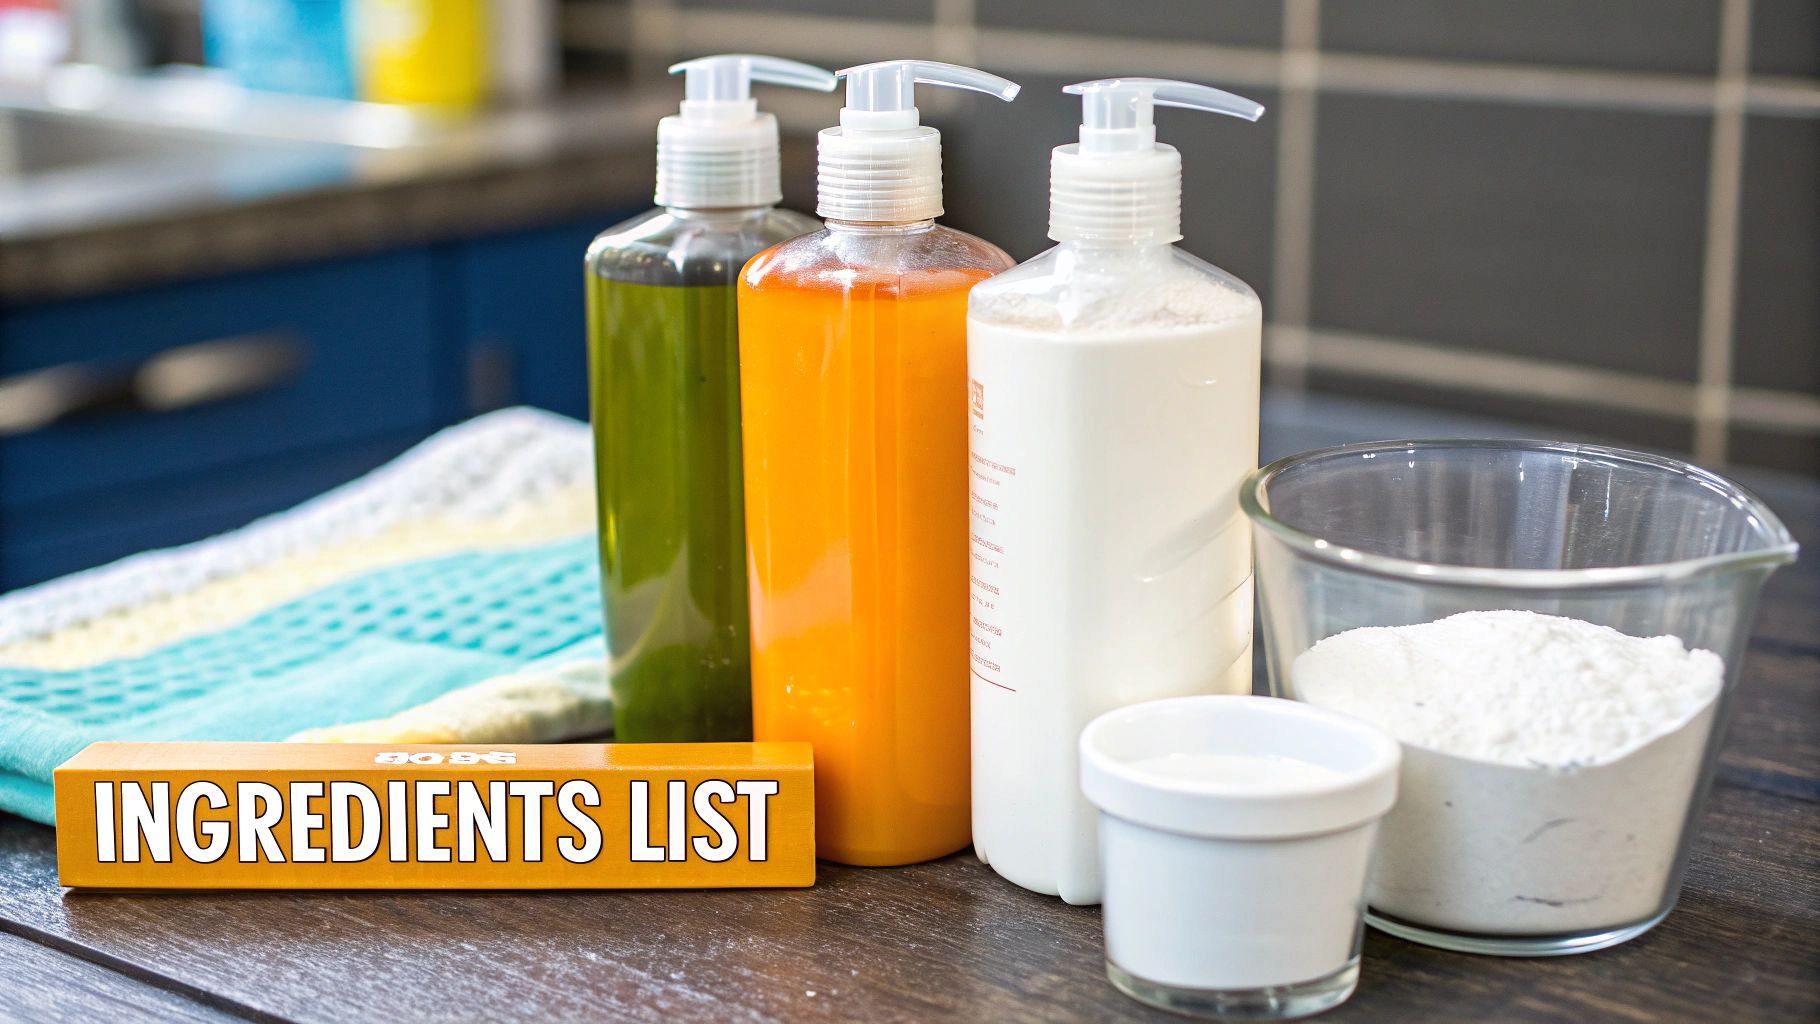
Mixing Your Perfect Car Wash Solution

Alright, this is where the fun starts. Making your own homemade car wash solution isn't some complicated science experiment. It's really just about getting the proportions right to clean your car effectively without damaging the paint.
The goal is simple: create a slick, sudsy mix that lifts away dirt and grime, but is gentle enough to leave your car's clear coat and wax protection untouched. Getting that balance is key. Too weak, and you're just rubbing grit around. Too strong, and you risk stripping your wax or leaving a dull, soapy film behind.
The Basic Recipe for a Safe Clean
First things first, grab a clean, five-gallon bucket. Here’s the simple, tried-and-true mixture I've used for years:
- Water: Fill your bucket about three-quarters of the way with warm water. I find warm water just works better—it helps dissolve the soap and loosens up dirt much more effectively than cold water.
- Soap: Now, add about 1-2 tablespoons of a gentle, pH-neutral dish soap. The trick is to pick one that doesn't have any harsh degreasers, bleach, or other aggressive additives. You want clean, not stripped.
- Mixing: Here's my favorite part. Grab your hose and use a jet or high-pressure setting to spray into the bucket. This blasts the soap and water together, creating a thick, rich layer of suds. That foam is what provides the lubrication you need for a safe, scratch-free wash.
Here’s a pro tip I learned the hard way: always add the soap to the water. If you put the soap in first and then add water, you’ll get a giant mountain of foam right away, and it's impossible to tell how much water you actually have in the bucket. Water first, then soap, then mix.
Smart Additions for Specific Problems
While that basic recipe is great for most weekly washes, sometimes you need to call in reinforcements for specific issues. Just remember to use these sparingly; they're for targeted problems, not everyday use.
A classic headache is washing with hard water. The minerals left behind can create stubborn water spots all over your beautiful paint job. To fight this, add about one cup of white vinegar per two gallons of water to your final rinse bucket (not your soap bucket). The mild acidity helps neutralize the minerals, making it much easier to dry your car to a spot-free shine.
What about those really stubborn spots, like baked-on bugs or a bit of road tar? For these, I recommend spot treating before the main wash. You can make a simple paste with baking soda and water and gently apply it to the problem area. Let it sit for a minute to do its work, then rinse it off completely before you start washing the rest of the car. It’s a much safer approach than dumping something abrasive into your entire wash solution.
Executing The Perfect Scratch-Free Wash
Having the perfect homemade car wash solution is a great start, but it's your technique that really makes the difference between an okay wash and a professional, swirl-free shine. If you want to protect your paint, the two-bucket wash method is the gold standard. It's non-negotiable in my book.
This approach is brilliantly simple. You have one bucket for your sudsy homemade soap and a second one filled with clean rinse water. Why? Because this simple setup stops you from rubbing abrasive dirt and grit right back onto your car's paint, which is exactly how those frustrating swirl marks happen.
The Top-Down Strategy
Always, always wash your vehicle from the top down. Gravity is your best friend here. Working this way ensures that all the grime from the roof and windows flows down and away from the panels you’ve already cleaned.
I start with the roof, then hit the windows, pillars, and glass. From there, I move to the hood, trunk, and the upper parts of the doors. You should always save the dirtiest areas for last—think bumpers, rocker panels, and the lower door sections. They collect the most road gunk.
Pro Tip: I learned this the hard way. Only wash your car in the shade or on a cool, overcast day. If the sun is beating down, your homemade car wash solution will dry way too fast, leaving behind stubborn water spots and soap streaks that are a real headache to buff out.
The Two-Bucket Dance
Once you get into the rhythm of the two-bucket method, it becomes second nature. It's a straightforward process that you'll get the hang of after your first wash.
- Load Up: Dip your clean microfiber wash mitt into the soap bucket.
- Wash Small: Gently wash one section at a time. Don't try to tackle the whole car at once; think one door, or half the hood.
- Rinse the Mitt: Here's the crucial part. Before you even think about getting more soap, dunk that dirty mitt into the clean rinse water. Swish it around vigorously to knock all the trapped grit loose.
- Reload and Repeat: With a now-clean mitt, go back to your soap bucket and move on to the next panel.
This simple back-and-forth is what keeps your paint safe.
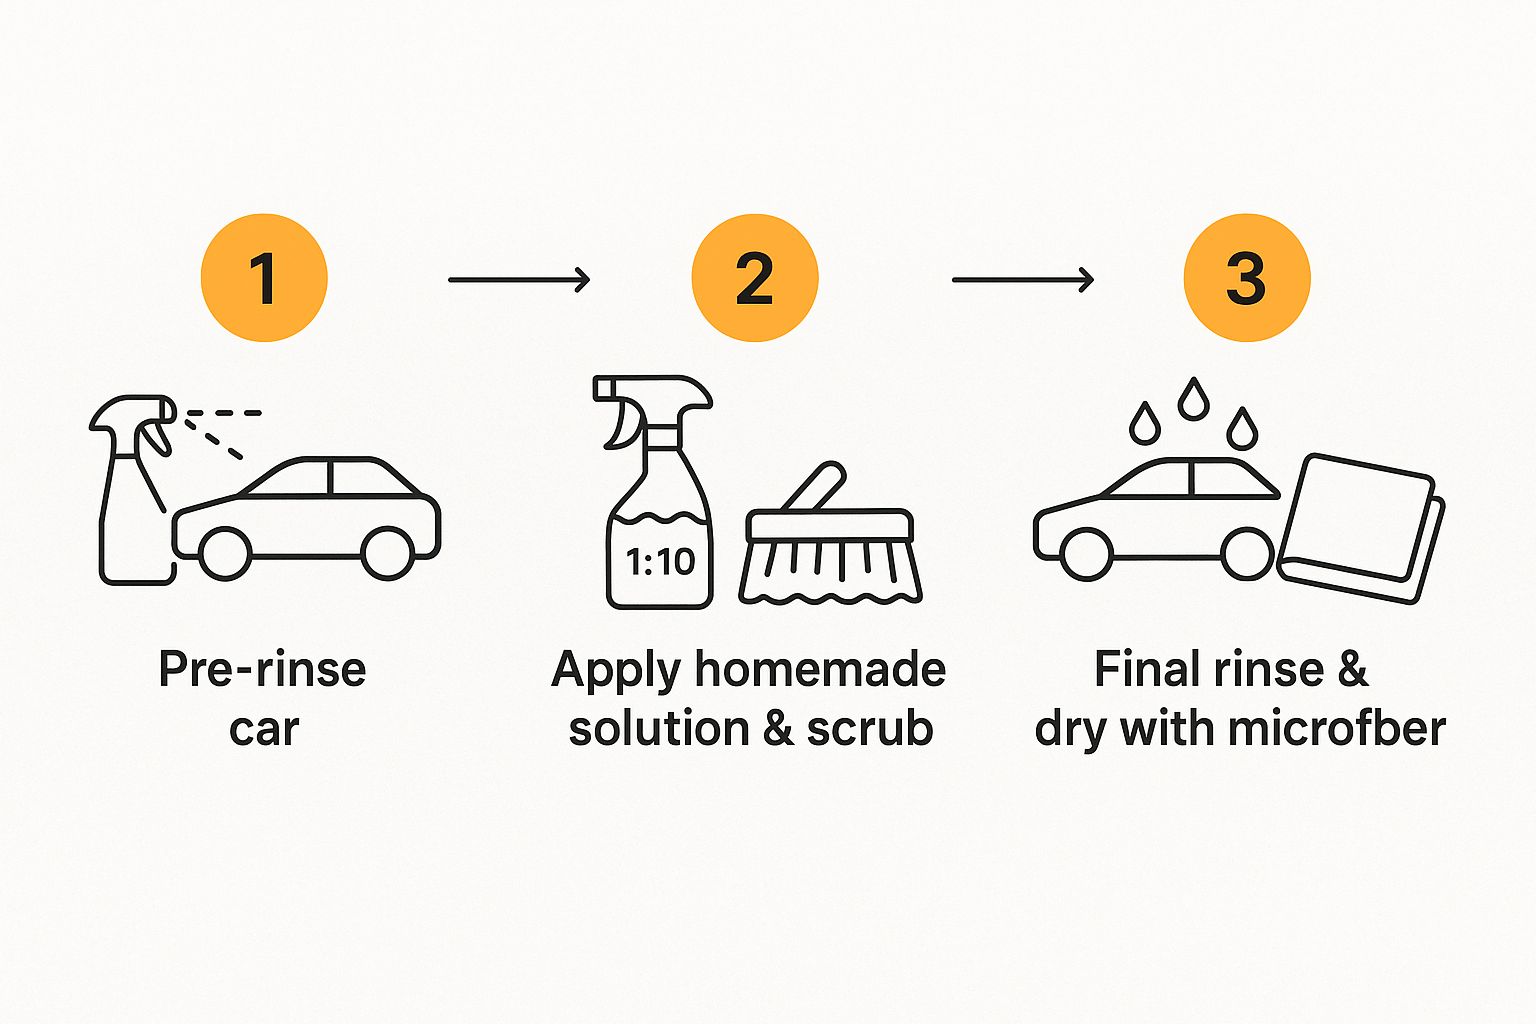
Seeing the process visualized—from pre-rinse to wash and finally to drying—helps drive home how each step is critical for getting that flawless finish.
And please, never use the same mitt on your wheels that you use on your paint. Brake dust is incredibly abrasive and will absolutely wreck your clear coat. Dedicate separate tools for the wheels. For an even deeper dive, check out our guide on the best way to wash your car at home, where we break down every little detail for a showroom shine.
Avoiding Common Pitfalls When Washing Your Car
Mixing your own car wash solution is a fantastic way to get great results on a budget. But a few simple missteps can turn your Saturday wash session into a frustrating exercise that could even damage your car's finish. I've seen it happen plenty of times. Knowing what not to do is just as important as knowing the right steps.
Let's start with the biggest one: the soap. While a gentle dish soap can work in a pinch, you have to be picky. The key is choosing one that's pH-neutral and doesn't contain aggressive degreasers. Think about it—harsh dish detergents are formulated to cut through baked-on grease on a lasagna pan. On your car, that same power will strip away the protective wax and sealant, leaving your clear coat exposed and vulnerable.
Another classic mistake is washing the car under the blazing sun or when the metal is hot to the touch. Your soap and water will evaporate way too fast, creating stubborn water spots and leaving behind a filmy soap residue that's a real pain to get off. Always work in the shade or wait for a cooler part of the day.
Protecting Your Paint Is All in the Details
Beyond the soap and sun, how you physically wash the car makes a huge difference. Just using one bucket is a guaranteed way to create swirl marks. You're essentially dunking your mitt back into dirty water and then rubbing that same grit right back onto your paint.
Here are a few other common errors I see all the time:
- Using Old Rags or Sponges: Please, step away from the old t-shirts, bath towels, and kitchen sponges. These materials are far too abrasive for automotive paint and will trap dirt particles, creating fine scratches with every wipe. A high-quality microfiber wash mitt is the only way to go.
- Skipping the Two-Bucket Method: This isn't just for pro detailers. Having a second bucket filled with plain water to rinse your mitt is crucial. It ensures you're always applying a clean, soap-filled mitt to the car, not a gritty one.
- Cross-Contaminating Your Tools: The dirt and brake dust on your wheels are in a different league of grime. It's incredibly abrasive. If you use the same mitt or brush on your wheels and then your paint, you're asking for scratches. Always have separate tools for wheels and paint.
This mindful approach to car care is part of a bigger picture. The mobile car washing market is projected to soar to nearly USD 21.7 billion by 2033, driven by a growing demand for more convenient and sustainable options. You can dive into the full research from persistencemarketresearch.com to see how the industry is evolving.
Once you know what to look out for, avoiding these mistakes is simple. To see how these tips fit into the entire process, check out our complete car wash checklist for a perfect finish.
Answering Your Top Questions About DIY Car Wash Soap
I get it. Going the DIY route with anything involving your car's paint can feel a little risky. It's smart to ask questions first. Let's tackle some of the most common concerns I hear from car owners, so you can feel totally confident mixing up and using your own car wash solution.
It's no surprise that more people are looking for alternatives. The global car wash market is actually expected to reach USD 40.41 billion by 2030. A big part of that growth comes from people wanting smarter, more water-conscious, and budget-friendly options. A good homemade soap ticks all those boxes. If you're curious, you can find more details on these market trends from Data Bridge Market Research.
Is a Homemade Car Wash Solution Actually Safe for My Paint?
Absolutely, but this comes with a huge condition: you have to use the right ingredients. The safety of your DIY car wash soap comes down to one thing—using a gentle, pH-neutral soap. You're looking for something basic, without any of the harsh degreasers, bleach, or aggressive chemicals found in some household cleaners. Those additives are designed to attack grease and grime, and they'll do the same to your car's protective wax and sealant.
Think of your car's clear coat as its skin. Using something like dish soap or laundry detergent is like giving it a harsh chemical peel—it strips away all the protection. Stick to a simple, gentle soap, and your paint will be just fine.
Can I Use This Mix in a Pressure Washer Foam Cannon?
You can try, but honestly, you'll probably be disappointed with the results. Most homemade solutions just don't have the special surfactants that commercial soaps use to create that super thick, clinging foam. The whole point of a foam cannon is that the foam sits on the car, loosening up dirt before you even touch it.
Your DIY mixture will likely come out looking watery and will run right off the panels. My advice? Use your pressure washer for a great pre-rinse to knock off loose dirt, then apply your homemade soap the old-fashioned way: with a good two-bucket wash and a quality microfiber mitt.
Your homemade solution is built for excellent lubrication and gentle cleaning, not for a big foam show. Applying it with the two-bucket method ensures its safe, simple formula gets right where it needs to be—on your car’s surface.
How Often Should I Wash My Car with This Soap?
Every two to four weeks is a solid baseline for most people. But that's just a starting point. The real answer depends entirely on where you live and how you drive. If your car is constantly battling tough contaminants, you'll need to wash it more frequently.
Consider these real-world scenarios:
- Winter Driving: Road salt is incredibly corrosive. Wash it off as soon as you can, even if it's just a quick rinse.
- Parking Under Trees: Bird droppings and tree sap are acidic and can eat into your clear coat if left to bake in the sun.
- City Commutes: Urban environments cover your car in a film of industrial fallout and gritty road grime.
Pay attention to your car. A quick wash to get something specific off is always a better move than waiting and risking permanent damage. Consistent, regular cleaning is what really protects your paint in the long run.
For those times you want that professional-level clean without the professional-level effort, the SwiftJet foam gun is a game-changer. It turns a standard garden hose into a serious foaming tool, making your wash routine faster and more effective. If you're ready to step up your car care, check it out at https://swiftjetusa.com and grab one for yourself.