
An RV awning that’s caked in grime doesn’t just look bad—it's a welcome mat for stubborn mold, mildew, and UV damage that can seriously shorten its lifespan. The good news is, you don’t need harsh chemicals to get it looking new again. A simple, fabric-safe cleaning solution and a bit of elbow grease are all it takes to protect your investment.
This method gets you a deep clean without risking damage to the awning's delicate material.
The 4 Steps to a Spotless RV Awning
A little prep work goes a long way here. The goal isn't just to blast away dirt, but to do it efficiently and safely, steering clear of common mistakes that can wear out your awning fabric.
First things first, fully extend your awning. If you can, lower it as much as possible. This gives you much better access to both the top surface and the underside—a place where mildew loves to hide. Grab a broom or a soft brush and give the whole thing a once-over to knock off any loose leaves, twigs, and cobwebs. Getting this debris off now means you won't be grinding it into the fabric later.
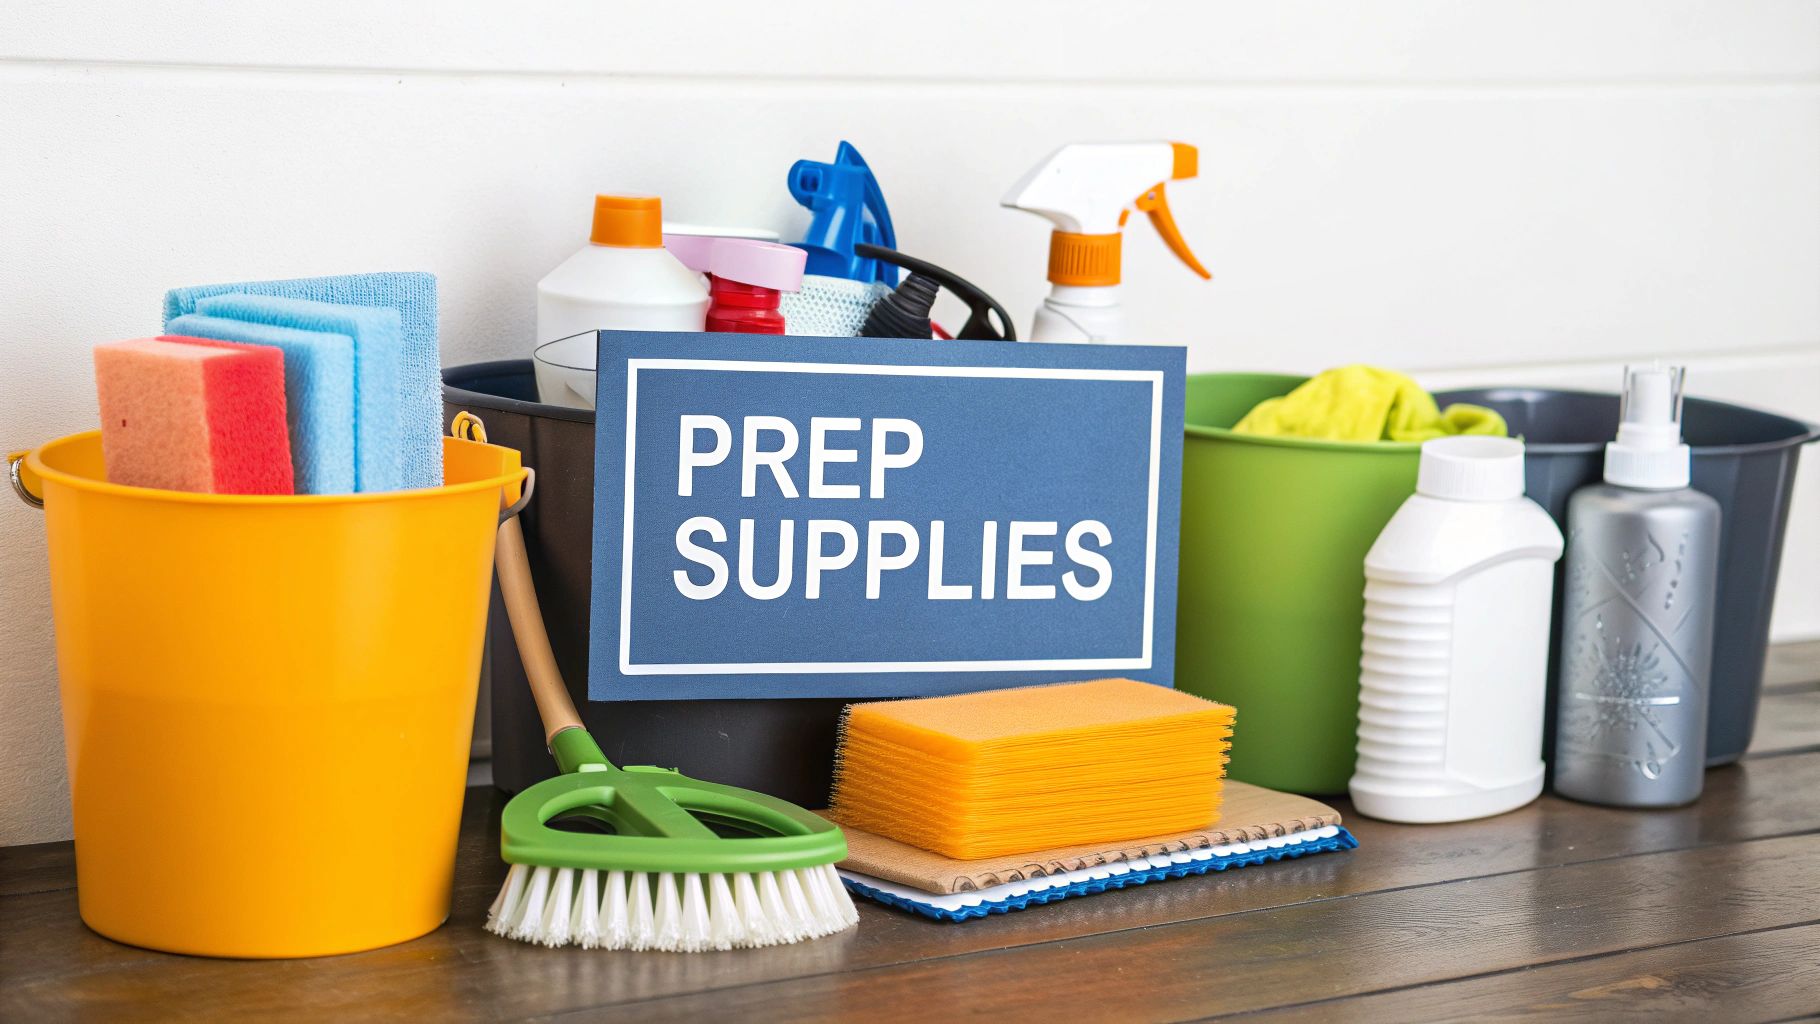
Your Awning Cleaning Toolkit
You don't need an arsenal of expensive, specialized products. A simple DIY cleaner is often the most effective and safest bet. Gather these essentials before you start for a smooth and effective cleaning session.
| Item | What It's For | Insider Tip |
|---|---|---|
| Soft, long-handled brush | Applying solution & gentle scrubbing | Look for one with a telescoping handle. It’s a back-saver and helps you reach the center of the awning without a ladder. |
| 5-gallon bucket | Mixing your cleaning solution | Get two if you can—one for soapy water and one for clean rinse water to dip your brush in. |
| Mild dish soap | The cleaning agent | Choose a basic, gentle soap like Dawn. Avoid anything with bleach, degreasers, or other harsh additives. |
| Garden hose with nozzle | Rinsing | A standard nozzle is perfect. Resist the urge to use a pressure washer, which can easily damage the fabric and seams. |
With these items ready, you're set up for a quick and painless cleaning day.
Mix Your Go-To Cleaning Solution
Many seasoned RVers and even manufacturers will tell you that a homemade solution is the way to go. It's gentle, cheap, and it works. One of the most tried-and-true recipes is a simple mix of dish soap and water.
We've found the perfect ratio, echoed by industry experts like Lippert, is 1/4 cup of mild dish soap mixed into a 5-gallon bucket of warm water. This creates a powerful but gentle cleaner that’s safe for both common vinyl and acrylic awning fabrics.
For more tips on keeping your whole rig in top shape, check out our complete guide on how to wash an RV like a pro.
Get to Scrubbing (Gently!)
Now that your solution is ready, it's time to apply it.
Dip your soft-bristled brush into the soapy water and start working on a small section of the awning. I like to tackle it in manageable 3-to-4-foot chunks. This keeps the soap from drying out before you've had a chance to scrub and rinse it off properly.
Use gentle, circular motions to scrub the surface. Pay a little extra attention to any visible stains or mildew spots. Remember, gentle persistence is the key. Scrubbing too aggressively can strip the fabric's protective coating.
Once a section is clean, give it a thorough rinse with your garden hose and then move on to the next one. It’s a simple rhythm: apply, scrub, rinse, repeat.
Match Your Cleaner to Your Awning Fabric
Before you grab a bucket and brush, you have to know what kind of awning you're about to clean. Using the wrong cleaner is a fast track to ruining it—think of it like washing a delicate wool sweater on a hot cycle. You just don’t do it.
Most RV awnings fall into one of two categories: vinyl or acrylic.
Figuring out which one you have is pretty straightforward. Vinyl typically has a slick, slightly shiny look and feels smooth, almost like a heavy-duty shower curtain. Acrylic, on the other hand, feels more like a tough canvas fabric and usually has a matte finish. This one little detail changes your entire cleaning approach.
How to Handle a Vinyl Awning
Vinyl is a solid, non-porous material, which is great because stains don't soak in easily. The downside? That surface is a perfect breeding ground for mildew. While there's a protective coating on there from the factory, harsh chemicals can strip it right off.
- For regular cleaning, a simple mix of mild dish soap and water gets the job done perfectly. No need to overcomplicate things.
- For stubborn mildew, you’ll need something stronger. Look for a commercial cleaner made specifically for vinyl awnings or try a diluted oxygen bleach solution. Steer clear of chlorine bleach at all costs.
- When scrubbing, use a soft-bristled brush. You don’t need a lot of elbow grease; let the cleaner do the work. Scrubbing too hard will only wear down the material's protective top coat.
Taking Care of an Acrylic Awning
Acrylic awnings are a different beast entirely. Since the material is woven, dirt and grime can get trapped deep within the fibers. The challenge is getting that gunk out without wrecking the water-repellent finish that keeps you dry.
The single biggest mistake I see people make with acrylic awnings is using a regular detergent. Soaps with detergents will strip that factory water-repellent coating right off, leaving the fabric to get waterlogged in the next rainstorm.
Your best bet is a gentle, non-detergent soap. I personally recommend something like Woolite or a dedicated cleaner designed for outdoor fabrics.
Use a brush with stiff bristles to gently work the cleaner into the fabric's weave, which helps lift the dirt out. Rinse it thoroughly and let it air dry completely. Afterward, it’s a good idea to treat it with a spray-on fabric guard to restore its water-repellent barrier.
Alright, let’s get that awning looking brand new. Knowing which cleaner to grab is a good start, but the real secret to a spotless, long-lasting awning is all in the technique. This isn't just about sloshing some soapy water around; it's a proven method to get the job done right without causing any damage.
First things first, fully extend your awning and lower it as far as it will comfortably go. This simple move makes a world of difference, keeping you safely on the ground for most of the cleaning instead of wobbling on a ladder.
Before you even think about getting it wet, give the whole thing a good dry sweep. Your mission here is to knock off all the loose stuff—leaves, twigs, dust, and those pesky cobwebs. If you skip this, you’ll just end up grinding that grit into the fabric once you start scrubbing.
This initial dry pass is your foundation for a great finish. I find it breaks down into three quick actions.
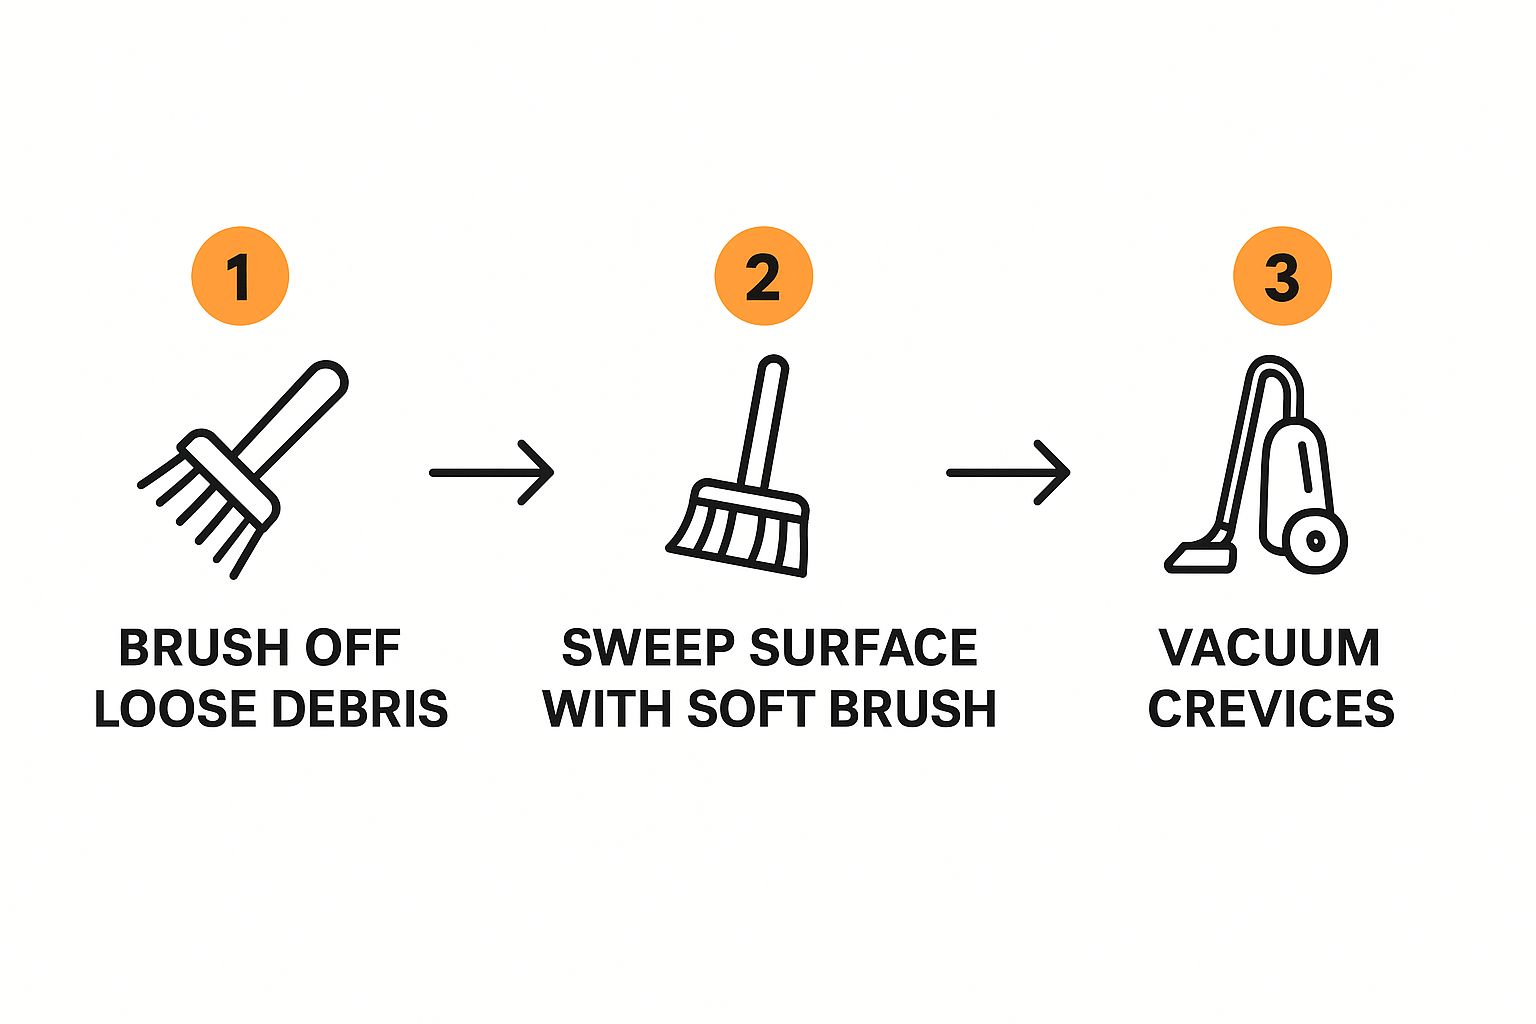
Following this process means you're fighting the deep-down grime, not just making mud out of loose dirt.
Applying the Cleaner and Getting to Work
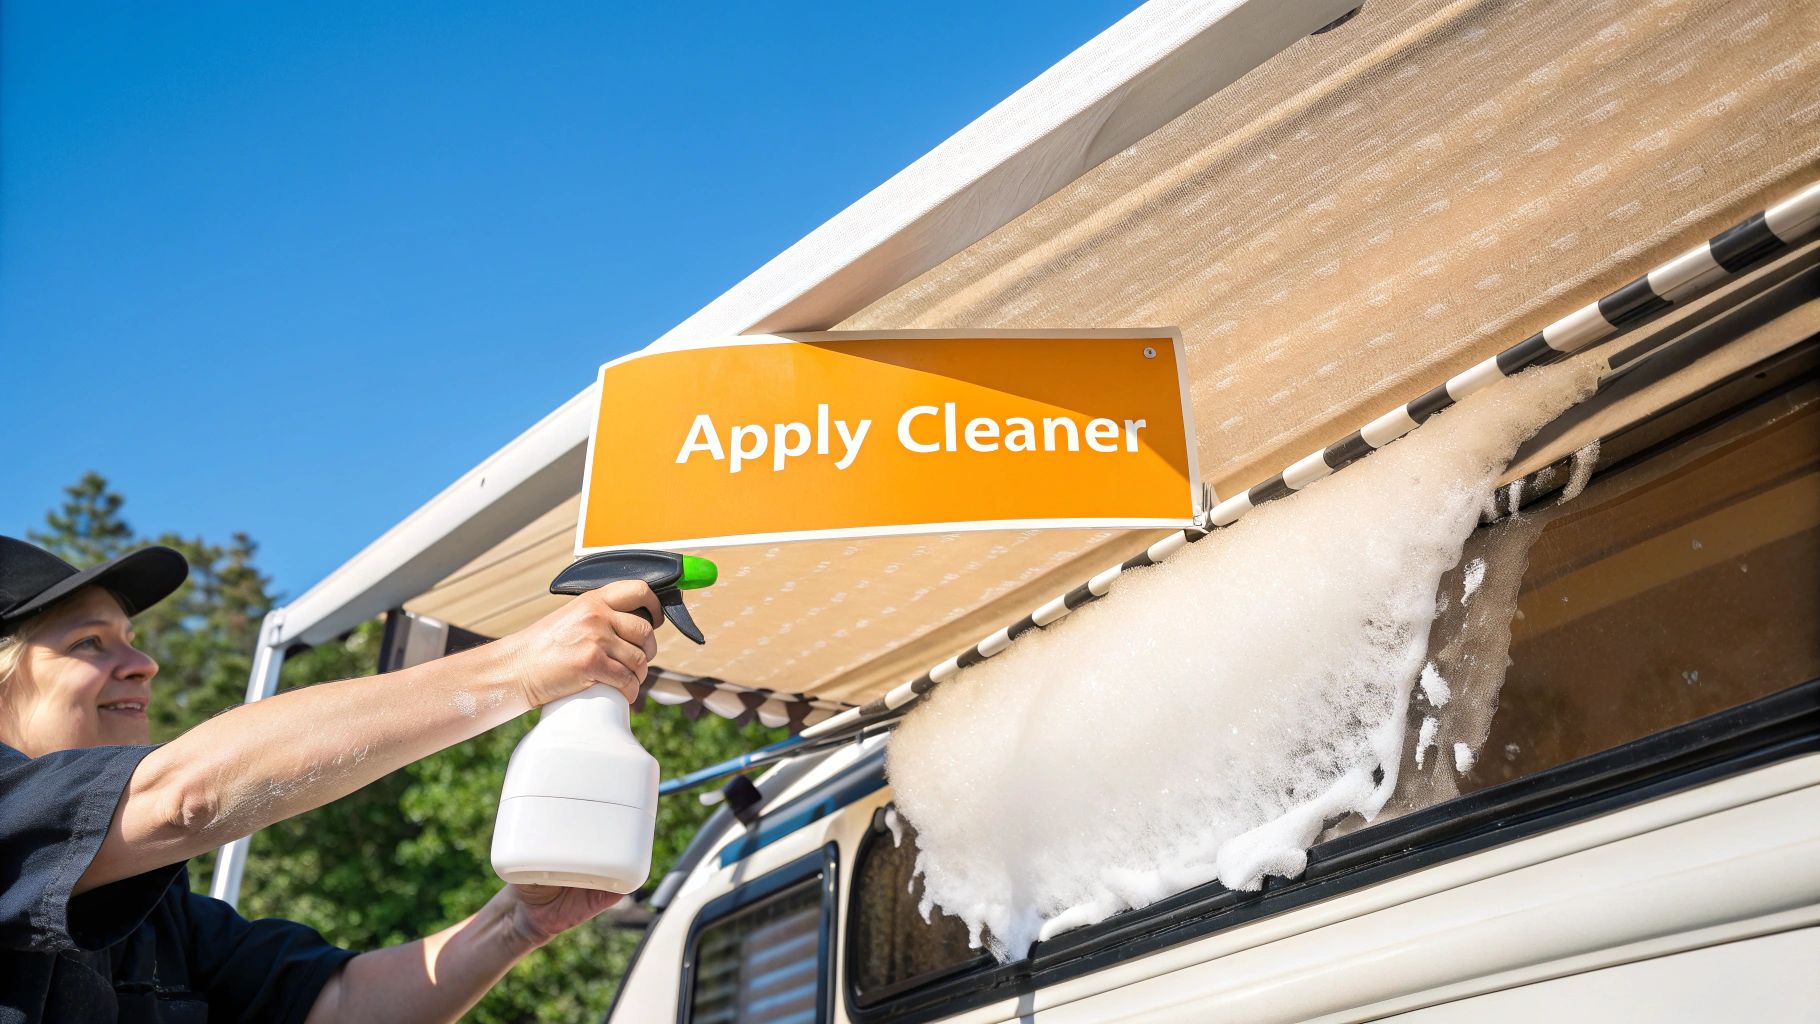
With the surface debris gone, it's time for the main event. Here’s a key piece of advice: work in small, manageable sections. I usually tackle a 3-4 foot wide area at a time. This keeps your cleaning solution from drying out on the fabric, which is a surefire way to create a sticky, soap-scum residue that just attracts more dirt down the road.
Dip your soft-bristled brush into your cleaning solution and get a generous amount onto that first section. Give it a few minutes to really soak in and start breaking down the grime. This is especially important for stubborn spots like mildew or bird droppings. Now, using gentle, circular motions, give it a scrub. You don't need to put a lot of muscle into it; let the cleaner do the heavy lifting to avoid damaging the fabric's protective coating.
And don't forget the underside! It's easy to miss, but it's a prime breeding ground for mildew since it rarely sees the sun. Clean the bottom of the awning fabric using the exact same method.
Pro Tip: Got some stubborn, baked-on tree sap? Before you start scrubbing with your soap mixture, try dabbing a little isopropyl alcohol on a clean rag. Test it on a small, hidden spot first to make sure it doesn't mess with the fabric color. It can save you a lot of elbow grease.
Once a section is scrubbed clean, rinse it well with your garden hose before you even think about starting the next one. This section-by-section approach is something the pros do, too. In fact, it’s a lot like the methodical process we outline in our guide on how to wash a car properly at home like a pro.
When you're all done scrubbing, a final, thorough rinse of the entire awning is absolutely critical. Any soap you leave behind will turn into a sticky magnet for fresh dirt and can even encourage new mildew to form. Keep rinsing until the water running off the awning is completely clear and free of suds.
The Secret to a Mildew-Free Awning
After all that scrubbing and rinsing, you might think the job is done. But the single most critical step is still ahead of you, and rushing this part can undo all your hard work, turning your sparkling clean awning into a perfect petri dish for mold and mildew.
The secret is simple, but it’s absolutely non-negotiable: thorough drying. When you roll up a damp awning, you’re trapping moisture in a dark, enclosed space. This creates a humid, stagnant environment where fungal spores thrive, leading to those ugly stains and that all-too-familiar musty smell. It’s like balling up a wet towel and tossing it in a gym bag—you know it won’t end well.
How to Dry Your RV Awning Properly
Honestly, the best method is also the easiest one: let Mother Nature do the work. After you’ve given it a final, thorough rinse, just leave the awning fully extended to air-dry. A warm, sunny day with a light breeze is the perfect combination, as it will speed up evaporation dramatically.
You'll want to give it at least 15 to 60 minutes to dry completely before you even think about rolling it back in. This simple patience is your best defense against trapped moisture. You can find more great advice on this in these RV awning care tips from Cruise America.
What if you're forced to pack up? We've all been there. A sudden downpour hits, or you have a tight departure schedule. If you absolutely must retract a wet awning, make it your number one priority to unroll it and let it dry completely at your very next stop, preferably within 24 hours. Don't put it off!
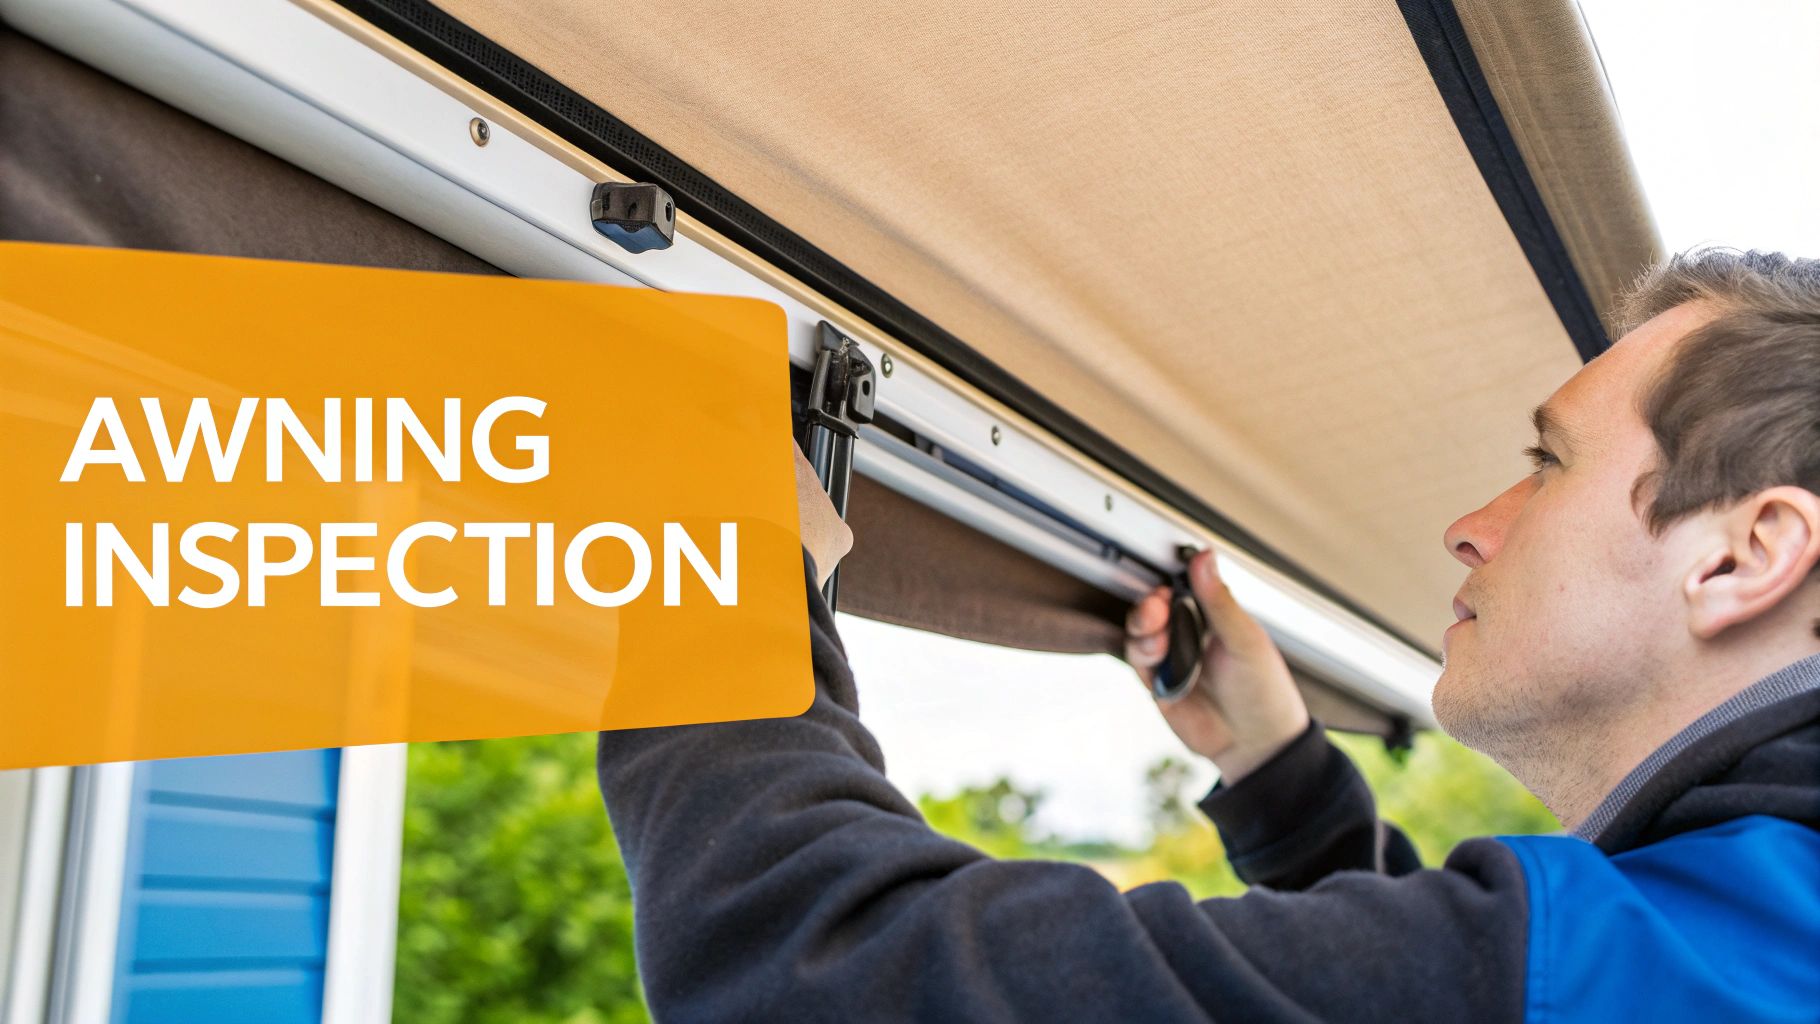
Simple Habits for a Longer Awning Life
Beyond just cleaning, a few small maintenance routines can make a world of difference in how long your awning lasts. These habits are all about preventing small issues from turning into expensive headaches down the road.
-
Regular Inspections: Once a month or so, give your awning a quick visual check. Look for small pinholes or tears in the fabric and keep an eye out for any loose stitching along the seams.
-
Lubricate Moving Parts: The mechanical arms and joints need a little love, too. A quick spray with a dry silicone lubricant a couple of times per season will keep everything operating smoothly and help prevent rust from forming.
Catching a tiny tear early means you can fix it with a simple, cheap repair kit. If you ignore it, you’re risking a massive rip the next time a strong gust of wind comes through, and that could mean a very costly fabric replacement.
Even with the best cleaning routine, some stains just won't give up. You’ll inevitably run into stubborn spots that laugh at a simple soap and water scrub. But don't worry—with a little know-how, you can tackle these without damaging your awning fabric.
https://www.youtube.com/embed/o-q_BZJi6Os
Getting Rid of Mold and Other Organic Messes
Organic stains like mold and mildew are a common headache for RV owners. I’ve found that a simple mixture of one part white vinegar to four parts water works wonders. Just apply it directly to the problem areas, let it sit for about 15 minutes to work its magic, and then gently scrub with a soft brush. The vinegar's natural acidity breaks down the fungus without being harsh on the material.
Then you've got bird droppings. The key here is patience. Let them dry completely before you do anything. Trust me, trying to wipe them off while they're wet creates a much bigger, smeared mess. Once hardened, you can usually flick off the solids with a plastic putty knife or even an old credit card before treating any leftover stain.
Tackling Sticky and Stubborn Residue
Tree sap has to be one of the most frustrating things to clean off an awning. It’s a sticky magnet for dirt and just gets worse over time.
A great trick I’ve learned over the years is to use a bit of isopropyl (rubbing) alcohol on a microfiber cloth. Gently dab the sap to dissolve it—don't scrub, or you'll spread it around. It's always a good idea to test this on a small, hidden spot first to make sure it doesn't mess with the fabric's color.
This technique is surprisingly versatile. In fact, if you've got sap on your tow vehicle too, our guide on how to remove tree sap from a car has some great tips.
For those annoying rust marks that can transfer from the awning hardware, a simple paste made from lemon juice and salt can be surprisingly effective.
- Just apply the paste directly onto the rust stain.
- Let your awning sit in the sun for about an hour so the mixture can work.
- Rinse it off completely with clean water.
This natural approach often lifts the stain right out, saving you from having to use harsh chemicals that could damage the fabric.
Alright, let's get into the questions I hear all the time from other RV owners out on the road. Think of this as the quick-and-dirty guide to keeping your awning in top shape.
Your Top RV Awning Cleaning Questions Answered
How often do I really need to clean my awning?
I always recommend giving your awning a good, deep clean twice a year. A perfect time to do this is when you're getting your rig ready for the season, and then again right before you put it away for the winter.
But here’s a pro tip: don't wait for those deep cleans. After each camping trip, just give it a quick rinse with a regular garden hose. This simple step prevents dirt, bird droppings, and sap from setting in and becoming a real headache later. Consistency is everything here.
Keeping up with your awning isn't just about looks. Regular, proactive cleaning can cut your risk of fabric damage from nasty mold, mildew, and stubborn stains by as much as 60%. If you're interested, you can discover more tips on protecting your RV awning at RVInsurances.com.
Can I just use my pressure washer on it?
I know it’s tempting to just blast the grime away, but please, step away from the pressure washer. It's almost always a bad idea for awnings.
That high-pressure stream is powerful enough to:
- Damage or stretch the delicate fabric
- Pop the stitching holding it all together
- Strip away the UV and water-repellent coatings from the factory
Honestly, a standard garden hose with a decent spray nozzle has all the power you need to do the job safely and effectively. It's just not worth the risk of causing expensive, irreversible damage.
What if I have to roll up a wet awning?
It happens to all of us. A sudden downpour hits right as you're packing up, or you're on a tight schedule and have to hit the road. If you're forced to roll up a damp awning, don't panic, but don't forget about it either.
Make it your absolute top priority to unroll it and let it air out completely at your next stop. You really want to get this done within 24 to 48 hours to prevent musty smells and mildew from taking hold.
If you're looking to make this whole process a lot faster, the SwiftJet Foam Gun is a fantastic tool. It hooks right up to your garden hose and covers the awning in thick foam, which does a lot of the scrubbing work for you. Get your SwiftJet today and make cleaning the whole rig that much easier.