

You've got a bucket, a hose nozzle, a bottle of car shampoo, and a few towels that have already cleaned the kitchen. The car looks dirty, so you start wherever it seems easiest. Ten minutes later, you're searching for a wheel brush, the soap is running out, and the towel you grabbed has picked up grit from the lower door.
A DIY car cleaning kit works better when it's built as a system rather than assembled from whatever happens to be nearby. The right combination of soap, wash media, buckets, drying towels, and storage keeps the routine predictable, reduces unnecessary rubbing, and helps you avoid buying the same missing item repeatedly. This guide maps that system to three practical builds, minimal maintenance, enthusiast, and travel or RV, all using the same paint-conscious wash process with SwiftJet foam.
Why a Complete DIY Kit Saves Time and Paint
A complete kit solves two problems at once. It gives you the tools to clean each part of the vehicle with an appropriate piece of equipment, and it creates a fixed order of work that prevents dirty tools from moving back onto clean paint.
A scattered setup usually fails in small ways. The only bucket is being used for wheels and paint, the drying towel is too small for the roof, and the wash mitt has no clean place to go after it touches a rocker panel. None of these mistakes feels serious on its own, but together they create extra passes, extra product, and more contact with the finish.
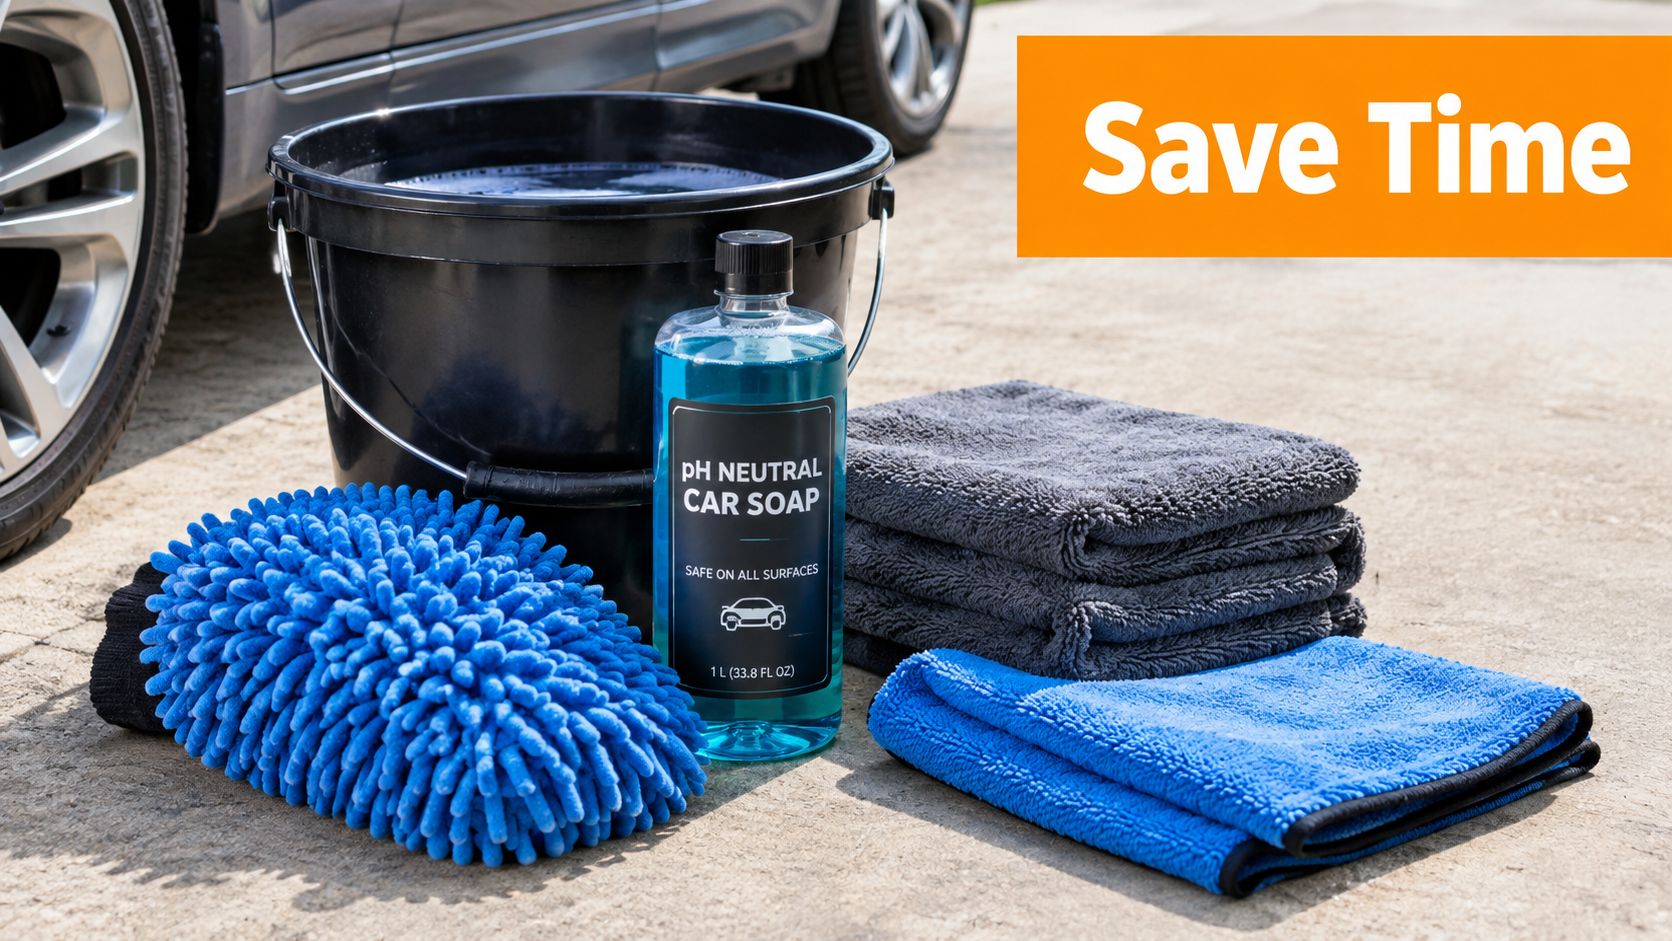
Build around the wash, not the shelf
The core mindset is simple: loose dirt should be removed before contact, dirty areas should have separate tools, and drying should be controlled rather than rushed. A two-bucket process supports that approach by separating soiled rinse water from the shampoo solution. Dedicated microfiber also matters because worn or contaminated fabric can put grit back onto the surface.
The car care products market is a useful proxy for DIY cleaning kits because it includes consumer and professional products for washing, waxing, cleaning, and maintenance. One market estimate values that category at USD 11.2 billion in 2024 and projects USD 14.0 billion by 2030, with a 3.9% CAGR from 2025 to 2030 Grand View Research. Other forecasts are more bullish, but they point in the same direction, a growing maintenance category rather than a one-time accessory market.
That recurring-use pattern changes how you should buy. A slightly better mitt, a dedicated drying towel, or a storage solution can earn its place because you'll use it repeatedly, not because the package looks impressive. You also don't need to buy every detailing product at once.
Practical rule: Buy tools that prevent contamination before tools that add shine.
Three kits, one safe routine
The minimal maintenance kit is for routine washing and quick upkeep. The enthusiast kit adds decontamination and paint protection for owners who enjoy refining the finish. The travel or RV kit prioritizes compact storage, leak prevention, and tools that work around campsites, driveways, and limited water access.
DIY shoppers remain a major part of car care demand. One market report puts DIY demand at 56.72% and projects that segment to grow at a 5.21% CAGR Mordor Intelligence. That doesn't mean every owner needs a large detailing collection. It means a well-planned kit can serve a durable use case, regular vehicle maintenance at home or on the road.
What to Put in Your DIY Car Cleaning Kit
Start with the contact points, then add products for the surfaces you clean. A practical kit needs pH-neutral car shampoo, a wash mitt, drying towels, separate wheel tools, and a way to control foam and water. Everything else should reflect your vehicle, storage space, and cleaning frequency.
pH-neutral shampoo is the foundation. Choose a product made for automotive finishes, not dish detergent or a household degreaser. A neutral shampoo is appropriate for routine maintenance because it cleans without making the wash unnecessarily aggressive. For an eco-conscious setup, look for biodegradable formulas and use only the amount needed for the water volume.
A SwiftJet foam gun connects to a standard garden hose and applies diluted car shampoo as clinging foam. It doesn't replace the hand-wash stage, but it helps loosen and carry away surface grime before the mitt touches the paint. If storage is tight, a normal hose nozzle can handle rinsing, while the foam gun becomes the first upgrade when you want more controlled pre-wash coverage.
Match the tools to the job
Use a microfiber wash mitt for painted panels and keep a separate mitt or brush for wheels. Microfiber drying towels should also be assigned by task. A large, soft towel can handle broad painted areas, while smaller towels are useful for glass, trim, doorjambs, and final inspection. This microfiber towel care guide is useful when you're deciding how many towels you need and how to keep them performing.
Two buckets with grit guards create the most useful separation in a home setup. One holds shampoo solution, and the other holds plain rinse water. Wheel brushes should have shapes that reach between spokes and around lug areas. Don't use a wheel brush on paint after it has touched brake dust.
Clay bars or synthetic clay towels belong in an enthusiast build, not every maintenance kit. They remove bonded contamination that washing leaves behind, but they require lubrication and a clean surface. A sealant adds another layer of protection after cleaning, while a simple spray protectant is easier for occasional users. If you're storing several bottles, brushes, and towels in a small garage or trunk, explore versatile car organizer solutions that keep clean and dirty equipment separated.
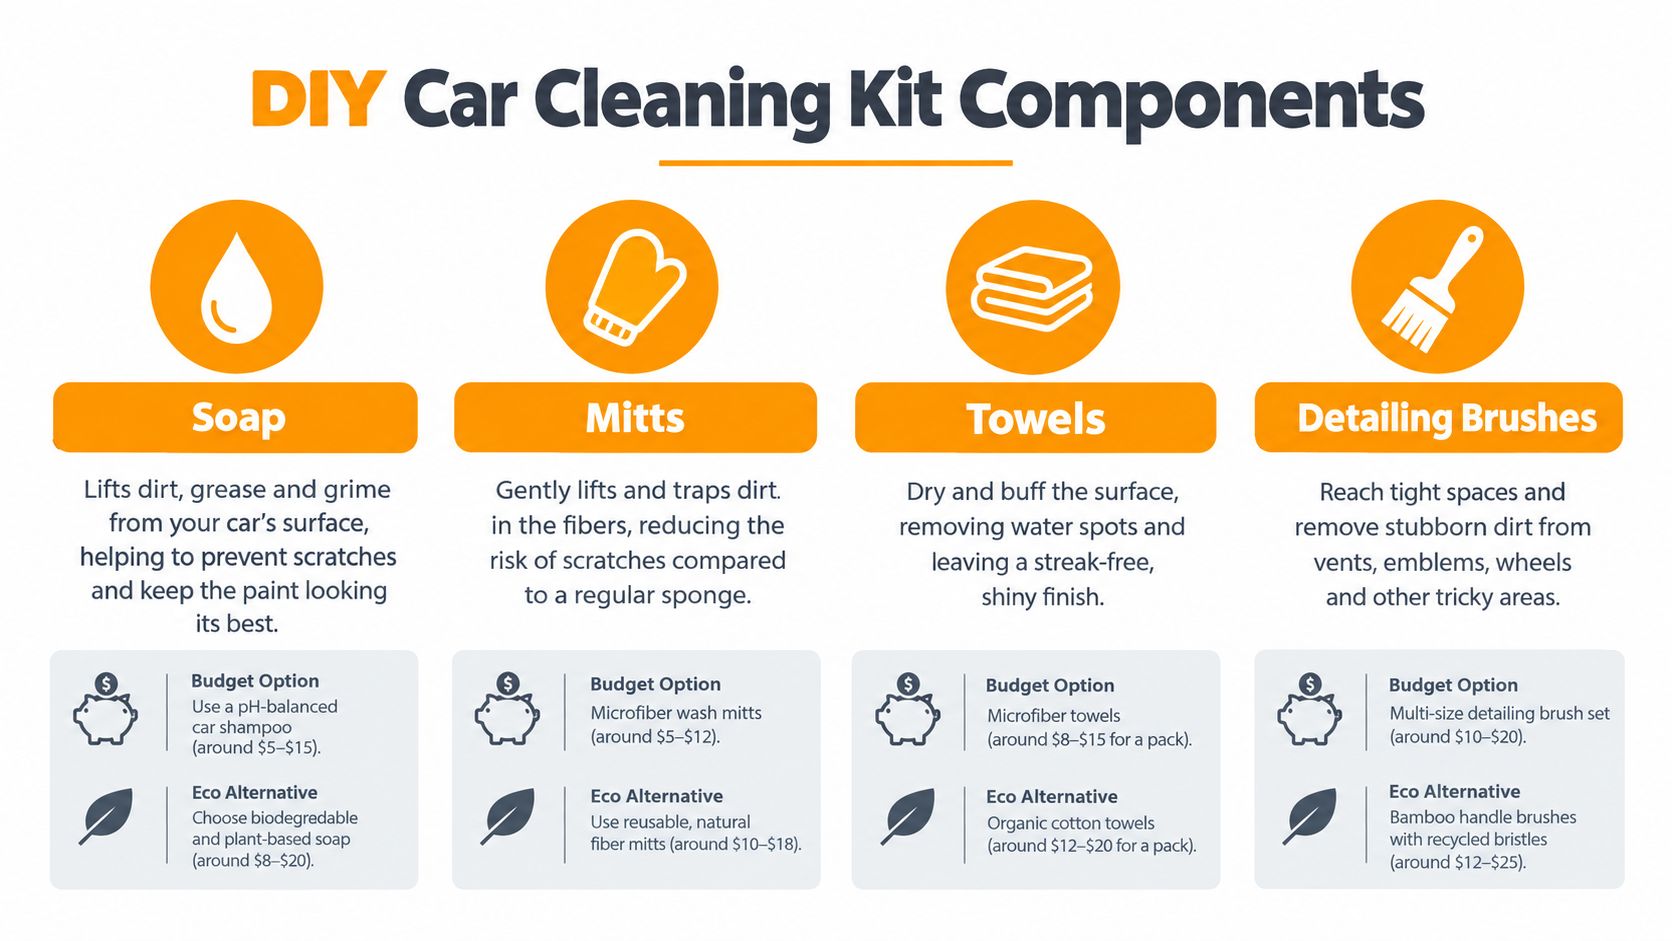
| Kit Tier | Core Contents | Best For |
|---|---|---|
| Minimal maintenance | pH-neutral shampoo, hose nozzle, microfiber mitt, drying towels, two buckets, wheel brush | Routine driveway washing and owners who want only the essentials |
| Enthusiast | Everything in the maintenance kit, plus foam gun, extra mitts, dedicated wheel tools, clay, lubricant, and sealant | Frequent washing, paint-conscious owners, and finish refinement |
| Travel or RV | Compact shampoo bottle, hose-compatible foam tool, collapsible or nested buckets, mitt, compact towels, brushes, sealed storage pouch | Camping, RV trips, apartment parking, and mobile cleaning |
Small extras finish the system. Add a spray bottle for diluted cleaner, a soft detailing brush for emblems and seams, nitrile gloves, a kneeling pad, and a caddy that can drain or ventilate. Avoid buying a large chemical collection before you know which surfaces and problems you regularly encounter.
How to Assemble and Pack Your Kit for Easy Use
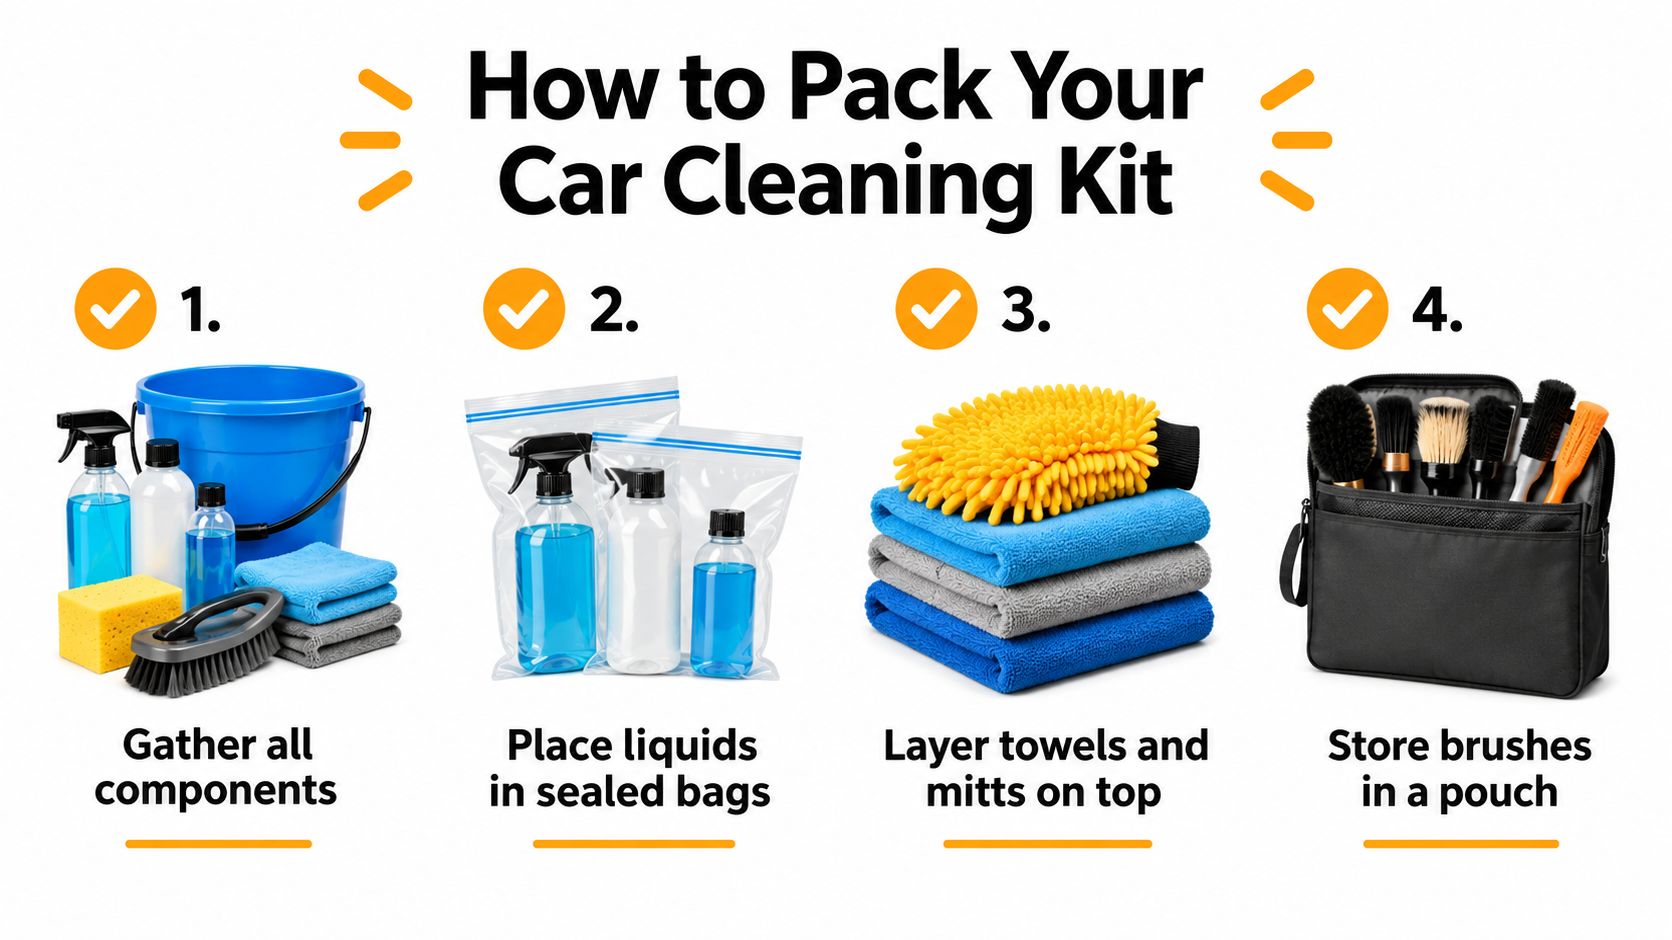
Pack the kit in the order you'll use it, not the order in which you bought it. The wash solution, hose connection, mitt, and first drying towel should be easiest to reach. Wheel brushes, clay supplies, and finishing products can sit deeper in the container because they're used later or less often.
Use a repeatable packing order
- Gather the core components. Put the buckets, shampoo, hose, foam attachment, mitts, towels, and brushes together before filling anything. This prevents a half-start where the vehicle is wet but the missing tool is still in the garage.
- Secure liquids before tools. Close every bottle and place shampoo, spray cleaners, and protectants in a sealed bag or upright container. A leaking bottle can soak towels and contaminate the inside of a storage tote.
- Separate clean and used textiles. Pack clean mitts and drying towels in one breathable bag. Carry a second marked bag for used microfiber so dirty fabric can't touch clean equipment.
- Keep brushes contained. Store wheel brushes and small detailing brushes in a washable pouch. Their bristles collect grit, and loose brushes can damage towels or scratch nearby plastic items while you're driving.
For the hose connection, inspect the washer, thread, and connector before turning on the water. Attach the foam tool firmly, but don't overtighten plastic fittings. Open the water slowly and check for drips at the connection and bottle before directing foam at the vehicle.
In an apartment parking area, a compact tote with nested buckets and a small towel stack is easier to carry than a full-size detailing cart. For an RV trip, put liquids low and upright, then place soft items above them. Keep the foam attachment and hose fitting in a zippered pouch so they don't disappear among camping equipment.
A grab-and-go layout saves more time than an oversized product range. After each wash, return every item to the same location, leave buckets and brushes open to dry, and move used microfiber directly to the dirty-laundry bag.
How to Wash Your Car With Your DIY Kit and SwiftJet Foam
A safe wash begins before the mitt touches the car. Work in shade when possible, keep panels cool, and start with the dirtiest loose material on the exterior. The objective isn't to scrub harder. It's to reduce the amount of grit that reaches the paint.
Follow the contact sequence
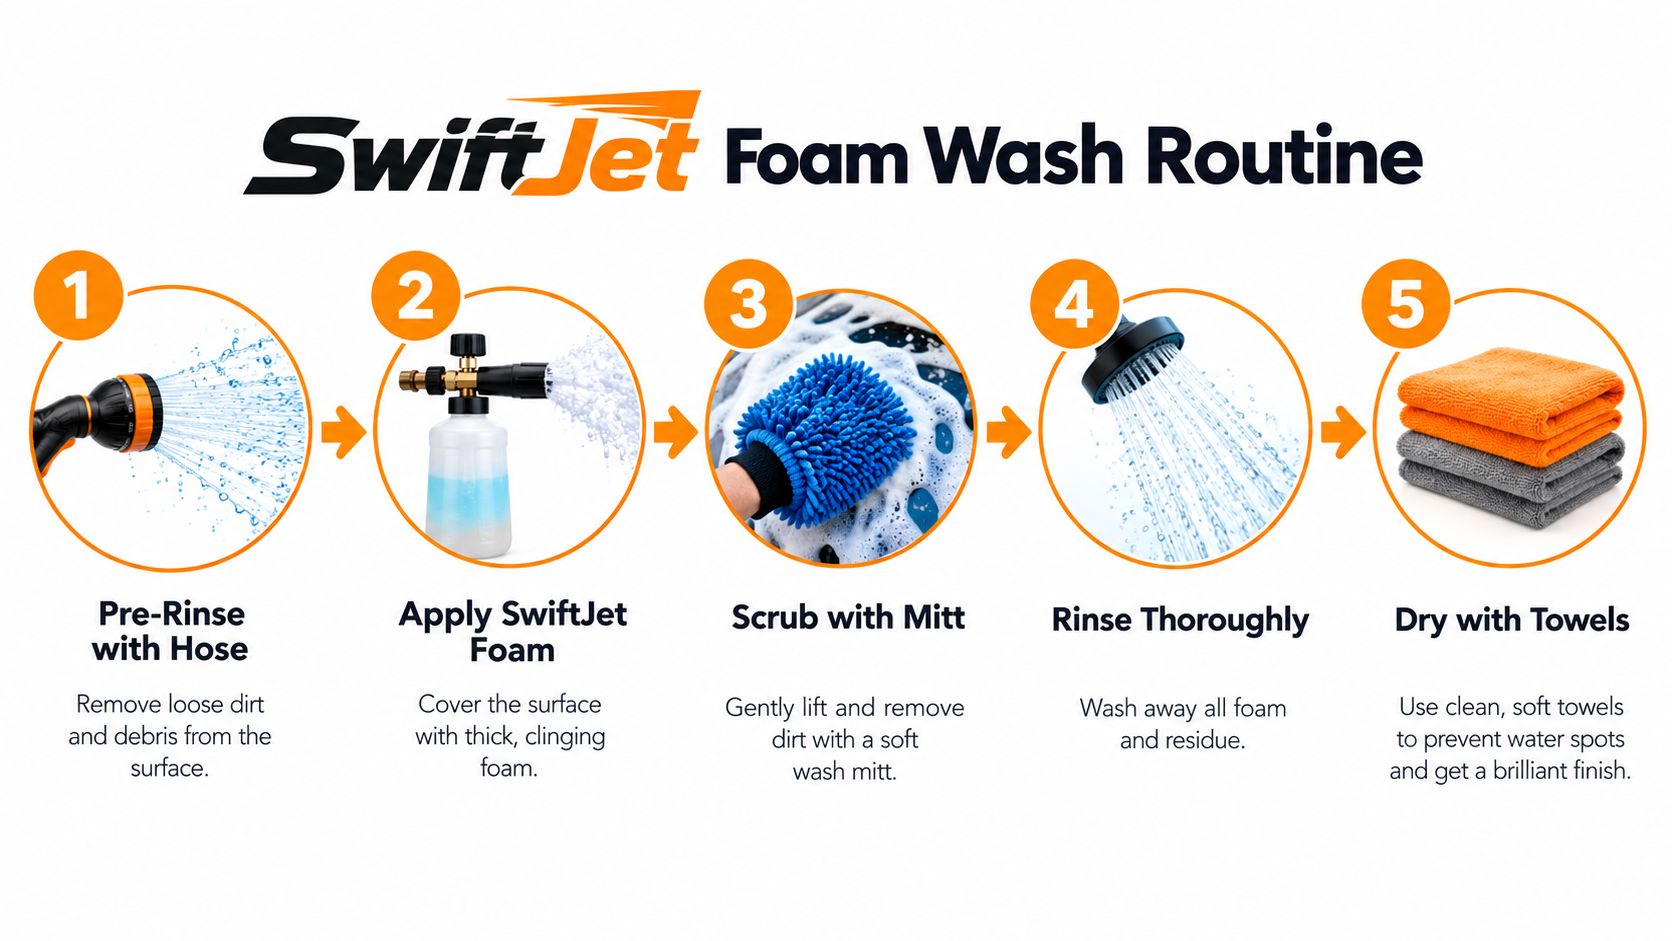
1. Pre-rinse the vehicle. Use the hose to flush loose dust, sand, and road film from the roof downward. Spend extra attention on mirrors, grilles, wheel arches, and lower panels, but don't begin scrubbing these heavily contaminated areas yet.
2. Apply foam with controlled passes. Connect SwiftJet to the garden hose, add the shampoo dilution recommended for the product, and use the on/off trigger to control application. Cover the vehicle evenly, then allow the foam to sit briefly while you prepare the wash buckets. Don't let it dry on the paint.
3. Fill the buckets. Put clean shampoo solution in one bucket and plain water in the other. Place a grit guard in each if the buckets accept them. The rinse bucket gives the mitt a place to release contamination before it returns to the shampoo.
4. Wash one panel at a time. Load the microfiber mitt with shampoo, then glide it across one panel using straight-line motions and light pressure. Rinse the mitt in the plain-water bucket, inspect it, and reload it only when the fibers look clean.
Wash the upper panels first, then glass, and finish with rocker panels, bumpers, and the rear hatch. Lower surfaces carry heavier contamination, so cleaning them last reduces the chance of transferring grit to cleaner sections. Circular wiping can make swirl patterns more noticeable, while straight-line passes give you better control over the direction of any fine marks Mr. Shine Wash.
5. Rinse thoroughly. Remove soap from the roof, glass, trim, panel gaps, and wheels. Check behind mirrors and around badges, where foam can remain hidden and dry into residue.
6. Dry without dragging contamination. Use a clean, dedicated drying towel and lay it flat or pull it gently in straight lines. Use a separate towel for doorjambs and dirty lower areas. If a towel touches the ground, a wheel, or a visibly gritty surface, remove it from the paint routine.
The drying stage isn't an afterthought. A clean towel and light contact protect the work you just did.
If the paint feels rough after washing, stop and assess it before reaching for polish. Clay or a synthetic decontamination towel can address bonded particles, but only on a clean, lubricated surface and with a fresh section of media. Apply sealant after the paint is clean and dry, following the product directions rather than layering several products at random.
The same separation principle applies inside the vehicle. If you're cleaning leather luggage or other travel gear alongside your car supplies, use material-specific guidance such as this resource on cleaning full-grain leather backpacks, rather than treating every surface like automotive paint.
For a visual reference, the professional-result detailing process reinforces the value of sequence, dedicated tools, controlled drying, and inspection.
Maintenance Storage and Eco Friendly Habits That Extend Kit Life
Your kit's performance depends on what happens after the wash. A mitt that stays damp in a closed tote can develop an odor, and a drying towel washed with the wrong products can lose absorbency or trap residue. Maintenance is part of paint safety because dirty or degraded media encourages more pressure during the next wash.
Wash microfiber separately from household laundry when possible. Don't use fabric softener, which can clog microfiber fibers, and avoid overloading the washer because crowded fabric doesn't clean as effectively ROC Goods. Use a suitable detergent, rinse thoroughly, and dry according to the towel maker's care instructions.
Store tools clean and ventilated
Rinse the foam attachment after use so shampoo doesn't dry inside the bottle, pickup tube, or fitting. Disconnect it from the hose, drain remaining water, and let the parts air-dry before storing. Check the connector periodically for debris and replace a damaged seal rather than forcing a leaking connection.
Leave buckets uncovered while they dry. Brush bristles should be rinsed, shaken out, and stored where air can move around them. Keep paint towels in a clean bag and wheel tools in a separate pouch. This arrangement prevents a wheel brush from sharing grit with the mitt you use on the hood.
Eco-friendly choices should also be practical. Biodegradable shampoo can reduce the burden of routine cleaning, but use it according to its label and local water-disposal rules. Water-conscious washing comes from controlled spraying, prompt rinsing, and avoiding repeated passes, not from skipping the pre-rinse and rubbing dry grit across the finish.
Premium products such as hydrophobic sealants, ceramic-style protection, and biodegradable shampoos are receiving more attention as the category develops, while e-commerce makes replenishment easier Accio. Buy refills when you're close to running out, rather than stockpiling products that may expire or become unnecessary after your routine changes.
For household cleaning ideas that prioritize lower-waste choices, review these best zero waste cleaning products, then select automotive products that are compatible with vehicle finishes.
Smart Buying and Compatibility Tips Before You Build
Choose the tier that matches your real washing pattern. A small car washed at home with limited storage doesn't need the same kit as a truck owner who enjoys paint decontamination or an RV traveler working from a campsite. Start with the routine you can maintain, then add tools when a repeated problem justifies them.
Before buying a foam attachment, confirm your hose connection and the product's fitting requirements. A standard garden hose is the relevant starting point, but adapters, washers, and connector types still vary. SwiftJet provides a dedicated explanation of its universal hose connector, which is useful when checking compatibility before ordering.
Spend upgrades where they reduce contact
Prioritize a better drying towel if water removal takes too long, a second mitt if you keep mixing wheels and paint tools, or a foam applicator if pre-rinsing alone leaves too much road film. Clay and sealant should come later unless bonded contamination or paint protection is already a clear priority.
Finish color is a personal choice, but a visible mitt can make it easier to notice embedded grit before the tool returns to paint. For storage, choose a container that separates clean textiles, used textiles, liquids, and brushes. Check shipping terms, satisfaction guarantees, warranty coverage, and return conditions before purchase, especially for hose-connected equipment.
The market's movement toward premium protection, eco-friendly formulas, and replenishment makes it sensible to plan the consumables separately from the durable tools. Keep the buckets, mitts, brushes, and foam attachment, then replace shampoo and protection products as your vehicle and washing conditions require.
Start with the minimal maintenance build if you wash occasionally or have little storage. Choose the enthusiast build if you enjoy refining paint and will use clay and sealant correctly. Pick the travel or RV build when portability, sealed liquids, and compact organization matter more than having every detailing accessory.
SwiftJet offers a garden-hose foam gun with an on/off trigger and a microfiber wash mitt, making it a practical starting point for the pre-rinse, foam, mitt-wash, rinse, and dry routine described here. Visit SwiftJet to choose a foam-washing setup and build the rest of your DIY car cleaning kit around the way you maintain your vehicle.
