

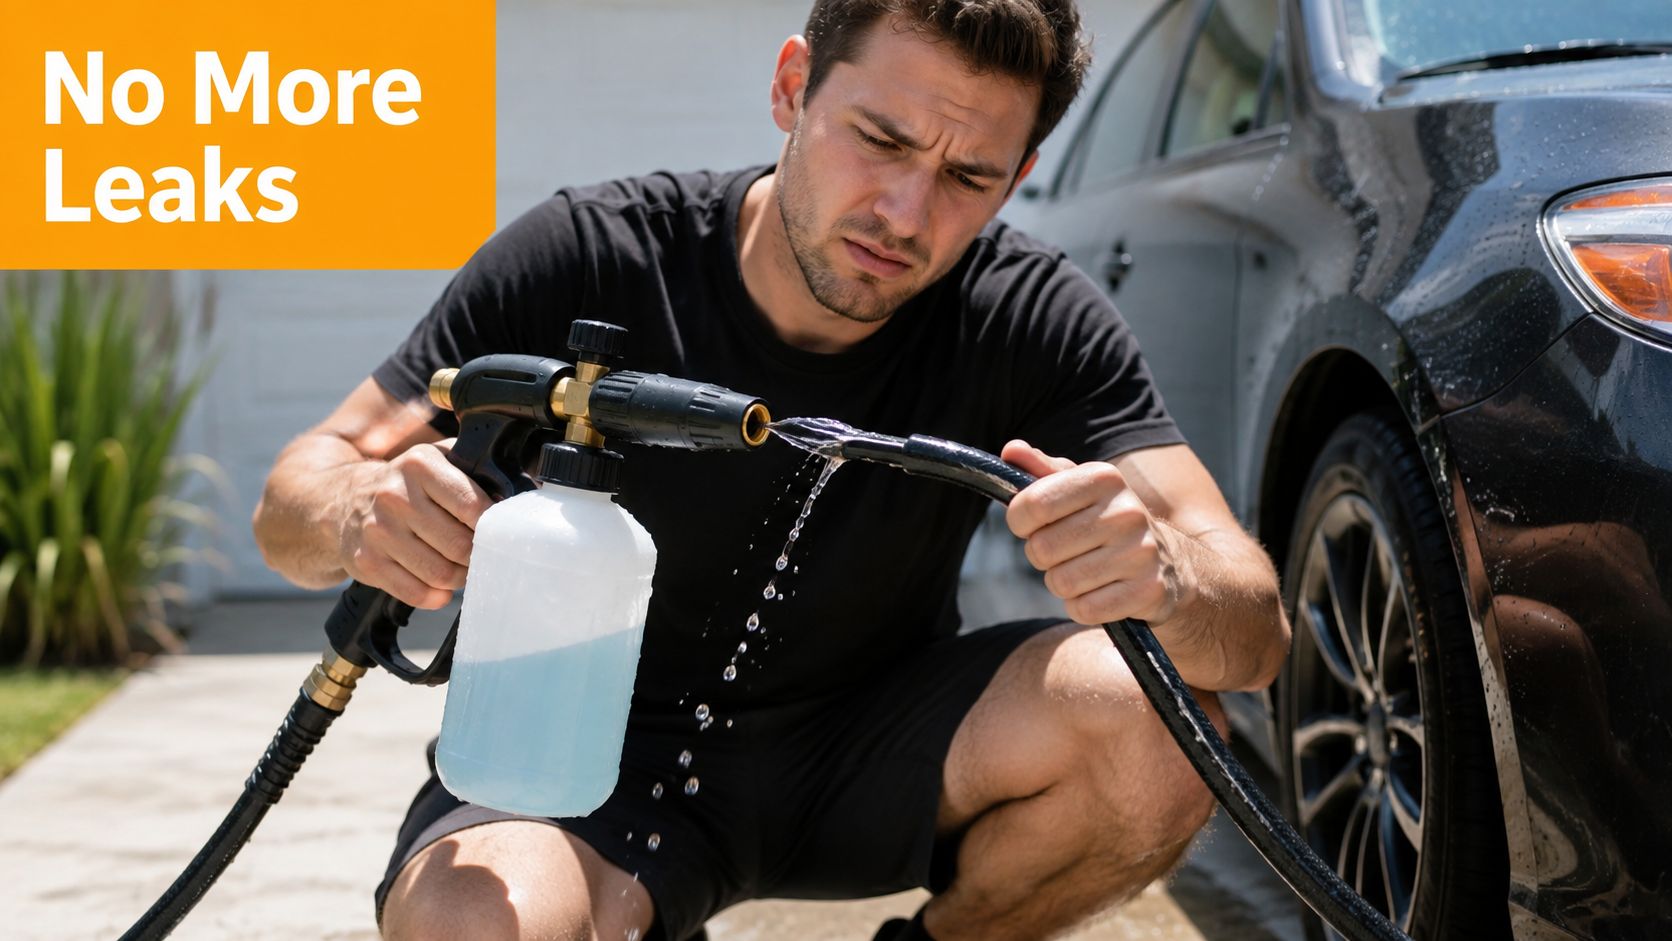
You're halfway through washing the car when the foam gun starts spraying water from the connection instead of laying down a clean blanket of suds. You tighten the fitting, squeeze the trigger again, and it either drips, twists loose, or suddenly pops off under pressure. The label said universal hose connector, so why doesn't “universal” mean a guaranteed seal?
The answer is that universal usually describes broad fit, not perfect compatibility in every situation. A push-fit connector may be fine for watering flowers or rinsing a muddy camping chair, while a properly matched threaded connection with a rubber washer is often the safer choice for repeated pressure cycles and a foam gun. This guide breaks down the difference in plain garage language, so you can identify the fitting, install it correctly, and know when to stop forcing a connection that was never designed to seal.
Introduction to Universal Hose Connectors for Everyday Washing
A garden hose setup looks simple from the outside. The tap supplies water, the hose carries it, and the nozzle, sprinkler, or foam gun controls the spray. The trouble starts at the connection points, where a small difference in thread style, washer position, or hose coupling can turn a convenient setup into a wet, frustrating mess.
That's why the phrase universal hose connector needs a little translation. Some products use a push-fit sleeve that grips several common hose sizes. Others use a threaded fitting based on the North American garden hose standard. Quick-connect systems add another layer, letting you snap accessories on and off, but only after the matching parts are installed.
For a DIY car washer, the important question isn't, “Will this fit my hose?” It's also, “Will it stay sealed when I open and close the trigger?” A mobile detailer may care about fast accessory changes, while an RV owner may prioritize compact storage and a connection that can survive repeated setup on unfamiliar taps.
What universal promises
Most universal designs aim to reduce guesswork. One fitting may accommodate several common hose diameters, or a connector may attach to a broad range of standard outdoor taps. That convenience can make a big difference when you're working with equipment from different brands.
But fit and seal are separate jobs. A connector can attach securely enough for light rinsing yet leak when the pressure changes. A threaded fitting can also feel tight while still leaking if the washer is missing, damaged, or sitting off-center.
Garage rule: If water escapes at the joint, tightening harder isn't automatically the fix. First identify which part is supposed to create the seal.
The rest of the setup becomes easier once you separate three ideas: the hose's internal diameter, the fitting's thread standard, and the sealing method. Those details tell you whether a universal connector is suitable for everyday watering, or whether your SwiftJet foam gun needs a more secure washer-based connection.
What a Universal Hose Connector Really Is and How It Works
Think of a universal connector like a phone charger sold with several plug tips. The goal isn't to make every device physically identical. The goal is to provide one practical interface that works with several common variations. A universal hose connector follows the same idea by accommodating common hose sizes or tap connections through a sleeve, clamp, adapter, or interchangeable fitting.
Start with the hose itself. Its bore is the opening through which water flows, and common consumer hoses don't all have the same bore. Kärcher lists a universal connector designed for 1/2-inch, 5/8-inch, and 3/4-inch hoses, showing how universal products often address hose diameter differences rather than changing the underlying tap thread standard (Kärcher's universal hose connector specifications).
The connection then has to do two things:
- Hold the parts together. Threads screw together, clamps grip the hose, and quick-connect sleeves lock matching couplers in place.
- Stop water from escaping. A rubber washer, gasket, O-ring, or compression surface closes the tiny path where water could leak.
Push-fit designs
A push-fit connector usually works by sliding the hose or tap end into a receiver and securing it with a clamp, collar, or internal grip. It's quick and convenient, especially when you're moving between a garden nozzle and a rinse accessory.
The weakness appears when the outside diameter, shape, or surface condition doesn't match what the connector expects. A hose may slide in but fail to grip evenly. A tap may be close to the expected shape but leave a small gap around the gasket. Under gentle flow, that gap may only produce a drip. Under a trigger-controlled wash, the pressure changes can expose it quickly.
Threaded and washer-sealed designs
A threaded connection uses matching male and female threads to draw the parts together. With garden hose thread, the threads primarily align and hold the fitting. The rubber washer does the actual sealing, so a clean, centered washer matters more than brute-force tightening.
That distinction prevents a common mistake. People often assume that more torque will compensate for the wrong thread or a missing gasket. It won't. If the sealing surfaces don't meet correctly, extra force can deform plastic parts, damage threads, or squeeze the washer out of position.
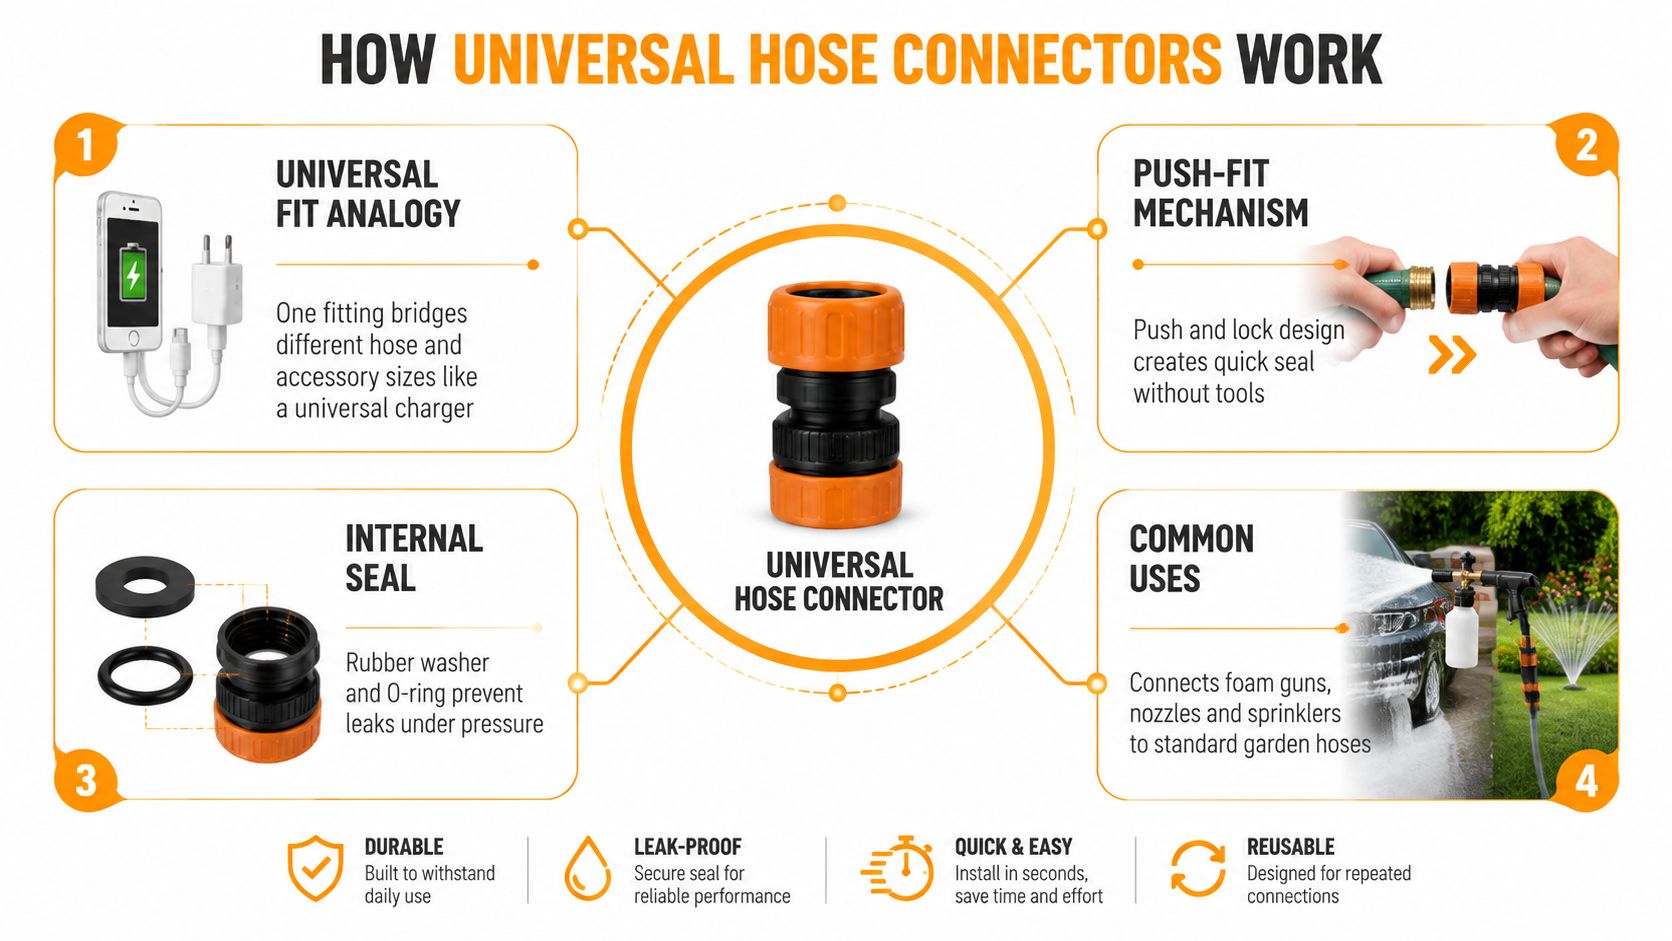
For a SwiftJet foam gun, water travels from the tap through the hose and into the gun's inlet. Every joint must preserve that flow without allowing air or water to escape. A loose seal can create drips, reduce the useful pressure at the accessory, and make the connection harder to control.
Thread Types Materials and Compatibility Explained
The main North American baseline is garden hose thread, commonly abbreviated GHT. Under ASME B1.20.7, the formal designation is 3/4-11.5 NH. The specification uses a straight, non-tapered thread with 11.5 threads per inch and a major diameter of 1.0625 inches, about 27 mm (the GHT and NH thread specification guide).
Those details matter because GHT isn't the same as a tapered pipe thread. A GHT connection is designed to meet at a flat sealing surface with a rubber washer. The thread brings the fitting into position, while the washer closes the joint. A tapered pipe thread, by contrast, narrows as it advances and is designed to seal through the thread engagement, often with an appropriate sealant.
The standard's history also explains why so many outdoor watering products feel interchangeable. The U.S. hose connection format was first defined through NFPA 1963 and later carried into ANSI-ASME B1.20.7, helping establish a common geometry across consumer hose equipment (the historical overview of garden hose thread).
Straight versus tapered
Use this quick comparison before ordering an adapter:
| Feature | GHT Universal Standard | Tapered Pipe Thread |
|---|---|---|
| Thread shape | Straight, non-tapered | Narrows along its length |
| Sealing method | Rubber washer or gasket | Thread engagement with suitable sealant |
| Typical role | Garden hoses, spigots, sprinklers, outdoor accessories | Pipework, valves, and specialized adapters |
| Common mistake | Omitting or misaligning the washer | Assuming a GHT washer will seal the tapered fitting |
If a tap, hose end, and foam gun all use GHT, you usually want a matching washer-based connection. If one component uses a different pipe thread, choose a purpose-built adapter rather than trying to force the parts together. A useful example is the Seagull Hose Adaptor X 7 16 NPT Female, which illustrates why an adapter may be necessary when hose hardware must transition to a different thread family.
For a broader visual explanation of fitting families, see SwiftJet's guide to hose connector types. Matching thread form and sealing method is more reliable than judging by appearance.
Material choices
Brass is a common choice for outdoor fittings because it feels solid and resists ordinary outdoor corrosion. It adds weight, but that weight can make a connection feel stable during use.
Stainless steel suits demanding environments where rust resistance and rugged construction matter. It can be a sensible pick for professional wash equipment or storage near salt air, provided the thread and washer still match.
Reinforced plastic keeps the assembly light and affordable. It works well for casual watering, but plastic threads and collars need careful hand-tightening. Excessive force can damage them before the connection ever gets used.
Choose material after confirming the thread. A premium brass fitting with the wrong thread is still the wrong fitting.
Comparing Universal Connectors Adapters and Quick Connect Systems
A connector's best use depends on how you wash. Someone rinsing a patio may value speed above all else. Someone using a foam gun may care more about a stable seal because every trigger cycle changes the water flow through the fitting.
Three practical choices
| System | Ease of use | Seal security | Best use |
|---|---|---|---|
| Universal push-fit | Fast and usually tool-free | Depends on grip and gasket fit | Light watering, rinsing, occasional accessory use |
| Threaded GHT | Requires correct thread and washer | Strong when properly matched | Hose-to-tap and hose-to-gun connections needing dependable sealing |
| Quick-connect | Very fast after installation | Secure when the couplers match and lock fully | Frequent nozzle, sprinkler, and foam-gun changes |
A universal push-fit connector is the convenience choice. It can be enough when water pressure is moderate, the fitting grips evenly, and a small drip won't interrupt the job. It's also handy for a temporary rinse station where you're not repeatedly opening and closing a trigger.
A threaded GHT connector is the better foundation when the joint must remain sealed. The washer gives the connection a defined sealing surface, and the thread keeps the components aligned. That combination is especially useful at the tap and at any accessory inlet built around garden hose thread.
A quick-connect system changes the workflow rather than replacing the need for compatibility. The male and female couplers must match, the locking sleeve must fully engage, and the internal O-ring must remain in good condition. Quick-release systems are widely used in fluid equipment, and this quick coupler guide from MA Hydraulics Ltd provides useful background on how coupler halves lock and release.
For a foam wash, the most practical arrangement is often a secure threaded base with a compatible quick-connect at the accessory end. That lets you leave the tap connection assembled while swapping tools without repeatedly disturbing the washer.
Pressure-cycle test: Run water with the accessory off, close the control, then open it again. A connection that survives only steady flow hasn't passed the test your foam-washing routine creates.
SwiftJet's article on 3/4 quick-connect fittings can help you identify the parts needed when your setup uses a quick-connect system. The right choice isn't the connector with the broadest label. It's the one whose grip, thread, gasket, and locking action match the way you work.
How to Choose and Install the Right Connector for Your SwiftJet
Begin at the tap and work toward the foam gun. Don't buy from a product photo alone, because two fittings can look similar while using different threads or sealing methods.
Check the physical fit
- Identify the hose end. Look for a standard garden hose fitting, a push-fit sleeve, or a quick-connect coupler. Check whether the hose end already contains a washer.
- Confirm the tap connection. In North American outdoor setups, the common baseline is GHT. If the tap has a different outlet, use an adapter designed for that thread rather than forcing a garden hose fitting.
- Inspect the foam-gun inlet. SwiftJet setups use a hose attachment arrangement involving a 3/8-inch PVC quick connector and brass quick coupling, as described in the supplied product research. Match the connector supplied with your foam gun or use the compatible replacement specified for that inlet.
- Choose the material. Reinforced plastic keeps the assembly light. Brass gives a more substantial connection. Stainless steel suits harsher storage or professional handling. Material doesn't correct a thread mismatch.
- Buy the washer separately if needed. A missing or flattened washer can make a correctly threaded fitting appear defective.
Install without damaging the seal
Turn off the tap before assembling anything. Remove grit from the threads and sealing face, then place the rubber washer flat inside the female garden hose fitting. Start the connection by hand and rotate it backward slightly until the threads settle, then turn it forward to avoid cross-threading.
Hand-tighten until the washer is compressed and the fitting feels secure. If you use pliers, apply only light finishing pressure to a metal fitting, and avoid tools on plastic collars unless the manufacturer specifically allows it. Thread tape belongs on compatible tapered pipe threads, not as a substitute for the washer in a straight GHT connection.
Connect the hose to the foam gun, confirm that the quick coupling has locked, and keep the gun pointed away from people while testing. Open the tap gradually, inspect each joint, and operate the trigger through several open-and-close cycles. Look for a fine spray, a growing bead of water, or a coupling that shifts under load.
For a more detailed connection sequence, follow SwiftJet's guide on connecting a foam cannon to a garden hose. If the joint leaks after the washer is correctly seated, stop tightening and reassess the thread, adapter, and connector type.
Keeping Your Connection Leak Free With Simple Maintenance
A good seal depends on clean surfaces and flexible sealing parts. Soap residue, grit, and mineral deposits can keep a washer from sitting flat, even when the connector itself is correctly matched.
Rinse the foam gun and hose end with clean water after a wash. Pay attention to the coupling cavity and the washer seat, where detergent film can dry into a thin crust. Wipe the parts before storage instead of leaving the connector submerged in a bucket or exposed to wet runoff.
A small inspection routine
- Check the rubber washer: Replace it if it's cracked, flattened, hardened, or permanently distorted.
- Look at the threads: Remove dirt carefully and stop using the fitting if the threads are visibly crossed or crushed.
- Examine O-rings: A dry, pinched, or cut O-ring can leak in a quick-connect even when the outer sleeve locks correctly.
- Inspect the hose end: A split hose tail or damaged barb can prevent a connector from gripping evenly.
- Store away from harsh sun: Heat and ultraviolet exposure can age rubber and plastic, so keep spare washers and couplers in a shaded container.
A washer is usually the first part to replace because it handles the sealing work and is inexpensive compared with replacing the entire connector. Replace the connector when the body is cracked, the locking sleeve won't retain the coupler, or the threads no longer align smoothly.
Light lubrication can help an O-ring slide into place, but use a lubricant compatible with the material and application. Don't coat a flat garden hose washer heavily, because excess lubricant can attract grit and let the washer shift.
If freezing weather is possible, disconnect the hose, drain trapped water, and store the connector where ice cannot expand inside it. The safest seasonal habit is simple: drain, rinse, inspect, and store dry.
Troubleshooting Common Universal Hose Connector Problems
“Universal” doesn't mean every connector seals every tap, hose, and accessory. Independent connector guidance notes that some universal designs don't use threading, so they may fit many standard taps without providing the same secure seal as a threaded connector (the RS guide to hose connectors).
Start by locating the leak. Water at the tap points toward the tap washer or tap-side adapter. Water at the hose end suggests a washer, clamp, or hose-tail problem. Water at the foam-gun inlet usually points to the accessory fitting, quick coupling, or a mismatch between the connector and inlet.
Match the symptom to the fix
A leak appears at the tap. Shut off the water and remove the fitting. Check that the washer is present, flat, and centered. Clean the sealing face, reinstall it, and hand-tighten again. If the tap thread doesn't match GHT, use the correct adapter instead of adding more force.
The connector pops off. A push-fit sleeve may not be gripping the hose evenly, or a quick-connect may not be fully locked. Push the hose fully into its receiver, check the retaining collar, and verify that the coupler halves belong to the same system. Replace a stretched hose end or damaged locking ring.
Foam output is weak or inconsistent. Inspect every joint for a small leak or air entry, especially near the foam gun. A loose connection can waste flow before water reaches the internal mixing path. Confirm that the gun's inlet fitting is seated and that the hose isn't kinked.
The threads bind immediately. Stop turning. You may have cross-threaded the fitting or paired GHT with a different thread family. Remove it, inspect both sides in good light, and replace damaged parts rather than trying to chase them together.
A connector that needs a wrench to overcome resistance may already be misaligned.
For casual rinsing, a well-fitted push connector may be all you need. For a SwiftJet foam gun used through repeated on-off cycles, switch to a correctly matched threaded or quick-connect arrangement when the push-fit leaks, shifts, or requires constant retightening. If the parts are correctly identified and the problem continues, contact SwiftJet support and review the applicable warranty information before modifying the foam gun or drilling out a fitting.
Choose your hose connector by sealing method, not by the word “universal” on the package. Visit SwiftJet to find the car wash foam gun and connection guidance that fit your garden-hose setup, then test every joint through real trigger cycles before starting the full wash.
