

Those frustrating white circles on your car? They’re the ghosts of water droplets past—mineral deposits left behind after water evaporates. While they look harmless, if you let them sit, they can cause real, permanent damage to your paint's clear coat.
The first step to getting rid of them for good is knowing exactly what you're up against.
Why Do Water Spots Form on a Car?
Not all water is just H2O. That seemingly innocent droplet on your car's hood is carrying a payload of dissolved minerals, usually calcium and magnesium. When the sun beats down and the water evaporates, those minerals get left behind as a chalky, white residue.
This is a headache for car owners everywhere, but it's a huge issue for DIY enthusiasts. In the United States, where over 85% of households have hard water, the risk is practically unavoidable. Think about it: about 66% of Americans wash their own cars, doing so an average of 13 times a year. That’s a lot of opportunities for spots to form.
This constant battle has helped create a massive car care market. North America alone is expected to grab a 35% share of a global industry worth over $24 billion. You can read more about the scale of the car wash market on Grandview Research.
The Three Tiers of Water Spot Damage
Water spot damage doesn't happen all at once. It’s a process that moves from a simple surface stain to a serious paint defect. Figuring out which stage you're at is key to choosing the right solution and preventing any more harm.
To properly diagnose the problem, you first need to know what you're looking for. I've put together a quick reference table to help you identify the three main types of water spots you'll encounter.
Identifying the Three Types of Water Spots
| Spot Type | Appearance | How to Identify It | Recommended Action |
|---|---|---|---|
| Type I (Mineral Deposits) | Faint, chalky outlines of water droplets. | They sit on the surface. If you run your finger over the spot, it will feel smooth, just like the rest of your paint. | Quick detailer spray or a simple car wash should remove them easily. |
| Type II (Bonded Minerals) | More defined, slightly raised spots. | You can feel a slight texture or bump when you run your finger over them. The minerals have started to bond to the clear coat. | A dedicated water spot remover or a clay bar treatment is needed. |
| Type III (Etching) | A concave or indented spot in the paint. | The spot feels lower than the surrounding paint. This means the minerals and acids have eaten into the clear coat. | Requires machine polishing with a compound or polish to level the surface. |
This table gives you a clear path forward. Once you know whether you're dealing with simple deposits or something more serious like etching, you can confidently choose the right tools for the job.
My Key Takeaway: The single most important factor is time. The longer a water spot sits on your paint, especially in the sun, the deeper it goes. Acting fast after a wash or a rain shower is your best defense against permanent damage.
This decision tree gives you a simple, visual way to diagnose what’s happening on your paint.
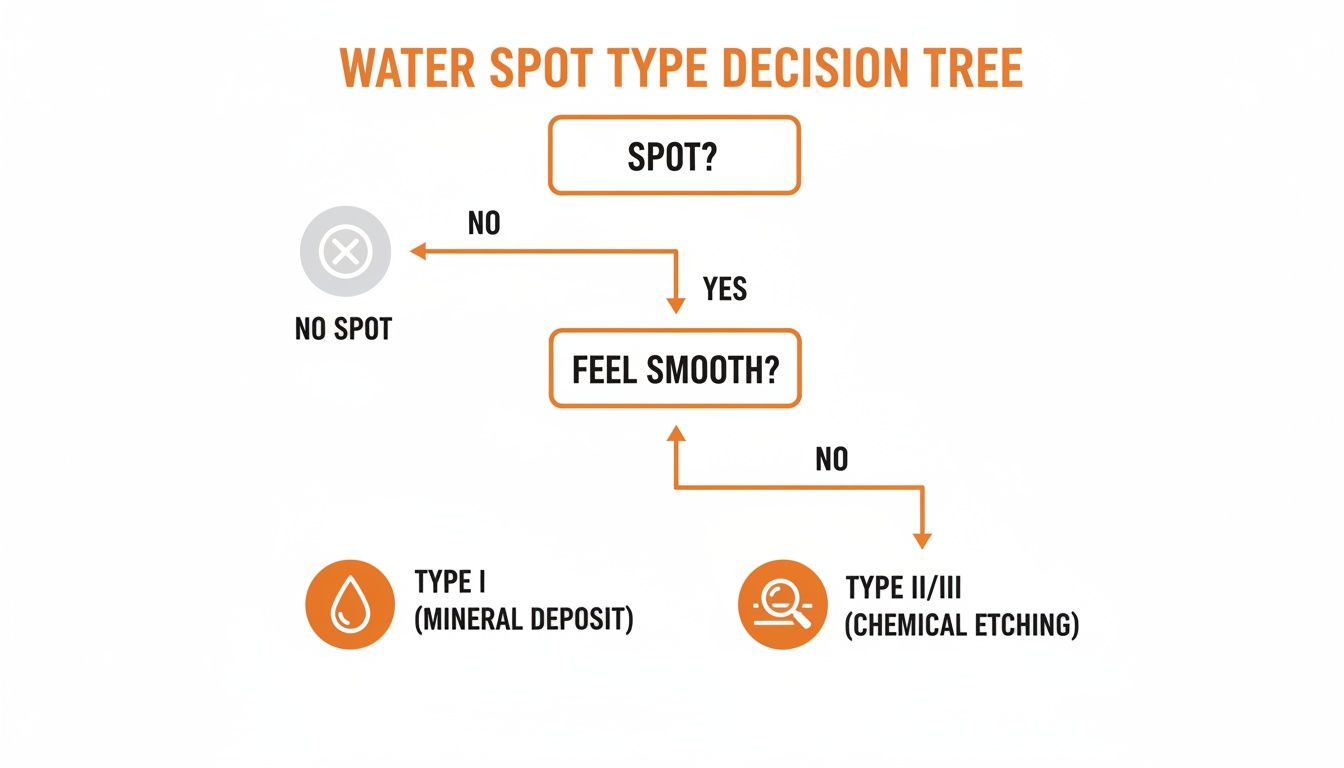
As you can see, a simple touch test is often the most reliable way to figure out how severe the spot is. It’s the first step in deciding your plan of attack and getting your paint back to perfect.
Safely Removing Fresh Surface Water Spots
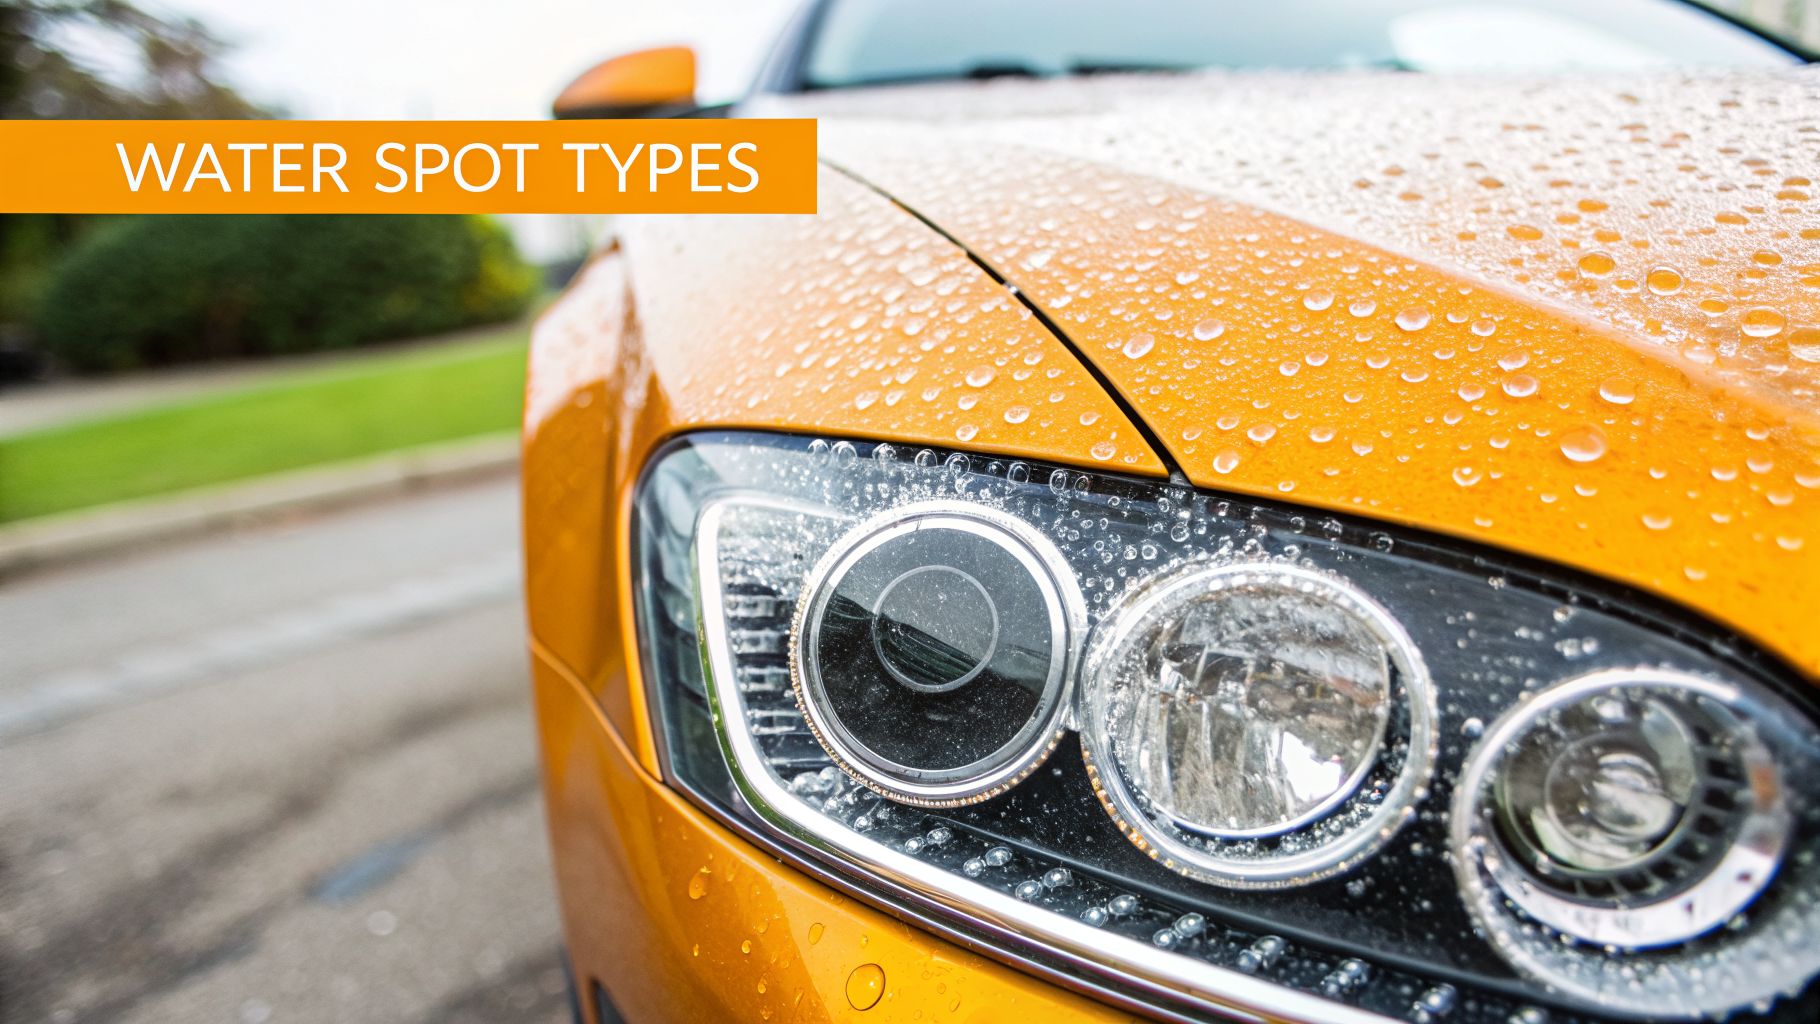
If you've spotted some faint mineral outlines on your paint, congratulations—you've caught them early. These are what we call Type I spots, and they're the easiest to deal with because they haven't had a chance to bake in and damage your clear coat. The key is to act fast.
The biggest mistake I see people make is trying to scrub these spots off with a dry towel or a rough sponge. That's a surefire way to create a bigger problem: fine scratches and swirl marks. Your real goal is to lift those mineral deposits off the paint with as little friction as possible.
The Pre-Soak: Your First and Most Important Step
Before a wash mitt ever touches your car, you need to loosen up all that surface-level grime and those pesky mineral rings. This is hands-down the best way to avoid scratching your paint during a wash.
For this job, a quality foam gun like the SwiftJet is your best friend. It hooks right up to a standard garden hose and covers your vehicle in a thick layer of cleaning foam. This isn't just for looks—the foam gets to work softening the dirt and, crucially, encapsulating the minerals from the water spots. It allows everything to slide right off with a rinse, instead of being dragged across your finish.
My rule of thumb is to let the foam dwell for at least 3-5 minutes, but never let it dry in direct sunlight. You can literally watch the dirt and contaminants drip to the ground. The foam does most of the heavy lifting before you even start the contact wash.
Once you rinse the foam, it's time for a proper two-bucket wash. One bucket is for your car wash soap, and the second is just clean water for rinsing your mitt. This simple technique keeps you from dragging dirt you just removed right back onto the paint.
Using a Dedicated Water Spot Remover
Sometimes, even after a thorough wash, a few stubborn spots will hang on. This is when you reach for a dedicated, pH-neutral water spot remover. These sprays are designed with special agents that chemically dissolve the mineral bonds without being harsh on your paint.
For the best results, follow this simple process:
- Work in the shade on a cool panel. Never use these products on a hot surface. They'll evaporate too fast and can create more spots.
- Spray the product directly on the area. Focus on one section at a time, like a single door or half of the hood.
- Let it work. Give the spray about 30-60 seconds to sit and break down the minerals. You don't need to let it sit for long.
- Gently wipe with a clean microfiber. Use light pressure and wipe in one direction to lift the residue.
- Neutralize and dry the area. Follow up with a quick detailer spray or a simple water rinse to neutralize the remover. Then, dry the panel completely with a fresh, plush microfiber towel.
If you want to get the most out of your towels, check out our guide on how to choose and care for your microfiber towels for cleaning.
Following this method ensures you're safely dissolving the water spots on your car rather than grinding them into the finish. It’s a routine that brings back that incredible shine and, more importantly, protects your car’s paint for the long haul.
Advanced Techniques for Stubborn Water Spots
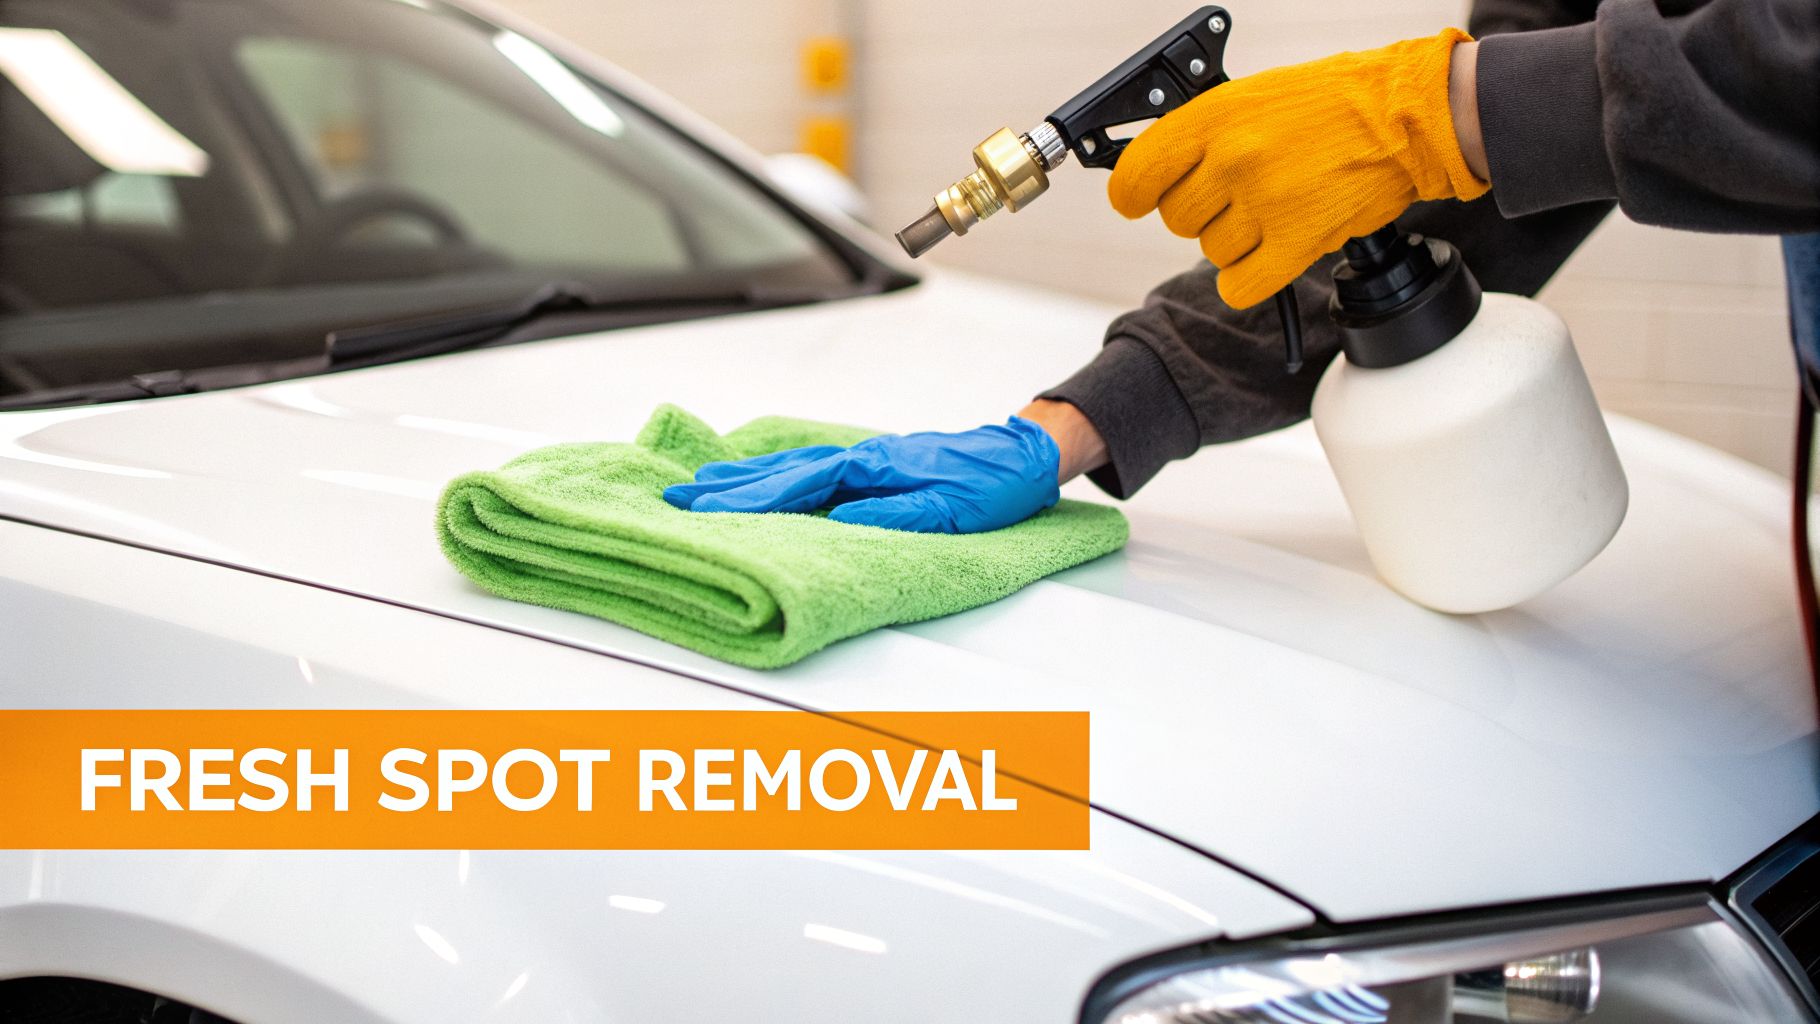
So, you’ve given the car a thorough wash and even hit it with a dedicated water spot remover, but those annoying outlines are still there. When the easy methods don't cut it, you’re almost certainly dealing with Type II water spots—mineral deposits that have started to bake into your car’s clear coat.
Don't panic. Your paint isn't a lost cause. It just means you need to bring out the bigger guns and get a little more hands-on.
These next couple of methods take a bit more patience, but they're incredibly effective at saving your finish before you have to call in a professional. We'll start with a trusted DIY solution before moving on to a more physical approach.
The Vinegar Solution for Bonded Minerals
Believe it or not, one of the best tools for fighting those crusty mineral deposits might already be in your kitchen pantry: plain old white distilled vinegar. Its mild acidity is perfect for breaking down the stubborn calcium and magnesium that have latched onto your paint. The trick is to use it safely.
You'll want to start by mixing a solution of 50% distilled water and 50% white distilled vinegar in a clean spray bottle. And yes, it has to be distilled water. Using tap water will just load the surface right back up with the minerals you're trying to get rid of.
With your mixture ready, here’s how to apply it without causing more harm than good:
- First, make sure the panel you're working on is cool to the touch and out of direct sun.
- Lightly mist the solution onto a small, focused area—think a 2x2 foot section at most.
- Let it sit for about 60 seconds, but no longer. That's just enough time for the vinegar to dissolve the minerals without risking damage to your clear coat.
- Gently wipe the area with a fresh, plush microfiber towel.
- Immediately follow up by neutralizing the vinegar. You can either spray the area with a quick detailer or rinse it well with water, then dry it completely.
A Word of Caution: Never, ever let a vinegar solution dry on your paint. It’s an acid, and if it bakes in the sun, it can etch the clear coat—creating the exact problem you’re trying to fix. Always neutralize and rinse thoroughly.
Using a Clay Bar for Physical Decontamination
If the vinegar trick didn’t completely do the job, it means those mineral deposits are so bonded that they need to be physically sheared off the surface. This is where a clay bar or a clay mitt becomes your best friend. Think of it as a deep exfoliation for your paint; it grabs and pulls out embedded contaminants, leaving the surface feeling impossibly smooth.
For this, you’ll need a quality clay bar, plenty of clay lubricant, and a stack of clean microfiber towels.
Start by working in small sections again. Spray a very generous amount of clay lubricant on the area. You want the surface to be incredibly slick; this prevents the clay from grabbing too hard and marring the paint.
With the area lubricated, gently glide the clay bar back and forth across the surface with almost no pressure. At first, you’ll feel and even hear a gritty texture as the clay picks up the contaminants. Keep gliding until it moves silently and smoothly.
Wipe the residue off with a clean microfiber towel and feel the paint. It should be as smooth as glass. If it's not, add more lubricant and repeat the process.
This is a fantastic way to deal with stubborn water spots on car paint, but remember that claying is an aggressive cleaning step. It will remove any wax or sealant you have on the paint, so you'll need to reapply your preferred protection afterward. For a deeper dive, check out our guide on the different types of water spot removers and techniques on the blog.
The frustration with water spots is a universal one. The global market for automotive water spot removers swelled to $1.37 billion in 2024, a testament to how common this issue is among owners of the world's 1.4 billion vehicles. Leaving these spots untreated can accelerate paint oxidation by 15-25% and potentially knock $300 to $1,000 off your car's resale value. You can discover more about these market insights at Dataintelo.
Knowing When to Call a Professional Detailer
Sometimes, you have to know when to throw in the towel. While most water spots are a DIY fix, there's a point where you can easily do more harm than good, and recognizing that moment is key to protecting your car's paint and its value.
Let's say you've tried it all. You’ve washed the car, used a vinegar solution, and even broke out the clay bar. But that ghostly outline of a water spot on your car is still staring back at you. If that’s the case, you're almost certainly dealing with severe Type III etching.
This is where the minerals have physically eaten into the clear coat, creating a microscopic crater. You're no longer trying to remove something on top of the paint; you now have to level the paint itself. This is a whole different ballgame.
The Fingernail Test: Your Point of No Return
Here's a quick and easy way to diagnose the severity. After cleaning the area, gently run your fingernail over the spot. Can you feel your nail catch in a tiny divot, no matter how slight?
If the answer is yes, stop right there. That's your clear signal the damage is no longer on the surface—it's in the surface.
Trying to fix this on your own with aggressive compounds, or worse, attempting to wet sand without years of experience, is a recipe for disaster. It's incredibly easy to burn right through the rest of the clear coat and expose the color layer underneath. That one mistake can instantly turn a fixable blemish into a $1,000+ repaint job for a single body panel.
A professional detailer’s real advantage isn't just their fancy products. It's their experience and their precision tools. They use paint depth gauges to measure exactly how much clear coat they can safely work with to level the surface without compromising your paint's integrity.
What the Pros Do That You Shouldn't
When you hand your keys to an expert for etched water spots, they’re going to employ techniques that are definitely not for beginners. These are high-risk, high-reward procedures that take a ton of practice to master.
Their toolkit for this kind of job usually includes:
- Heavy Compounding: This involves using a machine polisher and specialized, aggressive compounds to carefully shave down the clear coat around the etch mark until the entire surface is level again.
- Wet Sanding (or Color Sanding): For the most stubborn etches, they might use extremely fine-grit sandpaper (think 2000-grit or higher) to meticulously remove a microscopic layer of the clear coat before polishing the area back to a flawless, high-gloss shine.
Calling in a professional isn’t admitting defeat. It’s making a smart financial decision to protect your investment. An expert can restore your finish for a few hundred dollars, saving you from a potential multi-thousand-dollar repaint and, more importantly, preserving your car’s original factory paint.
Proactive Strategies to Prevent Water Spots
We’ve all been there: you finish washing your car, step back to admire your work, and within minutes, a fresh constellation of water spots appears. While knowing how to remove them is important, the real secret is stopping them from ever forming in the first place. It’s a simple shift in habits that will save you a ton of time and protect your paint from long-term damage.
The most critical moment is right after the final rinse. Whatever you do, don't let your car air-dry, especially out in the sun. That’s just asking for minerals to get baked onto your clear coat as the water evaporates. Your best defense is a quick and complete drying routine.
Master Your Drying Technique
The goal here is simple: get every drop of water off the surface before it has a chance to leave those pesky mineral deposits behind. In my experience, you have two fantastic approaches.
- High-Quality Microfiber Towels: Forget old bath towels. You need a large, plush drying towel with a high GSM (grams per square meter) rating. These are purpose-built to soak up a massive amount of water safely, pulling it away from the paint without causing swirls or scratches.
- Filtered Air Blower: For a true touch-free dry, nothing beats a dedicated car dryer or even a powerful leaf blower. This is the only way to effectively blast water out of all the tight spots—mirror housings, grilles, and trim pieces—where water loves to hide and drip out later.
A little trick I always use is to work in the shade and rinse the car one panel at a time. This slows down the evaporation process, buying you more time to get each section perfectly dry before moving on.
Pro Tip: If you're serious about a flawless finish, look into a deionized water system for your final rinse. These systems filter out virtually all the minerals that cause spots. Any water left behind will evaporate completely clean, leaving zero residue. It’s an absolute game-changer.
Create a Hydrophobic Barrier
The best long-term strategy is to make your paint work for you. By applying a protective layer, you create a hydrophobic surface. This just means it repels water, causing it to form tight, tall beads that roll right off the vehicle instead of sitting flat and drying into spots.
For the ultimate defense against water spots and mineral etching, learning the differences between a ceramic coating or paint protection film is a must. But you don't have to go all-in right away; traditional waxes and sealants are also great options.
- Waxes: Usually carnauba-based, these give your paint a deep, warm shine and solid water beading for 1-3 months.
- Sealants: These are synthetic polymers that bond to your paint for stronger, more durable protection, often lasting 4-6 months or more.
- Ceramic Coatings: This is the pinnacle of paint protection. A ceramic coating is a liquid polymer that cures to form a hardened, semi-permanent layer of glass on your paint that can last for years. It offers unmatched resistance to water spots, chemicals, and UV damage. You can dive deeper into this topic in our article on the benefits of automotive ceramic coatings.
This isn't a new problem. Water spots became a huge headache for car owners after WWII, when more people had cars and the hard water from municipal sources started damaging the finishes of those new classics. Even today, it's estimated that 75% of water spots from a driveway wash are caused by simple evaporation. Just one wash with hard water can deposit enough calcium to create visible spots after only a few times.
Common Questions About Water Spots
Even after you've mastered the basics, dealing with water spots can leave you with a lot of questions. We've all been there—staring at a panel wondering if we’re using the right approach or if there’s a better way.
Let's clear up some of the most common questions we hear from fellow car enthusiasts. Getting these answers straight will give you the confidence to tackle any spot and keep your finish looking its best.
Can Rain Cause Permanent Water Spots?
Yes, it definitely can, and it's a bigger risk than most people think. The problem isn't the water itself, but what it collects on the way down. Rainwater picks up pollutants like sulfuric and nitric acids from the atmosphere, creating what we all know as "acid rain."
When that acidic water sits on your paint and evaporates, it leaves behind a concentrated residue that can etch into your clear coat. It's often more aggressive than the mineral deposits from tap water. This is exactly why it's so important to wash your car after it rains, not just when it looks dirty.
It’s a common myth that rainwater is harmless because it’s “soft.” While it has fewer minerals, the acidic pollutants it carries make it a real threat. A post-rain wash is non-negotiable for protecting your paint.
Is It Safe to Use Vinegar on Car Paint?
A diluted vinegar solution can be a great DIY fix, but you have to be careful. The two golden rules are proper dilution and immediate neutralization.
Your go-to mix should be a 50/50 solution of white distilled vinegar and distilled water. Never, ever use straight vinegar or apply it to a hot panel in direct sunlight. That’s just asking for trouble.
Here's the safe way to do it:
- Mix your 50/50 solution in a spray bottle.
- Spray a small amount on the affected area.
- Let it dwell for about 30 to 60 seconds—no longer.
- Gently wipe with a clean microfiber towel.
- Right away, rinse the entire panel thoroughly with water or use a quick detailer spray to neutralize any remaining acidity.
Think of it as a targeted treatment. It’s effective, but you'll want to follow up with a proper wash and reapply your wax or sealant, as the vinegar can strip it away.
How Does a Foam Gun Help Prevent Water Spots?
A foam gun is one of the best tools for preventing water spots before they even form. It works by covering your car in a thick blanket of suds that does the hard work for you.
This clinging foam gets to work softening and lifting not just dirt, but also the mineral deposits that cause those stubborn spots in the first place. By pre-soaking the vehicle, you allow these contaminants to be rinsed away easily before you ever touch the surface with a wash mitt. It’s all about minimizing contact and letting the soap do its job.
This leads to a much safer and more thorough wash, giving you a cleaner canvas that’s less likely to develop spots as it dries.
The SwiftJet Car Wash Foam Gun is purpose-built to deliver that crucial pre-soak, lifting away grit and minerals to help you avoid both scratches and spots. It connects to any standard garden hose, instantly turning your wash into a pro-level foam bath. Check it out at swiftjetusa.com.
