

You’re probably looking at a car that isn’t filthy enough to justify a full detail, but it’s dirty enough to annoy you every time the sun hits the paint. That’s where most home washes go wrong. People grab a bucket, a sponge, dish soap, and start rubbing road grit across the clear coat.
The result looks clean from ten feet away and tired up close. You get streaks on the glass, water spots on the hood, and those faint swirl marks that show up under parking lot lights. Good tips car wash advice isn’t about washing harder. It’s about reducing friction, controlling dirt, and making each step easier on the paint.
That matters because washing isn’t a rare task. The U.S. car wash market was valued at $15.28 billion in 2025, and the average American washes a car 13 times a year, which makes an efficient home method far more practical than treating every wash like a major project, according to car wash industry statistics from My Car Wash King.
Beyond the Bucket and Sponge
The old bucket-and-sponge routine fails for one simple reason. It keeps putting dirt back on the paint. You rinse, dip, wipe, and keep going with wash water that gets dirtier every minute. Even if you’re careful, a sponge tends to drag contamination across the surface instead of safely lifting it away.
That’s why so many weekend washes feel disappointing. The car is cleaner, but the finish doesn’t look sharper. It often looks flatter, and dark paint especially shows every mistake.
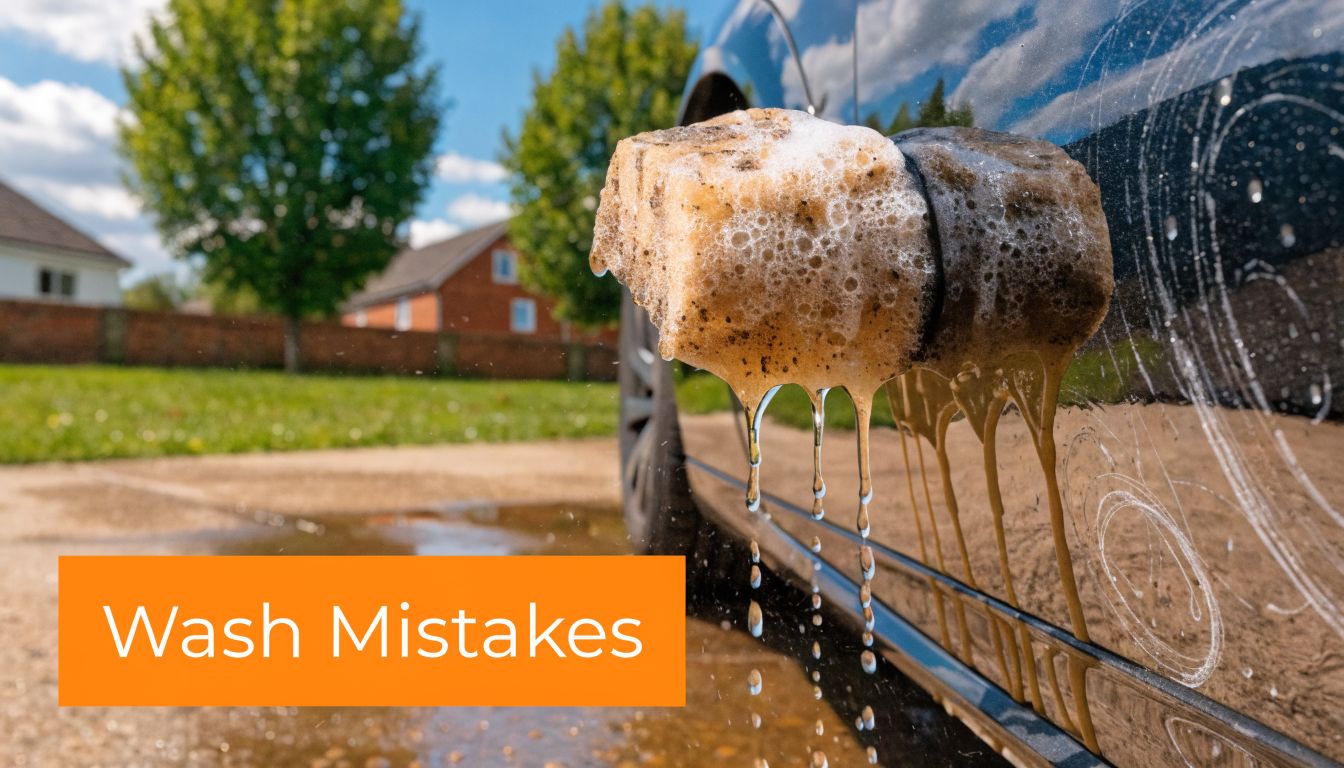
Why the traditional method struggles
A basic wash setup creates three common problems:
- Dirty contact: A sponge has a flat face. Once grit sits on it, that grit stays close to the paint.
- Weak lubrication: Thin soap water runs off fast, so you lose the cushion that helps dirt slide away safely.
- Slow workflow: By the time you’ve gone panel by panel with a bucket, parts of the car are already drying.
A hose-end foam gun changes the sequence. Instead of scrubbing first, you coat the vehicle in foam, give the shampoo time to loosen grime, and then make much lighter contact with a mitt. That’s closer to how an experienced detailer approaches maintenance washing.
Practical rule: Stop thinking of a wash as “soap plus scrubbing.” Think of it as rinse, foam, lift, rinse, dry.
What changes when you use foam correctly
Foam doesn’t replace technique, but it improves every step. It gives soap more cling, buys you working time, and helps separate dirt from the paint before your mitt touches anything. That’s the difference between a fast cleanup and finish maintenance.
If you’re building a home setup from scratch, a practical starting point is a dedicated home car washing kit with a foam applicator, wash mitts, and drying towels designed for automotive surfaces.
Prepare Your Workspace for a Flawless Wash
Most wash mistakes happen before the soap ever touches the car. If your hose is tangled, your towels are mixed together, and your wheel tools are sitting next to your paint mitt, you’ve already made the job harder.
A clean result starts with staging. Set your wash area so you can move around the vehicle without stepping over hoses or reaching for tools with wet hands. Keep your paint tools separate from wheel tools. Wheels collect the harshest grime on the vehicle, and that contamination should never transfer to the bodywork.
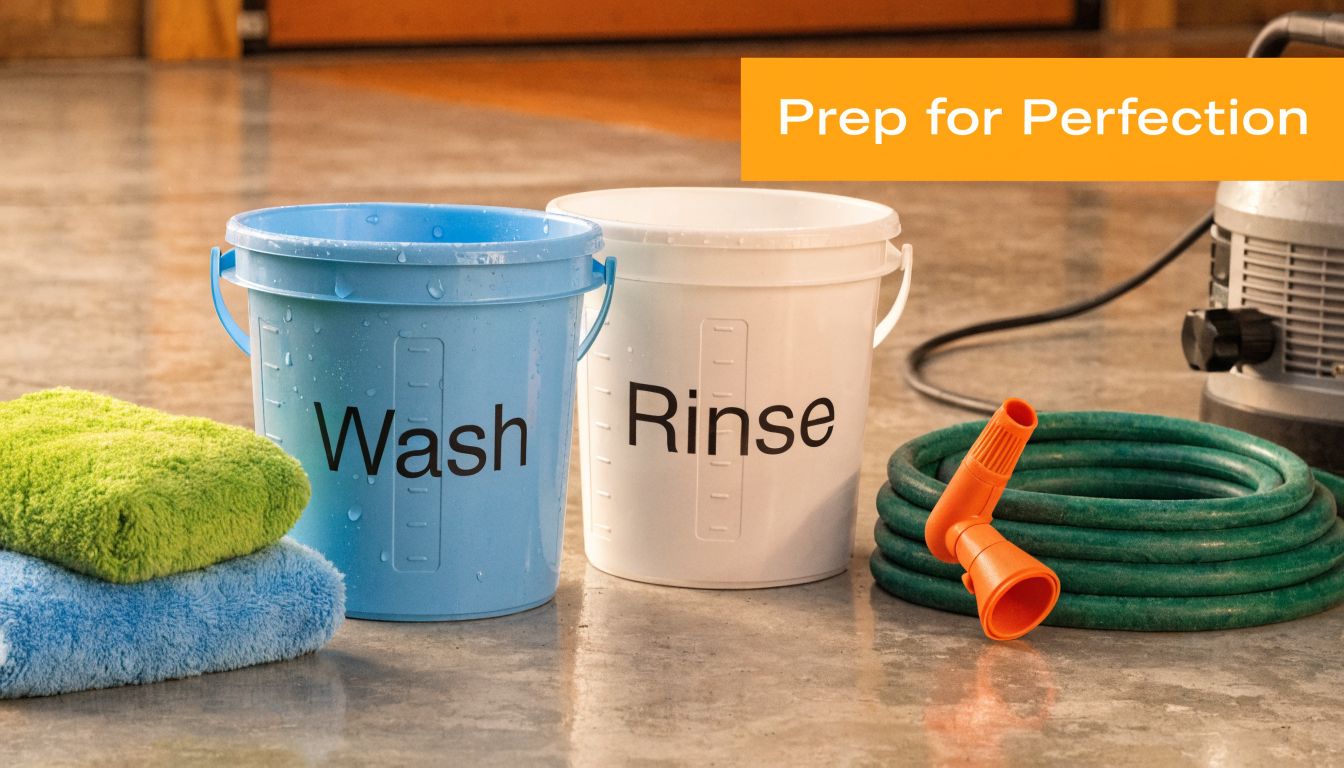
Set up before the rinse starts
Lay out your tools in the order you’ll use them:
- Hose and spray attachment first. Make sure you’ve got enough slack to walk the full perimeter of the car.
- Foam gun assembled and tested. Check the bottle connection, nozzle setting, and trigger action before adding soap.
- One mitt for paint, separate tools for wheels. Don’t share brushes or towels between those areas.
- Drying towels ready and off the ground. Keep them folded somewhere clean and dry.
If you’re using a hose-end foam gun such as SwiftJet, connect it to the garden hose and test plain water flow first. That saves you from discovering a loose fitting after you’ve already mixed soap into the bottle.
Do the pre-rinse with purpose
The first rinse isn’t ceremonial. It removes loose grit, softens stuck-on dirt, and lowers the amount of abrasive material your mitt will ever touch. Focus on lower doors, bumpers, wheel arches, and the rear hatch or trunk area, where grime builds up fastest.
A foam gun also changes how much you rely on the two-bucket method. For paint, foam does a lot of the heavy lifting up front, so constant bucket dunking becomes less critical than it is with an old sponge wash. For wheels, though, buckets still help because brake dust and road film are heavier and messier.
Use this quick separation rule:
| Area | Best approach |
|---|---|
| Paint and glass | Pre-rinse, foam, gentle mitt contact |
| Wheels and tires | Dedicated bucket, brushes, separate rinse |
| Lower rocker panels | Extra rinse before touching |
| Trim and emblems | Foam and soft agitation only |
Keep mirrors folded out, wipers down, and windows fully closed before you start. Small oversights create big annoyances during drying.
Master the Art of Foam Gun Application
Foam is where home washing starts to feel professional. Done right, it’s not just satisfying to look at. It gives the soap time to work before you touch the paint.
High-quality foam cannons can deliver 20-30% faster wash times versus traditional nozzles, and foam with strong adhesion and a 5-7cm dwell time can lift up to 80% of contaminants before contact, according to National Carwash Solutions.
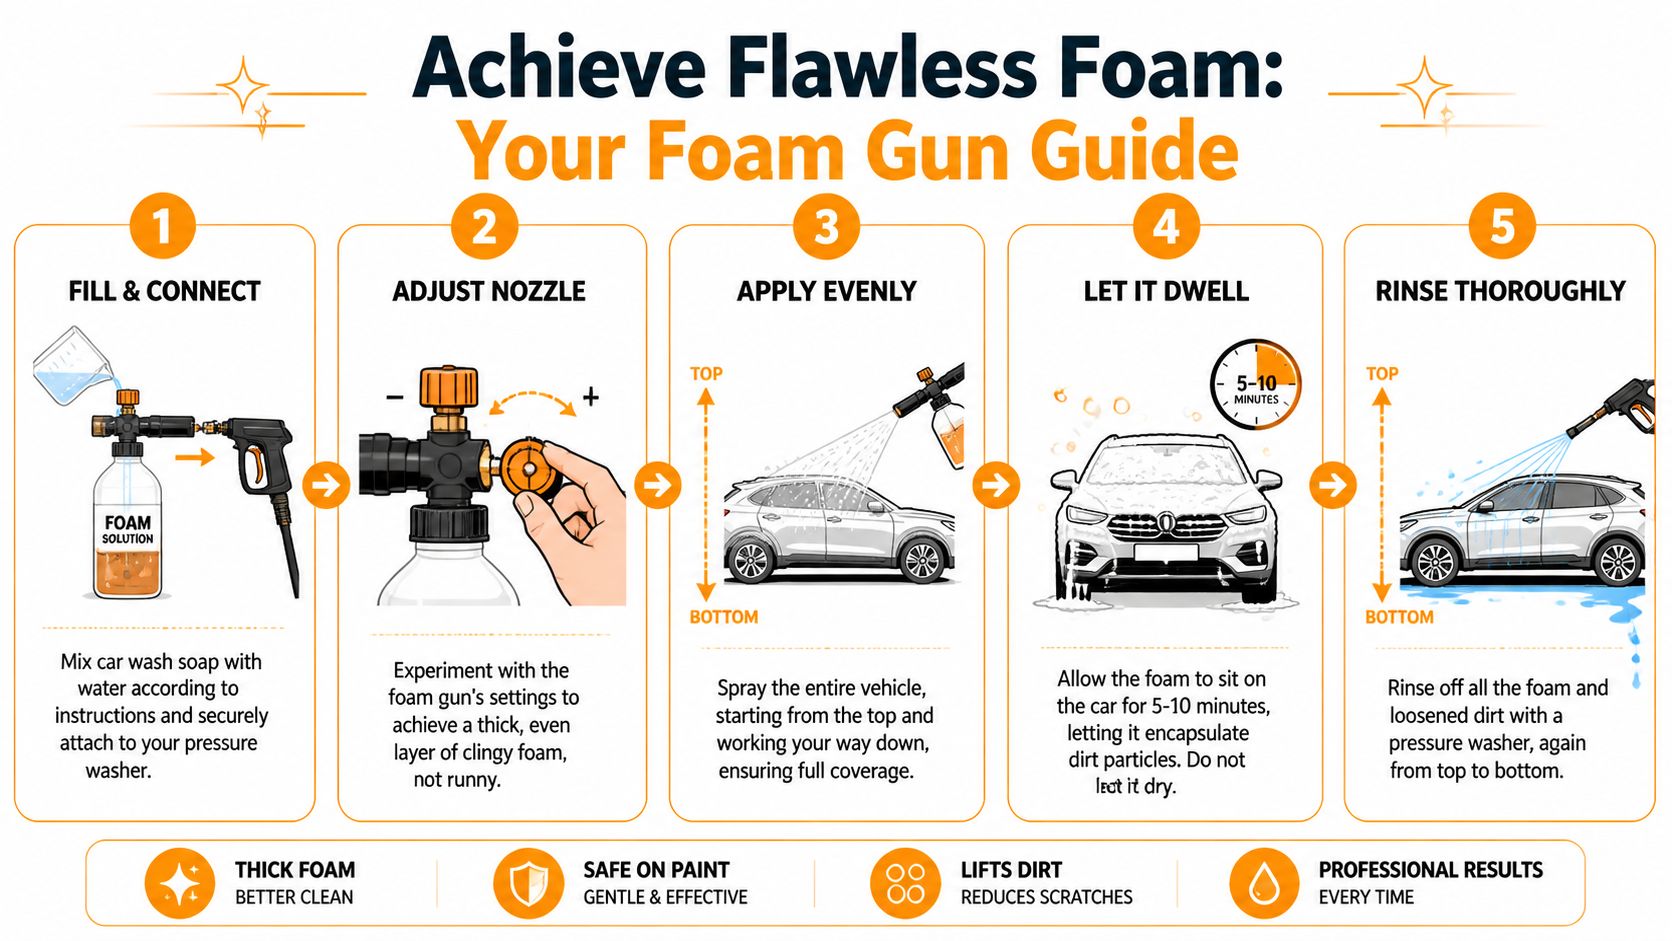
Mix for cling, not drama
Beginners often chase the thickest possible foam, as if shaving-cream visuals automatically mean better cleaning. They don’t. What matters is coverage and dwell. The foam should hang on the panel long enough to soften dirt, but not be so overloaded with soap that it wastes product or becomes annoying to rinse.
A good target is foam that blankets the panel evenly and slides down slowly. If it runs off instantly, it’s too thin. If it clumps and leaves patchy areas, your mix or setting may be off.
Use these adjustment points:
- For light dust: Mix a little leaner and open the pattern slightly for fast, broad coverage.
- For heavier grime: Increase soap concentration within the product directions and tighten the output until the foam clings more firmly.
- For hot days: Work one side at a time so the foam doesn’t dry on the paint.
If you want a brand-specific walkthrough, this guide on how to use a foam gun shows the basic setup and spray approach.
A quick visual helps if you haven’t used one before:
Apply in a controlled pattern
Start at the top surfaces. Roof, glass, hood, upper doors, then lower sections. That order keeps dirty runoff moving downward instead of back across cleaner panels.
Don’t wave the nozzle randomly. Use overlapping passes so you don’t leave dry gaps around mirrors, grille openings, fuel doors, and trim edges. Those neglected spots are where dirt sticks around and later transfers into your mitt.
Foam is a prep step, not the finish line. Let chemistry loosen the dirt, then remove what’s left with the least possible pressure.
Watch the dwell time closely
Once the car is coated, leave the foam in place briefly so it can break down traffic film and loosen grit. But don’t walk away. If the foam starts drying, you’ve gone too long.
The right dwell time depends on sun, panel temperature, and how dirty the vehicle is. On a cool shaded morning, you have more room. On warm paint, you need to work in smaller sections. The safest habit is simple: foam, observe, then rinse or wash while the surface is still slick and wet.
Your Guide to a Scratch-Free Wash and Rinse
Once the foam has loosened the dirt, your job changes. You’re no longer trying to scrub contamination off the paint. You’re guiding loosened residue away with a soft mitt and light pressure.
That’s the point where technique matters more than effort. People damage paint because they press too hard, rush the lower panels, and move in circles. A better method is calmer and more deliberate.
Use straight-line passes
A useful tip from self-serve wash experts is to wash in straight lines, not circles, because circular marks show from every angle while straight-line micro-scratches are harder to see, as noted by DIY Car Wash Tips.
Start with the roof and work downward. Save the dirtiest sections for last. That usually means the lower doors, rocker panels, rear bumper, and areas behind the wheels.
Here’s the contact order that keeps risk low:
- Upper panels first: Roof, upper glass, hood, trunk or hatch.
- Middle sections next: Doors, fenders, pillars.
- Dirty zones last: Lower panels and rear surfaces where road film piles up.
How much pressure is enough
Less than commonly believed. The mitt should glide, not dig. If a spot doesn’t release easily, re-foam it or rinse it again instead of forcing it.
Use a microfiber wash mitt with a deep nap because it gives dirt somewhere to move away from the paint face. Rinse the mitt often, especially after lower sections. If it feels grabby, stop and flush it out before continuing.
A safe wash rhythm looks like this:
| Step | What to do |
|---|---|
| Pass 1 | Light straight-line wipe across a small section |
| Mitt check | Look for visible grime and rinse if needed |
| Re-foam if needed | Add lubrication rather than adding pressure |
| Rinse section | Clear soap before it begins to dry |
If you hear the mitt dragging, the surface needs more lubrication or more rinsing. Paint-safe washing should feel smooth.
Rinse with intent
Rinsing is more than knocking soap off the car. You’re also flushing away loosened dirt. Work top down and pay extra attention to badges, mirror housings, trim seams, and panel gaps where suds hide.
If conditions are warm or breezy, rinse in sections instead of waiting until the whole car has been washed. That prevents residue and cuts down on water spotting before you even get to the drying stage.
Tackle Wheels, Trim, and the Undercarriage
A wash looks unfinished when the paint is clean but the wheels are brown, the tires are dull, and the underbody is carrying a season’s worth of grime. These are the areas many people rush through, but they affect both appearance and long-term condition.
Wheel cleaning needs its own tools because wheel grime is harsher than normal road dust on paint. Use separate brushes, separate towels, and if possible a separate bucket. That keeps brake dust and gritty debris away from the body.
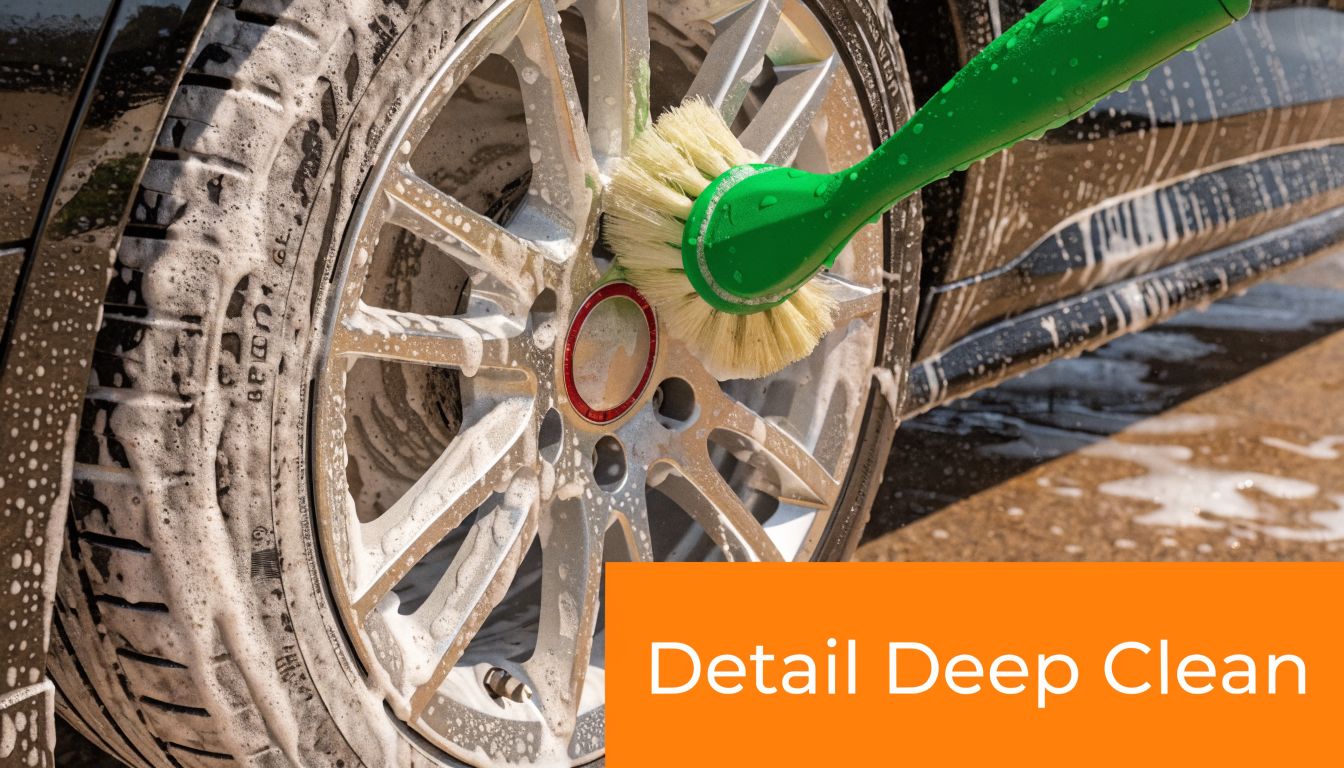
Clean the parts people notice first
Wheels visually anchor the whole vehicle. If they’re neglected, the car never looks fully washed.
For a cleaner finish:
- Face first: Agitate the wheel face with a soft wheel brush.
- Barrels and behind spokes: Use a longer brush where your hand can’t comfortably reach.
- Tires last: Scrub the sidewall separately so old dressing and brown residue don’t smear back onto the wheel.
If your tools need an upgrade, a dedicated car wheel cleaning brush guide can help you choose the right shape for spokes, barrels, and tire sidewalls.
Don’t skip the undercarriage
Most car wash guides ignore the undercarriage, but regular cleaning matters for vehicles exposed to road salt and grime. Shine Wash Tech notes that undercarriage cleaning helps prevent rust from road salt, and that a portable foam gun lets DIY users apply clinging foam underneath the vehicle without a lift in its undercarriage wash guide.
That’s especially useful if you drive in winter weather, on gravel, or on muddy roads. Foam helps because it hangs on uneven surfaces better than plain water. It can reach around suspension components, wheel wells, and the lower frame area where debris collects.
A practical underbody routine:
- Cool the area first. Never spray around a hot exhaust.
- Pre-rinse from the sides. Knock off loose mud and salt buildup.
- Apply foam underneath with controlled passes. Focus on wheel wells, frame edges, and lower suspension areas.
- Agitate only where accessible. An extension tool or mitt on a reach pole helps with visible buildup.
- Rinse thoroughly. Don’t leave soap trapped in seams or pockets.
Trim benefits from the same restraint as paint. Foam it, agitate gently around emblems and textured plastics, then rinse clean without aggressive rubbing.
Achieve a Spotless Dry and Final Finish
A lot of home washes go sideways at the very end. The car is clean, but it air-dries in patches, minerals stay behind, and the finish turns spotty before you even put the hose away.
Drying needs its own plan. Data shows 47% of drivers wash their car every couple of months, often because of the time involved, according to Neaten India’s car wash statistics roundup. A faster drying method makes regular washing easier to maintain.
Dry without re-marring the paint
The safest approach is to remove water with as little friction as possible. A blower works well for mirrors, grilles, badges, and trim crevices. For the remaining water, use a clean microfiber drying towel and blot or drag lightly instead of scrubbing.
If you use a drying aid or quick detail spray, apply it sparingly to one panel at a time. That added lubrication helps the towel glide and leaves the paint looking clearer and glossier.
Good drying habits are simple:
- Start high: Roof, glass, hood, trunk.
- Chase trapped water: Mirrors, door handles, fuel door, grille, and emblems.
- Flip towels often: Once a towel gets too damp, switch to a fresh side.
Add the last details
Clean the glass separately if you want a crisp finish. Interior glass haze and leftover edge moisture are common reasons a wash still looks incomplete.
Tires are the visual closer. Once the rubber is dry, apply dressing lightly and evenly. Avoid slinging product onto freshly cleaned paint by wiping off excess before driving.
The final look comes from dry surfaces, clean edges, and no leftover water hiding in trim. That’s what makes a home wash look intentional.
Frequently Asked Car Wash Questions
What soap should you use in a foam gun
Use a soap made for automotive washing and for foam application. Avoid household detergents. They aren’t designed for painted automotive finishes and can leave the surface feeling harsh or stripped.
Can a foam gun be used on trucks, RVs, or camping gear
Yes, as long as the surface is compatible with the soap you’re using and you work in manageable sections. A foam gun is especially useful on taller vehicles because it spreads shampoo faster than hand-applying soap panel by panel.
How do you clean the foam gun after a wash
Empty the bottle, rinse it, then run clean water through the tool so leftover soap doesn’t dry inside the nozzle or pickup tube. Let the parts dry before storage. That habit prevents clogs and keeps spray performance consistent.
How should microfiber mitts and towels be washed
Separate them from household laundry, especially linty fabrics. Wash them with a gentle detergent, skip fabric softener, and dry on low heat or air dry. Keep wheel towels separate from paint towels permanently.
What if the car still looks messy after washing
Usually the problem is in the details, not the body panels. Check the glass edges, badges, wheels, door jambs, and camera areas. If your rear camera image stays blurry after a wash, this guide on how to clean your backup camera lens is worth bookmarking.
SwiftJet Foam Gun Troubleshooting
| Issue | Potential Cause | Solution |
|---|---|---|
| Foam is too runny | Soap mix is too weak or setting is too open | Increase soap within product directions and adjust for tighter foam output |
| Foam doesn’t spray evenly | Nozzle or connector has residue buildup | Rinse the unit thoroughly and run clean water through it |
| Soap dries on the car | Working in sun or covering too much area at once | Wash smaller sections and rinse sooner |
| Mitt leaves streaks | Mitt is overloaded with dirt or surface lacks lubrication | Rinse the mitt and re-foam the panel |
| Water spots appear after drying | Drying took too long or water sat in place | Dry panel by panel and chase trapped water from crevices |
If you want a simpler home wash routine, SwiftJet offers a hose-connected foam gun that applies thick foam with trigger control and comes with a microfiber wash mitt. For anyone trying to cut down on bucket scrubbing and make regular washes easier to keep up with, that kind of setup fits naturally into the process above.
