

The first warm Saturday of the year usually starts the same way. You open the garage, see the salt line still stuck to the lower panels of the car, notice the gutter overflow stain near the downspout, and remember the rake, hoses, patio furniture, and half a dozen things you meant to check before winter got busy.
That pile of chores gets people stuck. They either try to do everything in one weekend and burn out, or they bounce from task to task and miss the jobs that prevent damage.
A better way to handle spring maintenance is to treat it like a phased reset of the property. Start with what can leak, seize, rot, or corrode. Move next to what needs to run reliably. Finish with the yard and the seasonal gear. That order matters because spring isn't just cleanup. It's the point where winter damage shows up clearly, and where small issues are still cheap to fix.
Most homeowners already think this way, even if they don't always formalize it. Approximately 92% of homeowners include spring home maintenance in their annual routine, according to this spring home maintenance roundup. The smart move is giving that routine structure so you spend your time where it counts.
The Great Thaw A Strategic Approach to Spring Maintenance
The first useful shift is mental. Don't think of spring maintenance as one giant list. Think of it as a sequence.
Winter leaves behind a specific type of wear. Water finds weak flashing, debris packs into gutters, salt sticks to metal, lawn edges matt down, and stored equipment sits exactly where you left it months ago. If you attack all of that randomly, you'll stay busy but you won't necessarily reduce risk.
Start with exposure and failure points
Handle the jobs that protect expensive systems first. That means roof edges, gutters, drainage, siding, spigots, exterior HVAC components, and anything connected to water shutoff or water intrusion. Once those are checked, move to your vehicles. Then handle the yard and seasonal gear.
That order works because it follows consequence, not convenience.
Practical rule: If a problem can lead to leaks, flooding, corrosion, or a breakdown, it belongs early in your spring schedule.
I like to block spring work into short sessions rather than one marathon. One session for the house exterior. One for the vehicles. One for the yard. One for storage and gear swap. You'll make fewer mistakes, and you're less likely to rush through the inspection part, which is where most of the value is.
Use a simple phase plan
A workable spring maintenance plan looks like this:
- Phase one. Protect the house shell and core systems.
- Phase two. Wash, inspect, and revive anything with wheels or an engine.
- Phase three. Wake up the lawn, beds, and outdoor living areas.
- Phase four. Clean and store winter gear, then prep summer equipment.
If you live where freeze cycles are rough, it also helps to review freeze protection basics for seasonal home systems before you start opening things up again. For region-specific reminders, this guide to essential Utah home care for spring is a good example of how climate changes the order of operations.
Phase One Your Home Exterior and Systems Check
A warm Saturday in early spring can fool you into doing the visible jobs first. Patio furniture comes out, the hose gets dragged across the driveway, and the house looks fine from the curb. Then the first hard rain shows you what winter did.
Phase one is about preventing that surprise. Handle the house in order of consequence: anything that can let in water, hold moisture, or reduce cooling performance gets checked before you spend time on cosmetic cleanup.

Work from the top down
Start at the roofline and finish at the foundation. It is faster, and it keeps you from redoing dirty work.
- Roof edge check. Look for missing shingles, lifted flashing, cracked vent boots, and heavy granule loss near gutters or downspout exits.
- Gutters and downspouts. Remove debris, tighten loose joints, and run water long enough to confirm it discharges away from the house.
- Siding and trim. Walk slowly and look for soft spots, failed caulk, paint breakdown, and stains below windows, doors, or hose bibs.
- Foundation line. Check for new cracks, splashback marks, mulch piled too high, or soil that now slopes toward the wall.
- Outdoor faucets and hoses. Turn each one on fully and watch for drips inside and out. A freeze-damaged sillcock often shows up here first.
- Exterior equipment. Clear leaves and twigs from the outdoor AC unit and give the cabinet breathing room on all sides.
Separate inspection from cleaning
That distinction matters. Cleaning makes problems visible. Inspection tells you whether you can leave something alone, repair it now, or schedule a pro.
| Area | Inspect for | Cleaning task |
|---|---|---|
| Roof and gutters | Missing material, loose fasteners, overflow marks | Remove leaves, flush channels |
| Siding and trim | Cracks, rot, failed caulk, paint breakdown | Wash grime and mildew off surfaces |
| Deck and steps | Soft boards, popped fasteners, coating condition | Sweep debris, rinse dirt, scrub algae |
| Water fixtures | Leaks, stuck valves, damaged hose bibs | Clear sediment around handles and drains |
That approach also helps with budgeting. If the trim only needs washing and a few small caulk repairs, you can save paint for later. If you find active water staining or soft wood, push that repair to the front of the line.
A few checks save a lot of money later
Gutters get the attention, but runoff is only half the job. Confirm where the water ends up. I want downspouts sending water well clear of the foundation, not dumping it at the corner and hoping the grade handles the rest.
The same logic applies to decks, steps, and railings. Dirt and algae make surfaces look tired, but loose fasteners, soft boards, and trapped moisture are the underlying problems. Clean first, then decide whether the surface needs a simple wash, a repair, or a new finish.
If you use a pressure washer for siding, steps, or concrete, keep the setup controlled and use the right tip for the material. A strong rinse saves time, but too much pressure can scar wood, force water behind trim, or chew up paint. The same kind of method matters on the vehicle side too. Good spray control reduces mess and rework, which is why a lot of the same habits from smart vehicle detailing methods that limit waste and overspray carry over to house cleanup.
Know what is homeowner work and what needs service
You can handle debris removal, visual inspection, hose testing, and filter changes without much trouble. Cooling service is different. If the unit struggled last summer, short-cycled, or made unusual noise, book service before the first heat wave. This overview of air conditioning tune-up essentials is a good checklist for what to ask a technician to inspect.
Keep the tool kit simple. Gloves, a stable ladder, a hose, a bucket, a flashlight, a screwdriver, and enough time to look closely will cover most of this phase. The goal is not to do every possible task in one day. The goal is to find the expensive problems while they are still small and fixable.
Phase Two Reviving Your Vehicles from Winter
The most important wash of the year is the one right after winter. Not the glossy weekend wash. The decontamination wash.
Salt, grit, and road film don't just make a vehicle look rough. They sit in seams, wheel wells, brake hardware, suspension corners, and underbody pockets where corrosion gets started. By spring, the outside temperature is nicer, but the damage mechanism is still there until you remove the residue.
Roughly 60% of motorcycle breakdowns in early spring are directly linked to insufficient post-winter storage checks, according to this post-winter motorcycle prep guide. Motorcycles make the risk obvious, but the same principle applies to cars, trucks, trailers, and RVs. Anything that sat. Anything that saw salt. Anything you plan to trust on the road.

The spring wash that actually matters
A quick spray-off isn't enough. You want a wash that loosens winter residue before your mitt touches the paint.
That means pre-rinse first, then foam, then wheel cleaning, then contact wash, then underbody attention if you can safely reach it. The goal is reducing abrasion while getting corrosive material out of hidden areas.
For a more detailed process, these vehicle detailing tips for at-home cleaning are useful as a reference.
A practical order of operations
Use this sequence when waking a vehicle up after winter storage or heavy winter driving:
- Start with tires and stance. Walk around the vehicle and look for visibly low tires, weather checking, nails, sidewall bulges, or flat spots from storage.
- Open the hood before washing. Check oil level, coolant level, and look for anything chewed, leaking, or crusted.
- Handle the battery early. Corrosion on terminals and a weak battery can waste your whole day if you ignore them until the end.
- Wash the dirtiest zones first. Wheels, wheel wells, and lower body panels usually carry the heaviest winter residue.
- Finish with brakes and a short drive. After washing, let the brakes dry with a cautious drive and listen for anything unusual.
What owners often miss
Many remember fluids. Fewer remember the areas where winter leaves behind mechanical consequences.
Check wiper blades for edge tears and hardening. Open and close every door, hatch, and fuel flap. Look at the windshield perimeter and around rubber seals. If you stored a motorcycle, inspect chain condition, brake feel, tire pressure, and controls before the first ride instead of during it.
A short comparison helps:
| Vehicle type | High-priority spring checks | Commonly missed item |
|---|---|---|
| Daily driver | Salt removal, tire condition, fluids, wipers | Lower door seams and trunk channels |
| Motorcycle | Battery, tires, brakes, chain, fluids | Storage-related issues before first ride |
| RV or trailer | Tires, lights, roof seams, hookups | Brake and bearing attention after sitting |
Don't judge readiness by whether the engine starts. A vehicle can start and still be unprepared for the season.
Clean first, then evaluate
This part matters because dirt hides problems. A brake line seep, torn axle boot, cracked sidewall, or rust bloom is easy to miss when everything is coated in old grime. Once the vehicle is clean, inspect it in daylight and decide what needs service.
That saves money too. You won't replace parts out of panic, and you won't ignore obvious wear because it was disguised by winter residue.
Phase Three Prepping Your Lawn and Garden for Growth
A yard can look ready weeks before it is. Step on saturated soil too early and you trade a fast cleanup day for months of compaction, weak growth, and ruts that are hard to fix later.
That is why I handle spring yard work in phases. Clear what winter left behind first. Correct the trouble spots second. Service the equipment before the weekly mowing cycle starts.
First pass cleanup
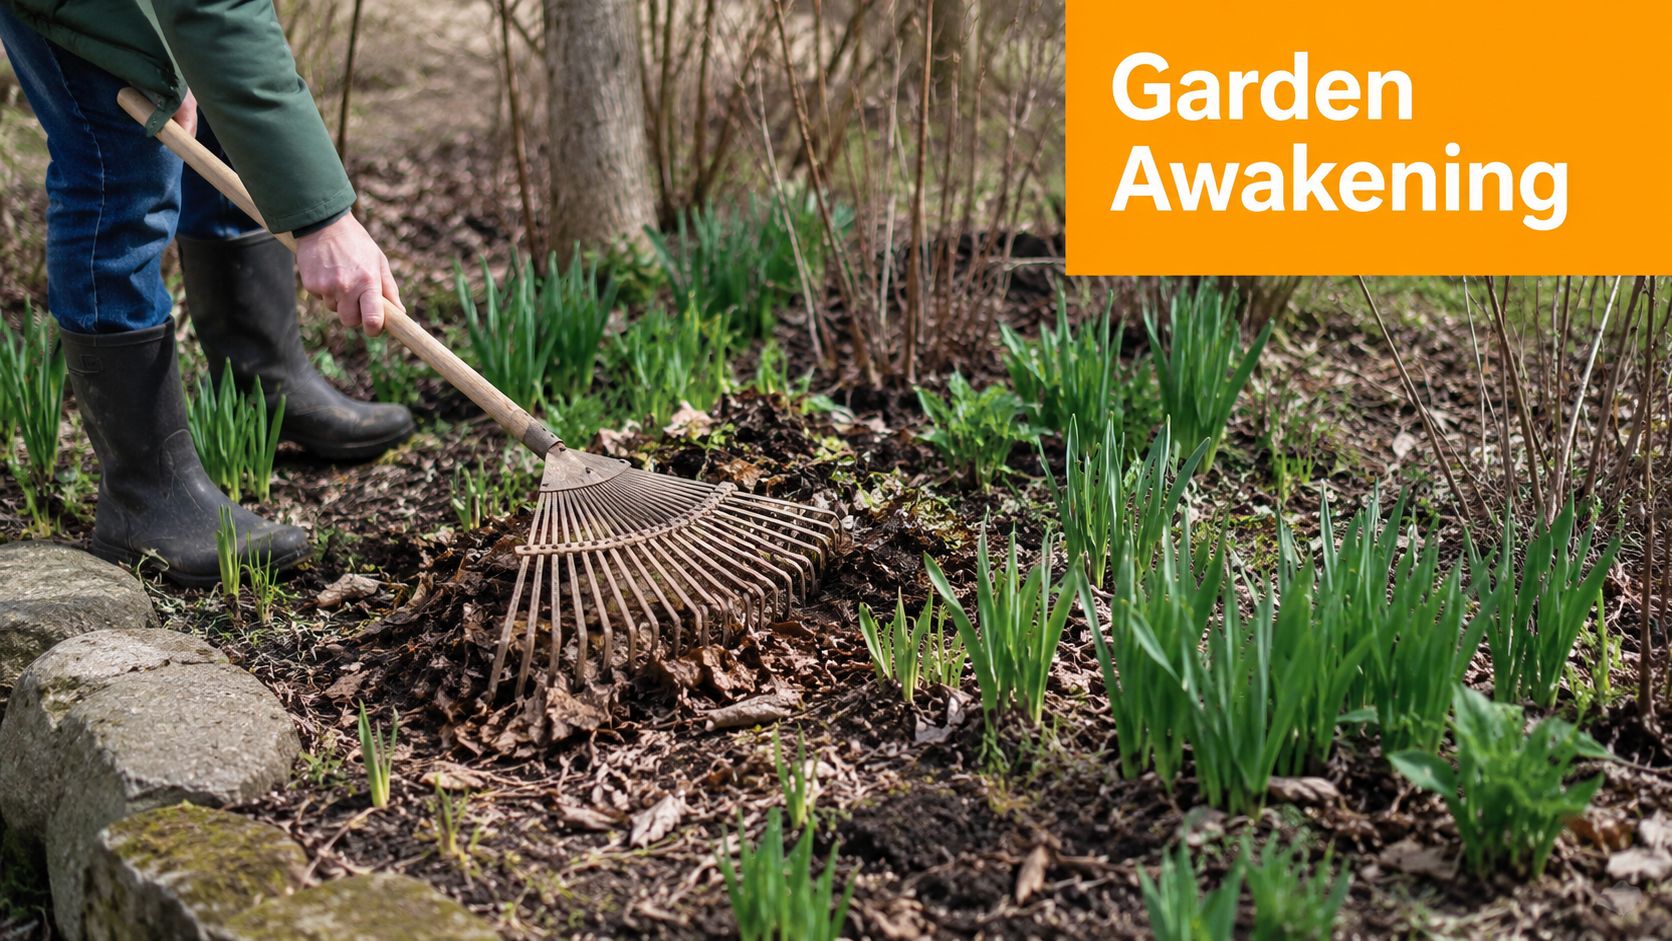
Start with anything that blocks light, airflow, or inspection. Rake out leaves, twigs, matted grass, and storm debris. In garden beds, pull mulch back from crowns and stems so you can see what made it through winter and where pruning or replacement makes sense.
Then deal with the surfaces and tools that tend to get ignored. Patio furniture, planters, shovels, and wheelbarrows usually come out with a film of dirt, fertilizer residue, or mildew. Cleaning them now keeps that mess out of the garage and makes damage easier to spot before heavy use starts.
If you already use hose-powered wash equipment, put it to work here too. These 12-volt sprayers for outdoor cleanup jobs are useful for rinsing hand tools, planters, furniture, and utility areas without dragging out a bigger setup than the job requires.
Lawn recovery without overdoing it
Spring lawn work goes wrong when every yard gets the same treatment. Some lawns need a light rake and a sharp mower blade. Others need aeration, seed, drainage work, or a hard look at shade and traffic patterns.
Use the condition of the lawn to decide the next step:
- Patchy lawn. Overseed thin areas after loosening the surface enough for seed contact.
- Hard, compacted soil. Aerate once the ground is workable and no longer sticky.
- Snow-matted grass. Rake lightly to stand the blades up and improve airflow.
- Weedy edges and bed lines. Recut borders and refresh mulch before weeds get established.
Wood surfaces nearby deserve the same verify-first approach. As noted earlier in the article, a quick water-beading check tells you more than the calendar does. If the finish is still shedding water, clean it and leave it alone. Resealing on schedule alone wastes time and product.
Yards improve faster when you fix the actual problem instead of treating every spring task like a ritual.
A useful visual walkthrough can help if you're timing lawn and garden startup tasks around weather and soil conditions.
Tune the equipment before the growth surge
The first big mowing week is a bad time to learn the mower has old fuel, a dull blade, or a dead battery.
Check mower blades for sharpness and balance. Clean packed grass from the deck underside. Inspect air filters, cords, chargers, batteries, and trimmer line before you need them. Hand pruners and loppers deserve the same attention. Clean blades make cleaner cuts, and cleaner cuts heal better on shrubs and perennials.
This phase pays off all season. Once the yard is cleared, the weak spots are marked, and the equipment is ready, weekly maintenance gets much easier.
Phase Four The Great Gear Swap and Storage
A rushed gear swap creates the same mess every year. You put winter gear away dirty, pull summer gear out half-checked, and lose a Saturday later to rust, mildew, flat tires, or a grill that should have been cleaned weeks ago. A better system is simple. Close out winter gear completely, then bring warm-weather gear online in the same pass.
Put winter away the right way
Storage starts with residue. Salt, fertilizer dust, road grime, and damp fabric keep working while your gear sits. Metal pits. Rubber dries out faster. Fabric gets musty. If an item touched slush, ice melt, or a dirty garage floor all winter, clean it before it disappears onto a shelf.
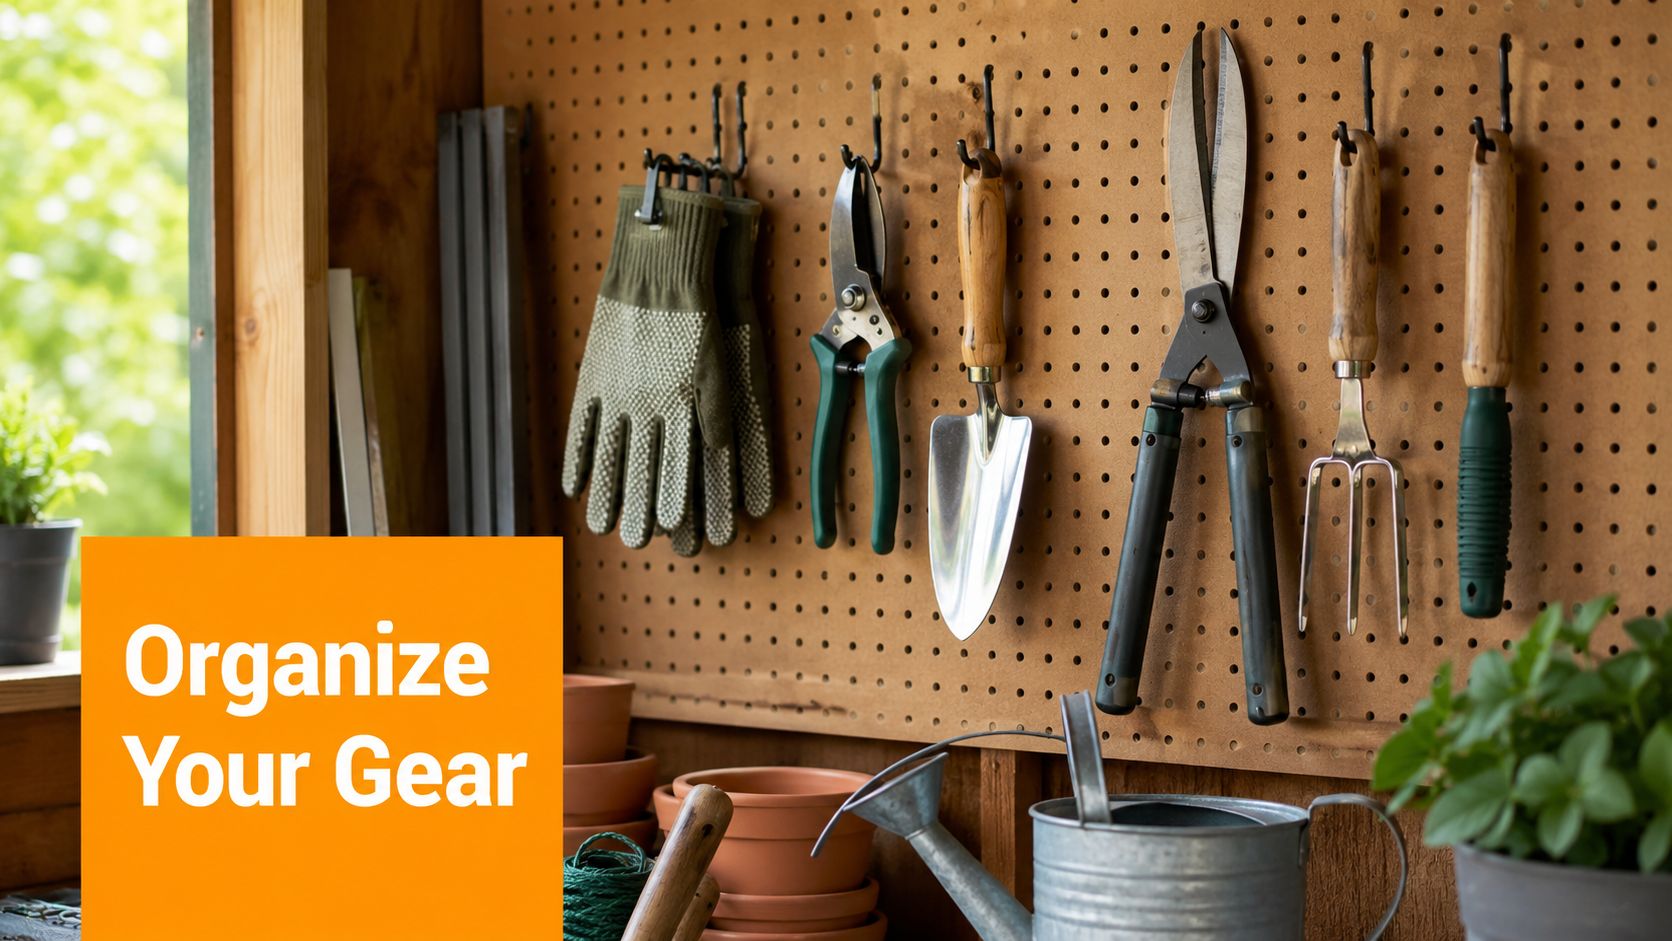
Snow shovels, sleds, snow brushes, boot trays, and winter mats should be rinsed, dried, and checked for cracks or bent edges. I like to group anything that needs repair in one spot instead of discovering it during the first storm next season. That includes replacement scraper blades, broken handles, and missing hardware.
Snowblowers need a little more discipline. Follow the manufacturer's storage steps for fuel and service items. Then wipe down exposed metal, inspect belts and scraper edges, and write down any part numbers you may need later. Five minutes of notes in spring beats hunting for parts when the forecast turns ugly.
A short checklist keeps this phase efficient:
- Winter tires. Mark the previous position on the vehicle, clean off brake dust and salt, and store them in a cool, dry place.
- Hand tools. Knock off packed dirt, wash away salt, dry them fully, and give bare metal a light protective coat if needed.
- Cold-weather accessories. Empty bins, toss broken scrapers, shake out loose sand and ice melt residue, and store only what you would use again.
Bring warm-weather gear online
Now switch from storage mode to setup mode. Pull out bikes, patio furniture, hoses, grills, and outdoor toys. Clean each item before first use so inspection happens at the same time.
That matters more than people think. A quick wash usually reveals what winter hiding spots conceal. Dry-rotted hose washers, loose bike fasteners, cracked chair webbing, mouse nests in grill compartments, and brittle extension cords all show up once the dirt is gone.
This is also one of the best uses for a pressure washer, especially on hard surfaces and gear that collected salt or caked grime over winter. The high-value jobs are the ugly ones, garage mats, plastic bins, wheel dollies, trailer ramps, and utility carts. SwiftJet earns its keep here because it cuts cleanup time on heavy residue without turning a basic rinse into an all-day job.
Seasonal storage works when every item is cleaned, dried, checked, and put away ready for its next season.
If you want this phase to stay manageable, label bins by season and by use, not by vague categories like "miscellaneous." Keep wash gear, storage bins, and a marker together before you start. Good storage is less about neat-looking shelves and more about making next season easy on yourself.
Conclusion Your Year-Round Maintenance Mindset
Good spring maintenance doesn't feel dramatic when you're doing it. You clear a gutter. You test a valve. You wash salt out of wheel wells. You sharpen a mower blade. None of those jobs looks impressive on its own.
Together, they change the year.
You end up with a house that sheds water the way it should, vehicles that are less likely to surprise you after sitting or after hard winter use, and outdoor spaces that feel ready instead of neglected. More important, you stop treating maintenance like a crisis response. It becomes a routine of inspection, correction, and cleanup before small issues escalate.
That's the ultimate payoff. Less scrambling. Fewer emergency calls. Better odds that your tools, systems, and vehicles do what they're supposed to do when you need them.
The best spring routines also stay flexible. Some years the house needs more attention. Some years the driveway fleet takes the bigger hit. Some years the lawn can wait while the drainage can't. A phased system handles that well because it gives you priorities instead of just chores.
If you want to make this stick, keep a short running list through the year. Write down what you noticed this spring, what you postponed, what parts or supplies you ran out of, and what took longer than expected. Next spring starts easier when you're not reinventing your process.
Spring maintenance is really the opening move in a year-round habit. Once that mindset takes hold, the work gets lighter because you're catching things earlier.
If you want one tool that pulls double duty for home and auto cleanup, take a look at SwiftJet. It's a practical fit for washing vehicles, rinsing grime off outdoor gear, and speeding up the dirty part of seasonal cleanup. If you like ongoing upkeep tips, the SwiftJet VIP program also offers 10% off plus regular home improvement advice.
