
That innocent-looking drip of sap might seem harmless, but it's a direct threat to your car's finish. The key to safely removing tree sap from car paint is to act fast, using either a dedicated sap remover or something as simple as isopropyl alcohol. If you let it sit and bake in the sun, you're risking permanent damage.
Why Tree Sap Demands Immediate Attention
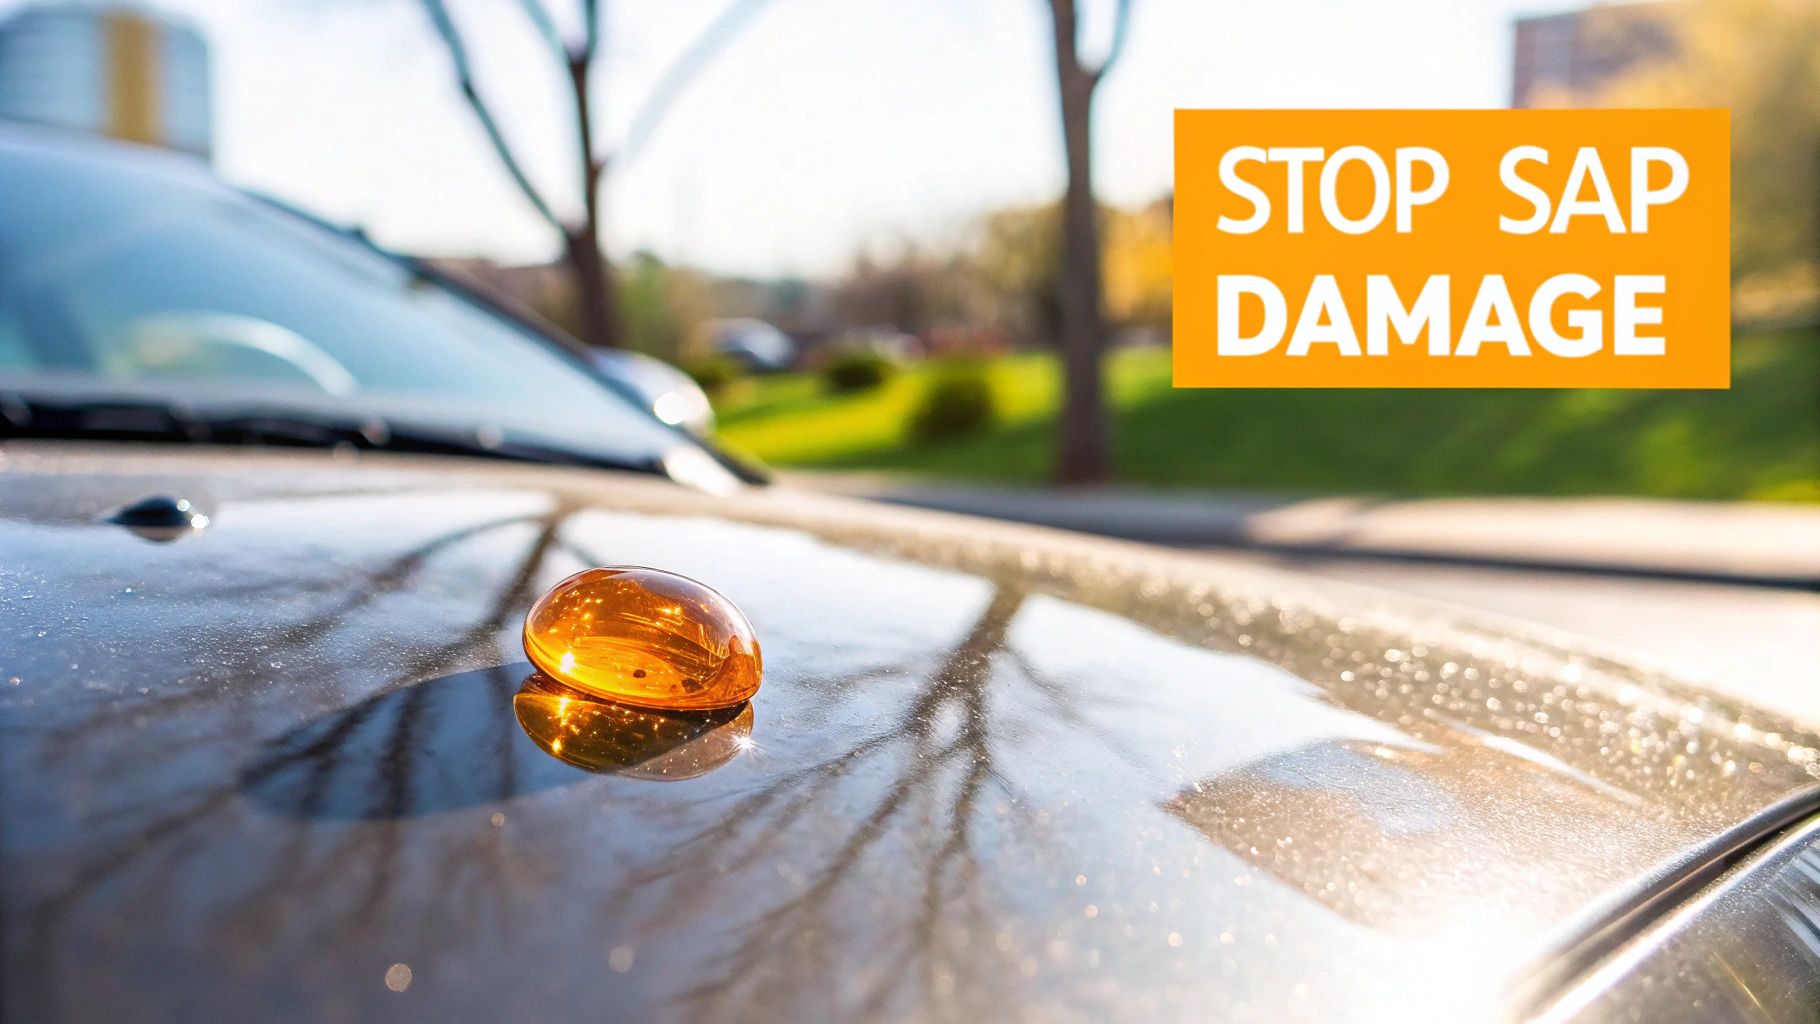
It’s all too easy to shrug off a small spot of tree sap as just another thing to deal with at the next car wash. But that sticky substance is far more aggressive than it looks. Tree sap isn't just sitting on your paint; its complex mix of sugars and resins is actively trying to chemically bond with your car's clear coat.
Think of it like a natural superglue for your vehicle's finish. As soon as the sun's heat hits it, that bonding process kicks into high gear. The sap hardens and shrinks, literally pulling at the clear coat. This tension can cause the paint underneath to swell and crack, leaving behind discoloration and permanent etching.
The Science Behind the Damage
What starts as a simple cosmetic flaw can quickly spiral into real damage. The acids found in tree sap begin eating away at the protective layers of your paint from the moment they land. The longer the sap sits, the deeper it penetrates.
Here’s a real-world scenario I see all the time: a car is parked under a beautiful pine tree during a summer heatwave. In just a few days, those little sap droplets can bake onto the surface so intensely that they essentially become one with the finish. By that point, trying to remove them is a major headache that risks scratching the paint, often requiring a professional to correct the damage.
"It is difficult to say what the short-term effects would be, but [tree sap] will certainly cause paint damage if left untreated for a longer period of time... Generally, when it is hot, the effects of tree sap are accelerated."
This expert insight really drives home the urgency. It's not a matter of if sap will damage your paint, but when.
Protecting Your Investment
Taking swift action is your best defense against a costly trip to the detailer or body shop. Tree sap is a serious threat. While it might start as a cosmetic nuisance, it will chemically bond to your car's clear coat and paint over time.
Research confirms that once sap hardens—especially when exposed to UV radiation and heat—it accelerates paint damage like etching and peeling. In warmer climates, this can happen in a matter of weeks. You can find detailed analyses of car paint damage that show the full scope of these risks.
Ultimately, getting that sap off immediately is about more than just looks. It’s about preserving your vehicle's integrity and protecting its resale value. Keeping your car’s exterior in top shape is crucial, and learning the best way to protect car paint is a great first step in preventing this kind of damage from ever happening.
Getting Your Car Ready for a Flawless Sap Removal
I can't tell you how many times I've seen people make the same mistake: they see a glob of sap and immediately start scrubbing at it. That's a surefire way to create a much bigger problem—a mess of fine scratches in your clear coat.
Before you even think about touching the sap itself, you have to prep the surface. The area around that sticky spot is coated in a thin layer of dust, road grit, and other grime. If you go straight in with a towel and a remover, you're grinding that grit right into your paint. It's like wet-sanding your car with dirt, and the results aren't pretty.
So, the first thing on your list is a gentle wash of just that area. This isn’t a full-on weekend detail, just a quick, targeted cleaning. Grab some quality car shampoo and warm water, and softly wash away all those loose contaminants. It's a simple, two-minute step that makes a world of difference in protecting your paint.
The Power of a Good Pre-Soak
If you want to take your prep work to the next level, a foam gun is your best friend. A tool like the SwiftJet Foam Gun, which just hooks up to a regular garden hose, is perfect for this. It blankets the sap and the entire panel in a thick, rich foam that starts working on contact.
This pre-soak is doing a couple of critical things for you:
- It softens the sap. That clinging foam sits on the surface, slowly breaking down the sap's stubborn, hardened shell and loosening its grip on your paint.
- It lifts away dirt. The suds encapsulate all those tiny, abrasive particles, lifting them off the surface so you can rinse them away without ever dragging them across the finish.
Just let the foam dwell for a few minutes—don't let it dry in the sun—and then give it a thorough rinse. You'll often find this step alone makes the actual removal process quicker, easier, and much, much safer for your paint.
Your Sap Removal Toolkit
Alright, with the area clean and prepped, it's time to gather your tools. Get everything you need ready and within arm's reach. There's nothing worse than starting a job only to realize you have to run back inside, leaving a chemical remover sitting on your paint.
Having the right tools on hand transforms this from a frustrating chore into a controlled, professional-level repair. Don’t cut corners here; your car’s finish will thank you.
Before you start, make sure you have these essentials laid out:
- Plush Microfiber Towels: You'll want at least two or three. One for applying the remover, and a clean, dry one for buffing away any residue.
- Your Chosen Sap Remover: This could be anything from isopropyl alcohol to a dedicated commercial product.
- Detailing Spray: Invaluable for quick clean-ups and for adding a bit of lubrication to the final wipe-down.
- Protective Gloves: A good idea, especially since some removers can be pretty harsh on your skin.
Simple DIY Methods That Actually Work
You don’t always need a whole arsenal of expensive, specialized products to get tree sap off your car’s paint, especially if you get to it quickly. Truth be told, some of the best solutions might already be hiding in your medicine cabinet or kitchen pantry. The trick is knowing which ones actually work and how to use them without damaging your vehicle's clear coat.
The right approach really comes down to how long the sap has been sitting there, cooking in the sun.

As you can see, fresh, sticky sap is a perfect candidate for these at-home remedies. But for sap that’s hardened and baked-on, you'll probably need to step up to a pro-level product.
Using Isopropyl Alcohol
One of the most dependable DIY methods involves good old isopropyl alcohol (rubbing alcohol). Its solvent properties are fantastic for breaking down the sticky resins in fresh sap. The only catch? It can also strip waxes and sealants, so you have to be careful with it.
Never use it straight from the bottle. I always recommend starting with a diluted solution—a 50/50 mix of 70% isopropyl alcohol and water is the perfect strength. Before you even think about putting it on a visible spot, always test it somewhere hidden, like the inside of a door jamb, to make sure it doesn’t dull your paint.
Here’s how to do it right:
- Dampen a clean microfiber towel with your diluted alcohol solution. Don't ever pour it directly onto the paint.
- Lay the damp part of the towel over the sap spot and let it sit for about 30-60 seconds. This gives the alcohol time to work its magic and dissolve the sap without any aggressive scrubbing on your part.
- Gently wipe the now-softened sap away. If it doesn't come off easily, just reapply the towel for another minute instead of trying to force it.
The Ice Cube Trick
For those slightly more stubborn blobs of sap that have started to harden but aren’t yet fossilized, a little bit of basic science can be a huge help. The "Ice Cube Trick" sounds almost too simple, but it’s surprisingly effective and completely safe for your paint.
The concept is straightforward: freezing the sap makes it brittle. Just hold an ice cube directly on the sap droplet for a few minutes until it’s rock solid. Once it's frozen, it will often pop right off the surface with a gentle push from your fingernail or the edge of a plastic loyalty card.
Oil-Based Solutions Like Cooking Spray
This might sound a bit odd, but oil-based products can be a secret weapon against all sorts of sticky messes. Tree sap is essentially a resin, and oils are excellent at dissolving those resins, breaking down their stubborn, tacky grip. This is why things like cooking spray or even a little WD-40 can work wonders.
Arborist Jeanne Hafner of Giroud Tree & Lawn has even confirmed that simple household remedies like cooking spray are proven to work, offering a safe way to break down sap's stickiness without scratching up your car’s finish.
To try this, just spray a small amount directly onto the sap and let it sit for a few minutes. You’ll see the sap start to soften and almost "melt." From there, you can wipe it away with a soft microfiber cloth. The crucial last step is to wash the area thoroughly with car soap and water to get rid of any oily film, which can attract a fresh layer of dirt. The technique is a lot like how you would handle stubborn road tar, where you use a solvent to break the bond before cleaning.
When to Bring in the Pros: Using Commercial Products for Tough Sap
So, you’ve tried the gentle methods, but that stubborn sap isn’t budging. This is a common scenario, especially with sap that’s been baking in the sun for days or even weeks. It hardens into a rock-like resin that simple solutions can’t dissolve.
This is exactly when you should reach for a dedicated, professional-grade sap remover. These products are formulated specifically to break down tough organic gunk like tree sap and road tar without harming your paint—when used correctly, of course.
The key is to use products designed for automotive finishes. Never grab a generic solvent from the garage; things like acetone or lacquer thinner will absolutely destroy your clear coat. Good automotive products contain powerful yet paint-safe solvents, like petroleum distillates, that are engineered for this exact problem.
It's also worth noting that the principles behind removing stubborn stains effectively apply here. The right tool and the right technique make all the difference, whether it's on your car or a countertop.
Comparing Sap Removal Methods
Here's a quick comparison of different sap removal methods, their effectiveness on fresh vs. hardened sap, and the potential risk to your car's paint protection.
| Method | Best For | Risk to Wax/Sealant | Effort Level |
|---|---|---|---|
| Isopropyl Alcohol | Fresh, tacky sap | Moderate | Low to Medium |
| Commercial Remover | Hardened, cured sap | High | Low |
| Detailing Clay Bar | Embedded sap particles | Low | Medium |
| Hand Sanitizer | Small, fresh spots | Moderate | Low |
Each method has its place, but for the really stubborn, baked-on sap, a dedicated commercial remover is almost always the most effective path forward.
How To Choose The Right Commercial Sap Remover
Walking down the car care aisle can be overwhelming. You'll generally find three main types of products for this job:
- Solvent-Based Removers: These are the heavy-hitters. They use powerful chemicals to melt away hardened sap and tar in seconds. They’re incredibly effective but will almost certainly strip any wax or sealant, so plan on reapplying protection afterward.
- Citrus-Based Removers: A gentler option, these formulas use natural solvents like d-Limonene from citrus oils. They're much safer for your paint and skin but might require a little more dwell time and patience to work their magic.
- All-in-One Bug & Tar Removers: These are the jack-of-all-trades products. They strike a great balance between power and safety, making them a fantastic choice for most car owners dealing with a mix of road grime.
No matter your choice, the golden rule is simple: read the instructions on the bottle! A product that works perfectly when used as directed can cause serious issues if left on too long or applied to a hot surface in direct sun. Always find a cool, shady spot to work.
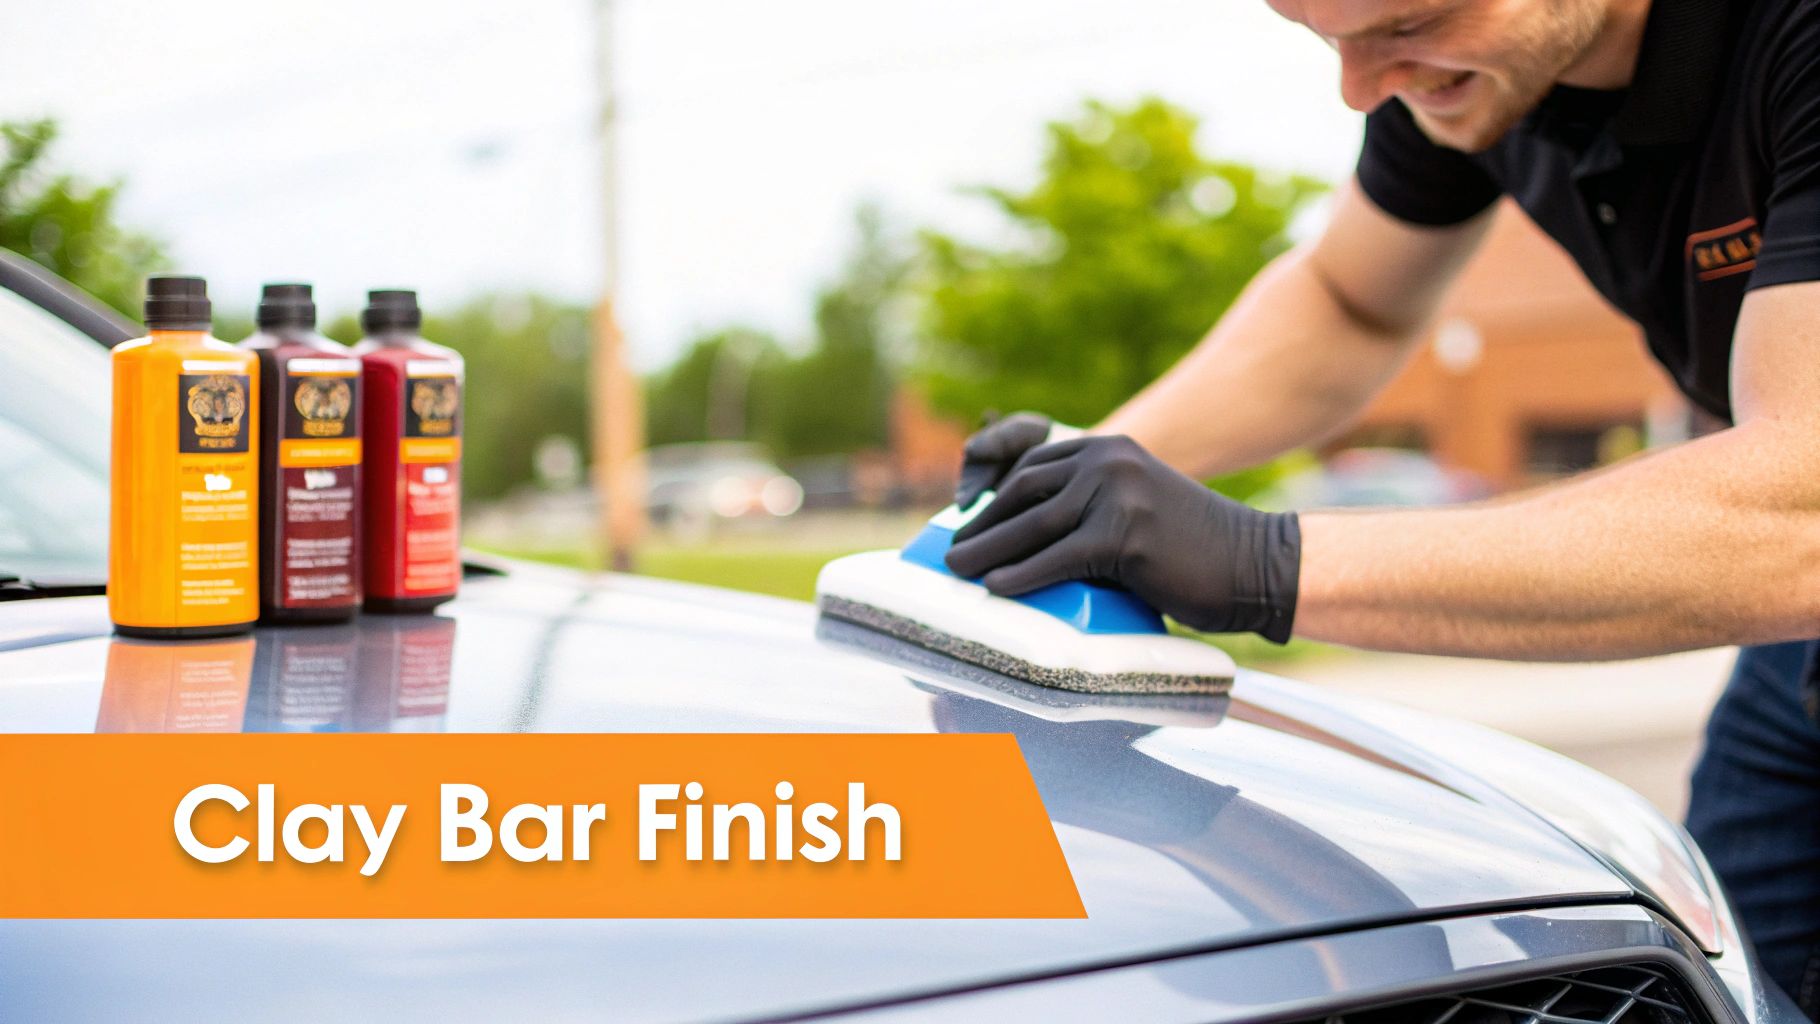
The Clay Bar: Your Secret Weapon for a Flawless Finish
Ever removed sap but still feel a slight grittiness left behind? That means tiny resin particles are still embedded in the pores of your car’s clear coat. No amount of chemical remover will get those out. This is where a detailer’s secret weapon comes into play: the clay bar.
A detailing clay bar is an engineered resin compound that safely pulls contaminants out of your paint's surface that washing alone can’t touch. It’s like a deep-cleaning facial for your car, leaving the paint feeling impossibly smooth.
Using a clay bar isn't about scrubbing; it's about gliding. The clay gently lifts the embedded sap particles, leaving behind a surface that is as smooth as glass. It's the ultimate step for a truly flawless finish.
Using one is simple, but you must use a proper lubricant. A dedicated clay lube or a good quick detailer spray is non-negotiable. Without it, the clay will stick and mar the paint. Just spray the area generously, flatten a small piece of clay in your palm, and glide it back and forth over the surface with very light pressure. You’ll literally feel the surface transform from rough to silky smooth as the clay does its job.
Restoring and Protecting Your Paint After Removal
Getting that stubborn sap off your car is a huge win, but don't close up shop just yet. The job isn't quite done.
Most sap removers that actually work—whether it’s a dedicated commercial product or good old isopropyl alcohol—are strong. They're so effective, in fact, that they almost always strip away any wax or sealant right along with the sap.
This leaves your paint completely exposed. Think of it like using a harsh soap to wash your hands; they're clean, but now they're dry and need lotion. Your car's clear coat is no different. It needs that protective barrier put back on right away to fend off UV rays, bird droppings, acid rain, and, you guessed it, more sap.
Applying a New Layer of Protection
After you’ve successfully gotten the tree sap from car paint, sealing that fresh, clean surface is non-negotiable. You’ve got a couple of great options for restoring that essential shield, and the best one for you really comes down to your priorities.
Are you looking for a deep, classic shine or long-lasting, set-it-and-forget-it protection?
- Carnauba Wax: This is the enthusiast's choice. Nothing beats the deep, warm glow of a good carnauba wax. It’s a joy to apply by hand and looks incredible, but you'll likely need to reapply it every few months to maintain that protection.
- Paint Sealant or Ceramic Coating: If durability is your game, look no further. These modern synthetic options are built to last. A quality paint sealant can give you 6-12 months of solid protection, while a full ceramic coating can defend your finish for years, creating a slick, hard barrier that makes cleaning a breeze.
Applying a fresh coat of wax or sealant isn’t just about making your car look good—it’s a critical final step. This new layer is your car's frontline defense against everything the world throws at it.
Smart Prevention Is the Best Cure
Of course, while knowing how to remove sap is a great skill to have, avoiding it altogether is even better. A little bit of foresight can save you a ton of scrubbing later on.
It starts with something simple: parking smart. Try to avoid parking directly under sappy trees like pines, maples, or birches, especially when it's warm and the sap is really flowing. This is your easiest and most effective preventative measure.
If you’ve washed your car and still feel a slightly gritty or rough texture, you might be dealing with more than just sap residue. This is a perfect time to decontaminate the surface properly. You can learn how to clay bar a car to get that paint feeling smooth as glass before you apply your wax or sealant.
Ultimately, a consistent maintenance routine is your best weapon. A car that's regularly washed and protected with a good layer of wax has a slick, hydrophobic surface that sap has a tough time bonding to in the first place. Keeping up with it not only ensures your car always looks its best but makes dealing with any future contaminants far less of a headache.
Answering Your Top Tree Sap Questions
Even after you've got a game plan, a few questions always pop up when you're staring down a stubborn patch of tree sap. Getting the right answers can be the difference between a quick fix and a costly trip to the body shop. Let's tackle some of the most common things people ask.
Can I Just Use Something From Under the Sink?
It's a question I hear all the time: "Can I just grab some Goo Gone or nail polish remover?" It's tempting to look for a quick shortcut, but you have to be careful.
While some Goo Gone products are marked as "automotive safe," they tend to be oily. If you use one, you've got to be meticulous about washing every last bit of that residue off your paint afterward. If you don't, it'll just become a magnet for fresh dust and grime.
But let's be crystal clear about one thing: NEVER use nail polish remover. The main ingredient is acetone, a potent solvent that will eat through your car’s clear coat and paint on contact. It’s not a risk; it’s a guarantee of permanent damage that only a professional repaint can fix.
How Fast Does Tree Sap Actually Damage Paint?
So, how much time do you really have before that sticky spot becomes a permanent problem? The weather is the biggest factor here.
On a hot, sunny day, the clock is ticking fast. The sun bakes the sap right onto the car, causing it to harden and start etching into your clear coat in just a couple of days. If it's cooler and overcast, you might have a week or so before it bonds aggressively.
My best advice is to always act fast. As soon as you see sap, make plans to get it off. The longer it sits, the harder it is to remove and the greater the chance of it leaving a permanent mark on your paint.
This is one of those times where being proactive saves you a massive headache later.
Will a Regular Car Wash Get Rid of It?
It would be nice if a simple run through the automatic car wash could solve the problem, but unfortunately, it won't. The soaps and detergents used in car washes are designed to tackle everyday road dirt, not the sticky, resinous makeup of tree sap.
A good wash is a great first step—it clears away all the surface grit around the sap, which is important. But the sap itself will still be there. You'll always need to follow up with a dedicated method, whether that's using rubbing alcohol, a specialized sap remover, or a clay bar to actually lift the sap off the paint.
Of course, the best-case scenario is avoiding the sap altogether. Regular yard maintenance, like professional tree trimming, can go a long way in preventing sap from dripping on your car in the first place.
Ready to make car washing easier and more effective? The SwiftJet Foam Gun connects to any standard garden hose to cover your car in thick, dirt-lifting foam, making tasks like sap removal prep a breeze. Explore the SwiftJet Foam Gun today and upgrade your car care routine.