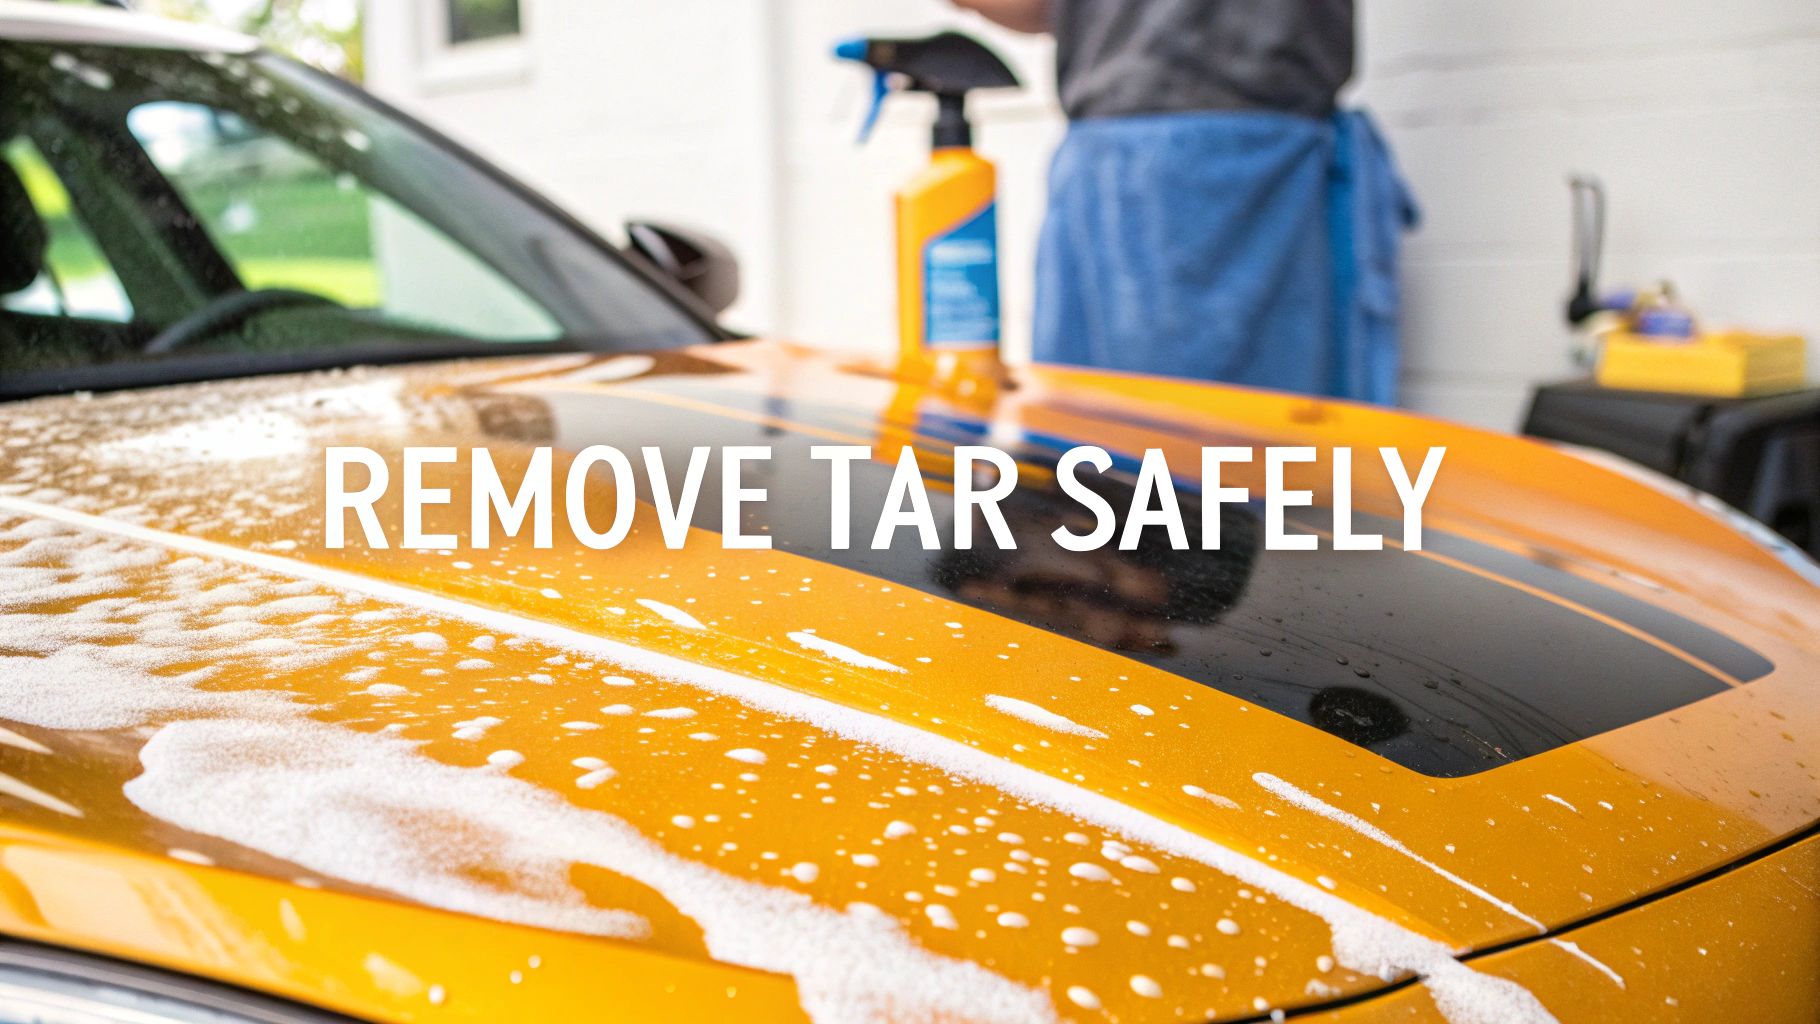
Getting tar off your car is about more than just looks—it’s about preventing real, permanent damage to your paint. The longer those black specks sit and bake in the sun, the more they chemically fuse with your car's clear coat. This can lead to irreversible etching and discoloration.
Trust me, acting fast is the difference between a simple cleanup and a trip to the body shop.
What Tar Is Actually Doing to Your Paint
It's easy to get annoyed when you see those ugly black dots, especially after driving through a construction zone. But the real problem isn't just what you see on the surface. Tar is a sticky, petroleum-based goo designed to hold roads together, and those same properties make it a nightmare for your car's finish.
The moment it splatters onto your car, it starts bonding with the clear coat.
Heat is the enemy here. A hot, sunny day can literally bake the tar into your paint, turning what should have been an easy fix into a much bigger headache.
When an Annoyance Becomes Permanent Damage
Let's paint a picture. You drive through a freshly paved road and notice a few tar spots on your door panels. You figure you'll deal with it on the weekend. Over the next few days, the sun's UV rays and heat cause the oils in the tar to seep into the porous clear coat.
When you finally get around to cleaning it, you might get the surface gunk off, but you'll find a dull, discolored patch left behind. The tar has literally etched itself into your paint.
Key Takeaway: Tar doesn't just sit on your paint; it becomes one with it. The longer you wait, the deeper that bond gets, shifting from a surface speck to a permanent flaw.
This is exactly why knowing how to remove tar the right way is a skill every car owner should have. It’s everywhere in road construction—in fact, the global tar market is expected to hit USD 6.5 billion by 2033. You can read more about the growth of the industrial tar market on Verified Market Reports.
Since you can't really avoid it, learning to remove it quickly is the best way to protect your car's finish and keep its value up.
Getting Your Tar-Busting Gear Ready
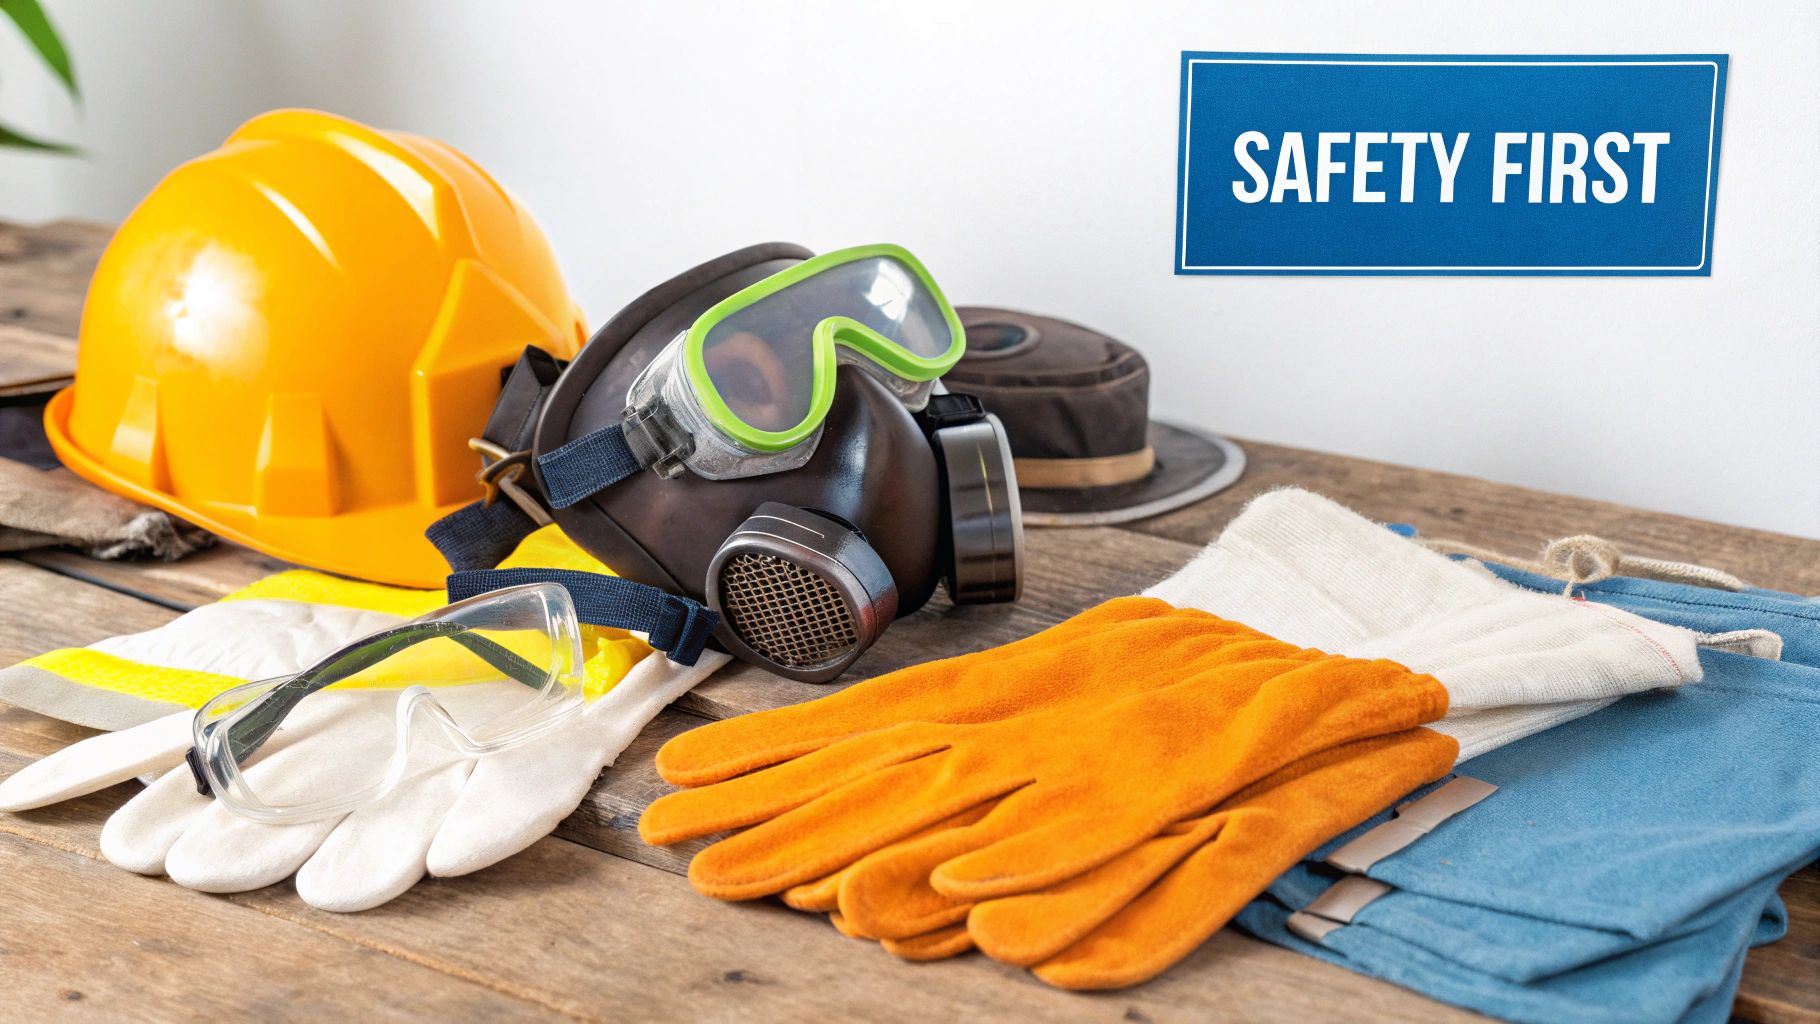
Before we get our hands dirty, let's talk tools. Walking into a tar removal job with the wrong supplies is a surefire way to turn a quick fix into a paint-damaging headache. Getting this part right from the start makes all the difference.
Core Cleaning Supplies
The star of the show is a dedicated, high-quality tar remover. Don't be tempted to grab a generic all-purpose cleaner; you need a formula specifically designed to break down tough, petroleum-based gunk without damaging your vehicle's delicate clear coat. The demand for these products is bigger than you might think—the global tar remover market was valued at USD 1.5 billion and is projected to climb to USD 2.5 billion by 2032. It's a testament to how crucial the right product is, as you can see from market analyses on the growth of automotive care products on Wise Guy Reports.
Next up, grab a small stack of plush microfiber towels. I’d recommend having at least three or four on hand. You'll need one for applying the remover, another for wiping the dissolved mess away, and a fresh one for the final wash and dry. Cross-contaminating your towels is a classic mistake that just drags gritty tar particles across your clean paint.
A Quick Word of Advice: Whatever you do, don't use your regular car wash mitt for this job. Tar residue is incredibly sticky and will ruin the mitt, ensuring you re-apply that gunk all over your car the next time you wash it.
Choosing the Right Tar Remover for Your Vehicle
Not every tar remover is built the same. The best one for you really depends on how bad the tar buildup is and what kind of chemical strength you're comfortable with. Knowing the difference between them will help you pick a product that’s both safe and effective for your specific situation.
Here's a quick breakdown to help you decide.
Choosing the Right Tar Remover for Your Vehicle
| Remover Type | Best For | Application Method | Paint Safety Level |
|---|---|---|---|
| Solvent-Based | Thick, heavy tar deposits and really stubborn road grime. | Spray or wipe-on. These tend to work very quickly. | High, but you absolutely must wash it off thoroughly. |
| Citrus-Based | Lighter tar spots. A great choice if you prefer less aggressive chemicals. | Usually needs more time to sit and dissolve the tar. | Very high. It's generally gentler on existing waxes and sealants. |
| Clay Bar/Lube | Tiny tar specks and other contaminants embedded in the paint. | Best used with a lubricant after a primary cleaner has done the heavy lifting. | High, but can cause micro-marring if you don't use enough lube or apply too much pressure. |
Once you’ve made your choice, make sure your SwiftJet foam gun and a good quality car wash soap are ready to go. After the tar is completely gone, a full foam wash is essential. This final step neutralizes any leftover chemicals and brings back that clean, slick shine to your car's finish.
Getting Rid of Tar Without Damaging Your Paint
Alright, you've got your gear ready. Now let’s get that tar off your car the right way. The key here is to be patient and methodical, not aggressive. Trying to scrub tar off with brute force is a surefire way to scratch your paint, leaving you with a bigger problem than you started with. A gentle, careful approach will make the tar vanish without a trace.
First things first, you need to pre-wash the car. Grab your SwiftJet foam gun and give the vehicle a thick coat of snow foam. Make sure you really hit those lower panels—behind the wheels, along the rocker panels—since that's where most of the tar lives. This isn't just for show; the foam lifts away all the loose dirt and grit, which is crucial. You don't want to be dragging those abrasive bits across your paint while you're working on the tar spots.
How to Apply the Tar Remover
With the car washed and dried, it's time to zero in on the tar. Find a shady spot to work, as direct sun will heat up the panels. Applying a chemical cleaner to a hot surface is a bad idea—it can evaporate too quickly to work and might even leave stains behind.
Before you start dabbing away, let's get the prep work right. This is where most people go wrong.
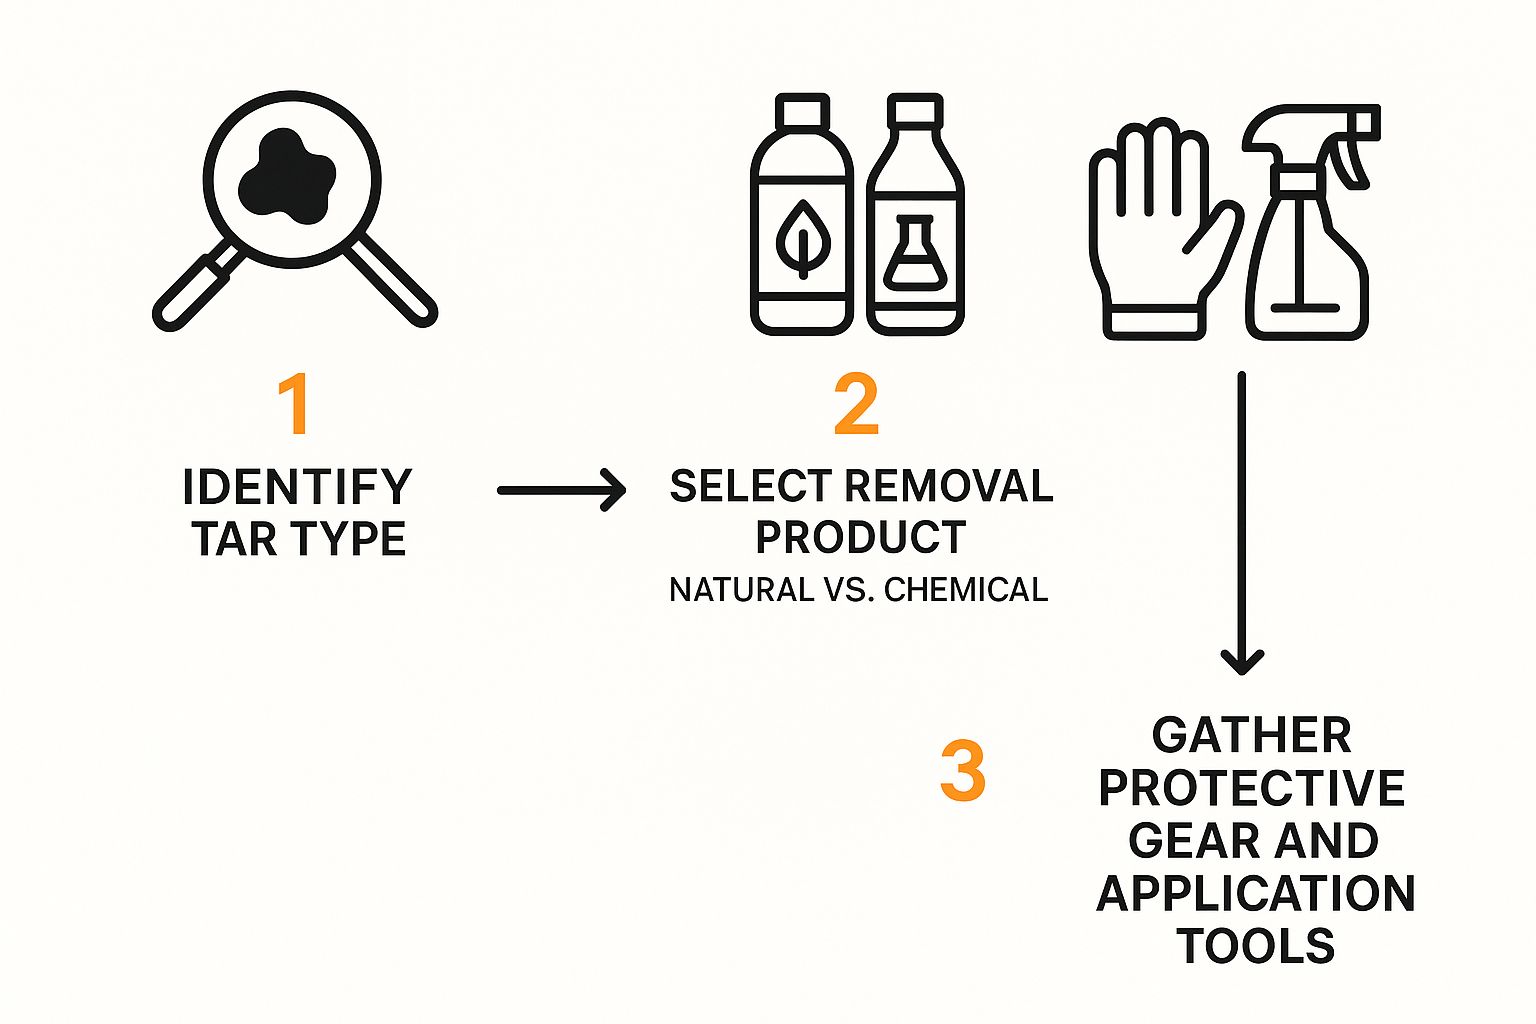
As you can see, having the right stuff on hand is half the battle.
Now, take your tar remover. Here’s a pro move: don't spray it directly on the paint. Instead, put a little on a clean microfiber towel. This gives you way more control and stops you from accidentally spraying it onto plastic trim or your headlights, where it doesn't belong. If you're still deciding on a product, check out our guide on the top 7 best tar removers for cars in 2025 for some solid recommendations.
Let the Chemicals Do the Heavy Lifting
Gently press the dampened cloth onto each spot of tar. Don't scrub. You're just applying the product so it can get to work dissolving the tar. Let it sit for the time recommended on the bottle, which is usually around 30 to 60 seconds. It's actually pretty cool to watch—you’ll see the tar start to melt and run down the paint.
This is the part that requires a little patience. If you get impatient and start scrubbing, you risk grinding the softened tar into your clear coat. Just let the product work.
My Two Cents: Before going to town on a visible spot, always test your tar remover somewhere hidden. The inside of a door jamb or the very bottom of a rocker panel is perfect. This quick check makes sure the product plays nice with your specific paint job.
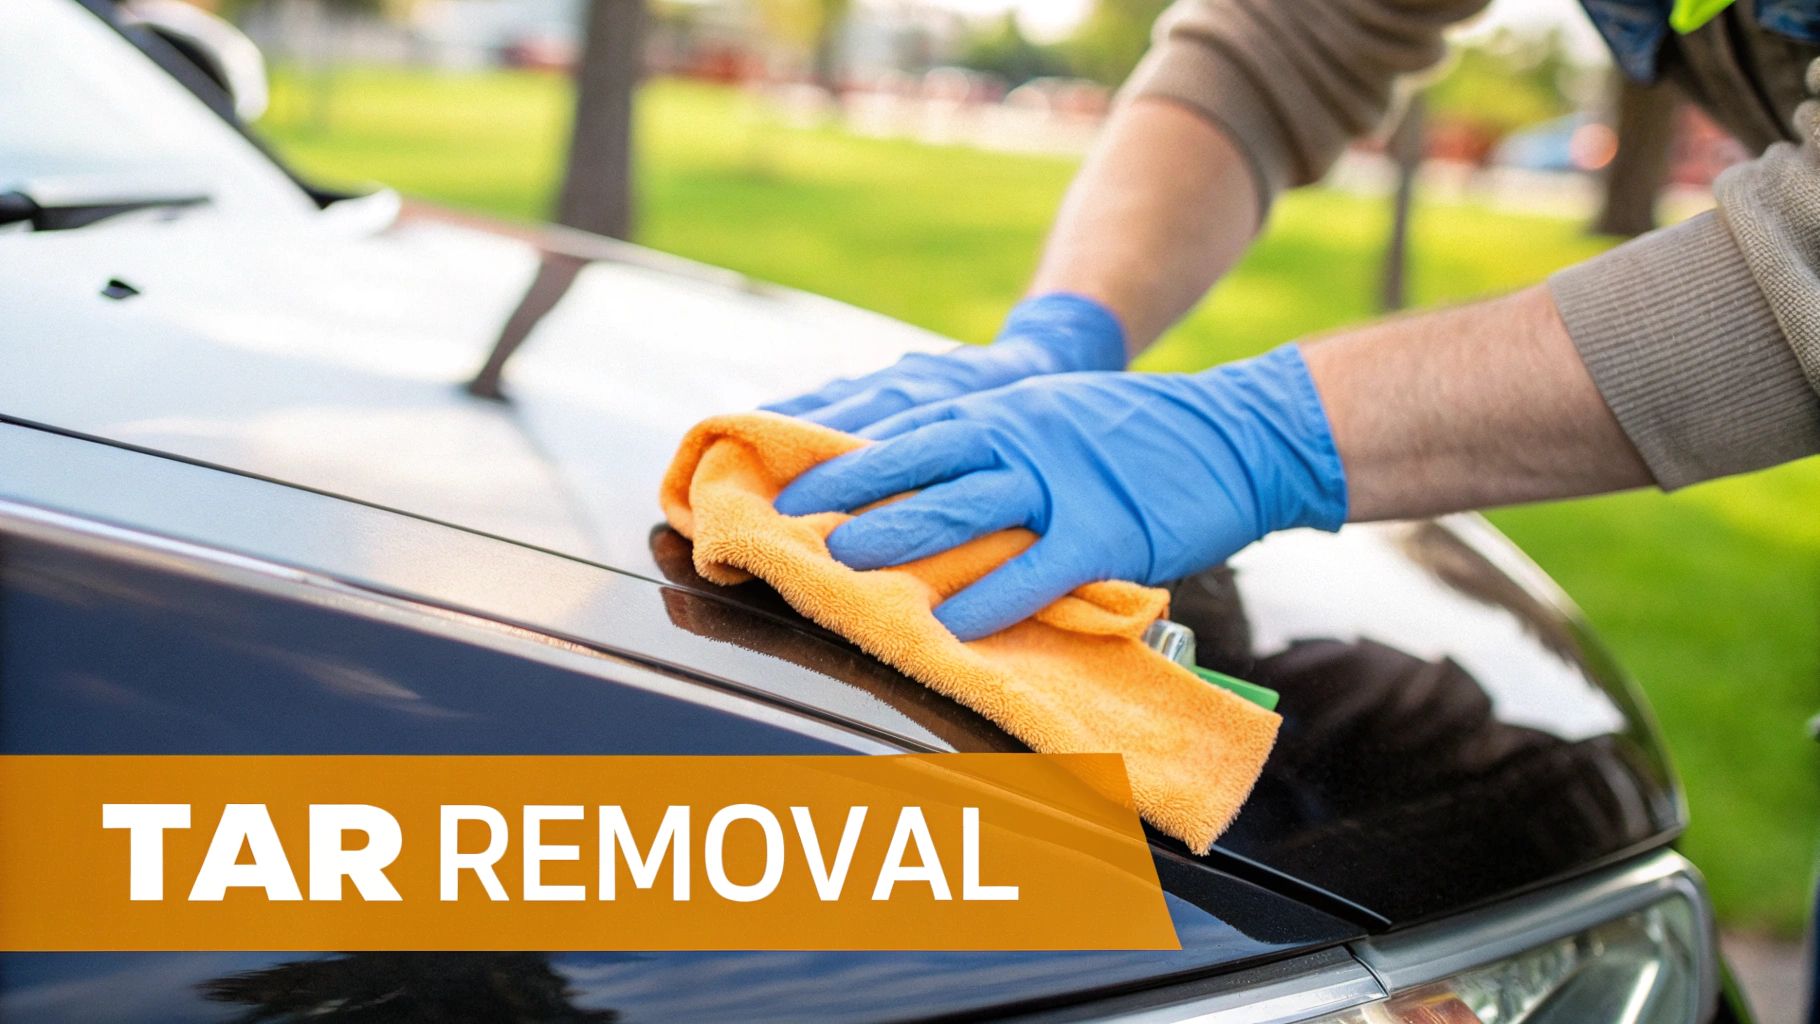
Once the tar has softened, take a fresh microfiber cloth and gently wipe it away. The motion should be a soft lift, not a hard scrub. Fold your towel to a clean section with every wipe to avoid smearing the residue back onto the paint. Some really stubborn spots might need a second round of this dab-and-wait process.
After all the tar is gone, give the area a final wash and rinse to remove any leftover chemical residue. This neutralizes the cleaner and brings back that smooth, glossy finish you're after.
Restoring and Protecting Your Paint After Tar Removal
Alright, you’ve done the hard part and the tar is gone. That's a huge win, but don't close up shop just yet. The powerful solvents that dissolved that sticky mess are incredibly effective, but they don't know the difference between tar and your protective wax. They strip everything off, leaving your car's clear coat completely bare.
Think of it this way: you just used a heavy-duty degreaser on your paint. Now it's clean, but it's also exposed and vulnerable. Skipping this last step is like walking out into a storm without a jacket—you’re leaving your paint defenseless against UV rays, bird droppings, acid rain, and, you guessed it, more road tar.
Rebuilding Your Car's Protective Shield
Applying a fresh layer of protection isn't just a suggestion; it’s absolutely essential for keeping your paint healthy. This is what takes your work from a simple spot clean to a proper detailing job.
You’ve got a few great options here, and what you choose really depends on your goals:
- Car Wax: If you love that deep, warm glow, a quality carnauba wax is your go-to. It gives you that classic, brilliant shine and a slick surface that makes water bead right off.
- Paint Sealant: For longer-lasting protection, a synthetic polymer sealant is the answer. It creates a tough, chemical-resistant shield that can hold up for several months.
- Ceramic Coating: This is the top-tier choice for long-term defense. A ceramic coating forms a hard, glass-like barrier that can last for years, making future clean-ups almost effortless.
Expert Tip: That new protective layer does more than just shine. It creates a super slick, hydrophobic surface. This makes it much, much harder for new tar and other gunk to stick, which will make your next wash a whole lot easier.
The choice is yours, but spending a few extra minutes now will save you hours of work later and keep your car's finish looking its best.
If you want to dive deeper, check out our guide on how to protect car paint for some pro-level secrets to a brilliant, long-lasting finish.
Common Tar Removal Mistakes and How to Avoid Them
Knowing the right way to remove tar is important, but knowing what not to do is what will save your car's paint job. I’ve seen it time and again: a well-intentioned owner trying to clean a few tar specks ends up with a much bigger, more expensive problem.
Let's talk about the most common—and most damaging—mistake first.
The Wrong Chemicals and Too Much Force
The biggest error is reaching for harsh household chemicals. It's tempting, I get it. You see a stubborn spot and think a little gasoline, acetone, or paint thinner will knock it right out. Don't do it. These chemicals are far too aggressive for automotive paint and will quickly strip away your car's clear coat, leaving behind dull, permanent damage.
Another frequent misstep is scrubbing the tar spots with brute force. Applying too much pressure grinds the tar, along with any embedded road grit, directly into your paint. You might get the tar off, but you'll have a mess of swirl marks and light scratches in its place. The key is to let the cleaner do the work, not your elbow grease.
A Quick Word of Advice: Never, ever try to remove tar in direct sunlight or when your car's panels are hot to the touch. Heat makes chemical cleaners evaporate almost instantly, before they can dissolve the tar. Worse, it can bake the product onto the surface, causing chemical staining. Always pull your car into a shady spot and let the panels cool down first.
With the market for specialized tar and bug removers projected to hit USD 2.38 billion, there's a huge selection of paint-safe products out there. There's simply no reason to risk your paint with a DIY concoction. You can read more about this growing market segment on Growth Market Reports.
These same core principles—patience and using the right product—apply to other sticky situations, too. If you’re dealing with residue from trees, our complete guide on how to remove tree sap from your car breaks down the process with the same focus on protecting your finish.
Got Questions About Tar Removal? We've Got Answers
Even with a solid game plan, you're bound to run into a few questions when you're dealing with something as stubborn as road tar. Let's clear up some of the most common ones I hear from fellow car enthusiasts.
Can I Just Use a Clay Bar to Get Tar Off?
That’s a common thought, but it's not the best approach. While a clay bar is fantastic for pulling fine, embedded grit from your paint, it’s outmatched by heavy tar spots.
Trying to scrub off thick tar with clay will likely just smear the gunk around. Worse, you risk dragging a tar-coated piece of grit across your paint, leaving you with scratches. Always dissolve the bulk of the tar first with a proper remover, then follow up with a clay bar to pick up any tiny, leftover specks.
How Long Should I Let Tar Remover Dwell on the Paint?
This is a critical one. You always want to read the specific product's label, but a good rule of thumb is no longer than 30 to 60 seconds. These are powerful solvents, and letting them sit too long—especially on a hot, sunny day—can start to soften or damage your clear coat.
You're looking for the sweet spot where the tar begins to dissolve and "bleed" down the panel. That's your signal to gently wipe it away.
Never let a tar remover dry on your vehicle's surface. Work in a cool, shaded area and tackle one small section at a time to maintain complete control.
Is Tar Remover Going to Strip My Wax?
You can bet on it. The same powerful chemistry that breaks down petroleum-based tar will make short work of most carnauba waxes and synthetic sealants. It's just the nature of the beast.
That's why it's absolutely essential to re-apply a layer of protection after you're done. Think of it as part of the job—not an optional step.
What About Using It on Plastic Trim?
Proceed with caution here. Most dedicated tar removers are formulated for your car's clear-coated paint, not the porous, unpainted plastic used for trim pieces. Spraying it directly on these areas can lead to staining or discoloration.
The safest method? Spray the remover onto your microfiber towel first, not the car. This gives you precise control to dab and wipe only where you need it, keeping your trim safe.
Ready to tackle tar with the right tools? The SwiftJet Car Wash Foam Gun is your first step toward a perfect finish. Get yours today and make every wash faster and more effective.