
When a spray nozzle gets hopelessly stuck on your hose, it's usually one of two things: galvanic corrosion between mismatched metals or a stubborn buildup of minerals from hard water. Over time, these problems can practically weld the threads together, making hand-strength a losing battle. The fix usually involves a combination of penetrating oil, a little bit of gentle heat, and the right leverage from two pairs of pliers.
Why Your Garden Hose Nozzle Gets Stuck
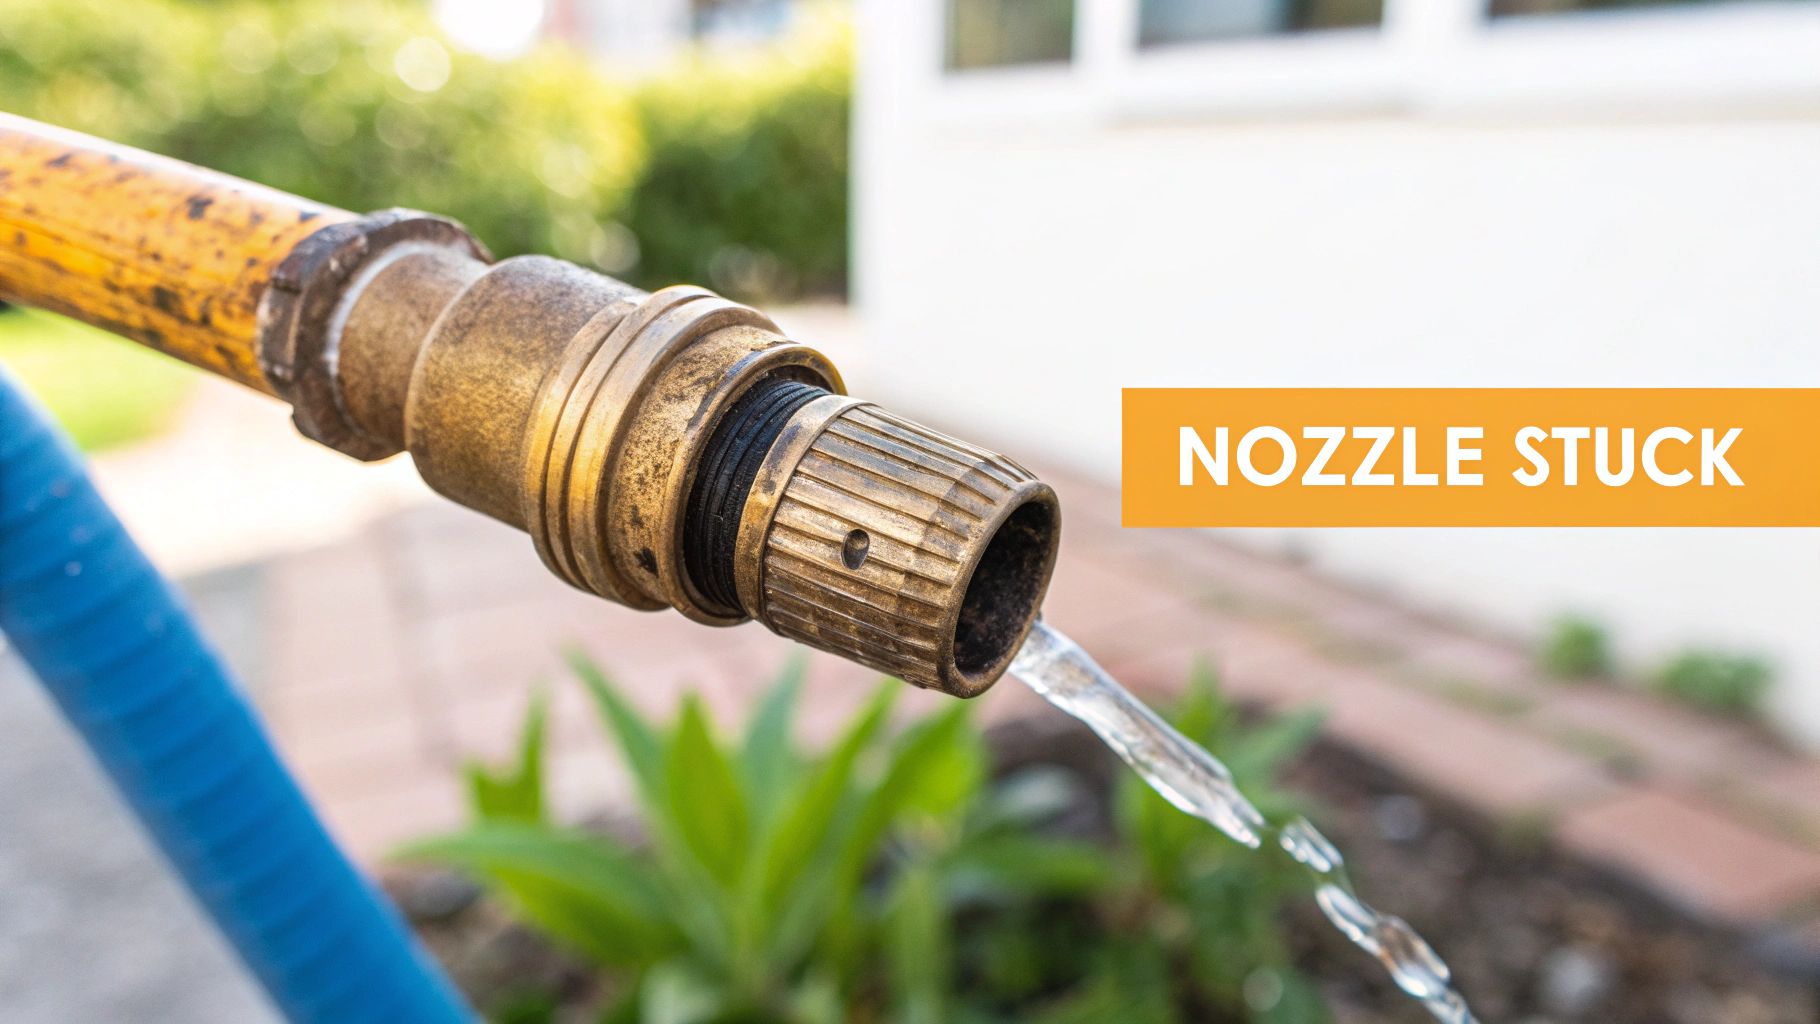
We’ve all been there. You head outside to wash the car, ready to switch your regular sprayer for a SwiftJet foam gun, but the nozzle is completely seized. It feels like it’s been epoxied on, and no amount of grunting and twisting makes a difference. A nozzle stuck on a hose is rarely a case of simple overtightening; more often than not, it's a chemical reaction happening right between the threads.
Figuring out what's causing the problem is the first step to getting it off without wrecking your gear.
The Science of Galvanic Corrosion
The number one culprit I see is galvanic corrosion. This is an electrochemical process that kicks off when you connect two different metals—think a classic brass hose fitting and a cheap aluminum nozzle. Add water to the mix, and you’ve essentially created a tiny battery. One metal starts corroding at a much faster rate than the other.
This reaction creates a crust of corrosion that fuses the threads, forming a bond that’s almost impossible to break with brute force alone. It explains why a nozzle that went on without any trouble last summer now feels like a permanent fixture.
Mineral Deposits and Grime
If you live in an area with hard water, you're probably fighting another battle: mineral deposits. The calcium and magnesium in your water slowly build up inside the threads, eventually hardening into a rock-solid scale that acts like cement. It creates a powerful mechanical lock.
Pro Tip: See a white, chalky residue around the connection? That's a dead giveaway that mineral buildup is a big part of your problem. Of course, plain old dirt and grit getting mashed into the threads only adds to the friction.
Often, it's a combination of these things that makes the nozzle so stubborn. Picking the right gear from the get-go helps avoid this headache, which is why knowing what makes the best hose for car wash duty can save you trouble down the road. Before you reach for the biggest wrench in your toolbox, figuring out if you're up against corrosion, minerals, or just grime will point you to the smartest way to get that nozzle free.
Gathering Your Toolkit for a Stuck Nozzle
Before you start wrestling with that stuck nozzle, take a few minutes to gather the right tools. Trying to muscle it off without the proper gear is a surefire way to turn a minor annoyance into a broken hose fitting and a trip to the hardware store.
Think of it this way: you're trying to outsmart the corrosion, not just overpower it. A few specific items will give you the leverage you need to do the job right.
Leverage and Grip Essentials
The name of the game here is controlled force. You need to apply torque to the nozzle without twisting the life out of your hose.
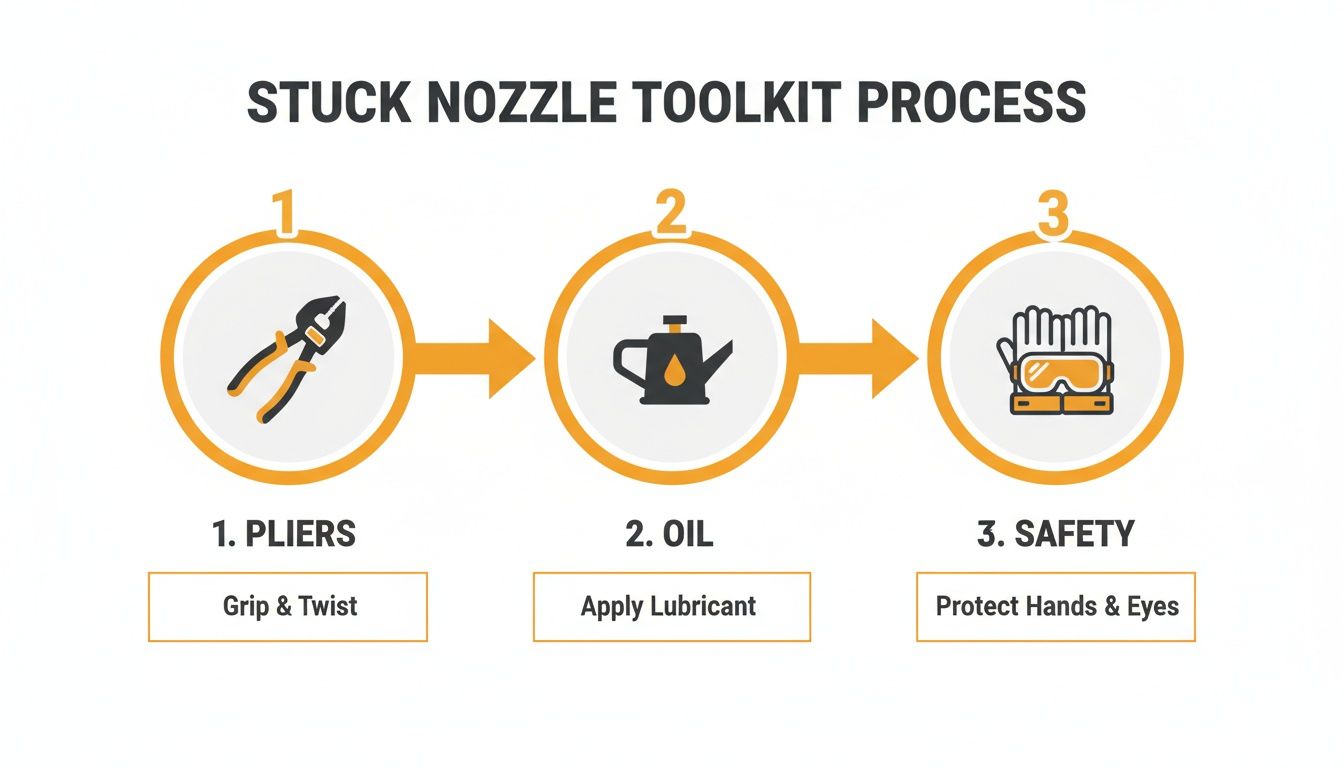
- Two Pairs of Pliers or Wrenches: This is the most critical part. You'll use one pair (channel-lock pliers or a pipe wrench are perfect for this) to hold the hose fitting completely still. The second pair grips the nozzle to do the actual turning. This two-wrench technique isolates the twisting force right where you need it and protects the hose itself from damage.
- The Right Size Matters: Make sure your wrenches are big enough for a firm, flat grip on the fittings. If they're too small, you'll struggle, and if they're too big, you risk rounding off the corners of the brass. For most garden hoses, a 10-inch or 12-inch wrench is a great place to start.
Lubricants and Solvents
More often than not, corrosion or mineral scale is the real enemy. It's like a powerful glue holding the threads together. You need something to break it down.
I've seen a lot of people reach for standard WD-40, and while it's better than nothing, it's not the best tool for this job. What you really want is a true penetrating oil like PB B'laster or Liquid Wrench. These are engineered to seep deep into the threads and chemically dissolve the rust and gunk.
Don't have any on hand? You might have a decent alternative in your kitchen. White vinegar works surprisingly well on the mineral deposits left by hard water. Just soak a rag in it, wrap it tightly around the stuck connection, and give it a few hours to work its magic.
Safety First, Always
This might seem like a simple job, but it's easy to slip and scrape your knuckles. A couple of basic precautions go a long way.
- Sturdy Gloves: A good pair of work gloves will save your hands from sharp metal threads and give you a much better grip on your tools.
- Eye Protection: Seriously, just put on a pair of safety glasses. When you start applying pressure to old, corroded metal, it's not uncommon for little bits of rust or grit to fly off unexpectedly.
As you get your gear together, you might find you're missing the perfect tool. You can explore a range of useful tools and products that can make these kinds of jobs much easier.
And if you want to make sure you never have this problem again, it’s worth learning about the benefits of quick disconnect hoses—they're a total game-changer for convenience.
Starting with Gentle Removal Techniques
When a garden hose nozzle feels like it’s been welded on, the first instinct for many is to grab the biggest wrench they can find and give it all they’ve got. Trust me, that’s usually a one-way ticket to a broken nozzle, a mangled hose, or both. The smarter approach starts with a bit of finesse.
Patience is your best friend here. Before you bring out the heavy artillery, let's try a few tricks that often solve the problem without causing any damage.
The Two-Wrench Technique: Controlled Leverage
The most common mistake is twisting the entire hose while trying to turn the nozzle. This puts a ton of stress on the hose material and its connection to the fitting, which can easily cause a leak or a complete break.
The solution is the two-wrench technique. You'll need two pairs of channel-lock pliers or pipe wrenches for this.
- First Wrench: Clamp it firmly onto the metal fitting at the end of your hose. This wrench doesn't move. Its only job is to hold the hose steady.
- Second Wrench: Grip the base of the stuck nozzle with this one.
Now, apply slow, steady, counter-clockwise pressure to the nozzle wrench while keeping the hose wrench perfectly still. If it doesn't budge with a reasonable amount of force, don't force it. That’s your cue that the threads are seized by more than just muscle.
Adding Lubrication and Heat
If brute force isn't the answer, it's almost always a corrosion problem. Years of water, minerals, and exposure to the elements can create a bond between the brass or aluminum threads that’s stronger than the metal itself. This is where penetrating oil becomes your secret weapon.
Spray a good amount of penetrating oil right where the nozzle meets the hose fitting. You want to soak the threads. Products like Faren Rust Off Rust Loosening Aerosol Spray are designed for exactly this kind of job, with a low viscosity that lets them creep deep into the connection.
The most important part? Walk away. You need to give the oil at least 15-30 minutes to work. For really stubborn cases, I’ll sometimes leave it for an hour. You can also gently tap the connection with a screwdriver handle to help the oil vibrate its way deeper into the threads.
After you’ve let it soak, go back to the two-wrench technique. You’ll often be surprised at how easily it breaks free.
Heat is another fantastic trick. Metal expands when it gets hot, and a little bit of expansion can be all it takes to shatter the corrosive bond. A simple hairdryer or a heat gun on its lowest setting is perfect.
Gently warm the metal collar of the nozzle for a minute or two, moving the heat source around to warm it evenly. The goal is to make the nozzle (the outer piece) expand just a fraction more than the hose fitting (the inner piece). Avoid heating any plastic parts, as they can easily melt or warp.
Right after heating, put on a pair of work gloves—it will be hot to the touch—and try the two-wrench method again. The combination of heat and leverage is a powerful one-two punch.
Gentle Removal Method Comparison
To help you decide where to start, here's a quick comparison of these three gentle approaches. Each one has its place, and sometimes you'll need to combine them for the best results.
| Method | Best For | Tools Required | Success Rate |
|---|---|---|---|
| Two-Wrench | Over-tightened nozzles with minor corrosion. | 2x Pliers or Pipe Wrenches | Moderate |
| Lubrication | Seizures caused by moderate to heavy rust and mineral buildup. | Pliers, Penetrating Oil | High |
| Controlled Heat | Stubborn corrosion where lubrication alone isn't enough. | Pliers, Heat Gun/Hairdryer | High |
Starting with these controlled, methodical steps will save you a world of frustration. It’s funny how much information is out there about attachments like the car wash foam gun attachment, but so little about what to do when they get hopelessly stuck. If these methods don't do the trick, it's not the end of the world. It just means it's time to get a little more aggressive.
Applying More Force Without Breaking Anything
So, the lubricants and gentle wiggling didn't work. It’s clear that nozzle is seriously stuck, and it’s time to bring out the heavy hitters. We're going to escalate things, but smartly—the goal is to apply overwhelming, controlled force, not just start breaking parts.
When a nozzle is truly seized, your own grip strength simply isn't going to be enough. What you need is a way to hold the hose fitting absolutely still, so all your effort goes into turning the nozzle itself. This is a perfect job for a bench vise.
Using a Bench Vise for Maximum Stability
Think of a bench vise as your unshakeable third hand. It gives you a rock-solid platform to work from. Go ahead and carefully clamp the hexagonal brass fitting of the hose right into the vise jaws. Be very careful here: you only want to clamp this solid, sturdy metal part. If you clamp the softer, round threaded end or the rubber hose itself, the vise will crush them in an instant.
With the hose fitting locked down, grab a large pipe wrench and clamp it onto the base of the nozzle. The long handle gives you incredible leverage that a standard pair of pliers just can't compete with. Now, apply slow and steady pressure. Don't be surprised if you hear a loud crack or a groan as the corrosion finally gives way—that’s actually a good sign.
Critical Tip: Even a vise can damage the soft brass of a hose fitting. To avoid marring the metal, wrap a thick rag around the fitting or use a pair of soft jaw protectors before you tighten the vise.
While you won't find official industry reports on stuck nozzles, anyone who's spent time gardening or detailing can tell you it's a universal headache. It’s one of those common frustrations that many people struggle with without a clear, forceful solution. You can find more practical advice on common tool problems over at jimbosdetailing.com.
If even the vise and pipe wrench combo doesn't do the trick, it probably means the threads are so corroded or damaged that they're essentially welded together. At this point, we have one last resort before we have to cut the hose end off.
The Final Option: Slicing a Relief Cut
Alright, this is the nuclear option. It involves sacrificing the nozzle to save the hose, and it requires a very steady hand. But for the most stubborn cases, it's often the only way. You'll need a rotary tool, like a Dremel, equipped with a metal cutting wheel.
Your target is the collar of the nozzle—the part that's screwed down over the hose threads.
- Safety First: Get your safety glasses on. Tiny metal fragments are about to fly.
- Make the Cut: Carefully slice a straight line through the nozzle's collar, running parallel to the threads of the hose.
- Go Slow: The whole point is to cut through the nozzle without hitting the hose threads underneath. Cut a little at a time and keep checking your depth.
- Pry it Open: Once you've cut almost all the way through, stick a flathead screwdriver into the groove you just made and give it a firm twist. This should be enough to split the collar open and finally break its grip on the hose.
This last-ditch effort will destroy the old nozzle, but it should leave your hose fitting ready for a new attachment—like a brand new SwiftJet foam cannon.
How to Prevent Your Nozzle from Sticking Again
After going through the ordeal of unsticking a seized nozzle, you’ll want to make sure it never happens again. The good news is, preventing it is a whole lot easier than fixing it. It really just boils down to a few good habits that will stop corrosion and mineral gunk in their tracks.
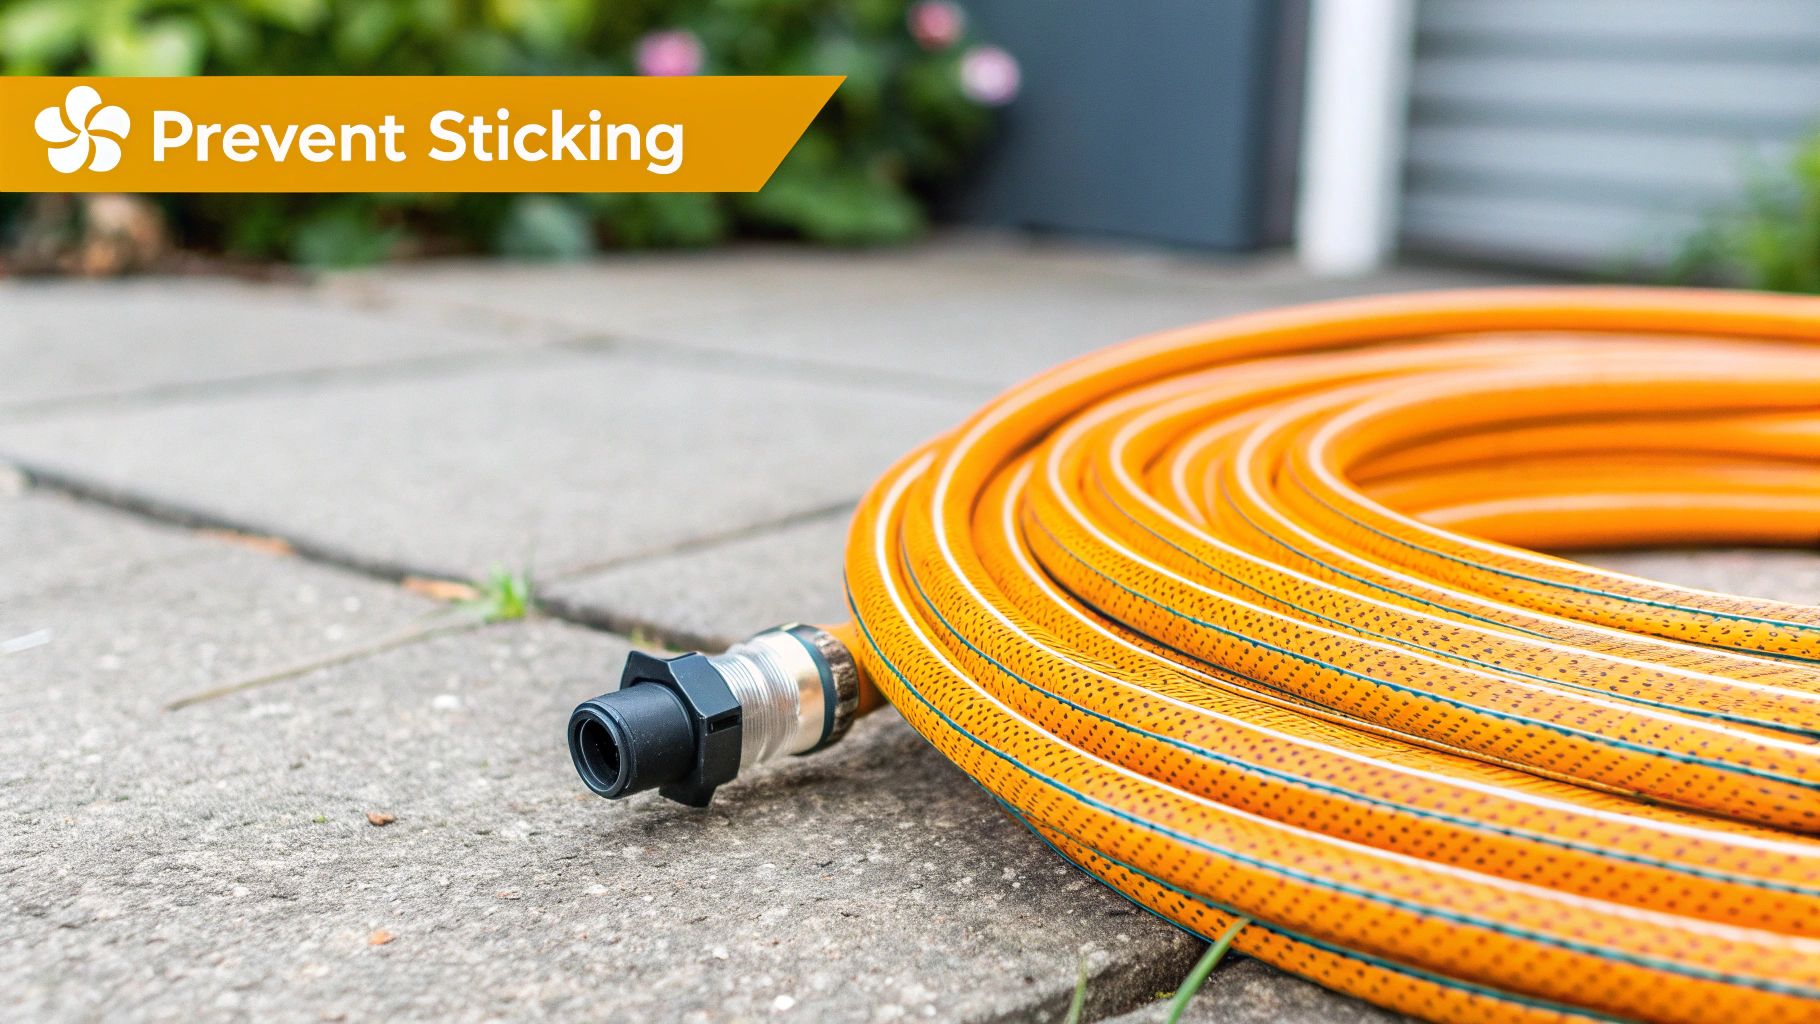
The single best thing you can do? Disconnect your nozzle or SwiftJet Foam Gun after every use. When you leave them attached—especially if you have a mix of metals like an aluminum nozzle on a brass hose fitting—you're basically creating a perfect recipe for galvanic corrosion. While there aren't official stats on this, it's a headache every homeowner and detailer runs into. You can find plenty of shared frustrations and solutions for common hose issues on YouTube.
Create a Protective Barrier
A little bit of prep work on the threads goes a surprisingly long way. You're essentially creating a shield that keeps the troublemakers—water and corrosion—out.
- Silicone Grease: Every few months, just dab a thin layer of waterproof silicone grease onto the male threads of your hose. It acts as a lubricant and a water repellent, preventing that direct metal-on-metal contact that causes things to fuse together.
- Plumber's Tape: Another great option is to wrap the hose threads with two or three layers of plumber’s tape (also called PTFE tape). This super-thin film acts as a physical barrier, stopping the threads from locking up and making every twist feel smooth as butter.
These two things are cheap, easy to find, and your best line of defense.
I’ve made it a habit to clean the threads on my main garden hose and apply a fresh coat of silicone grease before I put it away for the winter. Come springtime, my attachments spin on and off without a fight. No drama, just a working hose.
Upgrade to Quick-Connect Fittings
If you’re constantly swapping between a spray nozzle, a sprinkler, and a foam gun, you need to check out brass quick-connect fittings. They are an absolute game-changer. You screw an adapter onto your hose and your attachments one time, and from then on, you just snap them on and off in a second.
This completely bypasses the problem because you're no longer grinding the primary threads of your hose and nozzles together day after day. The risk of them seizing up basically drops to zero. It’s a small upfront investment that pays for itself in convenience and by extending the life of your gear.
Finally, don’t forget about proper storage. Before you pack your hose away for the season, drain every last drop of water out of it. Any water left inside can freeze, expand, and wreck the hose and its fittings. Coil it up loosely and store it somewhere dry and protected, like a shed or garage. Keeping it out of the sun will also prevent the materials from degrading over time. A few simple steps now mean you’re ready to go the moment you need it next season.
Common Questions About Stuck Hose Nozzles
Even after wrestling with a stuck nozzle, you might still have a few questions. Every situation is a little different, and it's smart to think through the specifics before you grab a bigger wrench. Here are some of the most common questions we hear from folks in this exact jam.
Getting the right answer can be the difference between a quick fix and creating a bigger problem.
Can I Use Boiling Water to Loosen a Stuck Nozzle?
It's a tempting idea, for sure, but I'd strongly advise against it. Pouring boiling water on a hose connection is a high-risk, low-reward move. You're just as likely to melt or warp the plastic parts on your nozzle or hose coupling as you are to loosen anything. Worse, you could give yourself a nasty burn.
A much better way to go is gentle, controlled heat. Grab a hairdryer or a heat gun on its lowest setting and aim it right at the metal collar of the nozzle. The idea is to get the metal to expand just a tiny bit—enough to break that corrosion bond—without damaging anything around it.
Will WD-40 Damage the Rubber Gasket in My Hose?
That’s a fantastic question, and it shows you're thinking about the long-term health of your gear. The short answer is yes, it can. Standard WD-40 is petroleum-based, and over time, petroleum products will cause rubber seals to swell up, get soft, and eventually fail.
Using it once in an emergency probably won't ruin the gasket instantly, but it's definitely not the right tool for this job. A silicone-based lubricant is what you really want. Silicone spray is completely safe for rubber and plastic parts and does a great job repelling water, which helps prevent the nozzle from getting stuck again.
Taking a moment to use the right lubricant protects those small, critical parts that keep your hose from leaking.
Should I Just Cut the Hose End Off and Replace It?
Honestly, sometimes the smartest move is knowing when to quit. If that nozzle is a solid chunk of rust and you can see the brass threads on the hose itself are mangled, it’s time to cut your losses. Trying to force it at that point will only make it worse.
- Hose Mender Kits: Your local hardware store has these, and they're a lifesaver. You simply cut off the damaged end of the hose and clamp on a brand-new metal fitting. It’s a cheap and easy way to save an otherwise perfectly good hose.
- Assess the Whole Hose: Before you run out for a mender kit, give the rest of the hose a quick inspection. If it’s old, brittle, and covered in cracks and kinks, you're better off just buying a new one. There's no point putting a new fitting on a hose that's about to fail anyway.
Starting fresh is often the best path forward, letting you build good habits from the get-go.
Ready to upgrade to a hassle-free cleaning experience? The SwiftJet Car Wash Foam Gun is designed for easy connection and superior performance, preventing the very issues that cause nozzles to stick. Discover the SwiftJet difference today at swiftjetusa.com.