

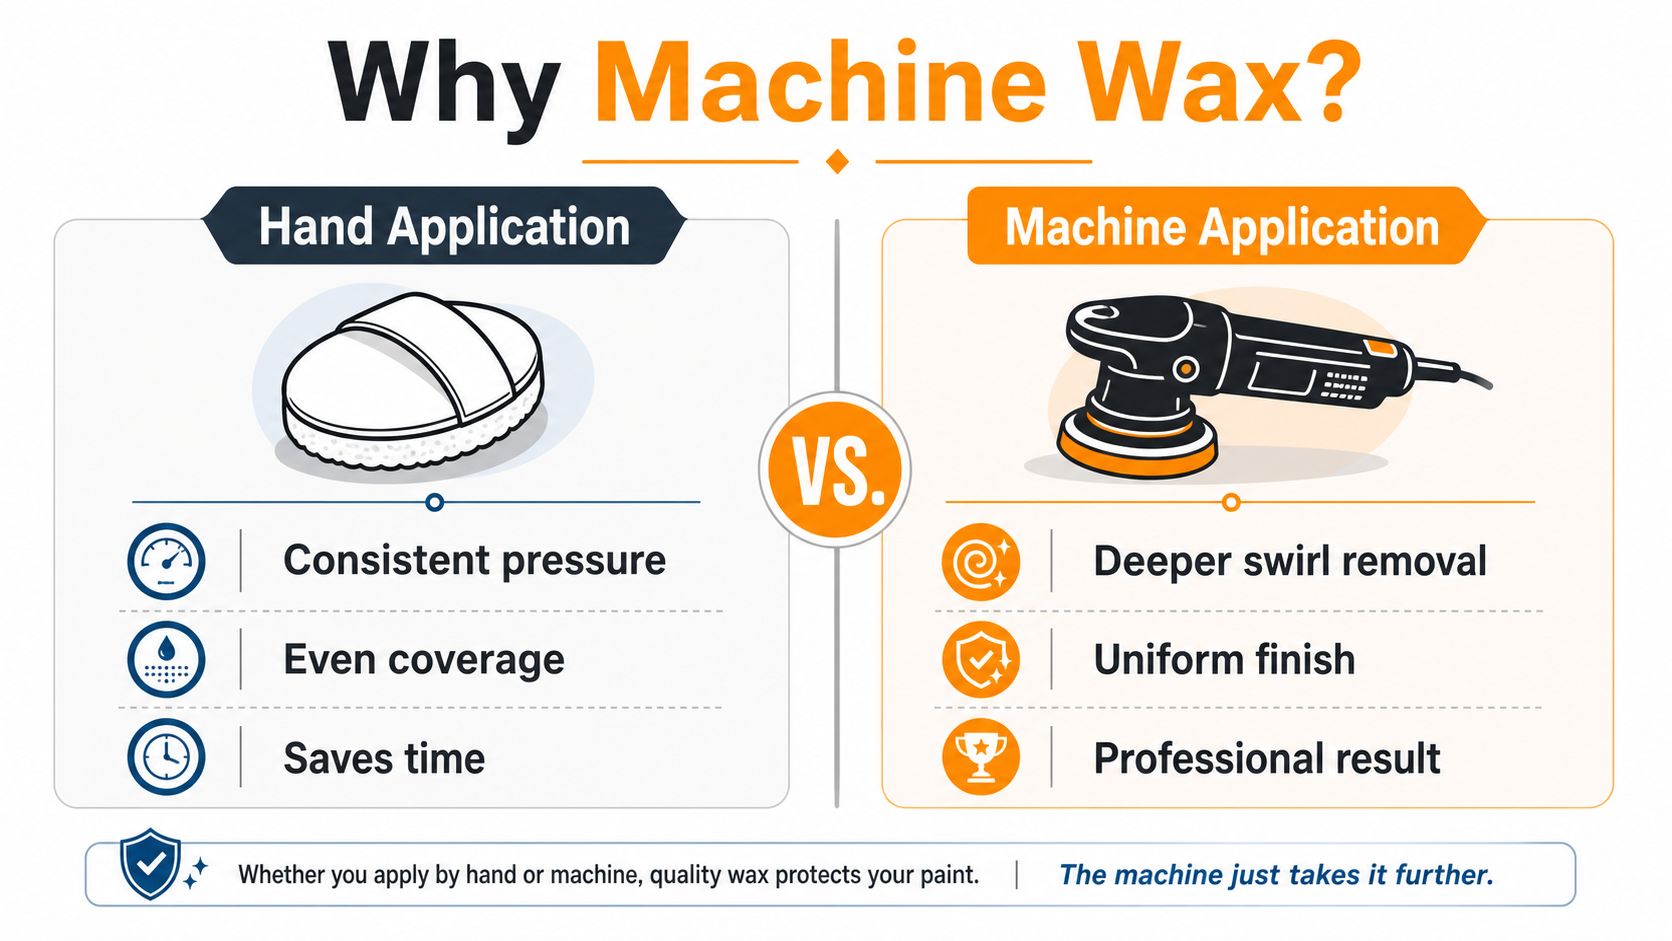
Machine wax car jobs are often assumed to beat hand waxing on finish quality. That's the wrong starting point. In controlled comparisons, the final look can be the same when the same liquid wax is applied by hand or machine, so the value of the tool is speed, even coverage, and less fatigue on larger panels, not some magic extra gloss.
That matters because machine waxing sits on a long line of paint-protection history. The path runs from early 1800s Germany, where vehicle-protective wax started with animal fats on horse-drawn carriages, through early commercial polish use by 1901, then to 1944 and 1946 milestones that helped turn car care into a mechanized industry, and later to the first commercially available polymer sealant in 1969. The tool you use today is part of that same shift from hand labor to consistent surface protection. Auto Image's history of vehicle paint protection and Davison's car wash history timeline make that progression easy to trace.
Why Reach for a Machine in the First Place
A machine earns its keep when the job is consistency, speed, and repeatable coverage. On a hood, roof, or trunk, a dual-action polisher spreads wax more evenly than most hands can manage across the whole panel, especially after the third or fourth car of the day when pressure starts to wander. That is the case for machine application, because the finish quality is often close to what you get by hand, not magically better.
Practical rule: if the same wax goes on the same paint, the machine mainly changes how fast and how evenly you apply it.
Hand waxing still has a place. Tight body lines, small panels, single-stage paint, textured trim edges, and awkward curves often reward a human hand more than a machine because the hand can slow down, steer around bad geometry, and avoid slipping onto trim. A machine wax car setup shines when the panel is broad and flat enough for a pad to stay level, and that is exactly where modern panels with plastic cladding and tight curves start to make the difference obvious.
The first semi-automatic car wash in 1946, the fully automated setup in 1951, and the wider spread of mechanized systems in the 1960s created the environment where machine-assisted detailing became practical at scale, not just possible in theory Davison. That history explains why the tool became common, but it does not change the work itself. A machine is a consistency tool, not a way around prep or technique.
For anyone choosing a setup, a quick look at a car buffer polisher guide helps separate the right tool from the wrong one before the pad ever touches paint.
Tools and Products You Actually Need
Start with a dual-action polisher in the 5 to 6 inch range. That size is forgiving on a driveway, and it's the right compromise between coverage and control for those who aren't polishing cars every day. Pair it with a matching backing plate, because a mismatched setup makes the pad behave strangely and gives you inconsistent contact on curved panels.
What belongs on the cart
Use a soft finishing foam pad for wax. Save light polishing foam for one-step correction, and leave cutting pads for defect removal, not for laying down protection. A clean microfiber towel matters as much as the machine because wax removal is where a sloppy job gets exposed. Masking tape also belongs in the kit, especially if the car has unpainted trim, edge moldings, or textured plastic that will haze if you drag product across it.
A simple lighting setup helps more than another “premium” bottle. One cheap LED work light aimed across the panel at a low angle will show contamination, residue, and missed spots that overhead shop lights hide. That's one of those upgrades that pays off immediately because it changes what you can see while you work.
| Wax Product Types Compared | Best Use Case | Durability | Ease of Buff |
|---|---|---|---|
| Carnauba wax | Show-car depth and warm appearance | Qualitatively shorter than synthetic options | Usually easy when applied thin |
| Synthetic sealant | Daily drivers and longer maintenance gaps | Qualitatively stronger than traditional waxes | Often easy if the panel is prepped well |
| Hybrid spray sealant | Fast maintenance between full details | Qualitatively good for upkeep | Very easy for quick use |
If you want a deeper explanation of buffer and polisher basics, the car buffer polisher guide from SwiftJet is a useful reference point.
Buy the soft pad first. Most beginners don't need a huge pad set on day one, they need one clean finishing pad, one backup pad, and the discipline to keep both free of dirt.
For product choice, use wax when you want a traditional finish and simple buff-off. Choose a sealant when you care more about repeatable protection and easier upkeep. A hybrid spray sealant is the middle ground, useful after wash days or as a maintenance layer once the car has already been machine waxed.
Prepping the Paint So the Wax Can Bond
Prep is the part people skip, then blame the wax for failing. Loose grit, bonded contamination, old sealant residue, and trim dust all interfere with how smoothly wax spreads and how cleanly it wipes off later. If the surface isn't clean, the pad just pushes junk around.
A prep sequence that actually holds up
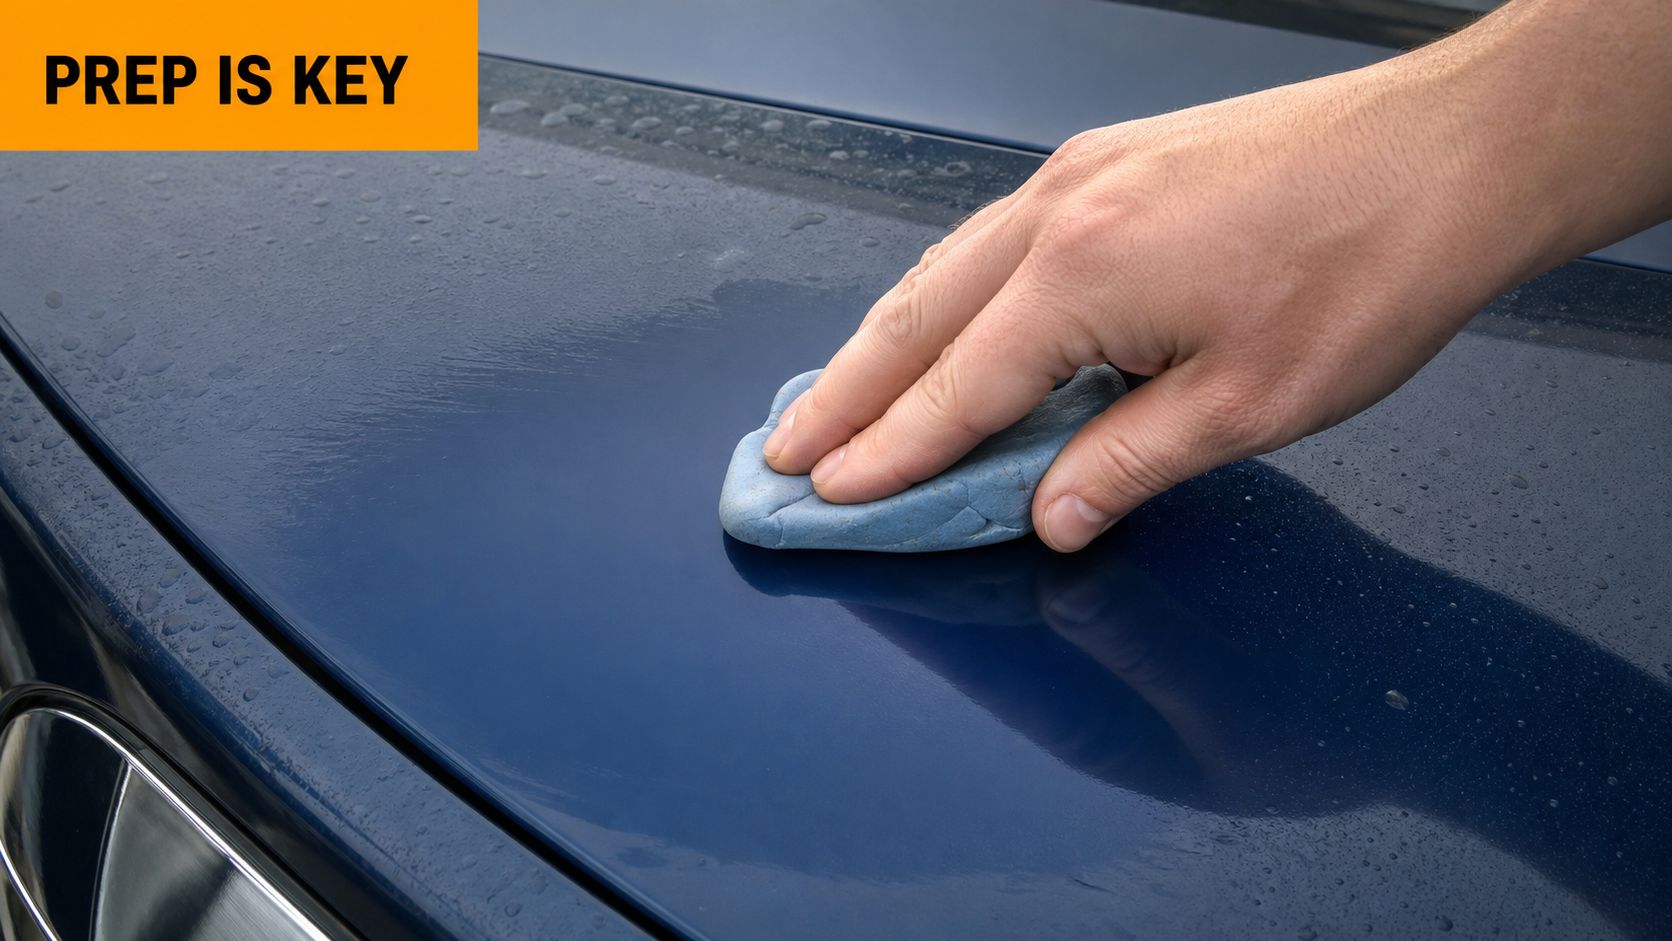
Start with a foam pre-wash to knock loose grit off the paint. Then do a careful two-bucket hand wash so you're not grinding contamination into the clear coat. After that, clay the surface with a clay bar or clay mitt to remove embedded material that washing never touches. If you're stripping old wax or sealant before reapplying, a dedicated product such as prep paint with spa stripper can help clear the surface before the machine ever comes out.
The contamination identification guide from SwiftJet is worth a look if you're unsure whether you're dealing with bonded fallout, old protection, or plain road film. That difference matters because wax won't behave the same on a clean, decontaminated panel as it does on a film-covered one.
Shade and panel temperature matter too. Work on a cool surface, because product flashes and wipes more predictably when the paint isn't hot. A low-angle light helps here as well, since it reveals swirls, residue, and missed contamination that you won't see from a normal standing position.
If the panel still feels gritty after washing, it's not ready for wax. Clay first, then wax.
Finish the prep by taping off trim, badges, and textured cladding. That step saves time later and prevents the dull gray stain that shows up when polish or wax dries on plastic.
Choosing the Right Pad and Speed
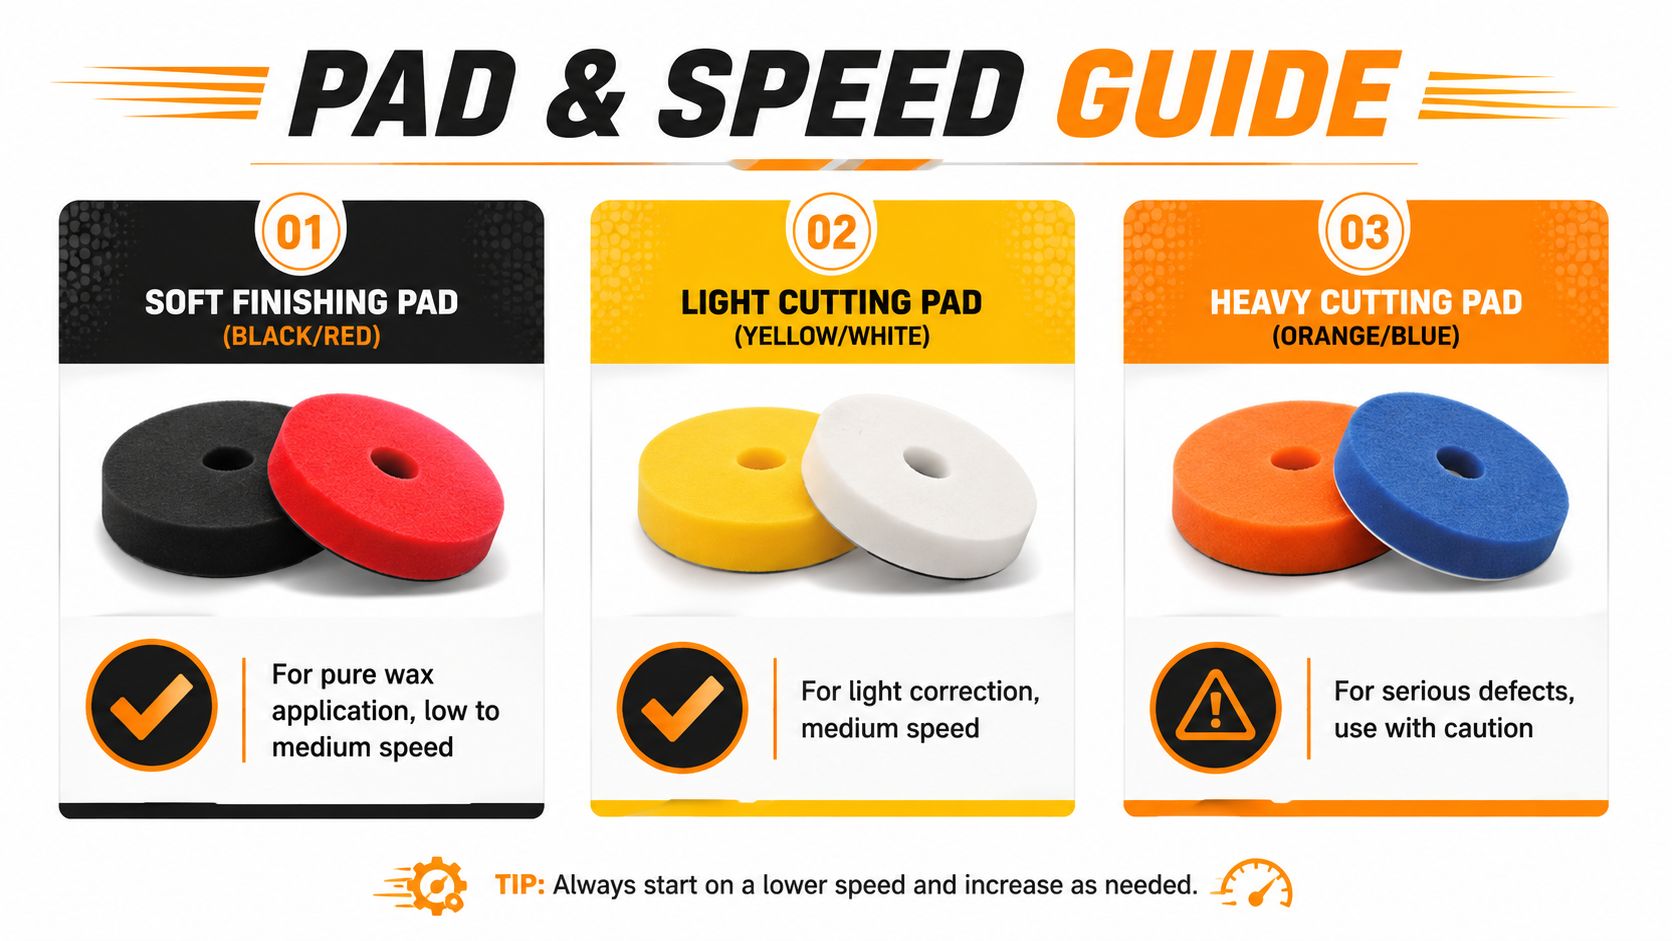
Pad selection is where beginners either get a clean result or waste an afternoon. For wax, use a soft finishing pad, the kind that gives up instead of digging in. A light polishing pad can work in a pinch for a one-step product, but aggressive cutting foam has no business in a waxing workflow unless you're correcting paint first and then switching pads.
Match the foam to the job
The buffing pads guide from SwiftJet is a good reminder that pad density changes the whole feel of the machine. Soft finishing foam lays wax down gently, light cutting foam is for mild correction, and heavy cutting foam belongs in serious defect removal, not in a simple protection pass. If you're only applying wax, the softest pad that stays flat is usually the smartest pick.
Speed follows the same logic. Start low, because the machine should spread product first and work it second. On most dual-action polishers, that means speed 1 to 2 to place the wax, then a slow bump to 3 or 4 if the product needs a little more work. For a finishing wax, there's no good reason to live above 5.
The backing plate's rotation indicator is one of the most useful details on the tool. If it slows or stops on a curved panel, the pad is angled and losing effectiveness. That's your cue to flatten the pad, not to press harder.
Rule of thumb: if the pad starts to chatter, tilt, or dry out fast, clean it before you keep going.
A spent pad feels sticky, stops loading evenly, and begins to leave patchy coverage. Clean it between sections, not after the whole car, because wax build-up gets harder to remove once it cures in the foam.
The Actual Machine Waxing Workflow
The cleanest workflow starts with a tiny amount of product, not a heavy load. I use a pea-size blob dotted across the face of the pad, then let the machine bloom it in at speed 1 before it touches the paint. That keeps the first contact controlled instead of launching wax onto the fender, the windshield, or your shoes.
Once the pad is primed, set it flat on a 2×2 foot section and spread the product at speed 2. After the section is covered, bring the machine up only enough to work the wax, usually around speed 3 on a dual-action polisher, then make two slow passes in a cross-hatch or linear pattern with about 50% overlap. The point is even coverage, not force. Let the pad's motion do the work while you guide it with the weight of the machine only.
The section size matters more than you might think. Smaller areas let you keep the product fresh and the pad flat, especially on the hood and roof where it's easy to drift into bigger, sloppier movements. Move panel by panel, and keep the workflow simple, hood, roof, trunk, then sides.
If you need a parallel example of how swirls and wipe-downs behave after polishing, the swirl mark removal guide for Seattle drivers is a useful companion read. The important thing to remember is that wax is the last visible layer, so anything left underneath will stay visible if you don't prep correctly.
Buff off without rushing the haze
Do not let the wax sit longer than the label suggests before buffing. Once it hazes, flip to a clean microfiber towel and remove the residue with light pressure. Turn the towel often, because a loaded towel just drags old wax back across the finish and makes the panel look smeared instead of glossy.
The inspection pass matters as much as application. A direct light will show missed residue that overhead lighting hides completely.
Work one panel at a time and inspect as you go. That keeps mistakes local, which is much easier to fix than chasing missed residue after the whole car is finished.
Mistakes That Cost You the Finish
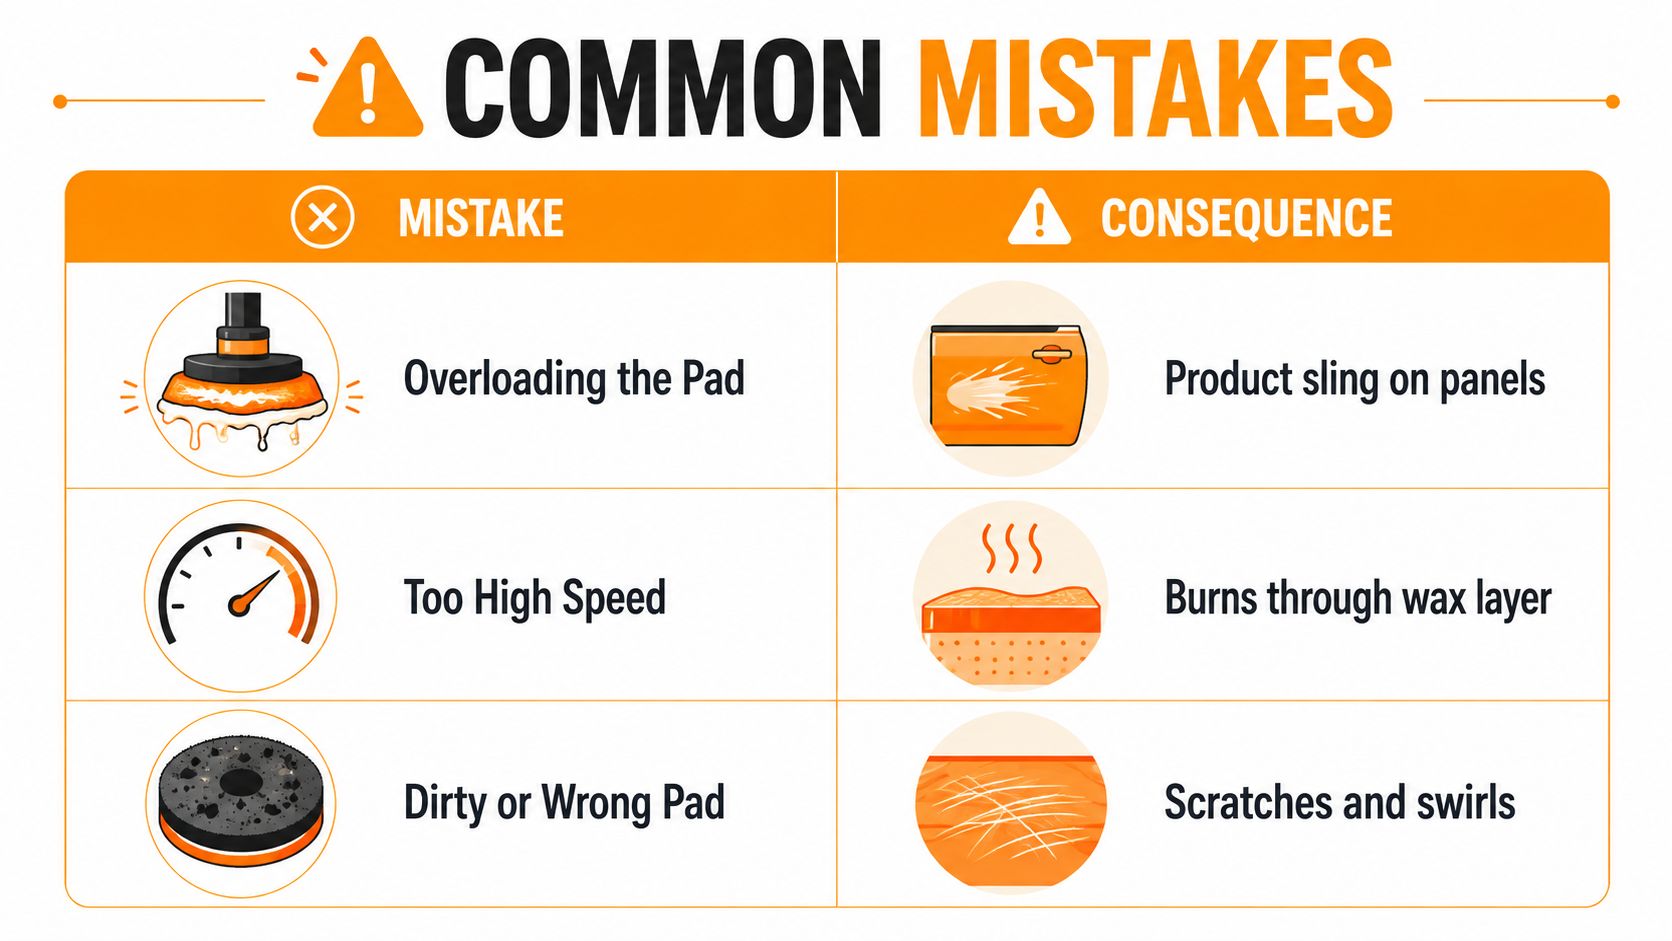
I've seen the same failures over and over, and I've made most of them myself. The worst one is overloading the pad, because excess product slings onto rockers, wheel arches, and lower doors fast enough to ruin your rhythm. It also creates a gummy residue that's harder to remove than the original wax job should ever be.
The mistakes that keep coming back
A hot panel causes the next problem. If the car has been sitting in direct sun, wax flashes too fast and wipes unevenly, especially on the hood and roof where heat builds first. The fix is simple, work in shade, on a cool panel, and stop if the surface starts feeling warm through the back of your hand.
Skipping clay is another classic. The car may look clean after washing, but bonded contamination stays embedded in the surface and gets sealed in under the wax layer. Once that happens, you're preserving rough paint instead of protecting clean paint.
Then there's the pad angle problem on modern cars. Textured plastic cladding, sharp body lines, tight gaps, and heavy curvature all make it harder for the pad to stay flat. When the rotation indicator slows or stops, that's a warning, not a challenge. Flatten the pad, shorten the section, or switch to hand work on the awkward area.
The last mistake is using a waxing pad like it's a correction pad. Wax won't remove swirls, and chasing defects with a finishing pad just wastes time. If the paint needs correction, correct it first, then come back with a clean finishing pad for protection.
Practical fix: if the pad can't stay flat, the machine stops being the right tool for that spot.
Tape off plastic trim before the first pass. It takes a minute and saves twenty minutes of cleanup, which is exactly the kind of trade-off that separates a clean weekend job from a frustrating one.
Keeping the Shine Alive Between Sessions
A wax job lasts longer when the wash routine stops beating it up. A gentle foam wash every two weeks cuts down contact abrasion, and a drying aid or quick detailer after each wash keeps the surface slick without forcing you to re-wax constantly. For shoppers who want a foam tool that connects to a garden hose, SwiftJet's Car Wash Foam Gun fits that maintenance style well enough to mention alongside other wash gear, especially for pre-wash foam and faster soap coverage.
The Lounge Wagon upkeep essentials guide is a useful reminder that upkeep works best when it's routine, not reactive. That idea applies here too. Keep the wash gentle, keep the towels clean, and don't wait until the car looks dead before you maintain it.
For protection choice, use carnauba when you want traditional depth, synthetic sealants for a more durable daily-driver routine, and hybrid ceramic sprays if you want something in between. On a realistic schedule, a full machine wax refresh every 3 to 4 months is a sensible target depending on climate and garaging, while light maintenance in between helps preserve the look.
SwiftJet gives DIY detailers a simple way to build a better wash routine around the wax job, especially when you want foam pre-wash coverage before you touch the paint. If you're ready to tighten up your prep and maintenance process, visit SwiftJet and take a look at the tools that make driveway detailing less messy and more consistent.
