Trying to get road tar off your car can feel like a battle against superglue. The secret isn't to scrub harder, but to work smarter. You need a specific solvent to break down its sticky, petroleum-based structure. The real trick is to let the chemical do the heavy lifting, so you can just gently wipe the mess away with a microfiber towel. This approach is the only way to get rid of those stubborn black spots without scratching your paint to bits.
Why Tar Is So Tenacious
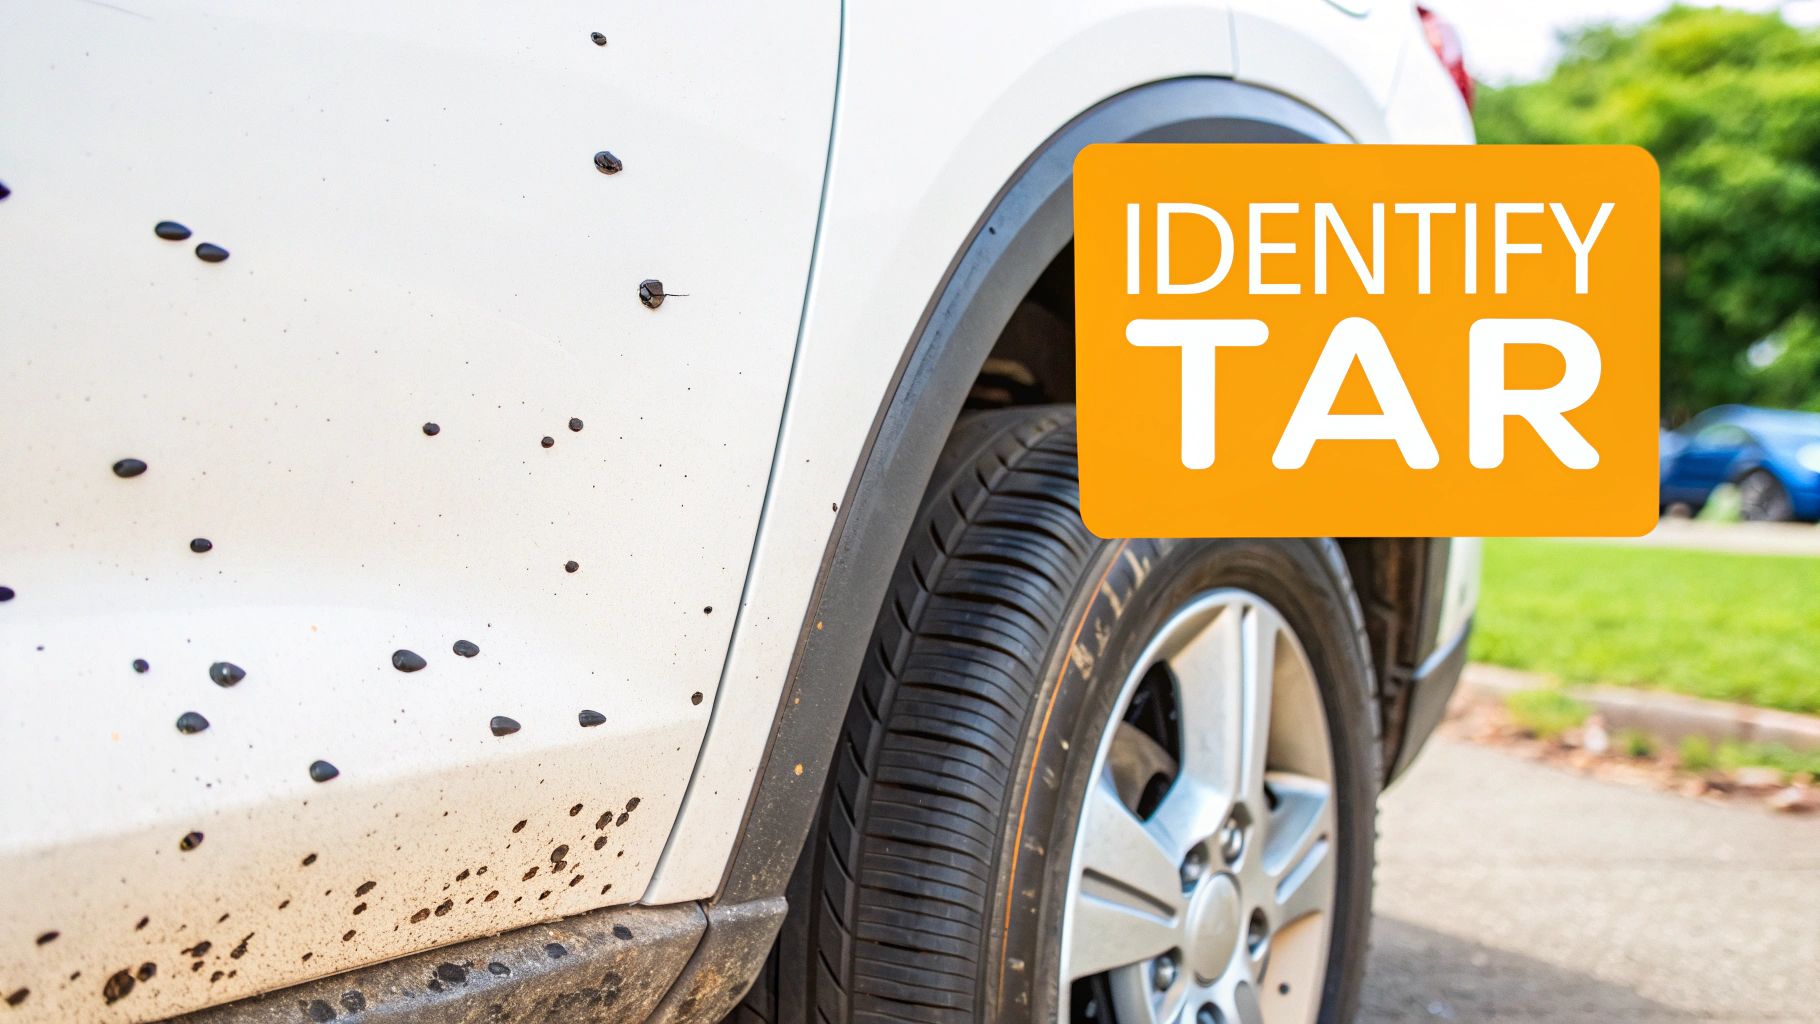
Before you reach for just any cleaner, it’s worth understanding exactly what you’re dealing with. Road tar isn't like regular mud or dirt. It’s a thick, oily substance that gets flung from freshly paved or sun-baked asphalt right onto your car's lower panels.
So, what makes it stick so fiercely? In a word: heat. Tar is an adhesive by nature, and when it splatters onto your warm car, it practically melts into the clear coat. It’s a lot like hot glue—easy to get on, but a real pain to remove once it cools and hardens. If you try to scrape it or scrub it off, you're just dragging abrasive gunk across the finish, which is a surefire way to create a mess of scratches and swirls.
The Chemistry of a Clean Finish
The only truly safe and effective way to remove road tar from a car is to dissolve it from the inside out. This calls for a solvent that’s specifically formulated to break down petroleum. The goal is to chemically weaken the tar's bond, turning it back into a liquid-like state that you can wipe away without any effort. Using chemistry instead of muscle is what protects your car's delicate paintwork.
This isn't just a random problem; it's a direct result of road construction and repair. The global road maintenance market was valued at an incredible US$14.91 billion in 2023, and that number is only going up. More fresh asphalt means more chances for sticky, uncured tar to find its way onto your vehicle. If you're interested in the data, you can dig into the full road maintenance market report.
Key Takeaway: Patience is your best friend here. The real secret to perfect tar removal is giving the solvent enough time to fully dissolve the tar. Rushing the process and using force will only damage your paint.
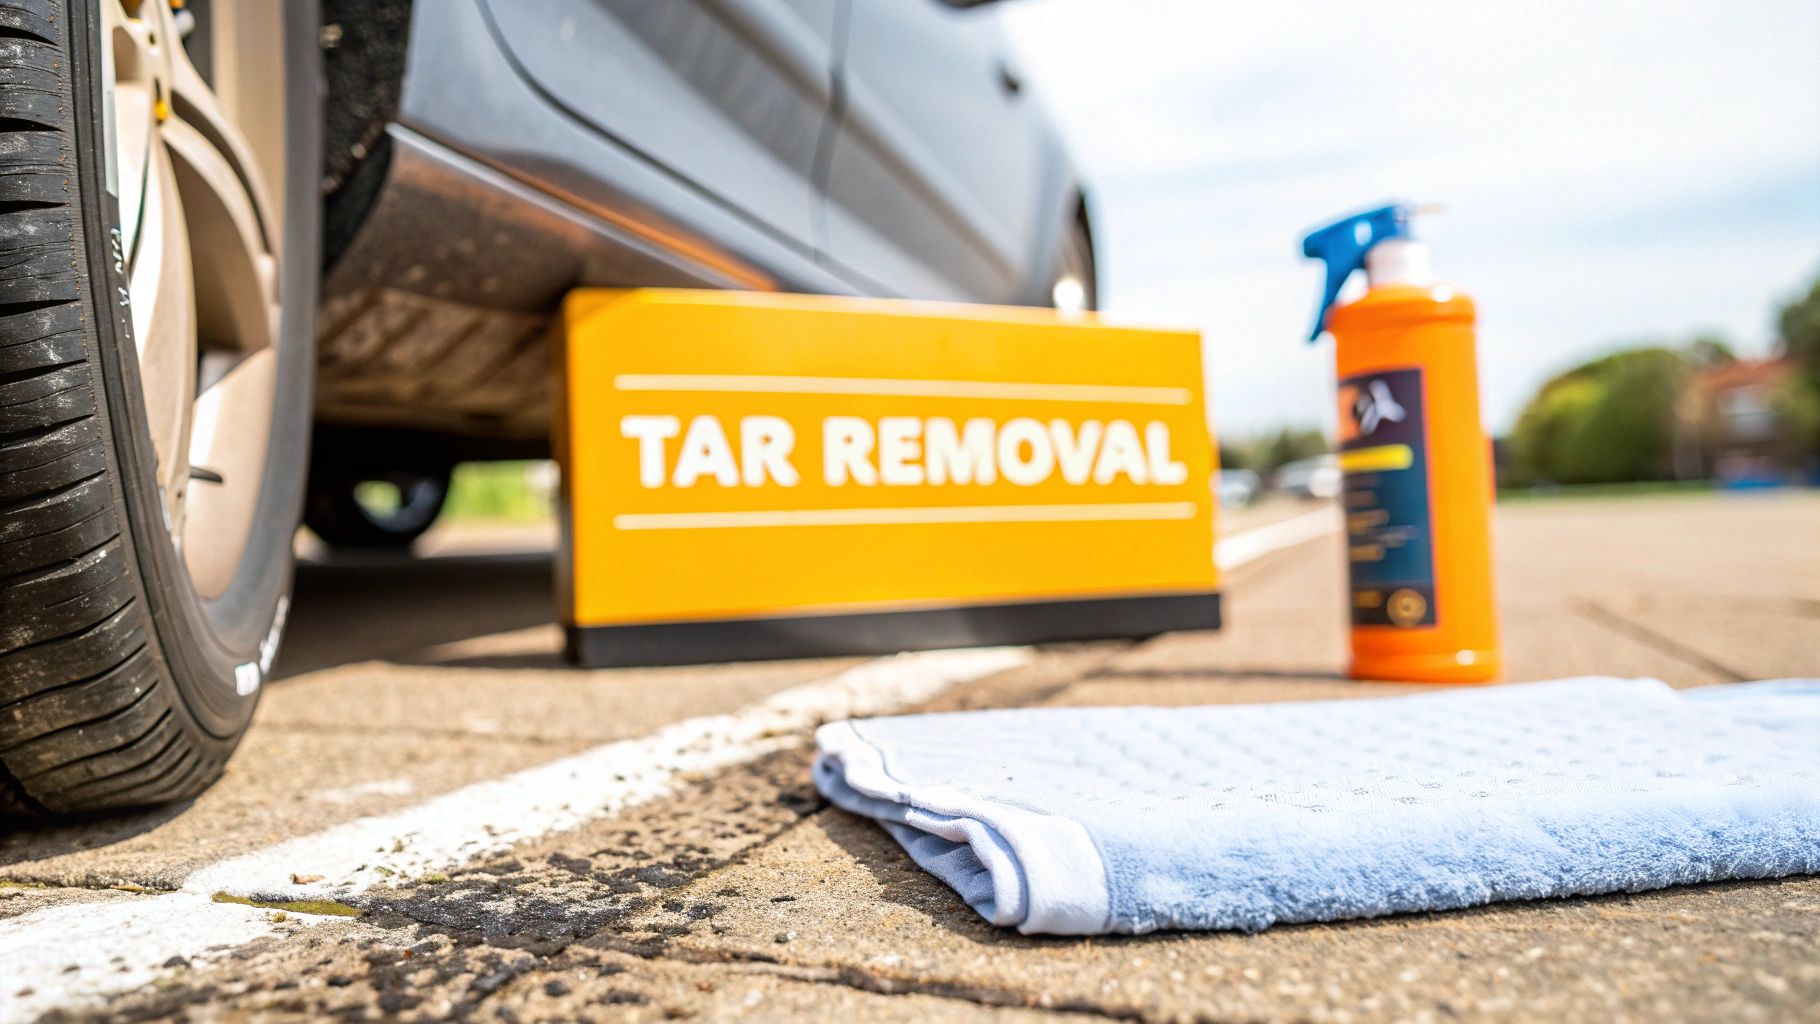
Your Tar Removal Toolkit
Getting your gear in order before you start makes all the difference. It transforms a potentially frustrating job into a quick and satisfying one. You don't need a whole workshop, but a few key items are essential for getting professional results without causing any damage.
Here's what you should have on hand to make sure the process is smooth and safe from start to finish.
| Item | Purpose | Why It's Important |
|---|---|---|
| Dedicated Tar Remover | Dissolves petroleum-based tar | A non-negotiable item. It must be a solvent-based product specifically labeled as safe for automotive clear coats to avoid damaging your paint. |
| Plush Microfiber Towels | Applying solvent & wiping away tar | You'll want at least two or three. One for application and the initial wipe, and a fresh one for the final buff to prevent cross-contamination. |
| Car Wash Soap & Water | Neutralizing & cleaning | A bucket of soapy water is crucial for washing away any leftover solvent residue, ensuring a clean, chemical-free surface. |
Having these tools ready to go means you can work efficiently and protect your car’s finish every step of the way.
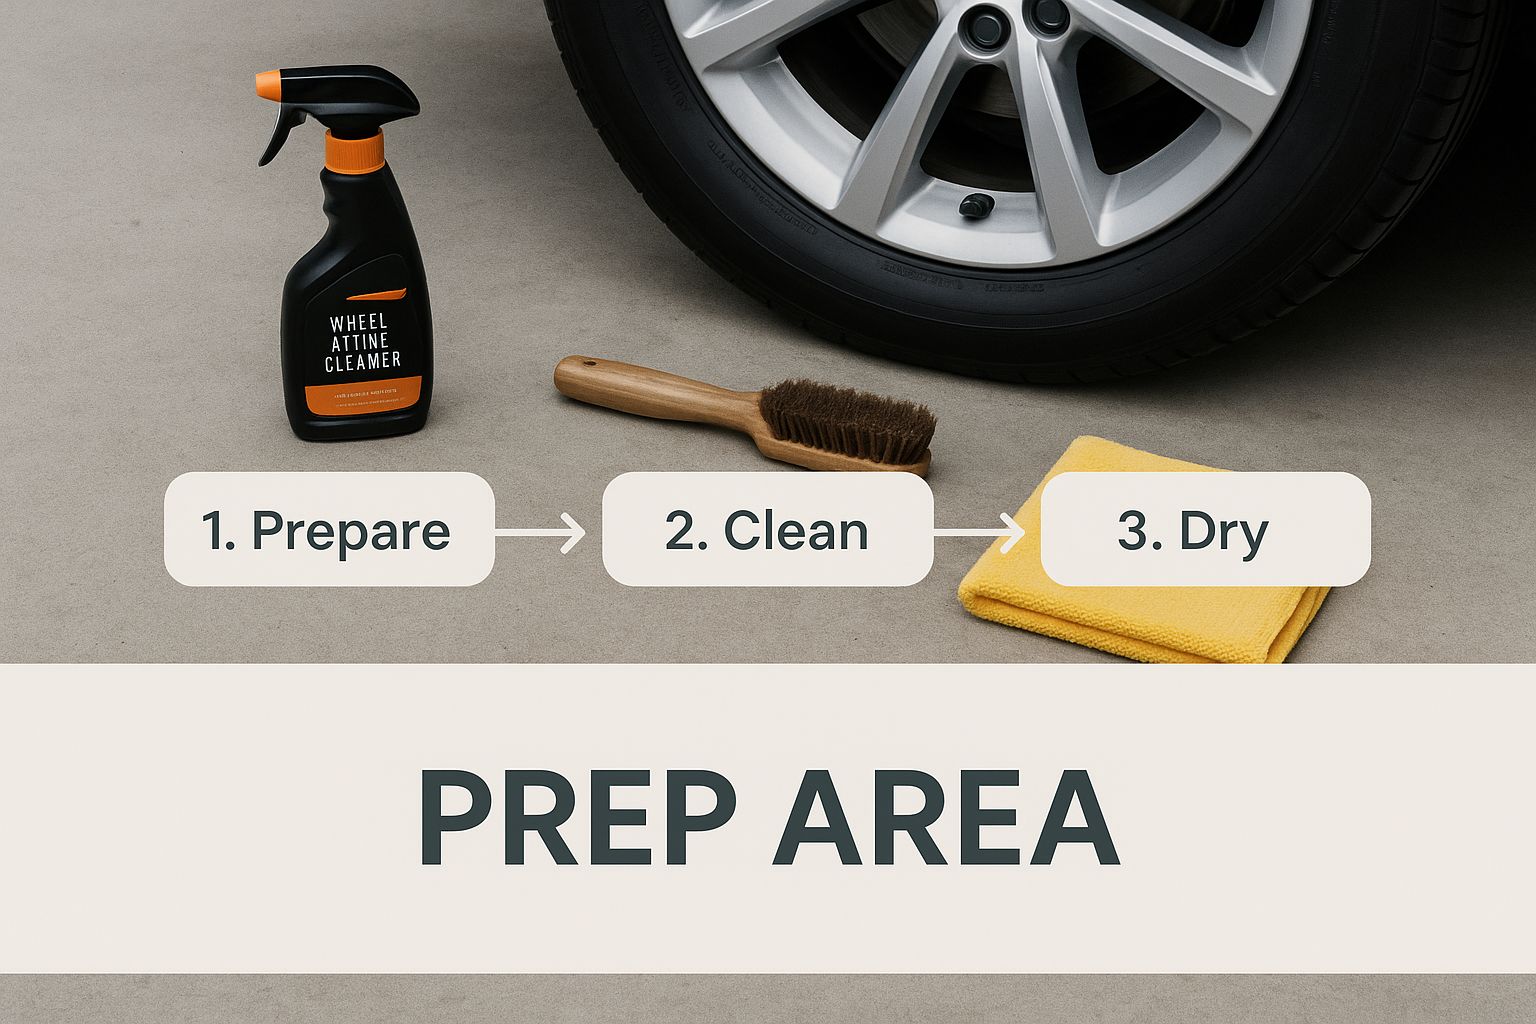
Prepping Your Car for a Flawless Finish
Let's get one thing straight right away: trying to remove tar from a dirty car is a recipe for disaster. The real danger isn't the tar itself; it’s the loose grit, sand, and other grime already clinging to your paint. If you just grab a rag and a tar remover, you're essentially rubbing sandpaper across your finish. That’s how you get fine scratches and swirl marks, which are a much bigger headache to fix than the tar spots you started with.
This is why a proper wash is non-negotiable. It's your first line of defense. The goal here is to get the panel perfectly clean and cool to the touch, creating a safe surface for the tar remover to work its magic. Think of it like a surgeon prepping for an operation—you need a sterile field for the best outcome.
The Power of a Pre-Wash Foam Bath
Before a wash mitt ever touches your paint, give the car a good foam bath. This is the ideal way to start. A tool like the SwiftJet foam gun is perfect for this, as it hooks right up to a standard garden hose and blankets the car in a thick lather. This isn't just for a cool photo op; that foam is doing some serious work.
The suds cling to the surface, breaking down and encapsulating all that loose dirt. Gravity then takes over, pulling the encapsulated grime down and away from the paint without you having to scrub a thing. This single step removes the vast majority of abrasive particles that could scratch your clear coat.
A foam bath gives you a couple of other wins, too:
- It Cools the Surface: You never want to apply chemicals to a hot panel. They can flash-dry and leave behind stubborn stains. A cool rinse and a layer of foam bring the temperature down to a safe working level.
- It Lubricates the Paint: The foam acts as a fantastic lubricant for the hand wash that follows, minimizing friction and adding another layer of protection against swirls.
Wash and Dry with a Purpose
After the foam has dwelled for a few minutes, rinse it off thoroughly. Now you can move on to a proper two-bucket hand wash to get rid of any remaining road film. Once the car is squeaky clean, it's time to dry, but we’re going to be strategic about it.
Don't just dry the whole car at once. Grab a plush microfiber drying towel and gently pat dry only the areas where you see tar. This keeps the tar spots isolated and prevents you from accidentally dragging any residue across to a clean panel. The end goal is a completely clean, dry surface where only the tar remains, ready for targeted removal.
Remember, this prep work is your insurance policy. Every minute you spend washing and drying the right way is a minute you won't spend on costly paint correction later. It ensures the tar remover attacks the tar directly, not a layer of filth.
By taking the time to do this, you’ve set the stage for a successful and scratch-free tar removal. Now that the surface is clean, cool, and dry, you're ready to dissolve those stubborn black specks for good.
The Right Way to Dissolve and Remove Tar
Now that your car is clean and prepped, it’s time to tackle those ugly black specks of tar. This is where patience really pays off. The secret is letting the right chemical do the work for you, not elbow grease.
The most common mistake I see people make is blasting tar remover all over the car's paint. It’s a messy, uncontrolled approach that gets overspray on your plastic trim, tires, and everything else. Don't do that. A much smarter way is to apply the solvent to a microfiber applicator pad first.
Why? Because applying it to a pad gives you pinpoint accuracy. You can then press the saturated pad right onto a tar spot, concentrating the chemical exactly where you need it. This simple trick keeps the solvent from running down the paint and making a mess.
Let the Solvent Do the Heavy Lifting
Once you’ve placed the applicator pad against the tar, just hold it there and wait. This is the magic moment. A good tar remover is designed to break down and dissolve petroleum-based gunk, but it needs a little time to do its job.
Give it about 30 to 60 seconds. You’ll actually see the tar start to change. It will look like it’s "bleeding" or melting, often turning a brownish color and starting to run. That's your signal that the solvent has broken the tar's grip on your clear coat.
Expert Tip: Resist the urge to scrub. If you find yourself wanting to scrub at a spot, it means the solvent hasn't had enough time to work. Just apply gentle pressure with the pad and let the chemical do its thing.
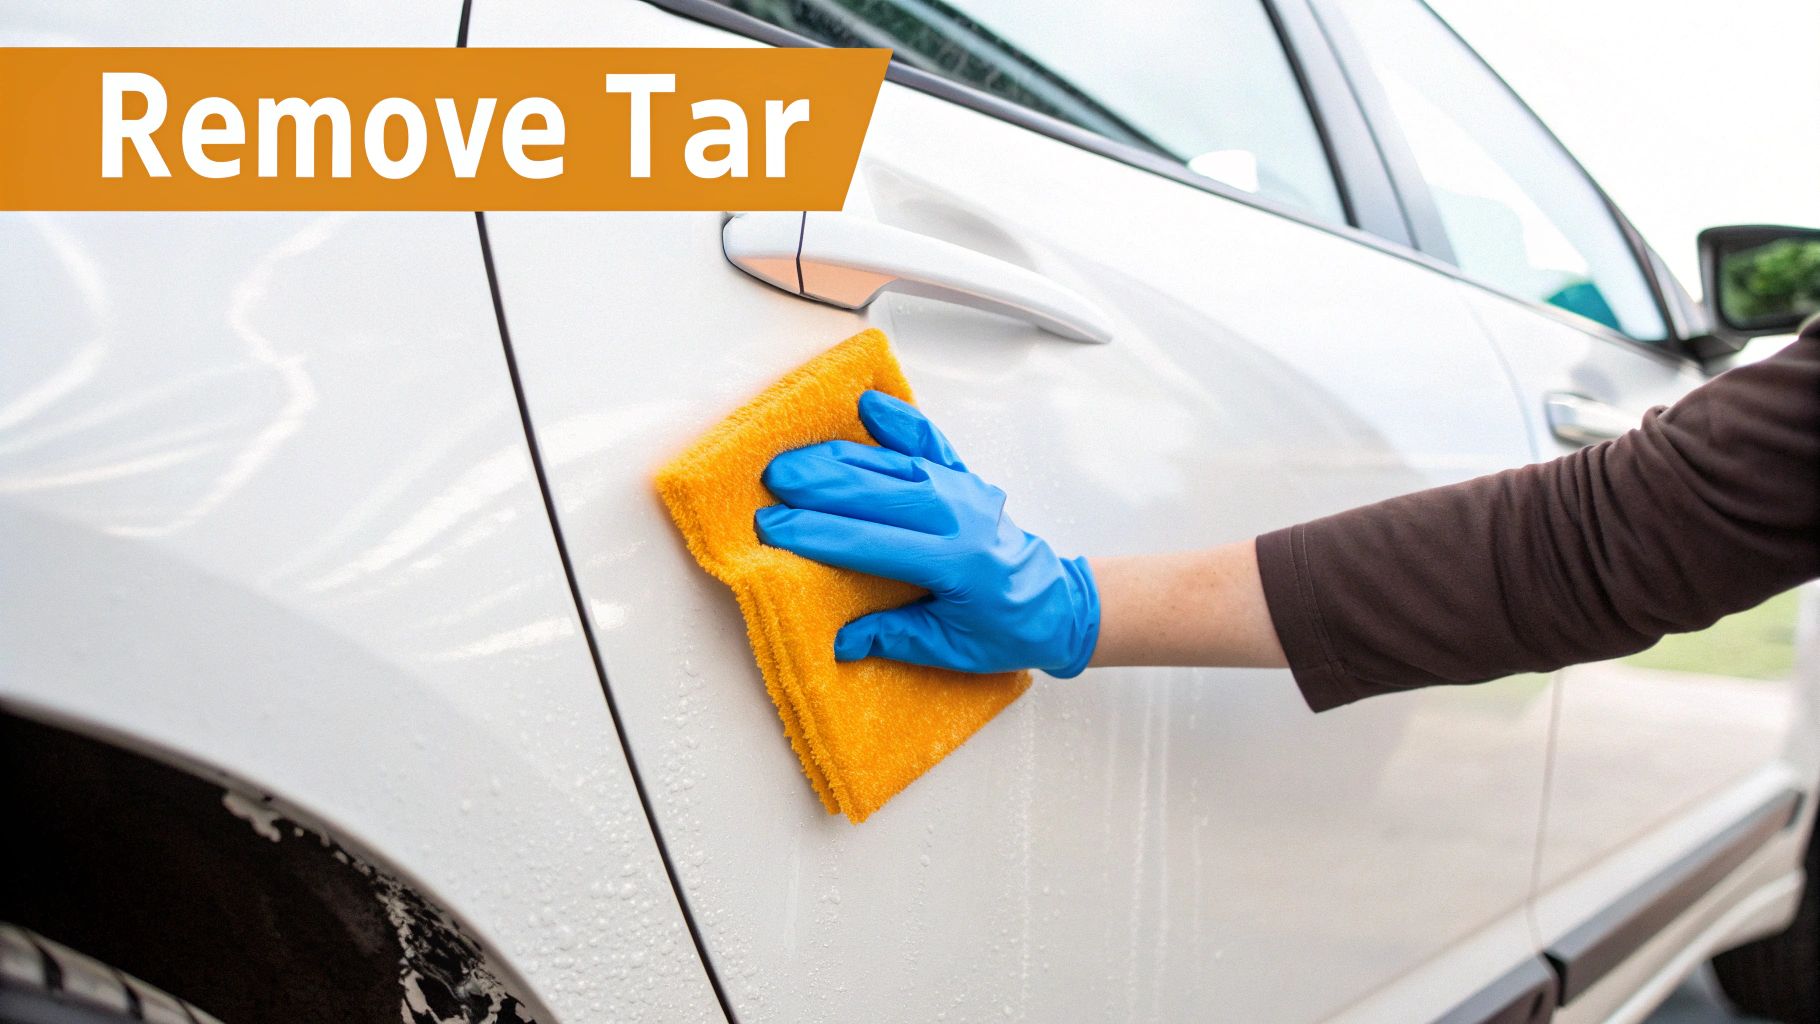
The Gentle Wipe-Away for Tough Spots
Once the tar has clearly dissolved, grab a fresh, plush microfiber towel. Gently wipe the residue away with a light, sweeping motion in one direction. You're not scrubbing; you're just lifting the now-liquefied tar off the surface.
What if a few stubborn spots are left behind? Don't worry, and definitely don't reach for anything abrasive. The solution is simple: repeat the process. Reapply a bit of remover to your pad, place it on the spot, let it dwell, and wipe again. It almost always works on the second pass.
For a complete walkthrough of the entire job, our in-depth guide on how to remove tar has even more pro tips.
Neutralize and Inspect Your Work
After all the tar is gone, you have one last crucial step: neutralizing the area. Tar removers are powerful solvents, and any residue left behind can prevent your wax or sealant from bonding properly later on.
- Final Wash: Mix a bit of car wash soap and water in a clean bucket.
- Clean the Area: With a fresh wash mitt, gently wash over the panels you treated to remove any leftover solvent.
- Rinse and Dry: Rinse the area thoroughly with clean water, then dry it completely with a new microfiber towel.
Take a step back and inspect your work in good light. Run your hand over the surface—it should feel perfectly smooth, with no black specks in sight. You’ve just removed stubborn tar the right way, without damaging your paint.
Choosing the Best Tar Removal Product
Walk into any auto parts store and the cleaning aisle can feel a bit overwhelming. You're faced with a wall of bottles, all promising to make your car look brand new. So when you’re dealing with stubborn road tar, how do you pick the right product? The choice you make here is critical—not just for getting the tar off, but for keeping your paint safe.
Dedicated Solvents vs. All-In-One Cleaners
When it comes to tar removers, you'll generally find two camps: powerful, dedicated solvent-based products and the more common all-in-one "bug and tar" sprays.
A dedicated solvent is the specialist. It’s formulated specifically to dissolve petroleum-based gunk like tar and asphalt. This is the heavy hitter you need for those thick, baked-on clumps you pick up from freshly paved roads.
On the other hand, a combination bug and tar cleaner is more of a generalist. It’s usually less aggressive, making it a decent choice for very light, fresh speckles. But if you’re facing anything more serious, it’s probably going to fall short, requiring a lot more elbow grease. For most real-world tar problems, a dedicated solvent is the way to go.
Read the Fine Print: What Really Matters
The most important information isn't on the front of the bottle; it's on the back. Before you even think about buying, you absolutely must confirm the product is "clear coat safe." Using a solvent that's too harsh is a fast way to dull, haze, or even permanently damage your car’s finish.
Don't stop there. Check for compatibility with other materials on your car:
- Plastic Trim: Many strong solvents can stain or discolor the unpainted black plastic trim found on bumpers and side skirts. If your car has a lot of this, look for a formula that explicitly says it's safe for plastics.
- Ceramic Coatings: This is a big one. If you've invested in a ceramic coating, an aggressive solvent can strip away its hydrophobic properties, effectively ruining its performance. You’ll need a product that is pH-neutral or specifically labeled as safe for coatings.
The demand for safer, more effective cleaners has exploded. The global market for car tar removers was valued at around $500 million in 2025 and is expected to keep growing. This consumer push means we're constantly getting better and safer products to choose from.
Comparing Tar Remover Options
To help you decide, here's a quick look at the different types of tar removal solutions. This should make it easier to pick the best tool for your specific situation.
| Product Type | Best For | Pros | Cons |
|---|---|---|---|
| Dedicated Tar Solvent | Heavy, baked-on tar and asphalt | Extremely effective, works quickly | Can be harsh on sensitive plastics or weak coatings if not used carefully |
| Bug & Tar Combo Spray | Light, fresh tar speckles and bugs | Versatile, generally milder | May struggle with stubborn tar, requires more effort |
| Citrus-Based Cleaner | Light to moderate contamination | Often safer for plastics and coatings | Can be less potent on very thick tar deposits |
| Clay Bar/Mitt | Embedded, fine tar particles after solvent use | Removes contaminants for a smooth finish | Not a primary remover; requires a lubricant and prior cleaning |
Ultimately, picking the right product comes down to what you're dealing with. For a few light dots, an all-in-one spray might be enough. But for that ugly, heavy splatter from road construction, you need a dedicated solvent designed for the job.
Your goal is to match the product's strength to your specific problem. Never use more chemical muscle than you absolutely need to.
With so many great options out there, finding the perfect one is easier than ever. For a detailed breakdown of our favorites, check out our guide on the top 7 best tar removers for cars in 2025. A smart choice now will save you a lot of headaches later.
Protecting Your Paint After Tar Removal
Getting that stubborn road tar off feels like a victory, but the job isn't quite done. Think of it this way: the powerful solvents you used were a necessary evil. They did their job on the tar, but they also stripped away any wax or sealant you had, leaving your paint’s clear coat totally exposed.
This last step is absolutely crucial for restoring your vehicle’s defenses. Without a fresh layer of protection, that beautifully clean surface is now a sitting duck for UV rays, acid rain, bird droppings, and—yep—more road tar. It's time to put the armor back on.
Rebuilding Your Car's Defenses
So, what are your options? You're basically looking at two main choices: a classic carnauba wax or a more modern synthetic paint sealant.
Carnauba wax is a long-time favorite for the deep, warm glow it gives your paint. It looks fantastic, but you'll probably get a few months of protection out of it. Synthetic sealants, on the other hand, are engineered for durability. They create a slick, tough barrier that can easily last six months or more, providing much better resistance to chemicals and contaminants.
No matter which one you pick, the application process is pretty much the same.
- A little goes a long way. Squeeze a small dab of product onto a clean foam applicator pad. Don't overdo it.
- Work one panel at a time. Spread a thin, even layer over the area you treated, using overlapping circular or straight-line motions.
- Let it haze over. The product needs a few minutes to dry. You’ll see it turn into a light, cloudy haze.
- Buff it off. Grab a clean, plush microfiber towel and gently buff away the hazy residue. What's left behind is a brilliant, slick shine.
This new protective layer does more than just make your car look great. It creates a hydrophobic, low-friction surface that makes it much harder for new gunk to stick. Your next wash will be a whole lot easier.
Restoring this protective barrier is the difference between a quick fix and a long-term solution. It locks in all your hard work and keeps your paint looking incredible.
This kind of aftercare is a huge part of modern car maintenance. In fact, the global car care products market was valued at around USD 4.68 billion in 2024, which just shows how much people are investing in preserving their vehicles. By taking this final step, you're not just cleaning your car—you're protecting its value and finish for the long haul.
For a deeper dive, check out our complete guide on the best way to protect car paint.
Still Have Questions About Tar Removal?
Even when you know the steps, a few questions always pop up. It's completely normal. Let's walk through some of the most common ones I hear from people trying to get their paint perfectly clean.
What About Using WD-40 or Kerosene?
I get it, it's tempting. You see a tar spot, you run to the garage, and you grab what's on hand. People often suggest things like WD-40, kerosene, or even peanut butter. My advice? Don't do it.
These household items were never meant for modern car paint. Take WD-40, for example. It's a lubricant, not a cleaner. Sure, it might loosen the tar, but it leaves behind an oily mess that's a real pain to get off. That greasy film acts like a barrier, meaning any wax or sealant you try to apply later won't stick, leaving your paint exposed.
Then you have something like kerosene. That’s a whole different level of risk. It's a powerful solvent that can be way too harsh for your car's clear coat. It can easily soften or dull the finish, and suddenly you're looking at a costly trip to a detailer for paint correction.
My Two Cents: Just stick with a product made for the job. A dedicated automotive tar remover is formulated to melt away tar without attacking your paint. It’s the safest and most effective way to go, plain and simple.
Will This Mess Up My Ceramic Coating?
This is a fantastic question, especially for those who've already invested in protecting their paint. The short answer is: it depends.
If you have a high-quality, professionally applied ceramic coating, you're usually in good shape. These coatings are built to be chemically tough. A good, pH-neutral tar remover shouldn't bother it at all. In fact, the super slick surface of the coating makes the tar come off that much easier.
Where you run into trouble is with really aggressive, cheap solvents. Those could potentially start to break down the coating's protective qualities. The best move is to check the recommendations from your specific coating's manufacturer. And once you're done, it never hurts to top up the area with a ceramic-friendly detail spray to keep that gloss and protection strong.
How Quickly Do I Need to Remove Tar?
The moment you see it. Seriously, as soon as possible. Fresh tar is soft and hasn't had time to cure onto your paint, which makes your job a hundred times easier.
The real danger comes from letting it sit, especially in the sun. As the tar bakes onto the surface, it hardens. Worse, the petroleum oils inside it can actually penetrate the clear coat, leaving a permanent yellow or brown stain. What could have been a five-minute fix can become a permanent paint defect if you ignore it for weeks.
Make a habit of glancing at your car’s lower body panels after a drive, particularly behind the wheel wells. A quick spot clean today saves you a world of frustration tomorrow.
Hopefully, that clears things up and gives you the confidence to tackle any tar spots that come your way. And for that perfect pre-wash that lifts dirt and grime before you even touch the paint, you can’t beat a thick foam bath from SwiftJet. Our high-performance foam gun sets the stage for a flawless finish.
See what you've been missing at https://swiftjetusa.com.