

You've just come off the highway, and the front bumper looks like it picked up every bug between here and the last exit. The instinct is to grab the nearest rag and start wiping, but that's exactly how a simple cleanup turns into scratched paint and stubborn haze.
Bug splatter isn't just messy. It bonds to clear coat, glass, and trim, especially after heat has baked it on, so how to remove bug splatter safely comes down to timing, lubrication, and the right tool at the right moment. A smart routine treats it like a paint-care job, not a quick wipe-down.
Why Bug Splatter Is a Paint Problem, Not Just Dirt
Bug residue is a bonded contaminant. It does not sit on the surface the way dust does. It dries, grips the clear coat, and can start to etch if it stays on the paint after a hot drive or a long parking session in the sun.
That is why dry wiping causes trouble. The residue needs time to soften, then it needs lubrication so it can lift off without being dragged across the finish. AAA's guidance follows that approach, recommending warm, soapy water for 1 to 5 minutes before gentle wiping, and noting that the cleaning step can remove wax from the treated area, so protection may need to be reapplied afterward, according to AAA's dead-bug removal guidance.
Practical rule: if the bug spot still feels gritty, it is not ready for pressure. Soak it until the bond relaxes, then wipe with the lightest touch that works.
That same logic applies to other bonded contamination on a vehicle's finish. If you want a broader way to separate loose grime from material that has bonded to the surface, the guide on contamination identification is a useful reference.
The same careful approach shows up in bird poop removal tips for property owners, because dried organic messes behave much like bug residue once they harden. The contaminant changes, but the workflow does not. Soften first, wipe second, and skip any heavy friction until the surface has been loosened enough to clean safely.
Tools, Cleaners, and Conditions You Need Before Starting
Start with a small kit, not a random pile of bottles. The job goes smoother when you've already laid out the right cleaner, the right towel, and a safe place to work before the first spray touches the car.
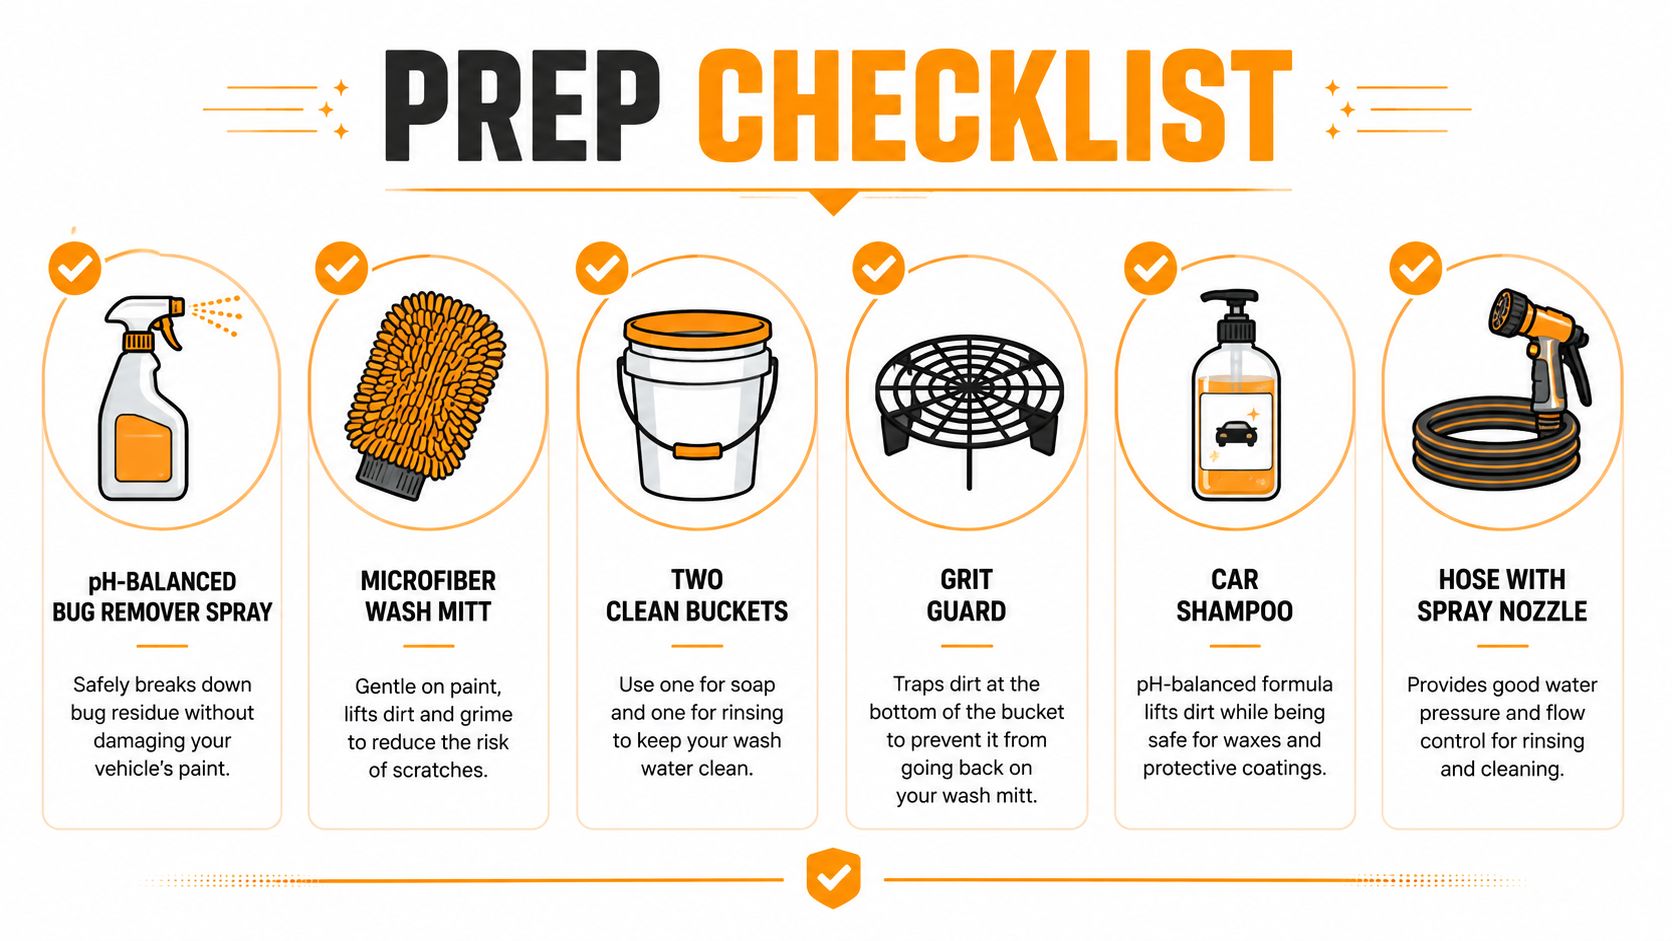
Build the prep kit
- Bug remover or citrus-enzyme pre-soak: AAA specifically describes foaming bug removers with citrus enzymes as a safer way to break down residue naturally, so start there when the splatter is heavy.
- Microfiber wash mitt: A microfiber mitt gives you more lubrication and less scratching risk than a rough cloth, especially on painted front-end panels.
- Plush microfiber towels: Use several clean faces so you can switch before one side loads up with grime.
- Soft bug sponge: Keep this for glass, headlights, and the tougher surfaces where a little more texture helps.
- Foam gun or foam cannon: A foamed pre-wash clings longer than a quick spray, which matters when you need dwell time.
- Rinse bucket with a grit guard: You want a place to rinse contaminated tools without dragging grit back onto the car.
- Fresh water and a hose with a spray nozzle: Loose grit has to come off before anything gets rubbed.
The two conditions that matter most are simple. Work in shade, and keep the panel cool to the touch. Hot paint makes cleaners flash too quickly, which shortens dwell time and raises the odds that you'll scrub too soon.
Professional guidance also leans toward microfiber tools rather than abrasive cloths, because the contact point should lift residue, not grind it around. That's the reason this process works as a sequence, not a single pass.
The Pre-Soak and Removal Method Step by Step
Bug removal gets easy when you stop thinking about scrubbing and start thinking about softening. The whole method depends on letting the cleaner do the heavy lifting first, then using the towel or mitt as a controlled lift, not a forceful attack.
Start with a loose rinse
Rinse the front end first, even if the bugs look stuck solid. You're knocking off sand, grit, and loose road film before anything touches the panel, which cuts the scratch risk immediately. That's the part many drivers skip when they're in a hurry.
Lay down foam or spray and let it dwell
Use a bug remover, citrus pre-wash, or soapy pre-soak across the bumper, hood leading edge, grille, mirrors, headlights, and windshield. Independent detailing guidance consistently recommends wetting or spraying the area first, then letting it sit, with dwell times commonly reported at 20 to 30 seconds for dedicated bug remover and 1 to 5 minutes for heavy, dried-on residue, according to DetailKing's bug removal guidance.
Don't chase the residue with pressure while the panel is dry. If the spot isn't soft yet, more force only increases scratching or swirl marks.
For fresh bugs, a short dwell can be enough. For baked-on residue, give it the longer window, but don't let the product dry on the panel. If it starts flashing off too fast, rewet the area instead of scrubbing harder.
Lift residue with a gentle contact pass
Use a microfiber towel, microfiber wash mitt, or soft bug sponge depending on the surface. Work in straight motions, not circles, and use the cleanest towel face you have available. On paint, plush microfiber is the safer choice. On glass, a firmer bug sponge can help, but the pressure still needs to stay light.
Rinse and inspect
After the first pass, rinse the area thoroughly and check what's left. If residue remains, don't escalate to harder rubbing. Re-saturate, give it another dwell window, and make a second light pass with a clean towel face. For a quick visual on the sequence, the process graphic below lays out the same order in a compact form.
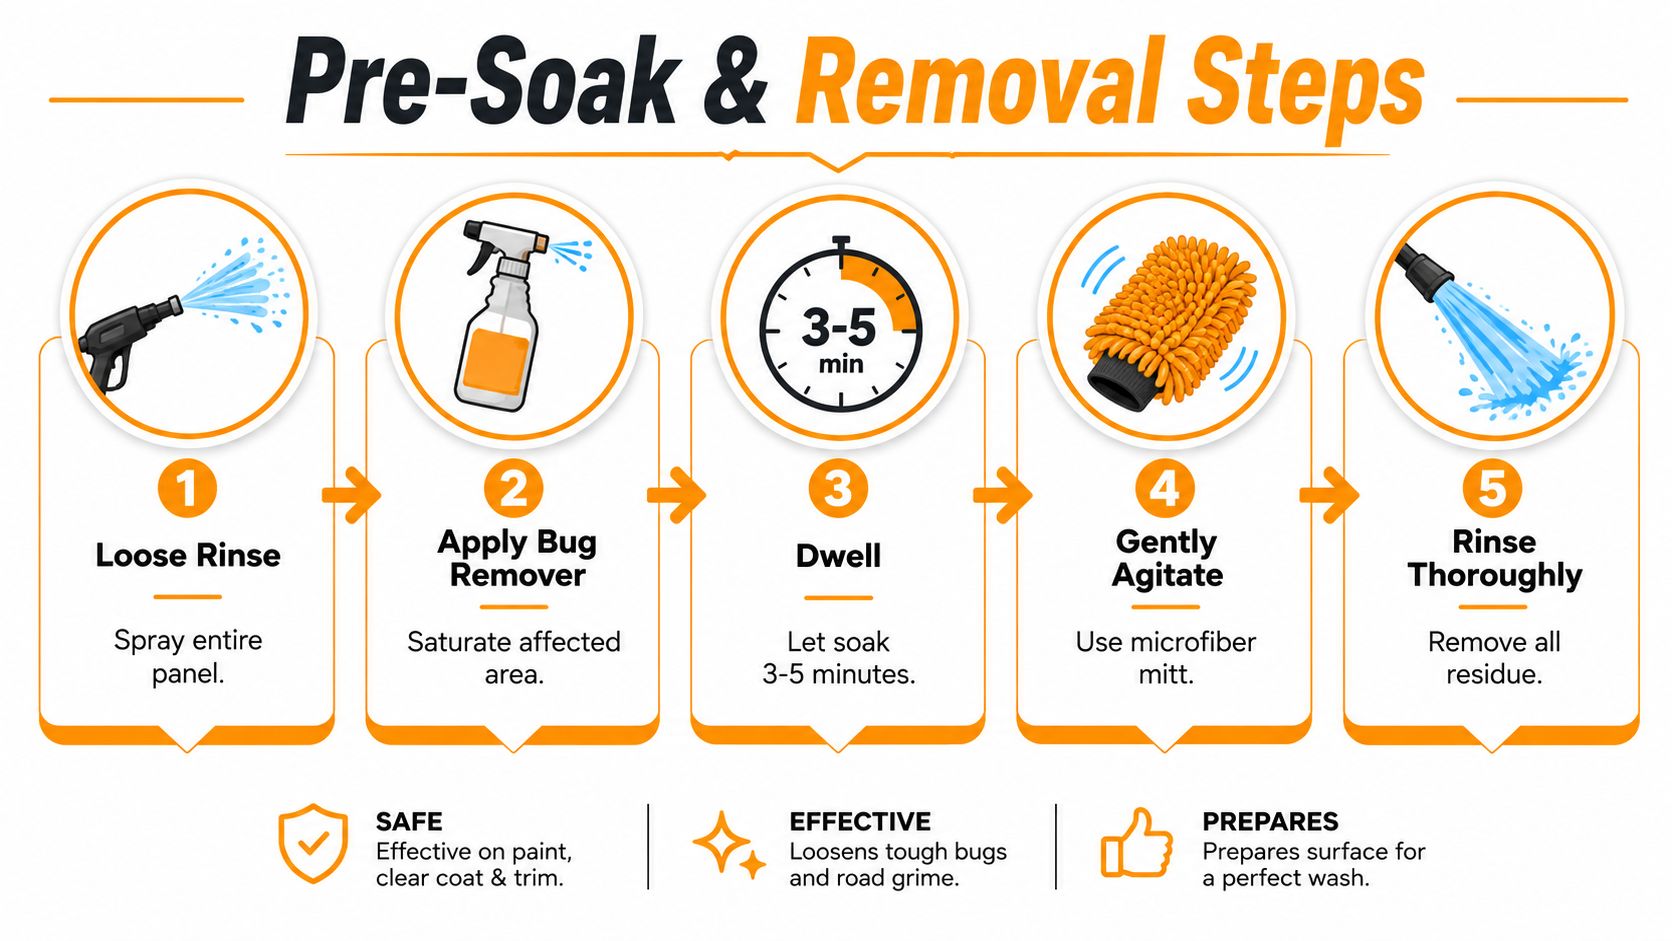
A good rule here is patience over pressure. Bug residue gives up faster to chemical softening than to a strong arm.
Choosing the Right Cleaner and Towel for Each Surface
Not every cleaner belongs on every panel. The safest choice is the one that gives enough dwell and lubrication for the surface in front of you, without adding extra residue or stripping protection you didn't mean to remove.
Dedicated bug removers are the most direct option when the splatter is heavy or dried on. Citrus pre-washes are useful when you want a gentler all-around pretreat, especially before a full wash. Plain soap can help in lighter situations, but it's usually the least efficient of the three when the bugs have really baked in.
Match the applicator to the surface
Paint wants the softest touch you can give it, usually a plush microfiber towel or wash mitt. Glass can handle a little more texture, so a soft bug sponge makes sense there. Plastic trim and chrome need restraint, because aggressive rubbing can leave marks or spotting that show up fast in sunlight.
The table below keeps the pairings simple.
| Surface | Recommended Cleaner | Recommended Applicator | Dwell Time |
|---|---|---|---|
| Paint | Dedicated bug remover or citrus pre-soak | Plush microfiber towel or wash mitt | Short dwell first, extend only if needed |
| Glass | Bug remover or soapy pre-soak | Soft bug sponge or microfiber towel | Short dwell, then light passes |
| Plastic trim | Gentle bug remover | Microfiber towel | Keep dwell conservative |
| Chrome | Bug remover or mild pre-wash | Microfiber towel | Short dwell and quick rinse |
A few tools are worth skipping entirely. Abrasive scouring pads, terry cloth towels, and anything that encourages dry rubbing belong in the garage junk drawer, not against the finish. If you want a deeper breakdown of why towel choice matters so much, the internal guide on microfiber towels for cleaning is the right next read.
One more thing matters here. If a product asks you to rub while the panel is dry, that's a bad sign. The safer products let chemistry and lubrication do the work first, then ask the towel to finish the job.
Where a Foam Gun Like SwiftJet Fits in the Workflow
A foam gun earns its place before the mitt ever touches the paint. It's a pre-treatment tool, not a replacement for the wash, and that makes it especially useful on bug-heavy front ends where you want a wet, clinging layer across several panels at once.
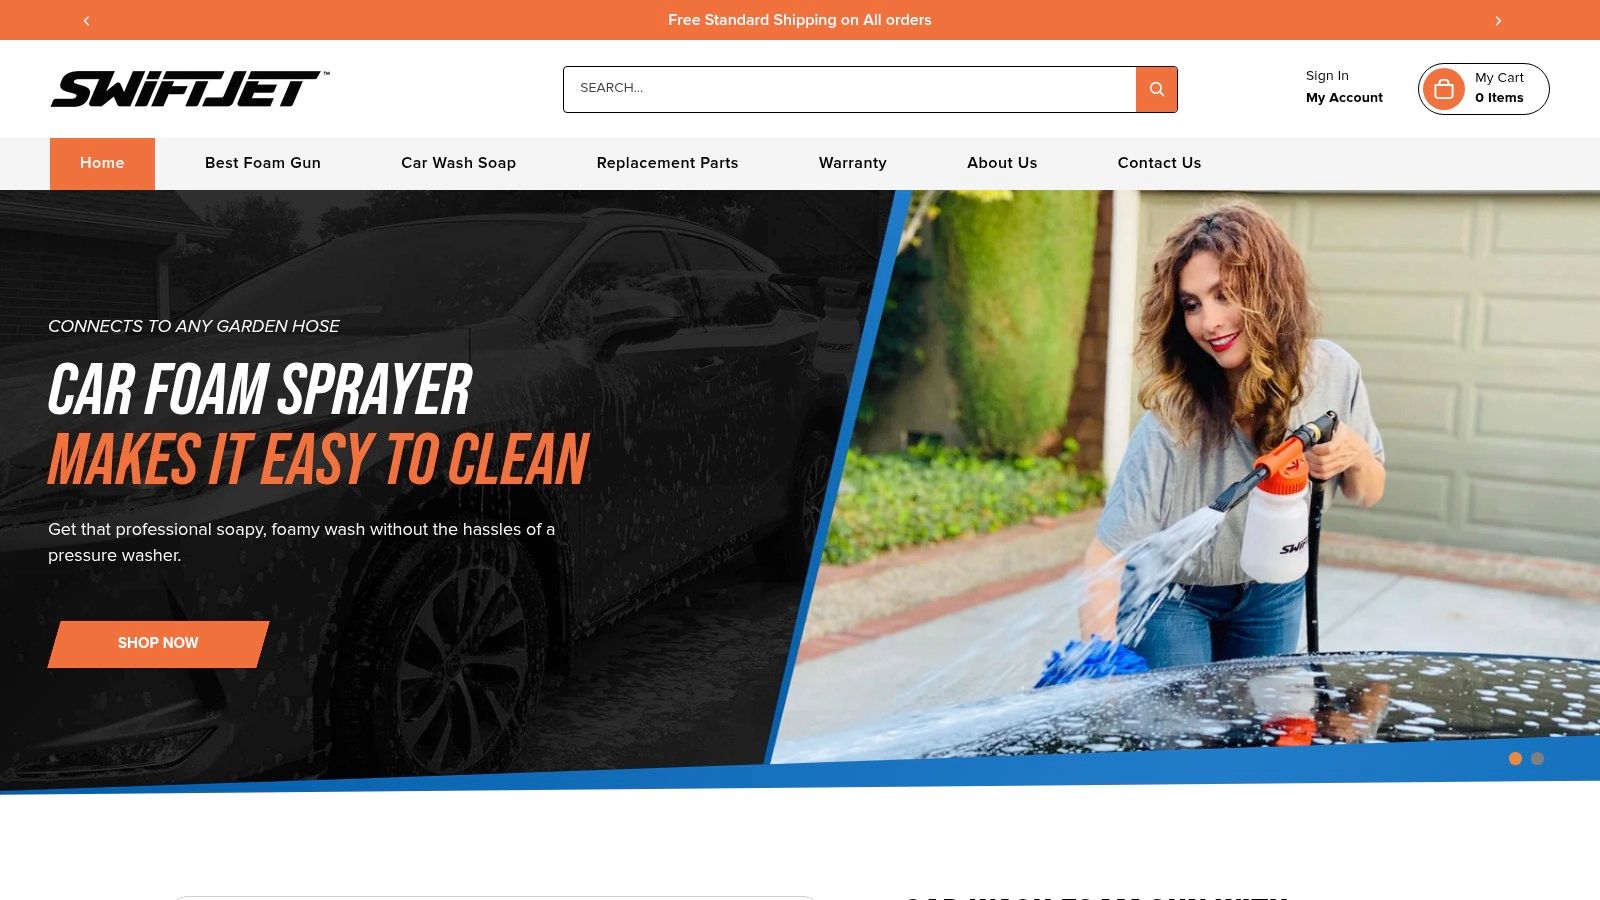
A garden-hose foam cannon like SwiftJet connects directly to a standard hose and gives you a broad blanket of foam over the hood, grille, bumper, mirrors, and windshield. That matters because bug impact usually hits those zones first, and a clinging foam layer gives the cleaner time to soften residue instead of running off immediately.
The workflow is straightforward. Fill the reservoir with a compatible bug-removal soap or citrus pre-wash, set the foam richness, and cover the impacted front end before any contact wash. The trigger control helps keep solution where you want it, and the foam helps rinse loose grit out of the way before you introduce a mitt or towel.
Useful setup habit: foam the bug zone first, then wash the rest of the vehicle, then come back for any stubborn spots that still need a dedicated pre-soak.
That sequence also fits with the broader logic in professional-result detailing workflow, where front-end contamination gets attention before the main contact step. SwiftJet is one foam-delivery option in that kind of routine, and the value is in the clinging pre-wash layer, not in trying to replace the hand-washing step.
Used that way, foam becomes a cleanup aid, not a gimmick. It softens the mess, buys you dwell time, and lowers the chance that grit gets dragged across the finish.
Mistakes That Scratch Paint and How to Fix Them
The mistakes are usually simple, and they're the same ones that turn a five-minute job into a paint correction headache. If you remember the failure mode, the fix is usually obvious.
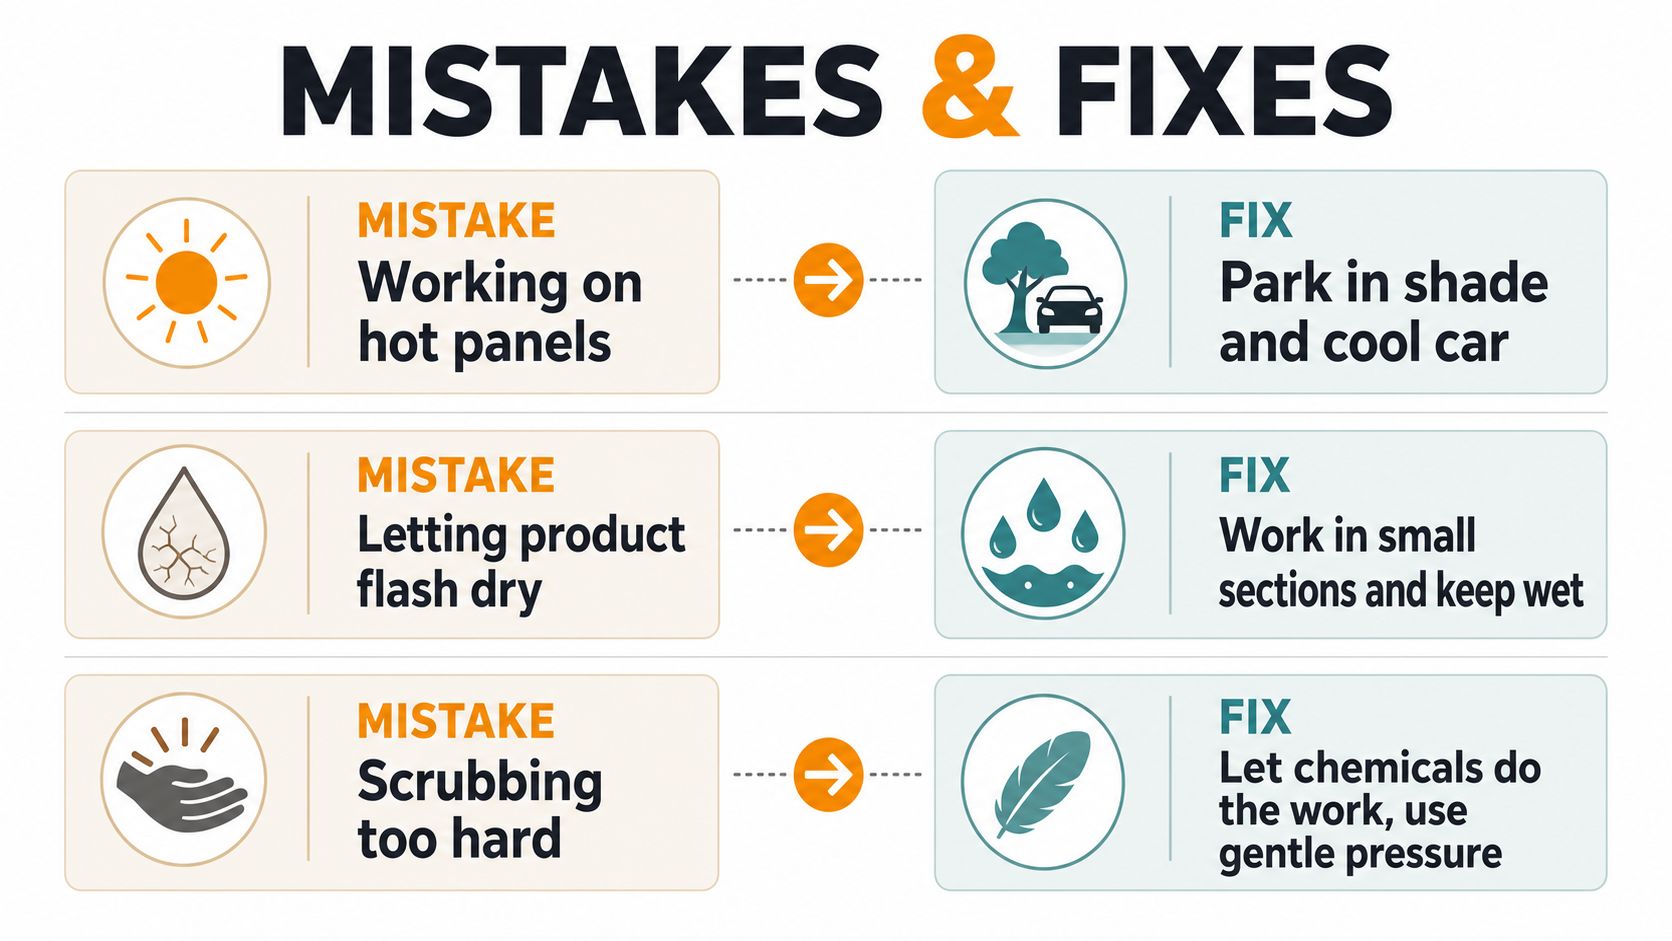
The common errors
- Working on hot panels: The cleaner flashes too fast, so the residue never softens properly. Fix it by parking in shade and letting the car cool before you start.
- Letting product flash dry: Dried cleaner can leave its own residue and force you into harder wiping. Fix it by working in small sections and rewetting instead of waiting too long.
- Scrubbing in circles with a dry towel: That's how swirl marks happen. Fix it by keeping the surface wet and using gentle, straight motions with a microfiber towel.
- Skipping the pre-soak and going straight to the mitt: You drag grit around instead of loosening it first. Fix it by rinsing, foaming, and softening before contact.
- Saving bug areas for last during the wash: You spread residue across the panel or your wash tool. Fix it by treating the bug zone early, before the mitt gets dirty.
Recent expert demonstrations also stress not applying bug remover to hot panels and keeping dwell to only a few minutes, which is the same caution reflected in Leno's Garage bug-splatter guidance. That's the pattern here, bug removal works when the product stays wet long enough to do its job.
If residue still won't move, don't press harder. Re-saturate, switch to a fresh microfiber face, and give the cleaner another dwell window before any extra mechanical action. Harder rubbing is the wrong escalation.
Preventing Bug Damage and Protecting the Finish Afterward
The easiest bug cleanup is the one that starts before the splatter has a chance to bake on. A quick foam pre-wash after a highway drive keeps fresh residue from setting hard, and a sacrificial layer on the front end gives the bugs something else to bond to first instead of bare paint.
That protective layer can be spray wax, paste wax, a polymer sealant, or a ceramic coating. The trade-off is simple, tougher protection usually lasts longer but may take more prep to apply, while lighter products are easier to refresh after each bug session. Cleaning can strip some wax from the impact zone, so reapply protection where the nose of the car takes the hits. That approach lines up with AAA's dead-bug guidance.
If you want the maintenance habit that keeps small problems from turning into bigger repair bills, save on repairs with proper maintenance is a useful reminder that early upkeep usually costs less than delayed correction. Bug cleanup works the same way. Fresh residue is easier on the finish, easier on your towels, and easier to remove without scrubbing.
SwiftJet fits into that routine as a foam-gun pre-wash for the first pass, before any towel touches the paint. It is a practical step when you want thick, clinging coverage over the bug zone, not a dry spray-and-wipe. Used that way, it supports the workflow instead of replacing it.
