


Look, we’ve all been there. You wash your car, stand back to admire your work, and… it still looks dull. Full of swirls. It’s frustrating. Polishing is the answer, but it's so much more than just slapping on some wax and calling it a day. It’s a true restorative process.
This is where we physically remove the imperfections—fine scratches, stubborn water spots, and that chalky oxidation that washing can't even touch. We’re not just covering things up for a week or two. We're actually correcting the paint's surface to bring back that deep, wet-looking shine and get it ready for proper, long-lasting protection.
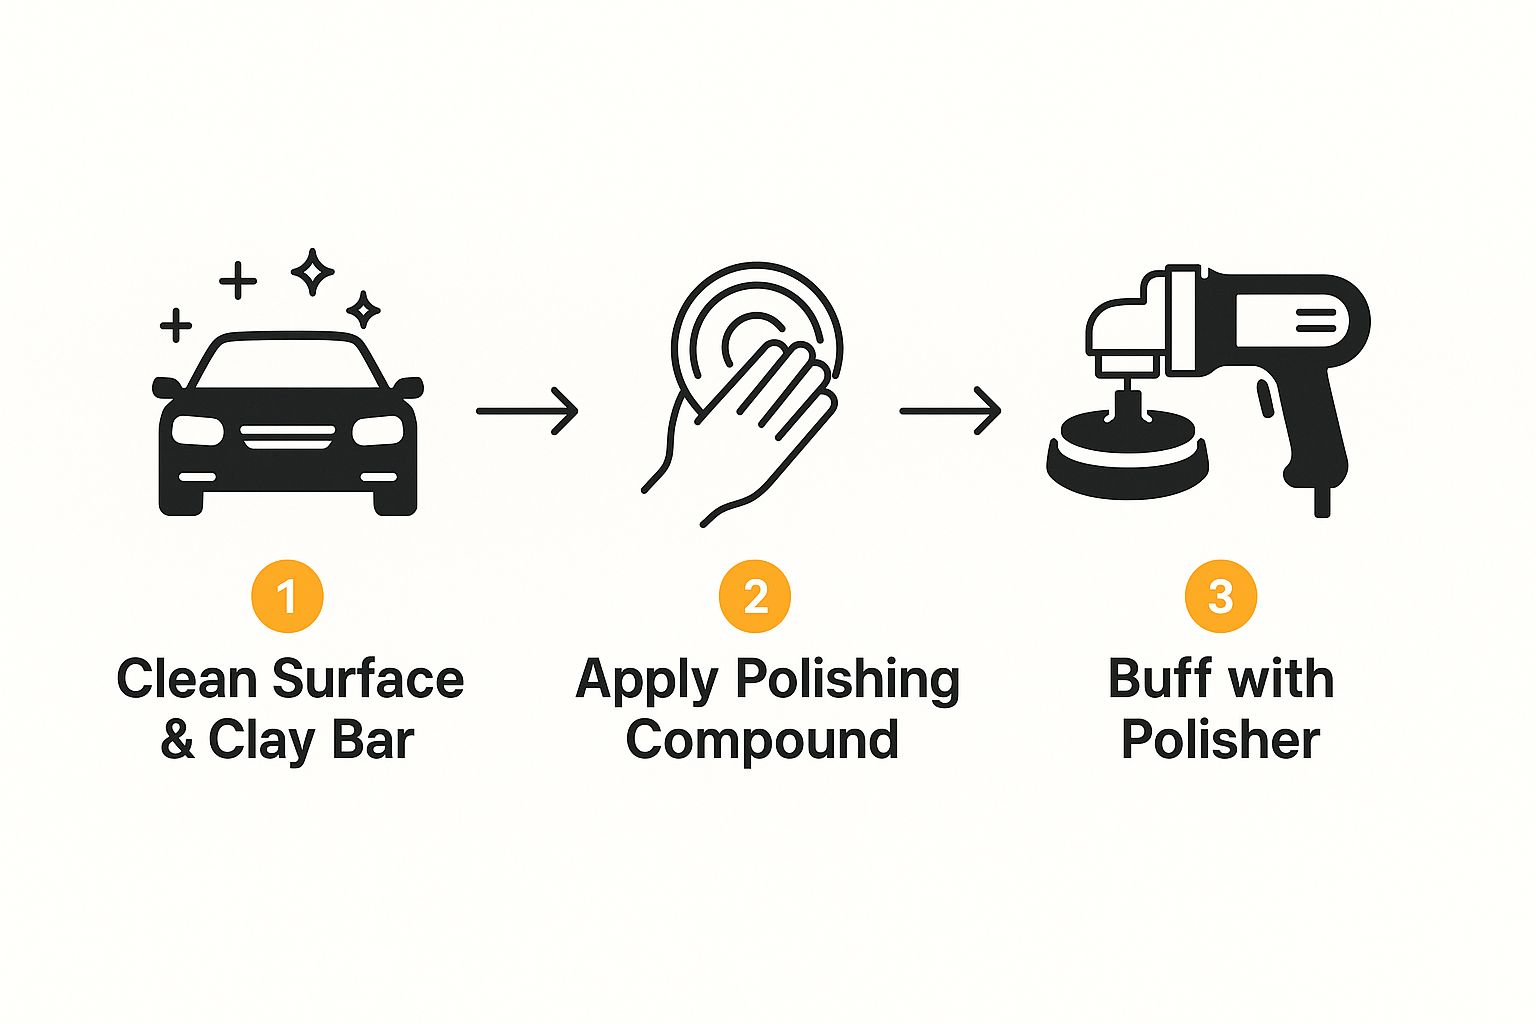
Think of this as your complete roadmap. We'll go through everything, from the deep cleaning and clay bar prep all the way to laying down that final, glossy layer of protection. Every step builds on the last to create a finish you'll be genuinely proud of.
So, What's the Real Goal of Polishing?
At its core, polishing is all about paint correction. Your vehicle's paint is made up of several layers, and the one on top is the clear coat. It’s the sacrificial layer, taking all the hits from road grime, bad wash techniques, and environmental crud. Over time, it gets filled with countless tiny scratches that scatter light in every direction, which is exactly why the paint looks flat and lifeless.
When we polish, we're using specific compounds and pads to gently shave off an incredibly thin, microscopic layer of that damaged clear coat. This process levels the surface, flattening out all those little peaks and valleys that cause the dullness.
Here's the key takeaway: We aren't just adding shine. We're revealing the true, flawless shine that's been hiding underneath all those surface defects. A perfectly polished surface is incredibly flat, allowing light to reflect uniformly. That's what gives you that stunning depth and clarity you're after.
How Is This Different From Waxing?
It's a common mix-up, but polishing and waxing are polar opposites. Understanding the difference is absolutely critical to getting the results you want.
- Polishing is subtractive. It physically removes a tiny amount of clear coat to get rid of flaws. It’s an abrasive process that fixes the problem at its source.
- Waxing is additive. It puts a temporary layer of protection on top of the paint. Waxes and sealants might fill in some tiny swirls, making the paint look better for a little while, but they don't actually remove anything.
One of the biggest mistakes I see is people trying to fix genuinely dull paint with a coat of wax. If your paint looks chalky or feels rough, that's oxidation, and wax won't do a thing for it. You have to remove that damage first before any polishing can even begin. If that's what you're dealing with, our guide on how to remove car oxidation is the perfect starting point.
Polishing creates the perfect canvas. Waxing is what you do to protect the masterpiece you've just revealed.
Mastering the Art of Surface Preparation
Here's a hard truth I've learned over years of detailing: trying to polish a car without perfect prep is a complete waste of time. It's like trying to paint a masterpiece on a dirty canvas—all you'll do is highlight the flaws. This is the stage where your patience will make or break the final result.
Think about it. Every tiny speck of grit left on your paint becomes sandpaper once your polisher starts spinning, creating a fresh set of swirls and scratches. The mission here is to get the surface surgically clean. You can’t skip a single step.
Before a polisher even comes near your paint, the car needs to be immaculate. For a complete rundown on how to properly clean your vehicle, especially if it's a rugged 4x4 that sees a lot of action, it's worth brushing up on the fundamentals.
The Two-Bucket Wash Method
Your first and best defense against inflicting new damage during the wash is the two-bucket wash method. It sounds simple, and it is, but its importance can't be overstated. One bucket holds your soapy water, the other holds plain rinse water.
The process is straightforward:
- Dip your clean wash mitt into the soap bucket and gently wash one panel.
- Before you even think about getting more soap, dunk and scrub that dirty mitt in the clean rinse water bucket.
- Wring it out well, then go back to your soap bucket for the next panel.
This simple separation keeps the dirt you pull off the car from going back into your clean soap. It’s a classic technique for a reason—it works.
Chemical and Mechanical Decontamination
A good wash gets rid of loose dirt, but what about the stuff that’s literally stuck to your paint? I’m talking about industrial fallout, brake dust, and little specks of tar. These are the contaminants that make your paint feel rough and gritty even when it looks clean.
We attack these with a one-two punch. First up is chemical decontamination. An iron remover spray is fantastic for this. You spray it on, and it reacts with any embedded iron particles, often turning a dramatic purple as it dissolves them. It’s a very satisfying thing to watch. For stubborn tar, you’ll need a dedicated tar remover.
The real game-changer in paint preparation is the clay bar. After washing and chemical decontamination, gliding your hand over the paint will likely reveal a gritty, rough texture. This is embedded contamination that a clay bar will safely remove.
Perfecting the Surface with a Clay Bar
Using a clay bar (or a clay mitt, if you prefer) is the final hurdle to getting that glass-smooth surface you’re after. All you need is the clay and a good clay lubricant—a quality quick detailer spray works in a pinch.
Flatten a piece of clay into a small pancake. Now, soak a small 2x2 foot section of the car with your lubricant. This is critical: never, ever let the clay touch a dry panel.
With very light pressure, just glide the clay back and forth over the lubricated section. You’ll literally feel and even hear the clay shearing off the bonded contaminants. Once it glides silently and smoothly, you’re done with that spot. Fold the clay to a clean side and move on, panel by panel, until the entire car feels like glass. Now, and only now, is your paint truly ready for polishing.
Choosing Your Polishing Tools and Compounds
Alright, let's get into the gear. Diving into how to polish car paint means picking the right tools for the job, and this is where a lot of people get stuck. The good news? For most enthusiasts, the choice is actually pretty clear.
The big decision comes down to the polisher itself. You’ll hear about two main types: dual-action (DA) and rotary.
A rotary polisher is a direct-drive beast. It spins in one simple circle, generating a lot of heat and cutting power. It’s fantastic for removing deep defects, which is why you’ll see seasoned pros in body shops using them for heavy-duty correction. But in the wrong hands, it can burn through paint in a heartbeat. It’s a high-risk, high-reward tool.
For just about everyone else, the dual-action (DA) polisher is the undisputed champion. A DA doesn't just spin; it also oscillates in a random pattern. This unique movement spreads out the heat and dramatically lowers the risk of damaging your clear coat. It's safer, much more forgiving, and the perfect machine to learn on and master.
It's not just you—the DIY detailing world is booming. The global car polisher market is expected to jump from USD 0.42 billion in 2024 to a projected USD 0.74 billion by 2033. That's a lot of car lovers deciding to take paint perfection into their own hands. You can see the full breakdown in this market research report.
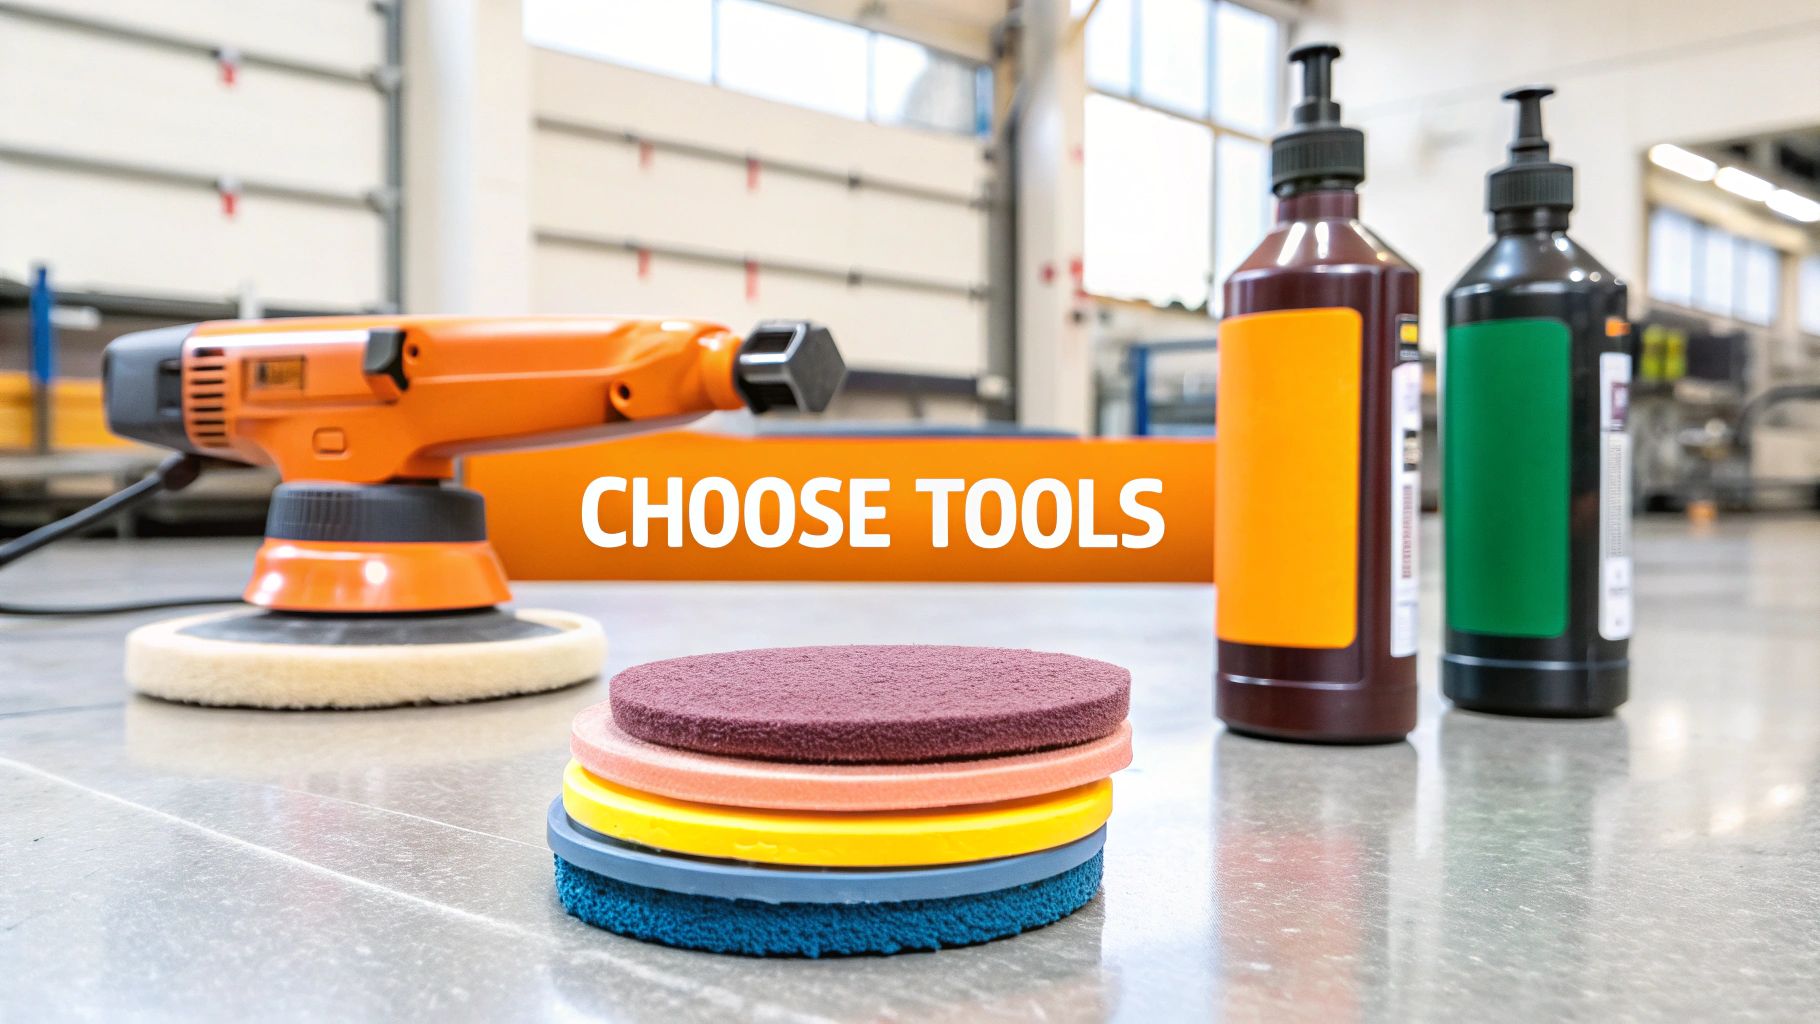
Selecting the Right Pads
Your polisher is just one part of the equation; the pad you attach to it is what actually touches the paint. The pad you choose dictates how aggressively you’re correcting the finish. You'll mainly run into three materials: foam, microfiber, and wool.
- Foam Pads: These are your go-to, the most versatile option out there. They come in a whole range of "cut," from heavy-cutting pads for tackling nasty swirls to ultra-soft finishing pads designed purely for maximizing gloss.
- Microfiber Pads: Think of these as a step up in cutting power from foam. They are brilliant for getting rid of moderate defects, especially when paired with a DA polisher. They finish down quite well but are definitely more aggressive than your average foam pad.
- Wool Pads: This is the old-school, heavy-hitter. Traditionally used with rotary polishers, wool pads offer the most aggressive cut possible. They'll level deep scratches and heavy oxidation but require real skill to use without leaving their own swirl marks, which you'll then have to polish out.
Your choice of pad should be a direct reaction to your paint's condition. My best advice? Always start with the least aggressive pad you think might get the job done. You can always step up to a more aggressive pad, but you can’t undo damage from going too hard, too fast.
Compounds and Polishes: A Perfect Pair
Finally, we have the liquids that do the real work: compounds and polishes. Think of it this way: a compound is the more abrasive liquid designed to cut away heavier paint defects. A finishing polish is much finer and is used to refine the surface, removing any haze from the compounding step to reveal that deep, wet-looking shine.
The strategy is a one-two punch. Use a compound to knock out the major swirls and scratches, then follow up with a fine polish to perfect the finish. Just like with pads, start with the gentler product first. If a light polish isn't enough to fix the swirls, then you can switch to a compound.
After all the prep work—washing, decontaminating, and claying—you've created the perfect canvas for these products to shine. And if you're looking to make that wash stage even more effective, check out our guide on how to use a foam gun.
Alright, you’ve done the prep work, chosen your weapons, and now it’s time for the magic to happen. This is where we take a dull, swirled surface and bring back that deep, wet-looking gloss. The key here isn’t speed; it’s patience and a methodical approach, one small section at a time.
Let's talk about the pad first. You never want to put a dry pad directly on your paint—that’s a recipe for creating tiny new scratches, or micro-marring. Before I begin, I always prime a fresh pad. I’ll place three or four pea-sized drops of compound in a ring near the outer edge and one more right in the middle. Then, I’ll use my finger to gently massage the product into the foam or microfiber. This ensures the pad is properly lubricated and ready to go from the very first pass.
Your Working Section: Think Small
Before you even think about hitting the power switch, you need to map out your battlefield. Don't get ambitious and try to polish an entire hood at once. You'll get much better, more consistent results by focusing on a small area, something around 2x2 feet. This focused approach is non-negotiable for getting the compound to break down properly and do its job.
With the machine still off, press the pad flat against the paint. Now, spread the polish around that 2x2 section. This little move is a lifesaver—it stops you from slinging compound all over the garage the second you fire up the polisher.
The Cross-Hatch: Your Path to a Perfect Finish
There's a reason every pro detailer uses the cross-hatch pattern: it works. It’s the single best way to guarantee you’ve covered every square millimeter of your section evenly, eliminating those dreaded buffer trails or holograms.
Here’s how it’s done:
- First Direction: Set your dual-action (DA) polisher to a moderate speed (a 3 or 4 setting on most machines is a great starting point). Guide the machine slowly across your section, moving left to right. Overlap each pass by about 50%, like you’re mowing a lawn.
- Second Direction: Once you’ve completed your horizontal passes, switch it up. Now, guide the polisher up and down, again maintaining that 50% overlap.
That combination of horizontal and vertical passes is what we call one "set." Depending on how deep the scratches are, you’ll typically need two or three sets for the abrasives in the polish to fully break down and cut away the defects.
You're not scrubbing the paint; you're guiding the machine. Slow and steady is the name of the game. A good pace is about one inch per second. If you rush this part, you're just wasting product and will end up with a hazy, half-corrected finish.
When polishing, it’s crucial to match the right product and technique to the specific defect you're trying to remove. Not all imperfections are created equal, so what works for light swirls won't touch a deeper scratch.
The table below breaks down which stage is best for tackling common paint problems.
Polishing Stage vs Defect Type
| Defect Type | Recommended Tool | Product Type | Expected Outcome |
|---|---|---|---|
| Light Swirls & Haze | Dual Action (DA) Polisher | Finishing Polish & Soft Foam Pad | Flawless, high-gloss finish |
| Moderate Swirls & Oxidation | Dual Action (DA) Polisher | Medium-Cut Compound & Foam Pad | 80-90% defect removal, deep gloss |
| Heavy Scratches & Water Spots | DA or Rotary Polisher | Heavy-Cut Compound & Microfiber/Wool Pad | Significant defect removal; may require a second polishing step |
| Deep Scratches (Fingernail Catch) | 2000-3000 Grit Sandpaper | Wet Sanding followed by Heavy Compounding | Leveling the clear coat; for experienced users only |
As you can see, the process scales up from a simple polish to more aggressive methods like wet sanding for serious damage. Always start with the least aggressive method first to preserve your car's clear coat.
Pressure, Wiping, and Inspecting Your Work
So, how hard do you press? With a DA polisher, it's more about guidance than force. You just need enough light pressure to keep the pad flat and rotating consistently against the panel. If you lean on it too hard, the pad will stall, and you’ll stop correcting the paint altogether. You’ll develop a feel for this balance pretty quickly.
After you’ve completed your sets, switch the machine off and grab a plush microfiber towel to wipe away the polish residue. Now for the moment of truth. Use a dedicated inspection light—or even your phone's flashlight—and shine it on the paint from multiple angles. This is the only way to truly see if the swirls are gone. If you still spot some imperfections, don't worry. Just repeat the process on that section.
This level of scrutiny is just as important for more aggressive steps like wet sanding. In fact, there's a lot of innovation happening right now in the world of automotive abrasives. You can learn more about how manufacturers are creating more efficient materials in this detailed car paint sandpaper market report.
Once a section meets your standards, move to the adjacent one, slightly overlapping your last pass. This panel-by-panel consistency is the real secret behind how to polish car paint and achieve that jaw-dropping, show-car shine across the entire vehicle.
Locking In Your Shine With Lasting Protection
You did it. The hard work is over, and your car's paint is a flawless, mirror-like canvas. But don't pop the champagne just yet. After a good polish, the surface is perfectly clean, but it's also completely bare and vulnerable. This final stage is what separates a good job from a great one, ensuring that deep gloss actually lasts.
Before you can add any protection, you have to prep the surface one last time. Polishes contain oils and fillers that are great for lubrication during the correction process, but they'll prevent any wax or sealant from bonding properly.
A quick wipe-down with an isopropyl alcohol (IPA) solution is the perfect way to handle this. I usually mix it 1:1 with distilled water. Just give a clean microfiber towel a light mist and gently wipe down each panel. This removes any lingering residue and creates a surgically clean surface for your protective layer to grab onto, maximizing its lifespan.
Now for the fun part: choosing how you want to shield that perfected paint from the world.
Choosing Your Final Layer of Defense
What you choose here will dictate not just the final look but also how long you get to enjoy the fruits of your labor. Each option has its own personality.
-
Carnauba Wax: This is the old-school classic, loved for the deep, warm glow it imparts. If you're someone who genuinely enjoys the ritual of waxing your car and loves that rich, wet look, carnauba is for you. Application is a breeze, but its durability is its weak spot, typically lasting just a few weeks to a couple of months.
-
Paint Sealant: Think of this as a synthetic, modern take on wax. Sealants are polymer-based and create an incredibly slick, durable barrier. They offer a sharper, more glass-like shine and last much longer than wax—often for 4-6 months. It's a fantastic middle ground.
-
Ceramic Coating: For the ultimate in long-term paint protection, nothing beats a ceramic coating. It's a liquid polymer that chemically bonds with your car's factory paint, creating a hardened, semi-permanent layer of protection. This is your best defense against UV rays, chemicals, bird droppings, and even light scratches.
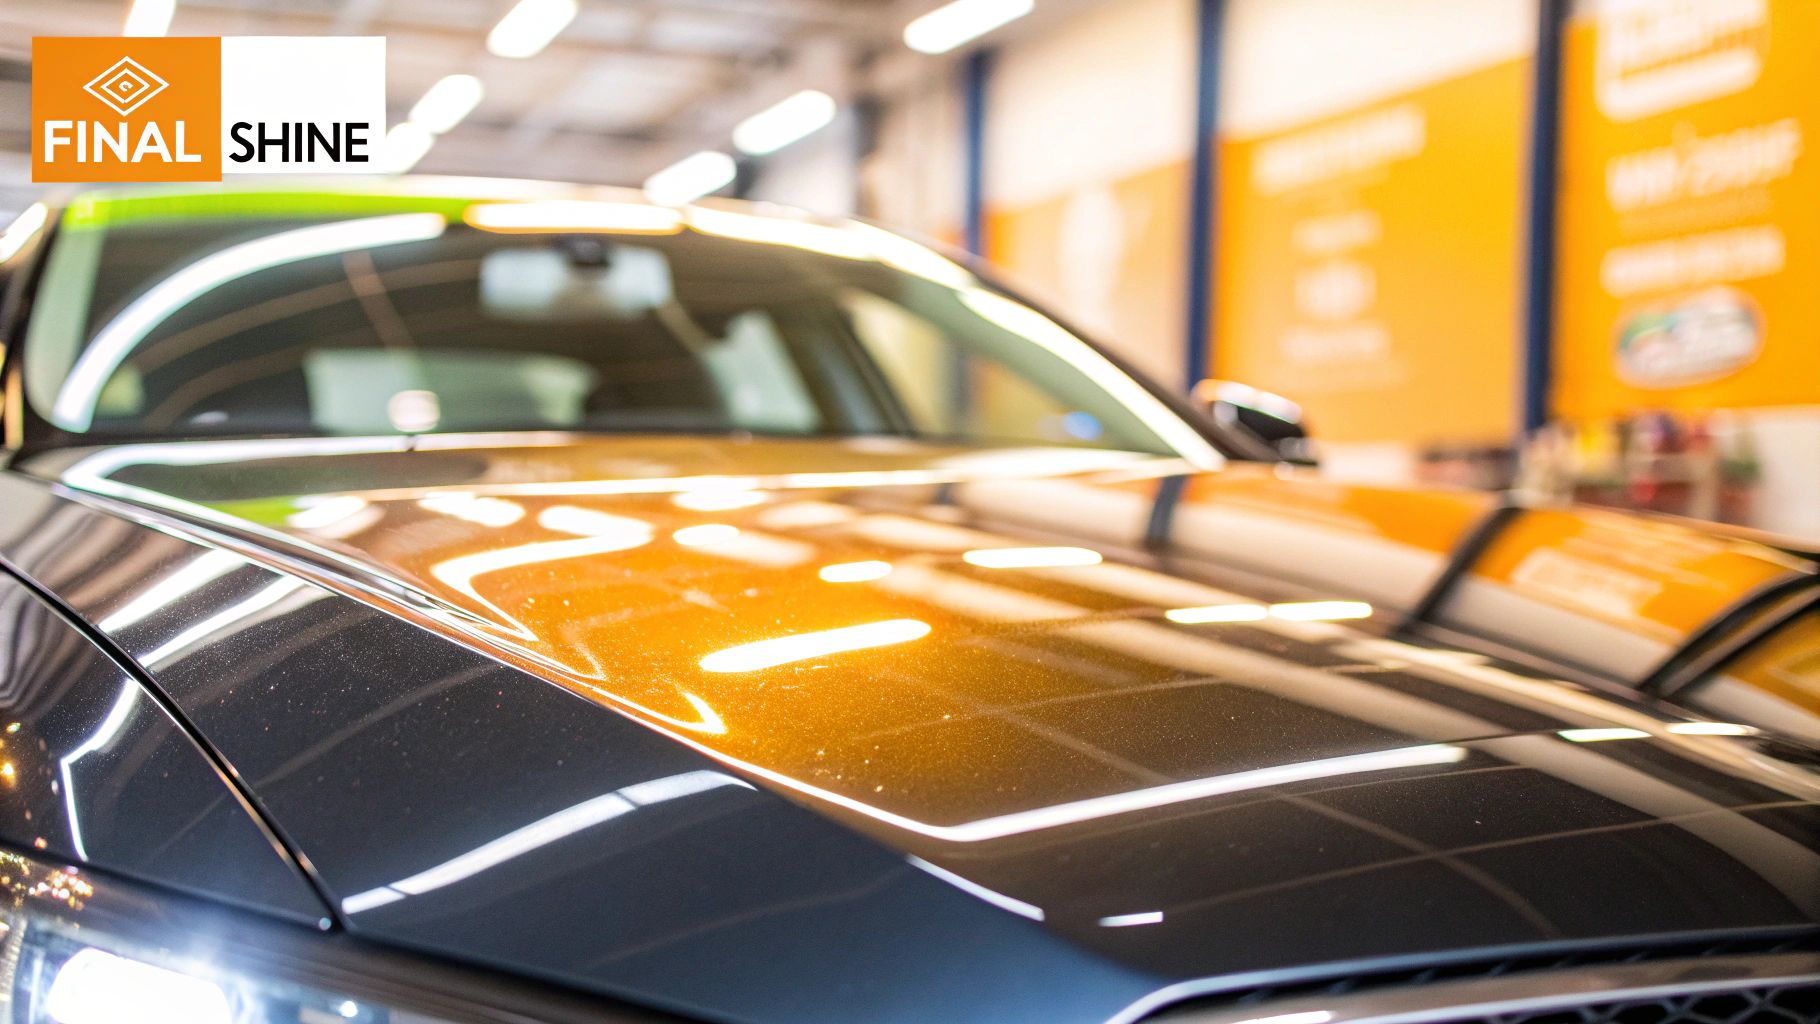
The image below gives you a nice visual summary of the whole process, showing just how critical this final step is.
As you can see, after all that meticulous polishing, the paint is left corrected but totally exposed. That's why this final protective layer is so essential.
Protecting your freshly polished paint isn't just an option; it's a necessity. UV rays are one of the biggest threats to your clear coat, and leaving it exposed is asking for fading and oxidation to return. A quality sealant or coating acts as a sacrificial barrier against the sun's harsh effects.
The growing demand for these products speaks for itself. The global car polish and wax market, valued at around USD 1.8 billion in 2023, is projected to hit USD 3.5 billion by 2033. Car owners everywhere are realizing that a brilliant shine needs a strong defense to back it up.
Ultimately, the best choice comes down to your goals and how much time you want to invest. If you want the absolute best and most durable finish, it's worth exploring professional ceramic coating services to truly lock in that perfection.
For more great tips on keeping your finish safe, check out our guide on https://www.swiftjetusa.com/blogs/news/how-to-protect-car-paint-from-sun-top-tips-to-save-your-car.
Common Car Polishing Questions Answered
Even with a step-by-step guide in front of you, a few practical questions almost always pop up once you get the polisher in your hands. Let’s walk through some of the most common ones I hear from other car enthusiasts. Hopefully, this will give you that extra bit of confidence before you start.
One of the first things people ask is how often they should be doing this. It's an important question because, unlike waxing, polishing is a corrective measure. You're actually removing a microscopic layer of the clear coat to level out scratches. Because it's an abrasive process, you should only polish your car when it really needs it—typically once a year at most, or whenever you notice the finish looks dull and full of swirls.
What If I Create Buffer Trails or Holograms?
This is probably the biggest fear for anyone picking up a polisher for the first time. Seeing those weird, rainbow-like trails (holograms) in the sunlight can be disheartening, but don't panic. It's completely fixable.
Holograms are usually the result of an overly aggressive compound, a dirty pad, or improper technique with a rotary polisher. The good news is that the solution is simply to re-polish the area, just with a much gentler approach.
Here’s a tried-and-true method for getting rid of them:
- Switch to a dual-action (DA) polisher. Its orbit makes it far more forgiving than a direct-drive rotary.
- Use a soft foam finishing pad, not a cutting or polishing pad.
- Apply a fine-finishing polish with very light abrasives.
Work this gentle combo over the affected panels with slow, overlapping passes. This will smooth out the micro-marring that causes the hologram effect, leaving behind a perfectly clear, deep shine.
Can I Polish a Brand New Car?
It sounds a bit crazy, right? But in my experience, the answer is often yes. Just because a car is "new" doesn't mean its paint is perfect. Think about the journey it took: from the factory, onto a transport truck, then sitting on a dealership lot for weeks or months where it's often washed improperly by lot staff.
It's incredibly common for brand-new cars to already have light swirls and other dealer-installed imperfections.
The key is to assess the paint for yourself. Get the car under good lighting—sunlight or a strong LED—and really look at it. If you see that familiar spiderweb of fine scratches, a very light polish can work wonders. It sets the stage for a perfect finish before you lock it in with a wax, sealant, or coating.
But what if the paint looks flawless? Then just leave it. There’s zero reason to abrade a perfect surface. In that case, just give it an IPA wipe-down to remove any oils from the dealership and go straight to applying your favorite form of protection. It’s all about doing only what’s necessary to get that true showroom shine.
Achieving that perfect, swirl-free shine starts with a great wash. For an effortless and effective cleaning experience that lifts dirt safely, check out the foam cannon from SwiftJet. Explore the SwiftJet Car Wash Foam Gun and get a free wash mitt with your order.


