

You set the bottle down for one second. Then your hand clips it, or it slides off the armrest, or it tips over in the car. Now there's a bright streak of nail polish on leather, and your first instinct is to wipe hard and fix it fast.
That's the move that usually makes the repair harder.
Leather can often be saved, but how to get nail polish off leather depends less on force and more on restraint. The safest method isn't the fastest-looking method. It's the one that removes as much polish as possible without bleaching the finish, drying the leather out, or grinding the stain deeper into the surface.
The other thing that gets missed in most guides is simple. Not all leather should be treated the same way. A coated car seat, an aniline sofa, and a suede jacket don't give you the same margin for error. If you use a one-size-fits-all trick, you can turn a spill into finish damage.
A Moment of Panic That Nail Polish Spill on Your Leather
A fresh nail polish spill on leather looks worse by the second. It flashes bright, glossy, and stubborn. On a beige car seat or a light couch, it feels like the kind of mistake that's going to stay there forever.
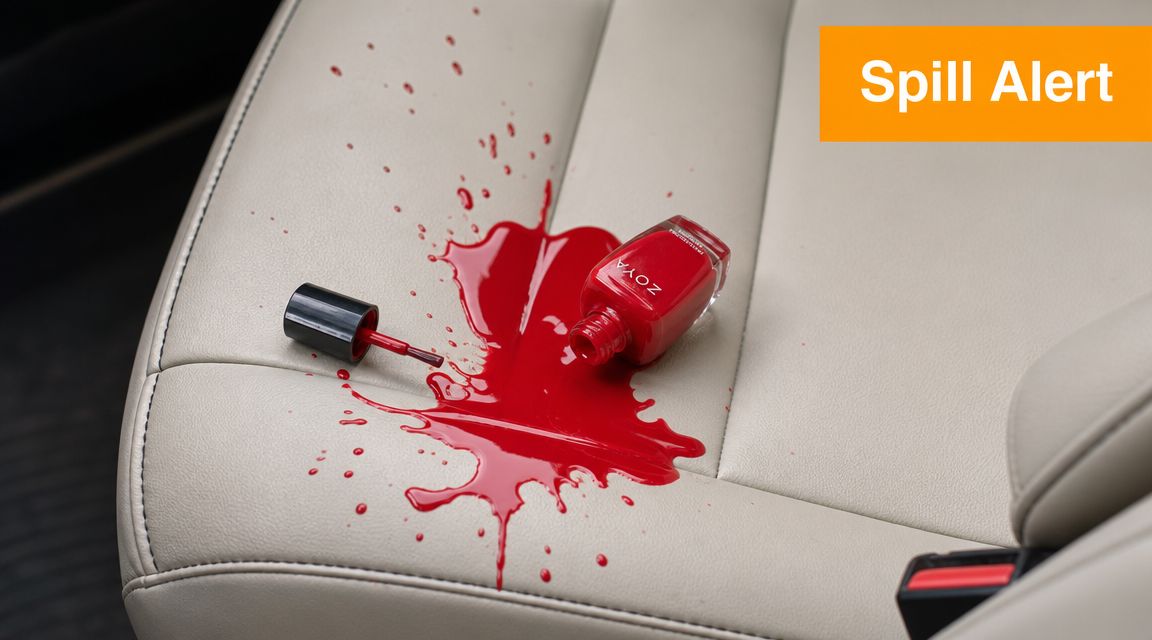
Most panic damage comes from two choices. People either rub immediately, or they grab the harshest remover they can find. Both can backfire. Leather care guidance puts the emphasis somewhere else: patch-test first, use the least invasive method first, and avoid acetone because it can bleach or discolor leather, as noted in Leather Gallery's guidance on removing nail polish from genuine leather.
Identify the leather before you touch the stain
If the surface is finished or pigmented leather, you usually have a protective topcoat. That's common on car seats, many recliners, and a lot of family-room furniture. It gives you the best chance of lifting polish safely.
If it's aniline leather, the surface is more open and absorbent. It stains faster and can darken or discolor from cleaners more easily.
If it's suede or nubuck, stop thinking in terms of wiping. Those materials have texture instead of a sealed finish. Once polish gets into that nap, rough cleanup can leave a bigger scar than the spill.
The first job isn't stain removal. It's identifying what kind of mistake you can afford to make.
What to do in the first minute
Keep it simple:
- Lift pooled polish carefully: Use a cotton swab, soft cloth, or a blunt edge to remove excess sitting on top.
- Don't smear sideways: Wide wiping motions spread the wet edge.
- Keep heat away: Don't try to speed anything up with a hair dryer.
- Work small: Treat the spot, not the whole panel.
If you're calm here, the rest of the repair gets much easier.
Your First Aid Kit for Leather Stain Removal
You don't need a huge cabinet of products. You need a short list of controlled, leather-safe tools and enough discipline to use them in small amounts.
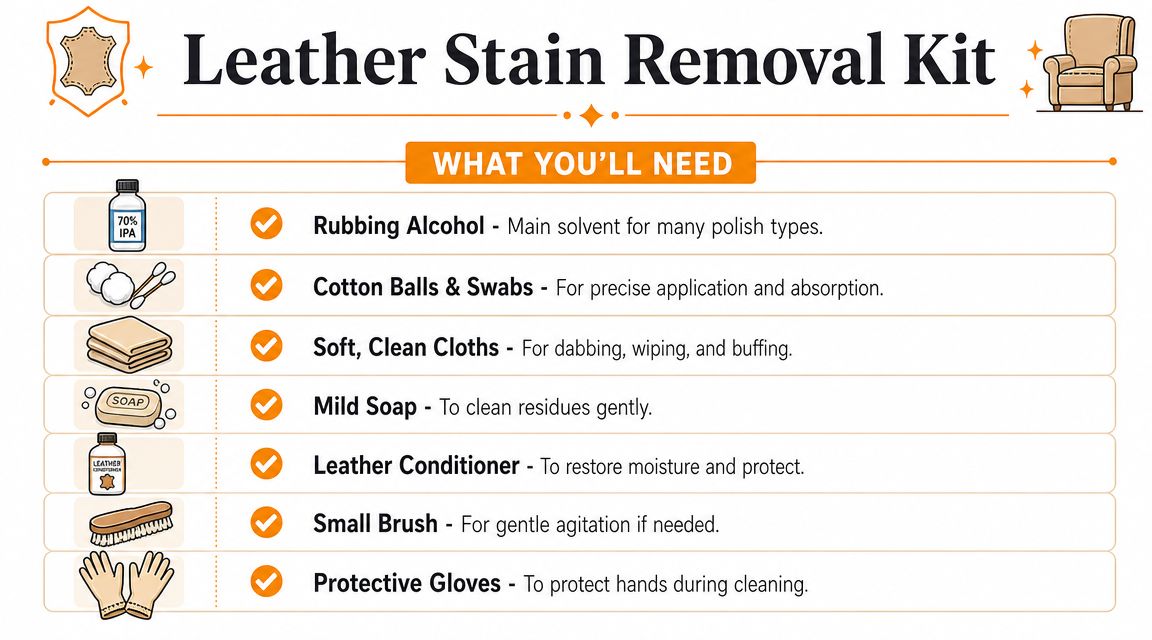
What to gather before you start
Keep these nearby before you touch the stain:
- Cotton swabs: Best for precise solvent application around edges and seams.
- Soft white microfiber cloths: Use clean sections constantly so you're lifting polish, not redepositing it. If you need a better cloth for delicate work, this guide to microfiber towels for cleaning is worth a look.
- Rubbing alcohol: A practical first solvent for many finished leather spills.
- Non-acetone nail polish remover: A backup option when milder methods stall.
- Mild soap and water: For final cleanup after the stain work is done.
- Leather conditioner: Mandatory after solvent use.
- Disposable gloves: Useful if you're working with solvent repeatedly.
- Good lighting: You need to see the true edge of the spill.
The patch test is not optional
Clorox notes that solvents may strip natural moisture from leather, so the leather needs a moisturizer or reconditioning step afterward. The same guidance also says to test for colorfastness on dyed leather before treating the stain, because leather isn't as forgiving as fabric and can be altered by the wrong cleaner. That's why a patch test comes first, not last, according to Clorox's leather nail polish removal guidance.
Here's the practical way to patch-test:
- Pick a hidden spot, such as the back edge of a cushion, under a seat flap, or low on the side panel.
- Put a tiny amount of your chosen cleaner on a cotton swab or cloth. Never pour it directly on the leather.
- Dab lightly.
- Wait and inspect. Look for color transfer, dullness, tackiness, or a lightened patch.
- If the test spot changes, stop and move to a gentler option or hand it off to a pro.
Do not use: pure acetone, abrasive scrub pads, stiff brushes on smooth leather, or random internet fixes like hairspray. If a product attacks lacquer aggressively, it can also attack the leather finish.
What works best in real life
For most coated leather, the safest order is mild to stronger:
| Leather situation | Best first move | If needed next |
|---|---|---|
| Fresh polish on finished leather | Lift excess with swab or cloth | Small amount of rubbing alcohol |
| Dried spot on finished leather | Gently remove raised excess | Controlled dabbing with solvent |
| Aniline leather | Minimal interference | Very limited spot work or pro help |
| Suede or nubuck | Dry mechanical lifting only | Specialist suede treatment or pro help |
The pattern matters more than the product. Small amount, hidden test, gentle lift.
The Main Event Removing Polish from Finished Leather
Finished leather is the most forgiving version of this problem. That doesn't mean it's tough. It means it usually has a topcoat that gives you a working surface before the polish reaches deeper into the material.
Gently scrape away excess polish
If the spill is wet, lift what's sitting on top first. A cotton swab, folded cloth corner, or a blunt plastic edge works better than a wiping motion. You're trying to pick up material, not drag it around.
If it has dried into a raised blob, shave off only the excess that's above the leather surface. Keep the edge shallow and slow. Never dig downward. On car seats, especially, one scratch through the topcoat is harder to hide than a small leftover stain.
A useful rule from detailing work is to stop as soon as the polish stops lifting cleanly as a solid piece. At that point, switch from mechanical removal to controlled chemical removal.
Apply your chosen cleaner
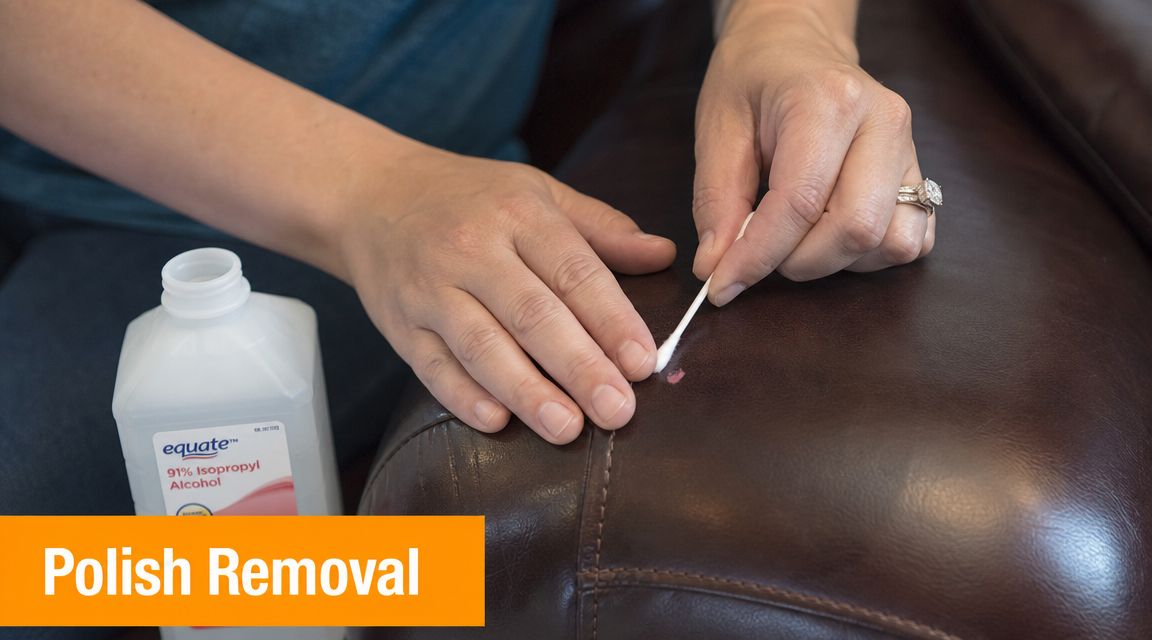
Start with a cotton swab dampened, not dripping, with rubbing alcohol. Touch the outer edge of the stain first. That tells you how the finish is reacting in the visible area without flooding the center.
Work in tiny sections. Roll the swab as it picks up color so you're always presenting a clean part to the stain. If the swab gets loaded with polish, replace it. Don't keep working with a dirty tip.
If alcohol starts moving the polish but doesn't finish the job, you can try a very small amount of non-acetone remover on a fresh swab. Keep the same discipline. Minimal product, tight area, light pressure.
Use the cleaner on the swab or cloth, not on the leather. Direct application usually means too much solvent and too much spread.
This short demonstration is useful if you want to see the kind of controlled, small-area motion that works best:
Blot, never rub
Dominileather recommends blotting with a cotton swab or soft cloth, not rubbing, because rubbing can spread the stain or damage the leather, and advises working gradually in small amounts until the polish lifts in its guide on how to get nail polish out of leather.
That matches what works at the bench. Rubbing creates friction, heat, and lateral spread. On a sealed leather seat, that often means a larger shiny patch or a dulled finish. On stitched panels, it can also shove softened polish into thread and grain lines.
A better motion looks like this:
- Start outside the stain: This contains the edge instead of pushing color outward.
- Dab inward: Use light vertical contact.
- Pause often: Let the solvent do some of the work.
- Rotate to a fresh cloth area: Dirty cloth sections re-stain the surface.
Know when to stop
Finished leather usually responds in passes, not all at once. You may reduce the stain dramatically in the first round, then only slowly after that. That's normal.
Stop if you notice any of these changes:
- The finish looks lighter than the surrounding area
- The surface turns sticky or tacky
- Dye starts transferring to the swab
- The leather looks dry and flat even before aftercare
That's your signal that you've reached the safe limit of DIY work for the moment. Let it dry, reassess, and move to aftercare rather than forcing one more pass.
A Special Approach for Suede and Aniline Leather
At this juncture, generic advice becomes dangerous.
The method that works on finished leather can go wrong fast on aniline, suede, and nubuck because those materials are more open, more absorbent, and less protected. On a coated seat, solvent mostly interacts with the spill and the finish. On aniline or suede, it can sink in, spread the pigment, flatten texture, or leave a darkened halo.
Aniline leather needs restraint
Aniline leather doesn't give you much room to experiment. If the polish is still wet, lift the excess from the top with a dry cotton swab or soft cloth. Press lightly and change to a clean area often.
After that, less is better. A heavily wetted swab can create a larger blemish than the original spot. If you must try a cleaner, keep it to the smallest tested amount possible in a hidden area first, and stop the moment the leather darkens or the color shifts.
The safer mindset with aniline is damage limitation, not aggressive removal. You're trying to avoid locking in a larger, cleaner-made stain.
Suede and nubuck should be treated mostly as dry cleanup
Suede and nubuck are texture-sensitive. Once nail polish mats down the nap, rubbing it with a cloth usually worsens the appearance. Start by letting any smeared residue firm up enough that you can lift surface buildup carefully instead of smearing it deeper.
Then use dry tools:
- A suede brush: Light strokes to lift residue from the nap
- A clean pencil eraser or suede eraser: Gentle, localized work on remaining traces
- Patience: Texture takes time to recover, even when color improves
If you're working on suede seats or inserts, this article on suede cleaner for car seats gives useful context on handling the nap without roughing it up.
On suede, “cleaner” isn't always safer. Restoring the texture is part of the job, and liquid can ruin that texture.
Side-by-side risk by leather type
| Leather type | DIY chance | Main risk | Best home approach |
|---|---|---|---|
| Finished leather | Fairly good | Finish dulling from overwork | Controlled solvent dabbing |
| Aniline leather | Limited | Darkening, discoloration, spread | Minimal lifting, very cautious spot test |
| Suede or nubuck | Low to moderate | Nap damage, matted texture, rings | Dry mechanical cleanup first |
If the item is expensive, sentimental, or already delicate, there's no shame in handing this to a leather specialist early. On suede and aniline, that's often the cheaper decision.
Restore and Protect Essential Leather Aftercare
Removing the visible polish isn't the end of the job. If you used any solvent at all, you've also taken something out of the leather surface. Skip aftercare, and the spot can end up looking dry, flat, or prematurely aged even when the stain is gone.
Clean away the cleaner
Once the stain work is done, wipe the area with a barely damp soft cloth. If needed, use a drop of mild soap to remove leftover residue from alcohol or remover. Don't soak the area. You're just clearing the surface.
Then let the leather dry naturally. No heat gun, no hair dryer, no sitting in direct sun to “bake it out.”
Recondition the spot
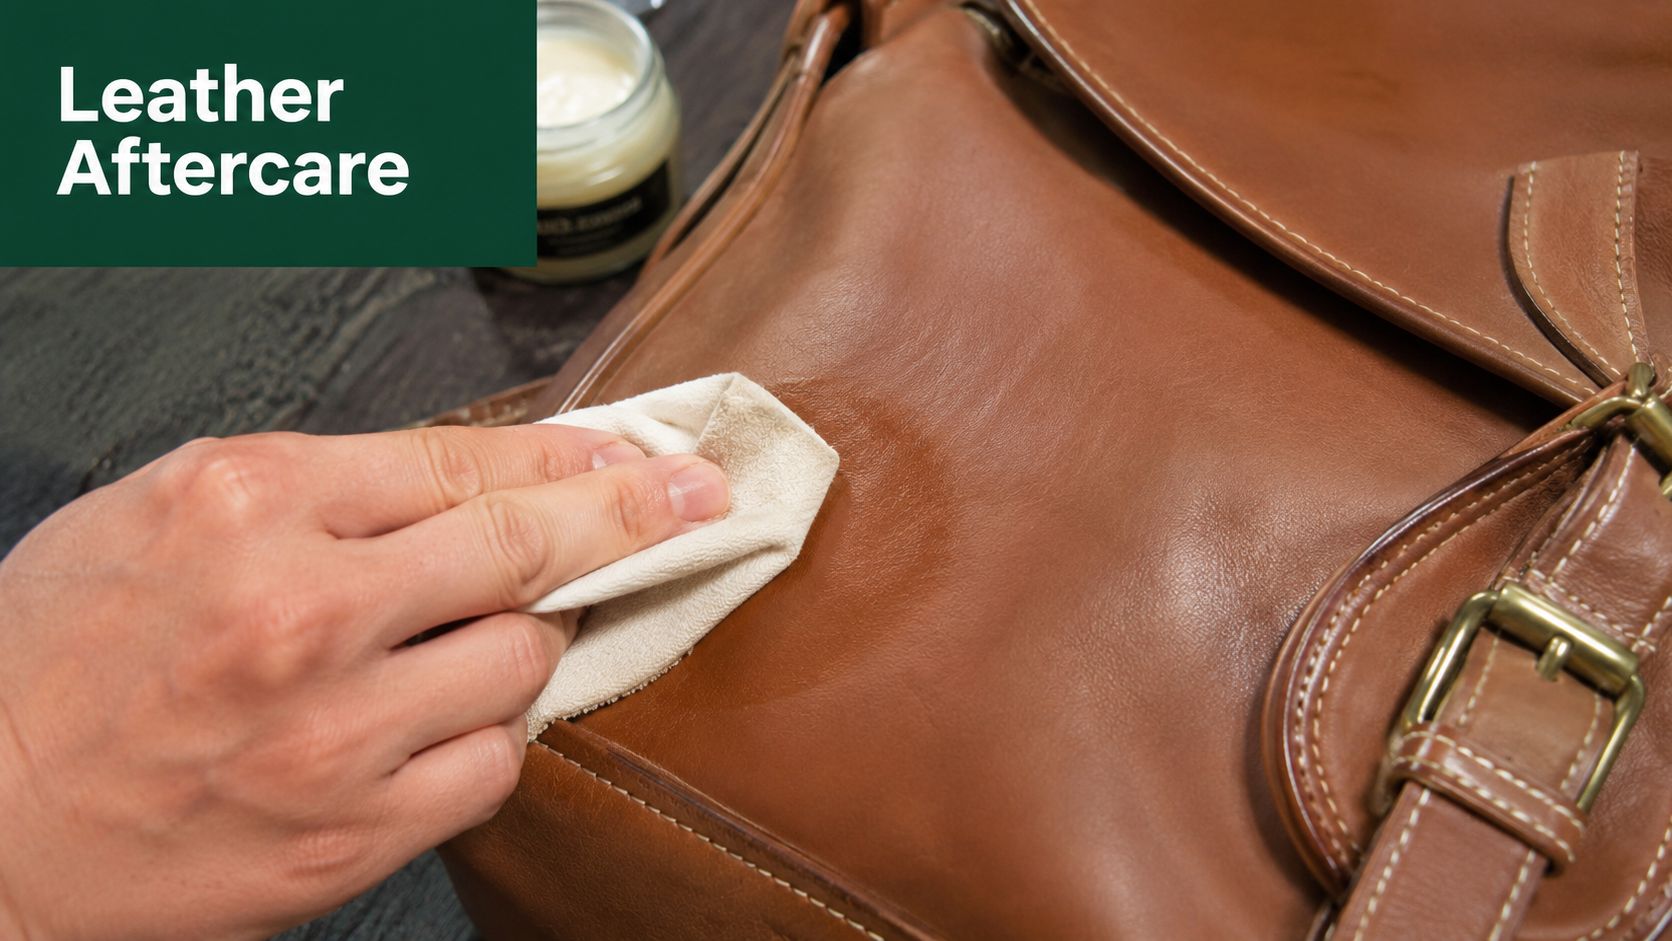
Apply a quality leather conditioner with a soft cloth in a thin, even layer. Work just beyond the repaired area so the finish blends naturally. Let it absorb, then buff lightly with a clean dry cloth.
That final pass is what brings the repair back toward a natural look. It also helps restore flexibility after spot cleaning. If you deal with ink marks too, this guide on cleaning pen off leather follows a similar logic: remove the contaminant, then restore the material.
A good repair doesn't just erase the spill. It leaves the leather feeling normal again.
Troubleshooting Stubborn Stains and Common Questions
Some nail polish spills come off cleanly. Some leave a fight behind them. Here's how to think through the common problems without making them worse.
What if the nail polish has been dry for weeks
Old polish is harder because you're no longer dealing with a wet spill. You're dealing with a bonded residue. Start by removing any raised material very carefully, then use the same controlled dabbing approach you'd use on a newer stain.
Expect slower progress. Older residue often requires several light passes instead of one decisive cleanup.
There's still a faint color stain left
That usually means you removed the bulk of the polish but some pigment or finish interaction remains. Don't respond by jumping to a harsher solvent. That's how a faint spot becomes a permanent pale patch.
At this stage, aftercare and reassessment matter. Let the area dry fully, condition it, then decide whether the remaining mark is polish residue or a finish change.
Can you use hairspray, WD-40, or pure acetone
For leather, those are poor bets. They're unpredictable, and the surface damage they leave can outlast the original spill. If a trick sounds rough or oily or aggressively solvent-heavy, it usually belongs far away from leather upholstery.
When to call a professional
Stop the DIY process and call a leather repair specialist if:
- The leather lightens during cleaning
- Color transfers from the leather onto your swab
- The surface becomes sticky, rough, or shiny in a new way
- The spill is on suede, nubuck, or delicate aniline
- The polish has spread into seams, perforations, or textured grain
- The item is high-value and a mismatch would be obvious
A good stopping point saves more leather than a stubborn one. That's true in detailing bays, on furniture, and on jackets.
If you care about keeping every surface around your vehicle looking right, SwiftJet makes cleanup easier with practical tools built for home car care. From wash-day essentials to smarter maintenance gear, it's a solid place to upgrade your setup without overcomplicating the job.
