

Tackling the ceiling of your car—the headliner—can feel intimidating. The secret is to be gentle. Think low-moisture, using something like a foam upholstery cleaner on a microfiber towel, not sprayed directly on the surface. This approach lets you lift stains without soaking the fabric and wrecking the adhesive underneath.
Why Cleaning Your Car's Headliner Is So Important
 Most of us don't even think about the fabric surface over our heads until a coffee splash or a greasy handprint forces us to look up. But that headliner is doing more than just covering the roof; it impacts your car's air quality, its appearance, and even what it'll be worth down the road.
Learning how to properly clean a car's ceiling is more than just aesthetics. A dirty headliner can become a magnet for dust, pollen, and allergens. Every time you crank the A/C, these particles get circulated right back into the cabin, contributing to musty smells and poor air quality for you and your passengers.
The Hidden Costs of Neglect
Letting your headliner go can hit you in the wallet. Detailing pros see it all the time. One industry study found that nearly 70% of used cars on the market had noticeable stains or sagging on the headliner. That damage ended up cutting their resale value by an average of 15%. On a typical sedan, you could be losing around $2,500. You can find more professional insights on this from the experts at Detail King.
Suddenly, a little preventative cleaning seems like a smart financial move. Whether you're a weekend DIYer or a seasoned detailer, keeping that headliner clean is just good asset protection.
Pro Tip: The golden rule of headliner care is to use the least amount of moisture possible and a gentle touch. This isn't just a recommendation—it's what prevents the glue from failing and causing that dreaded, saggy-roof look. It’s a costly and common mistake.
More Than Just Fabric
Your car’s headliner isn’t just a single piece of cloth. It’s actually a layered component designed to insulate the cabin from noise and temperature. Think of it as a sandwich:
- A top fabric layer: This is the decorative, soft material you see.
- A foam core: This middle layer provides cushioning and sound dampening.
- A rigid backer board: This gives the headliner its shape and fits it to the roof.
These layers are all held together by a special adhesive that's very sensitive to heat and moisture. Once you understand its construction, it’s easy to see why drenching it with cleaner is such a bad idea. A little respect for its structure goes a long way in keeping your car’s interior looking sharp.
Gathering Your Headliner Cleaning Toolkit
Before you ever touch your car’s ceiling, let's talk about tools. I’ve seen more headliners ruined by the wrong supplies than by the original stain itself. This is one job where preparation is everything—using a sopping wet rag or a harsh household cleaner is a surefire way to end up with a sagging, discolored mess.
Think of this as a surgical procedure for your car's interior. You need the right instruments for a clean, successful outcome.
Headliner Cleaning Supply Checklist
Here's a quick rundown of the exact tools you'll want to have on hand. Having these ready before you start will make the entire process smoother and safer for your headliner.
| Tool/Supply | Purpose & Key Feature |
|---|---|
| Foam Upholstery Cleaner | Lifts dirt with minimal moisture to protect the headliner's adhesive. |
| Microfiber Towels (2-3) | One for applying cleaner and agitating, the others for blotting away dirt and moisture. |
| Soft-Bristled Interior Brush | Gently works the cleaner into the fabric without causing pilling or fraying. |
With these three items, you have a professional-grade kit that can tackle most common headliner stains without causing damage.
The Right Cleaner and Tools
The most critical decision you'll make is choosing your cleaning solution. Your safest bet, and what the pros use, is a dedicated automotive upholstery cleaner—specifically, a foam-based cleaner.
Foam cleaners are the gold standard for a reason. They're designed to do their work on the surface, lifting grime up so you can wipe it away. This prevents moisture from soaking into the delicate foam backing and dissolving the glue that holds everything up.
This low-moisture approach is non-negotiable for preventing that dreaded headliner sag. While an all-purpose cleaner (APC) might seem like a good idea, it's a huge gamble. If you absolutely have no other choice, it must be diluted heavily (a 10:1 ratio of water to cleaner is a starting point) and tested somewhere completely out of sight, like under a sun visor. Honestly, it’s a risk I rarely take.
Next, you’ll need a few high-quality, clean microfiber towels. You'll use one towel to gently apply and work in the cleaner, and a separate, dry one to blot the area clean. Their unique weave traps dirt effectively without leaving lint behind. If you want to dive deeper into why these are so essential for detailing, our guide on microfiber towels for cleaning has you covered.
Finally, grab a soft-bristled interior brush. The rule of thumb here is simple: if the bristles feel too harsh for the back of your hand, they’re too harsh for your headliner. This brush is perfect for gently agitating the cleaner and breaking up stubborn spots without fraying the fabric.
The Professional Cleaning Method From Start to Finish
Alright, you've got your supplies. Now for the part that separates the pros from the rookies: the technique. The secret to a perfect headliner isn't some miracle spray; it’s all about a patient, methodical approach that works with the delicate material, not against it. This is how you clean your car's ceiling without causing that dreaded sag or leaving ugly water stains.
First things first, don't even think about spraying anything yet. The biggest mistake people make is trying to clean a dusty surface. Grab your vacuum with a soft brush attachment and gently go over the entire headliner. You're just trying to lift off all the loose dust, cobwebs, and surface gunk. This simple step is critical—it prevents you from turning that loose dirt into mud later on.
The Correct Application Technique
Once the headliner is prepped, it's time to break out the foam cleaner. Here’s the single most important rule: never spray cleaner directly onto the headliner. Ever. That’s the fast track to soaking the fabric, letting moisture dissolve the glue underneath, and causing the material to fall.
Instead, spray a light amount of foam directly onto your soft-bristled brush or a clean microfiber towel. This puts you in complete control of the moisture. You want just enough product to break down the grime, not enough to soak through.
This simple workflow is key to getting it right every time.
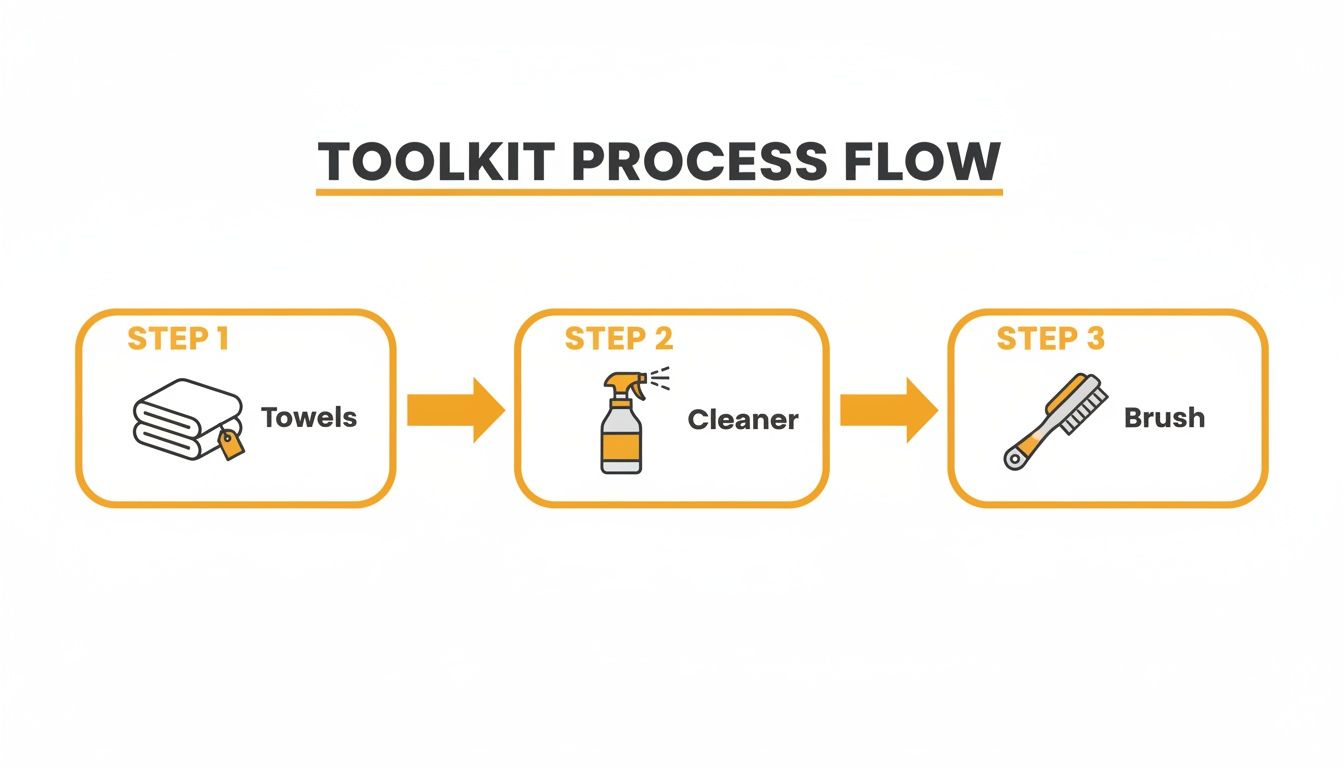
As you can see, the tool gets the cleaner, not the ceiling. This low-moisture approach is everything. Now, with a lightly foamed-up brush, you're ready to start cleaning.
Gentle Agitation and Methodical Wiping
Always start with a test spot. Pick a hidden area, like behind a sun visor, to make sure your cleaner doesn't cause any discoloration. Gently work the foam into the fabric using small, overlapping circles. You're not scrubbing here; you’re just agitating the surface enough for the cleaner to lift the dirt. Let the foam do the heavy lifting.
Detailer's Insight: The best way to avoid a patchy, uneven finish is to work in a grid. I always tackle a small, two-by-two-foot section at a time. This keeps everything consistent and ensures you don't miss a spot.
As soon as you finish agitating a section, grab a fresh, dry microfiber towel. Don't wipe or rub. Just blot the area with gentle pressure. The goal is to lift the dirt and foam straight up and out of the fabric.
Keep folding your towel to a clean, dry side for each new blot. You will be shocked at how much dirt comes off. Continue this two-step dance—agitate, then blot—section by section until the whole ceiling is done. If you're curious about the science behind this, many professional upholstery cleaning methods are built on this same low-moisture principle. And if you’re still looking for a product you can trust, our guide on choosing the right interior cleaner for your car is a great resource.
Patience and a light hand are your two best tools here. This is a job you can't rush. Applying too much pressure or getting aggressive is how headliners get ruined. Remember, you can always go back and hit a stubborn spot again, but you can't undo damage from going too hard.
How to Tackle Stubborn Headliner Stains and Odors
So you've done a general cleaning, but some pesky spots or a lingering smell just won't give up. Don't worry, this is pretty common. Instead of just repeating the same steps and hoping for a different result, it's time to get specific.
Different stains need different battle plans. What works on a greasy fingerprint won't touch a water ring, and neither will do much for an old smoke smell. Matching your technique to the problem is how you win this fight without causing more headaches, like sagging or discoloration.
Targeting Oily and Greasy Stains
Some of the most frequent offenders on a headliner are oily stains—think greasy fingerprints around the visors, smudges from hair products, or the ghost of an accidental French fry. These won't come out with a standard water-based cleaner because, well, oil and water don't mix. You need something that can actually break down the grease.
I’ve found that a carefully diluted isopropyl alcohol (IPA) solution works wonders here.
- Start by mixing a solution of 10 parts water to 1 part isopropyl alcohol in a spray bottle. It's a very light mix.
- Next, lightly mist the solution onto a fresh microfiber towel. Never spray directly onto the headliner.
- Gently blot the oily spot. The goal is to lift the grease out of the fabric, not rub it in further.
The alcohol helps dissolve the oil, letting your towel soak it up. Just be sure to test this on a hidden area first (under a visor is a great spot) to make sure it's safe for your headliner's color.
Removing Water Marks and Other Common Spills
Water stains are a special kind of annoying. They usually show up as discolored rings or "tide marks" where moisture dried unevenly, leaving minerals behind. For these, along with non-oily spills like coffee or soda, a dedicated upholstery spot cleaner is going to serve you much better than an all-purpose one.
Pro Tip: When you're dealing with a water stain, your best bet is often to clean the entire panel, from one seam to the other. This ensures the whole section dries uniformly and prevents new tide marks from forming as the spot dries.
Remember, a headliner is basically a magnet for anything floating in your car's air. Dust, pollen, and especially smoke residue can build up faster than you'd think. In fact, some interior care findings from Chemical Guys noted that 55% of cars in city environments have visible grime on the ceiling in just a few months. That grime is a major factor in about 25% of all reported interior odors.
Eliminating Lingering Odors Like Smoke
Stubborn smells from cigarettes, old food, or mildew are often trapped deep in the headliner's foam backing. A simple surface wipe-down won't be enough to get them out. Cigarette smoke is particularly tough because it leaves a sticky tar residue that clings to everything.
After you've given the headliner a thorough cleaning, your next move should be an odor-eliminating spray or an enzyme cleaner. These products are formulated to break down the organic compounds causing the smell, not just cover them up with a fragrance.
Lightly mist the product onto a towel (again, not directly on the fabric!) and gently wipe the entire headliner. If that smoke smell is especially persistent, you might need to bring in the big guns with a more specialized approach on how to completely remove cigarette smell from a car.
Drying and Finishing for a Perfect Result
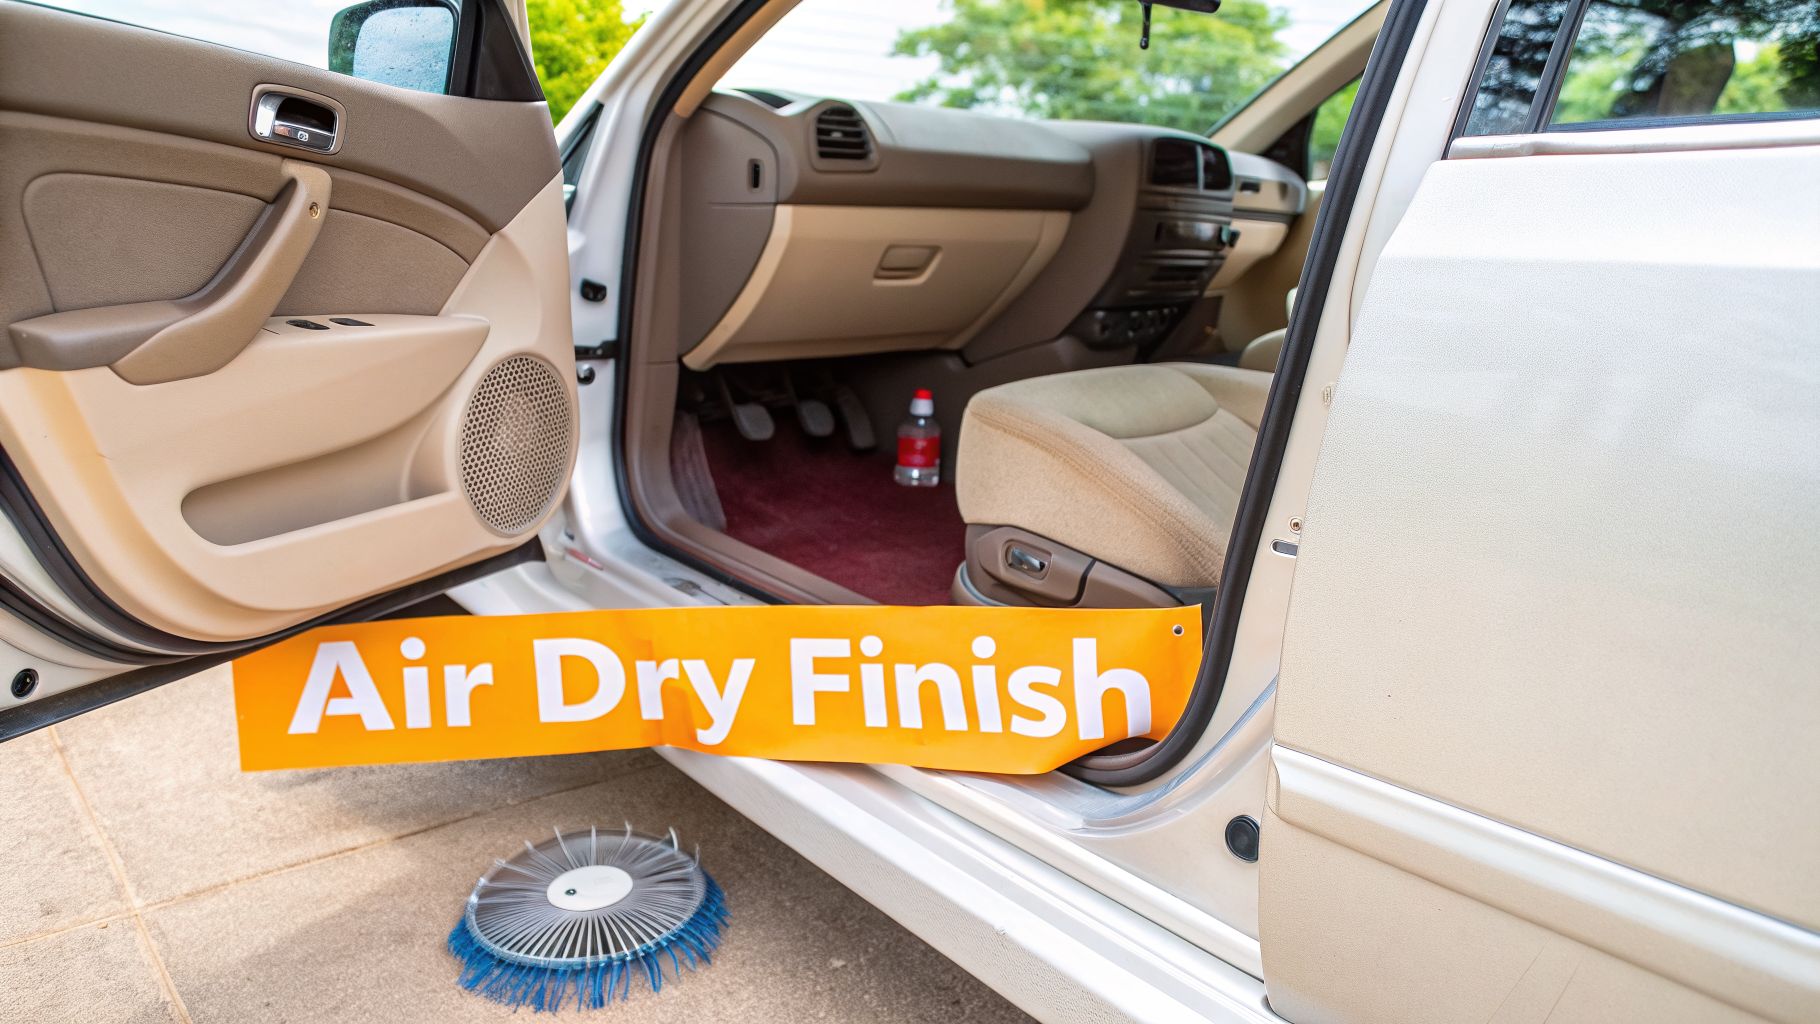 You’ve lifted out the stains, but don't close up shop just yet. How you dry the headliner is every bit as important as how you cleaned it. This is where many well-intentioned cleanups go wrong, leading to a saggy ceiling or a musty smell that's even harder to get rid of.
The absolute best tool for the job is patience. Air-drying is your safest and most effective method, hands down.
Proper Air-Drying Techniques
Find a shady, well-ventilated spot and crack the windows or open the doors. You want to give that moisture a clear escape route, not trap it inside where it can turn into mildew. In most conditions, your headliner should feel completely dry within a few hours.
Key Takeaway: I can't stress this enough: do not use direct heat. A hairdryer or heat gun might seem like a smart shortcut, but it's the fastest way to melt the delicate adhesive holding your headliner in place. You'll be left with permanent bubbles and sags.
If you need to speed things along, a small fan placed on a seat or the floor and aimed at the ceiling is a great trick. Just use a low setting to encourage gentle, consistent airflow.
Some pros might reach for a steam cleaner for tough jobs, but it's a risky move for the inexperienced. Even when handled correctly, professional automotive detailing guides note that overuse can cause the adhesive to fail in about 18% of cases. If you go this route, you must follow up immediately with a dry towel to blot up moisture and then allow a full 24-hour drying period. This is especially true if you're working in a humid climate. You can find more tips on this in these advanced car ceiling cleaning steps.
The Finishing Touch for a Flawless Look
Once the headliner is 100% dry—and I mean bone dry—it's time for the final pass. This is the small detail that separates an amateur job from a professional one. The cleaning process, no matter how gentle, can leave the fabric's nap looking a little messy or inconsistent.
Grab a clean, dry, soft-bristled brush. Gently groom the entire ceiling, brushing the fabric in one uniform direction. This simple action realigns the fibers, erasing any brush or towel marks and restoring that soft, even, factory-fresh texture. It's the perfect way to wrap up the project and get that flawless finish you're after.
Your Top Headliner Cleaning Questions, Answered
Even after you’ve got the basics down, a few questions always seem to surface when it's time to tackle that car ceiling. Let's walk through some of the most common ones I hear from car owners, so you can get the job done right without any guesswork.
Can I Just Use Dish Soap or Another Household Cleaner?
It’s always tempting to reach for whatever cleaner you have under the kitchen sink, but trust me, this is a huge gamble with your car’s headliner. Cleaners like dish soap or generic all-purpose sprays are a headliner’s worst enemy because they are often too harsh and, more importantly, require a lot of water to rinse out.
Excessive moisture is the #1 killer of headliners. When water soaks through the fabric and into the foam layer beneath, it dissolves the sensitive adhesive that holds everything up. Before you know it, you've got a droopy, sagging mess that can only be fixed with a costly professional replacement.
My advice? Skip the household stuff. Stick with a dedicated automotive upholstery cleaner, ideally a high-quality foam. These are made specifically to lift dirt without oversaturating the material, which is exactly what you need to protect that fragile glue.
What Should I Do About a Sagging Headliner?
If your headliner is already starting to sag or bubble, stop right there. Any attempt to clean it, no matter how gentle, is only going to make the problem worse. The fabric has already detached from the backing board, and adding any moisture or friction will just speed up the process and could even cause it to rip.
Cleaning simply won't re-stick the material—the adhesive has failed, and that's a structural problem. Your only real move here is to avoid touching the area and get a quote from a professional auto upholsterer. Trying to clean a sagging headliner yourself is a recipe for more damage.
How Often Should I Clean My Car Ceiling?
For the average driver, a light cleaning once every six to twelve months is usually more than enough to handle dust and keep the interior looking fresh.
However, your mileage may vary. If you smoke in your car, regularly have pets along for the ride, or often drive with the windows down in a dusty or urban environment, you’ll want to clean it more frequently. In those cases, a quick cleanup every three to four months is a good idea.
The best approach is always to spot-clean as you go. The second you see a smudge or a small stain, deal with it. This stops the grime from setting in and saves you from needing a much more intensive deep clean later on. And remember, keeping the headliner clean is just one part of the job; cleaning your car's interior, such as car seats, makes the whole driving experience better.
When Is It Time to Call a Professional?
Knowing when to step back and call in a pro is the smartest thing you can do. While most minor spots are perfect for a DIY approach, some situations are best left to a detailer with specialized tools and experience. It's time to pick up the phone if you're facing:
- Significant water damage: Those large, dark water stains often mean the backing board itself is compromised.
- Ink or dye stains: These are notorious for spreading and require specific solvents to lift safely.
- Heavy smoke buildup: If the headliner is deeply yellowed from years of smoking, it may need professional-grade cleaners or even an ozone treatment.
- Any tearing or sagging: As we covered, this is a repair job, not a cleaning one.
A professional can handle these tough jobs without causing the kind of permanent damage that can happen with a DIY attempt. Trying to fix these yourself can quickly turn a small problem into a much bigger, more expensive one.
The SwiftJet Foam Gun makes maintaining your car's interior and exterior easier than ever. It delivers thick, cleansing foam with just a garden hose, perfect for prepping surfaces or washing your entire vehicle. Check it out at https://swiftjetusa.com.
