

You've just backed down the dock after a salty weekend, and the boat is wearing it. The hull has that dull film, the rails feel gritty, and every pass with a mitt seems to drag more than it should. That's the moment most owners start looking at a foam cannon for boats, not because foam is magic, but because it can turn the first, ugly part of the wash into a controlled pre-soak instead of a long fight with salt crystals.
A good marine wash starts with understanding what the tool is doing. On a boat, that matters more than it does on a car because you're not dealing with one surface, you're dealing with gelcoat, aluminum, stainless steel, vinyl, teak, painted metals, and non-skid, all in the same job. If you're also thinking about coverage for the boat itself, not just the clean, the PTL Insurance boat coverage guide is a useful reference to keep nearby while you sort out maintenance and protection priorities.
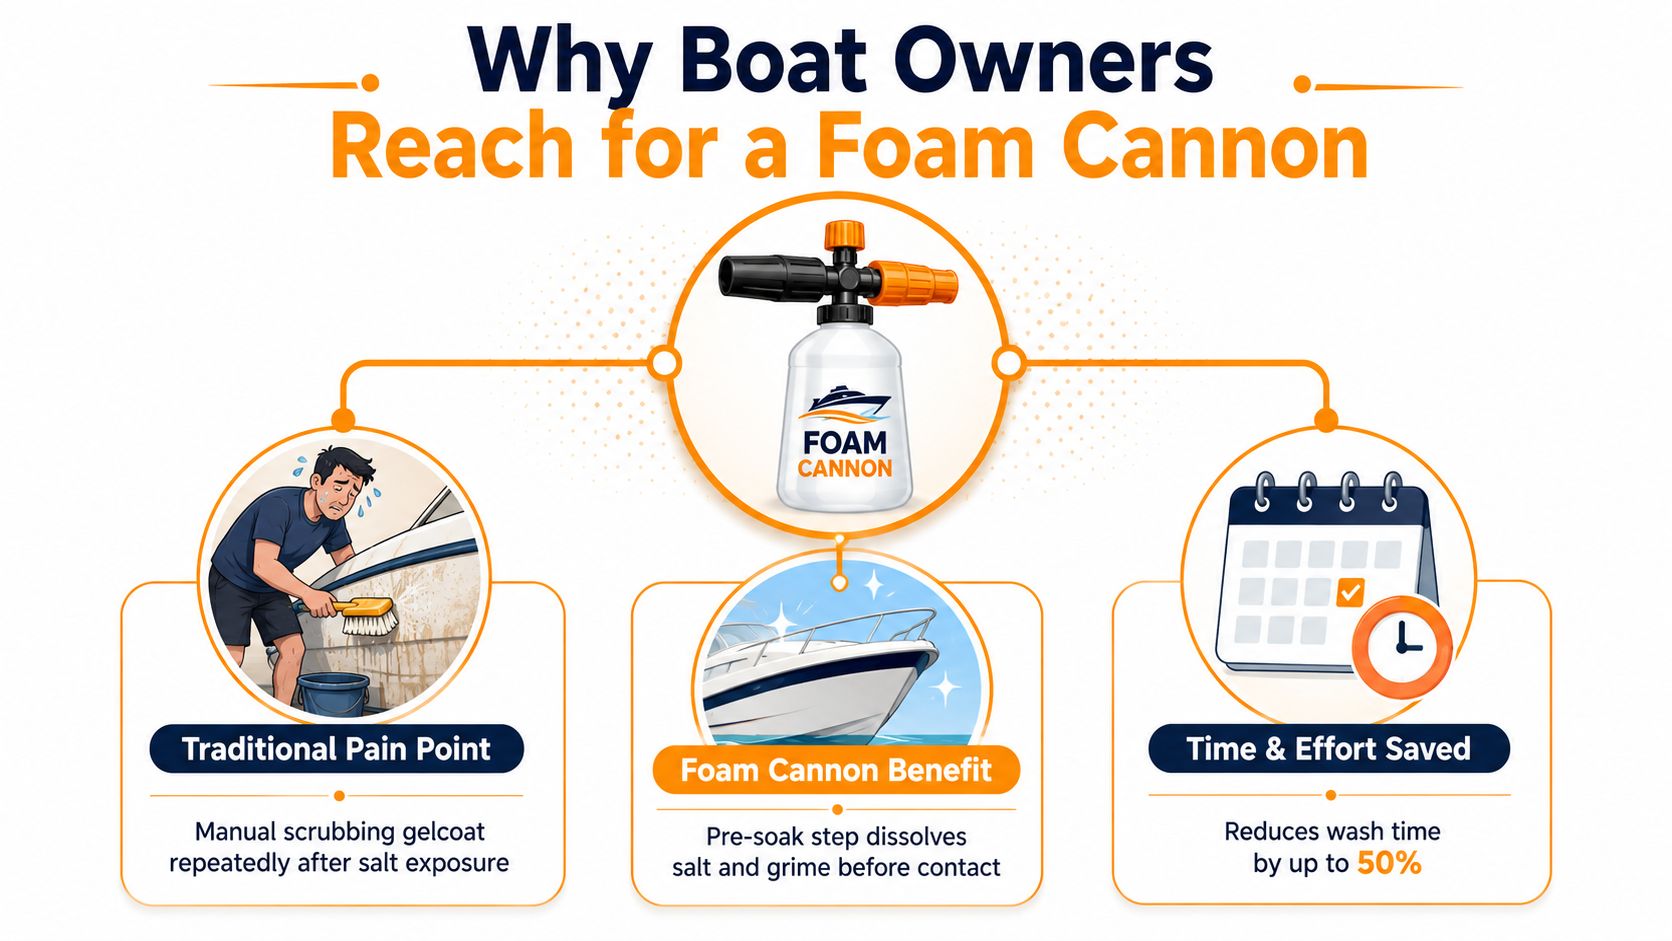
Why Boat Owners Reach for a Foam Cannon
Saturday morning at the marina usually starts the same way. Someone pulls up with a bucket, a mitt, and a tired look, then notices the salt line, the spray pattern on the hull, and the grime built up around cleats and rails. A foam cannon for boats earns its place right there, because it turns the first pass into a pre-soak step, not a full replacement for hand washing.
That distinction matters. Foam helps loosen and hold onto salt, dust, and surface grime so you can remove it with less dragging during the manual step. It doesn't replace the mitt, the soft brush, or the patience needed around hardware, seams, and textured decks.
The boat is not just a bigger car
A car wash mindset breaks down fast on a boat. The hull might be smooth gelcoat, but the next touchpoint could be anodized aluminum, stainless fittings, rubber trim, a vinyl seat, or teak that needs a much lighter touch. Foam that sits comfortably on a clearcoat panel can behave differently once it reaches hot metal, porous wood, or oxidized fiberglass.
That's why owners reach for foam first. It helps cover more area in one pass, which makes sense on larger surfaces and uneven geometry. It also means fewer aggressive wipes while the salt is still dry and abrasive.
Practical rule: use the foam cannon to soften the load on the surface, then use your hand tools to finish the job. If you try to make foam do everything, you end up pushing dirt around instead of lifting it off.
There's also a terminology trap. In marine service, “foam cannon” can refer to fire-suppression hardware built around regulated flow and coverage targets, while in the detailing world it usually means a soap-dispensing wash attachment. This guide is about the consumer cleaning tool, the one you use after a saltwater weekend to make the wash safer and faster, not a shipboard fire system.
For a boat owner, that makes the decision simple. Hire the foam cannon for the first contact, the broad pre-soak, and the surface coverage. Keep the mitt, brush, and careful rinse for bonded contamination, seams, and the materials that need gentle handling.
What a Boat-Washing Foam Cannon Actually Is
A consumer foam cannon for boats is a pressure-fed soap applicator. It mixes water, air, and detergent through a venturi-style draw so the solution comes out as thick foam that clings longer than a plain rinse. The bottle holds the soap mix, the cannon meters it, and the washer or hose provides the push.
That's very different from the marine fire-suppression gear used on commercial vessels. U.S. Coast Guard guidance for foam systems is built around measurable discharge and coverage targets, including at least 1 gallon per minute for each 10 square feet over tank hazards, 3.0 L/min/m² (0.073 gpm/ft²) for cargo areas, and a nozzle capable of 90 gpm at 100 psi for a single foam stream, plus 50 gpm for foam spray (USCG MSC foam suppression guidance). That marine hardware is engineered for fire control, inspection, and reliability, not for washing salt off a hull.
What it does well, and what it doesn't
A detailing foam cannon is built for coverage and dwell time. It puts soap over a wide area quickly, which helps loosen grime before you touch the surface. It does not strip bonded contamination on its own, and it won't replace agitation when salt, algae film, or road grime from the trailer has already stuck to the finish.
That's why a boat wash still has a manual step. The foam does the softening, but the mitt or soft brush does the actual removal. On a well-kept hull, that can make the difference between a light wipe and a hard scrub.
Foam is a delivery method, not a miracle cleaner.
The practical buying choices are straightforward. You need to decide the pressure source, the bottle size, and the fitting compatibility. If those three match your gear, the cannon becomes a useful part of the boat wash instead of a leaky accessory that never quite sprays right.
The best mental model is this. A foam cannon doesn't wash the boat for you. It buys you better contact, better lubrication, and a cleaner first pass so the rest of the work goes faster and safer.
How to Match a Foam Cannon to Your Boat
The first choice is the pressure source. A garden-hose foam gun can work for light rinsing and quick maintenance washes, but most boat owners get better results from a pressure washer. For recreational boats, electric pressure washers in the 1600 to 2000 PSI range are a practical fit, while gas units in the 2700 to 3700 PSI range are better when the hull has heavier oxidation or stubborn buildup. That aligns with the broader boat-washing guidance that says a foam cannon works best with a pressure washer in the 1600 to 3700 PSI range and should be used as a pre-soak, not a rinse substitute (SurfaceMaxx foam cannon guidance).
Bottle size should match your wash rhythm
A 0.5 L bottle makes sense for quick rinses, touch-up work, or smaller craft. A 1.0 L bottle is the more practical standard for a full hull pass because it gives you enough mix to work methodically without stopping every few minutes. Larger refillable bottles only help if your setup lets you keep moving, such as a long ladder, a big deck, or a boat that takes a while to walk around.
If you routinely stop and refill, the bottle isn't saving time. It's just adding interruptions.
Orifice, injector, and fitting quality matter more than marketing
Orifice size affects how the cannon foams with your washer. 1.1 mm orifices are a natural fit for electric washers, while 1.25 mm and larger usually suit gas units better. Adjustable injectors help when you switch soaps or change from a light maintenance wash to a heavier pre-soak.
Marine buyers should also look hard at the fittings. Brass or stainless quick-connects are the safer long-term choice because plastic threads and cheap connectors can seize, crack, or start leaking after repeated wet-dry cycles. On a boat, corrosion is not an abstract concern, it's the reason a cheap fitting starts sticking halfway through the season.
If you want a deeper look at how flow control affects foam consistency, SwiftJet's flow rate control guide is a useful compatibility read.
Use this checklist before you buy:
- Pressure source: confirm whether you're connecting to a hose, electric washer, or gas washer.
- Bottle capacity: decide if you need quick touch-ups or a full hull pass.
- Orifice match: pair the nozzle size to your washer's output.
- Fitting material: choose brass or stainless where possible.
- Soap compatibility: make sure the cannon can handle the surfactant you plan to use.
A foam cannon that matches the machine and the boat does one thing very well. A mismatched one just makes a mess at the dock.
The Step-by-Step Boat Washing Procedure
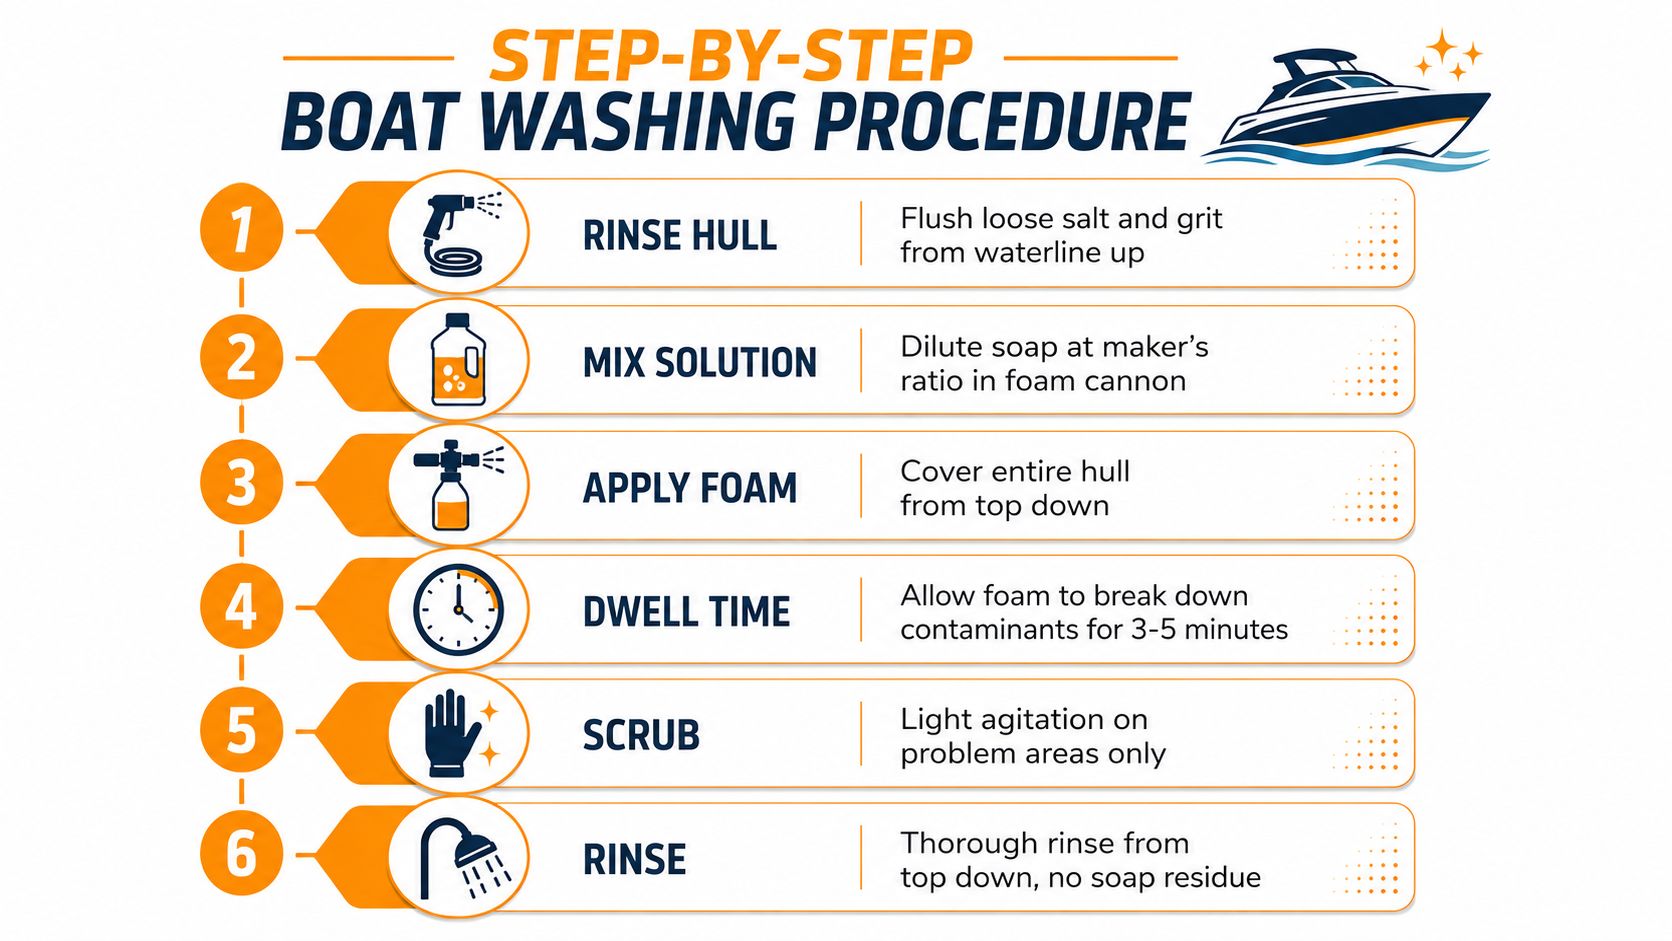
The wash goes smoother when you treat it as a sequence, not a scramble. Start with the loose grit, then lay down foam, then do the contact work while the surface is still lubricated. That order matters on gelcoat, rails, and deck hardware because it reduces the chance of dragging salt across the finish.
1. Rinse before you foam
Flush the hull from the waterline upward so you clear off loose salt and grit before soap hits the surface. If you skip this, the foam has to hold onto too much debris, and your mitt becomes the thing that grinds contamination into the finish. A wide fan rinse is better than a hard pin stream here.
2. Mix at the maker's ratio
Use the soap ratio the bottle or cleaner calls for, then resist the urge to overload it. On gelcoat, under-dosing usually works better than over-dosing because too much soap can leave residue that takes more rinsing to remove. If the foam looks thin, fix the setup before you just pour in more concentrate.
Keep the mix clean, not rich. Thick-looking foam isn't useful if it leaves film behind.
3. Apply from top to bottom
Work in overlapping horizontal passes so the foam coverage stays even. Top-to-bottom application matters because gravity pulls runoff down the hull, and you want each section to get the same dwell window before it starts drying. Cover one side, then move to the next.
4. Let it dwell briefly
A practical dwell window is 3 to 5 minutes in shade. Shorten that in direct sun, and stretch it a bit on a cool overcast day. Foam should soften grime, not bake into the finish.
5. Agitate where the dirt lives
Use a wash mitt or a soft brush, but work one panel at a time. Give extra attention to stainless railings, nonskid decks, and outboard lower units because those spots trap residue and get handled more often. The point is light contact, not aggressive scrubbing.
6. Rinse and dry
Rinse from the top down with a wide fan so lifted grime runs off instead of back across the surface. Then dry with a waffle-weave towel or chamois to limit spotting, especially on darker gelcoat and metal trim. If you leave rinse water sitting on the hull in sun, you'll trade dirt marks for mineral spots.
For a gentler wash routine built around the same idea, the gentle car wash guide covers the same low-friction logic from a detailing perspective.
Saltwater, Sensitive Finishes, and Where Foam Can Hurt
More foam does not automatically mean a safer wash. On a sound gelcoat surface, a normal dwell window is usually enough. On oxidized gelcoat, though, letting foam sit too long in heat can dry the chalky layer back onto the surface and leave streaking that takes extra correction later.
That's the same reason marine detailers slow down around mixed materials. A foam pass that looks perfect on the hull can be too much for vinyl seats, isinglass, or sun-baked trim. The trick is not to avoid foam, it's to adjust the contact time to the material and the weather.
Material by material, use different restraint
- Gelcoat: Safe for a standard pre-soak if the finish is sound. Shorten dwell on hot days and rinse before the foam starts to dry.
- Anodized aluminum: Usually handles a normal wash well, but avoid letting residue sit on the surface after the foam breaks down.
- Vinyl and isinglass: Rinse faster and use the gentlest mitt in the kit. These surfaces don't need aggressive pressure, they need light cleaning and fast removal of residue.
- Stainless fittings: The concern is chloride pitting and chemical residue, so don't leave surfactant sitting on hardware longer than necessary. Wipe and rinse these areas carefully.
A simple temperature rule helps. Hot hull, shorter dwell. Cool shaded hull, more normal dwell. If the surface feels warm enough to dry the foam fast, it's warm enough to make you rush the rinse.
The safer wash is usually the one that gives the foam less time to dry.
If you're nervous about a finish, step back from the washer and use lower pressure. A lower-pressure pre-rinse plus a mild soap pass is often the better call than trying to force more foam onto a sensitive surface. AquaClean's advice to choose a pressure setting that removes dirt without damaging boat surfaces is the right mindset here, even if your own setup is different.
For boat owners who want a cleaner product fit, the pH-neutral cleaning products guide is worth reading before you choose a soap. The goal is the same one I use on the dock, clean the boat without making the finish fight back.
Cost, Water Use, and Dilution Efficiency
A typical mid-size recreational boat wash can land around 30 to 60 gallons of water and use about 1 to 3 ounces of concentrated soap. That's not a hard law, just a practical range for a controlled wash that includes pre-rinse, foam pass, agitation, and final rinse. The main variables are how dirty the boat is, how long the soap sits, and whether you let the rinse run freely or manage it in sections.
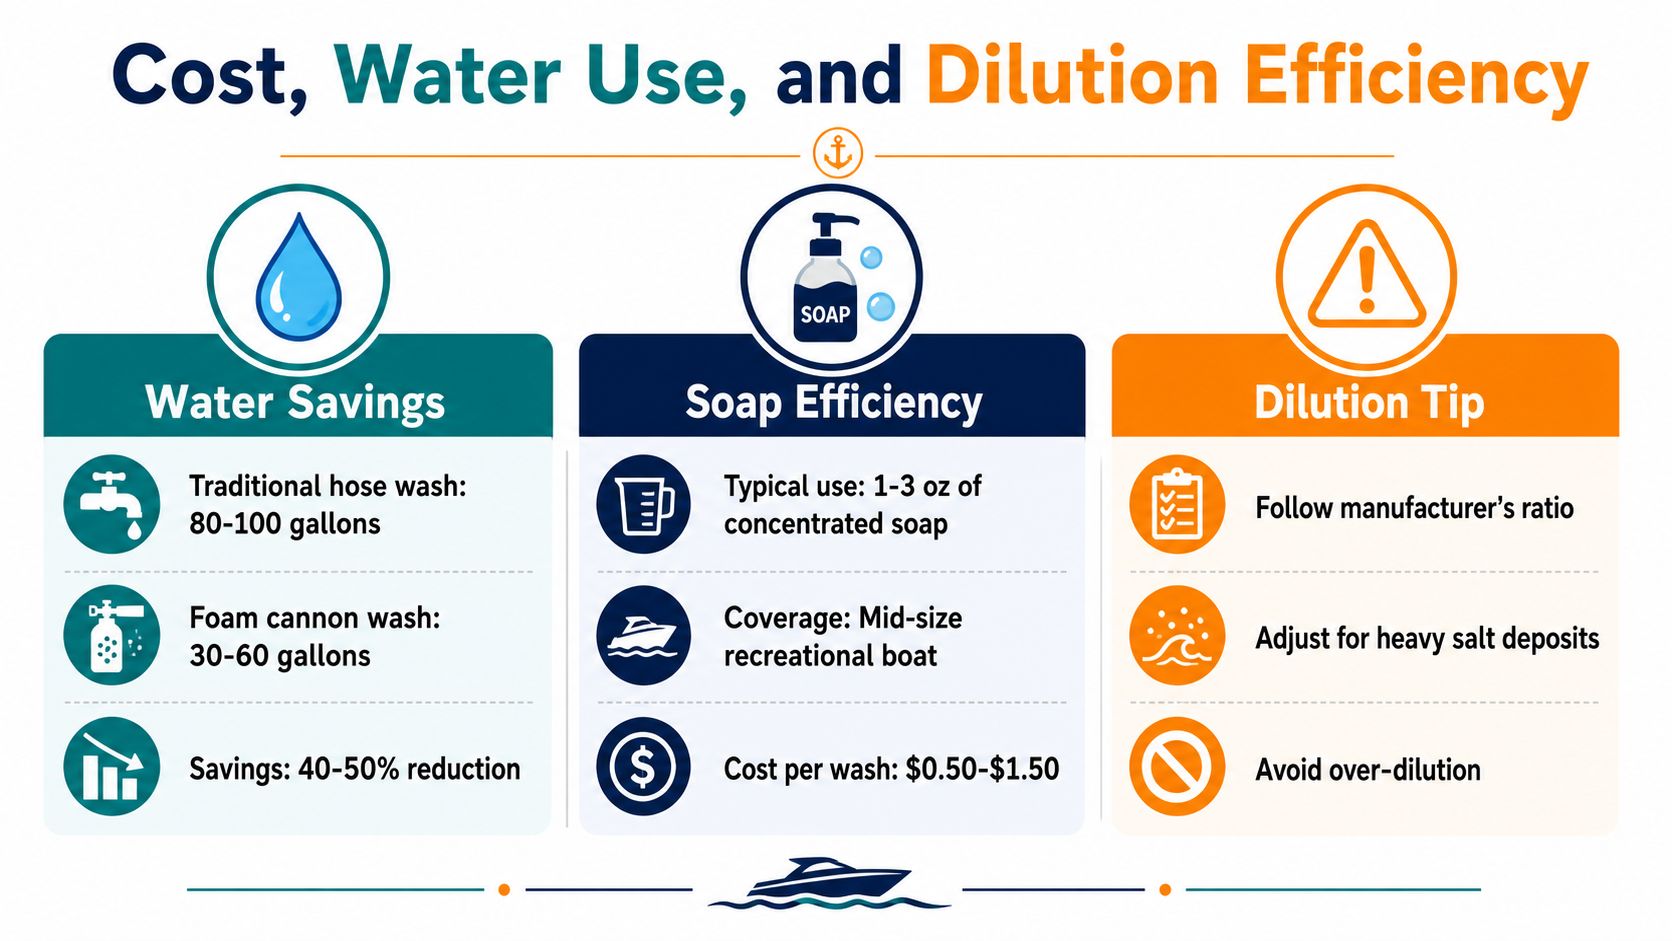
Warm water can improve surfactant mixing, and distilled or deionized water is preferred for the bottle when you want cleaner mixing and less mineral spotting in the cannon itself, though the rinse water doesn't need to be distilled. One troubleshooting guide also notes that reducing bottle fill from 1,000 ml to 800 or 900 ml can improve the effective dilution ratio without adding more soap (foam cannon troubleshooting video). That's a useful trick when the cannon seems wet but not clinging.
What changes the economics
If the boat is lightly soiled, the soap side of the wash stays small. Heavy salt buildup pushes you toward extra rinse time, not necessarily more soap. Overfilling the bottle can also hurt you because you lose concentration control and end up chasing foam quality with more product.
The runoff side matters too. Coastal marinas and nearby lots are getting less tolerant of free-flowing wash water, so a controlled foam pass followed by a bucket rinse is often the cleaner choice for the environment and the dock area. If you're washing where drainage matters, controlling the flow is part of the job, not an optional extra.
For owners trying to match maintenance habits with local rules, boat insurance requirements in Florida is a useful reminder that ownership comes with compliance responsibilities beyond just the wash itself.
Bottom line, the most efficient wash is usually not the one with the most foam. It's the one that uses enough soap to lubricate the surface, enough water to lift residue, and no more than that.
Maintenance, Storage, and Troubleshooting
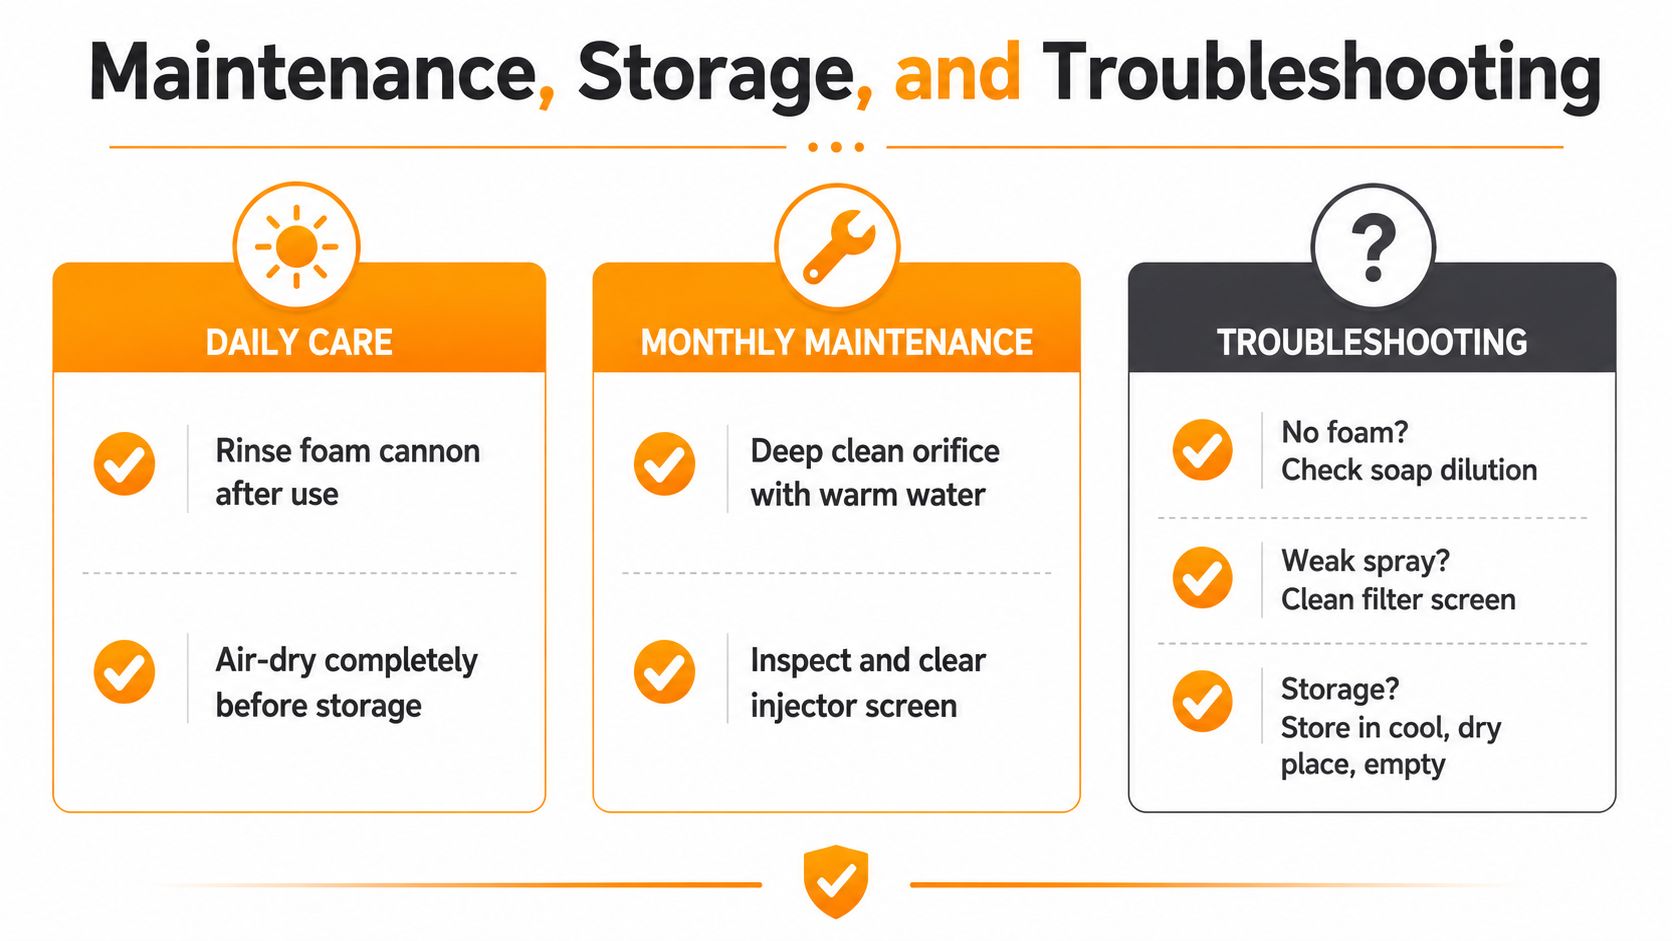
A foam cannon lasts longer when you treat it like a piece of marine gear, not a disposable nozzle. After each use, rinse the bottle, trigger, and pickup path, then let everything air-dry before it goes back in the locker. If soap dries inside the injector, the next wash starts with a clog instead of foam.
Once a month, flush the orifice and injector with warm water. Don't use solvents that attack seals. At the end of the season, store it empty in a frost-free bin with the trigger released, then check the O-rings and any UV-brittle plastic after major outings.
| Symptom | Most Likely Cause | Fix |
|---|---|---|
| Weak foam | Clogged orifice or under-powered washer | Clean the nozzle, confirm pressure, check dilution |
| Surging foam | Air leak at bottle cap or quick-connect | Tighten fittings, inspect seals, reseat the cap |
| Foam slides off too fast | Too much soap, wrong ratio, or a hot hull | Reduce heat exposure, correct the mix, shorten dwell |
| Leaks at the handle | Worn O-ring or cross-threaded fitting | Replace the seal, reinstall the fitting carefully |
Keep the rinse water away from storm drains and livewell intakes. Sudsy water should go where it can be managed, not where it moves straight into sensitive water or equipment.
A foam cannon earns its keep when it stays clean, seals tight, and keeps the wash controlled. If you want a cleaner, more predictable way to wash the boat after a saltwater weekend, visit SwiftJet and look for a setup that fits your hose or washer, your boat's surfaces, and the way you clean at the dock.
