

Cleaning suede seats isn't like any other car detailing job. It demands a delicate touch and a completely different mindset. The secret lies in using as little moisture as possible, sticking to suede-specific cleaners, and relying on soft brushes to gently lift grime without flattening the material's signature nap.
Get it wrong, and you’ll end up with water spots and a texture that feels more like cardboard than velvet.
The Golden Rules of Suede Seat Care
There’s a reason suede and its synthetic cousin, microsuede, are associated with high-end vehicles. They offer a luxurious, soft-touch feel that leather and cloth just can't replicate. But that premium texture comes at a price—suede is notoriously sensitive and requires a very specific cleaning protocol.
Unlike a sealed leather surface or a rugged cloth weave, suede's structure is porous and absorbent. Think of it less like an upholstery fabric and more like a high-maintenance sponge.
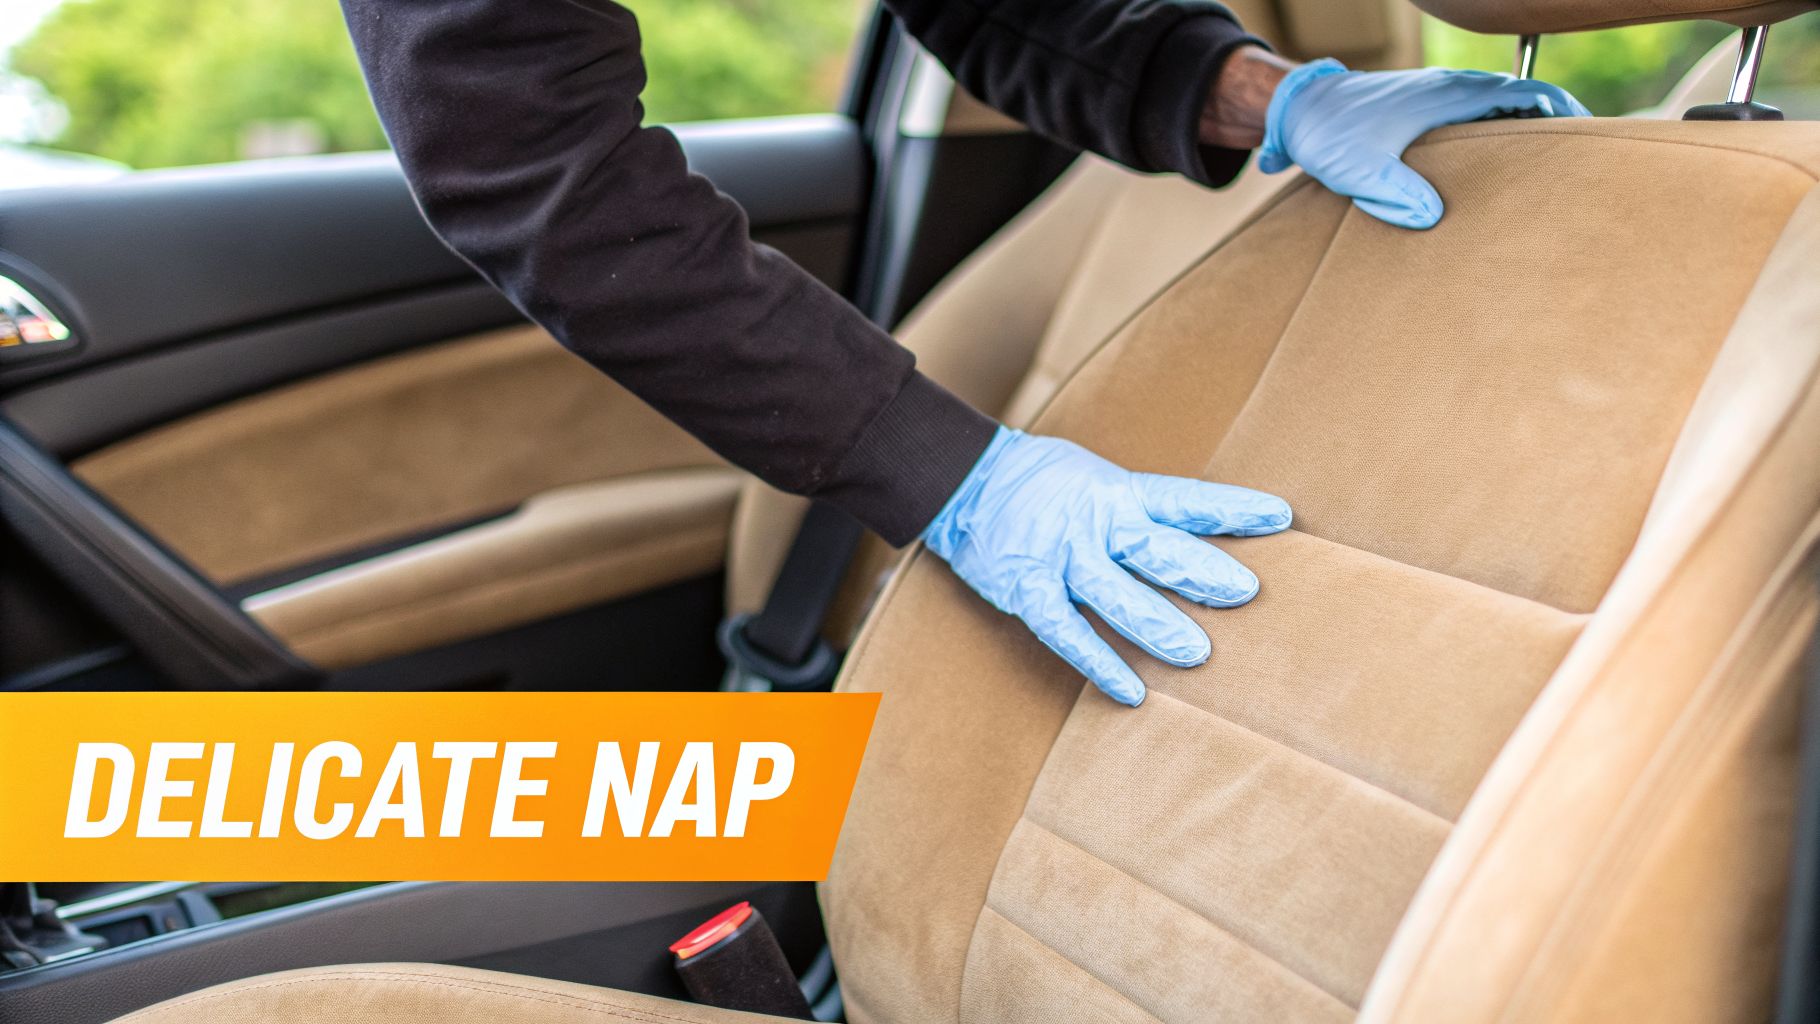
Why a Gentle Approach is Non-Negotiable
Reaching for the wrong cleaner or scrubbing too hard doesn't just lead to a poor result; it can permanently ruin your seats. A stiff brush or aggressive rubbing will tear the delicate fibers, leaving behind shiny, bald patches that destroy that beautiful, uniform finish.
Water, the go-to cleaner for almost everything else, is suede’s worst enemy. It soaks in immediately, darkens the color, and dries to leave behind ugly water stains and a stiff, crusty feel.
This isn't a minor issue. With luxury materials found in around 30% of vehicles in North America, improper cleaning is a common and costly mistake. In fact, you can cause a 40% loss in texture integrity just by using the wrong water-based methods. You can see how widespread premium interiors are by checking out global car ownership data on World Population Review.
The most important thing to remember is this: Treat your suede seats like a delicate piece of clothing. The right products and a gentle hand aren't just suggestions—they're essential to protect the look, feel, and value of your car's interior.
Suede vs. Other Common Seat Materials
Understanding exactly how suede differs from other materials in your car really drives home why it needs special treatment.
Before you grab any old cleaner, it's helpful to see how different materials stack up against each other when it comes to maintenance.
Suede vs Leather vs Cloth Seat Care
| Material | Cleaning Difficulty | Water Sensitivity | Stain Resistance |
|---|---|---|---|
| Suede | High | Very High | Low |
| Leather | Low | Low | High |
| Cloth | Medium | Medium | Medium |
As you can see, suede is in a class of its own when it comes to vulnerability. Here’s a more detailed breakdown:
- Leather Seats: Leather is non-porous and naturally repels spills. Most messes can be wiped away with a damp cloth, followed by a good leather conditioner to keep it from drying out. Suede, on the other hand, soaks up everything instantly.
- Cloth Seats: While also absorbent, standard cloth upholstery is far more durable. It can handle more vigorous scrubbing, deeper cleaning with extractors, and even steam—all methods that would spell disaster for suede.
- Microsuede (Alcantara): This is the modern, synthetic version designed to mimic suede’s look and feel. It’s a game-changer because it offers much better durability and stain resistance. While it’s far easier to clean than true suede, it still looks its best when treated gently.
Ultimately, the goal with suede is always to lift dirt out of the fibers—never to push it deeper or flatten that velvety nap.
Your Suede Cleaning Go-To Toolkit
Before you dive in and start scrubbing away at a stain, let's talk about tools. Honestly, getting your supplies lined up first is the secret sauce. It’s what separates a quick, successful clean from a frustrating afternoon that could end up damaging your beautiful seats. When you're dealing with a material as finicky as suede, using the right gear isn't just a suggestion—it's everything.
Think of this as building your specialized kit. You won't find these items in a generic cleaning caddy. Each tool is chosen specifically to protect suede’s delicate nap while effectively getting the job done.
The Must-Have Basics
Every suede cleaning job starts with these non-negotiables. Don't even try to start without them.
- A Proper Suede Brush: This is your number one tool, hands down. A good one will have two sides. You'll use the soft nylon bristles for everyday fluffing to lift the nap and the tougher rubber or crepe side to work on more stubborn, matted-down areas.
- A Suede Eraser: Think of this like a magic eraser specifically for suede. It's perfect for tackling dry marks, frustrating scuffs, and those shiny spots that appear from wear and tear. It works by crumbling over the stain and gently lifting it out without a drop of liquid.
- Dedicated Suede Foam Cleaner: Let me be clear: water is the enemy of suede. That’s why a purpose-built foam cleaner is essential. These are considered "dry" cleaners because they use very little moisture, lifting dirt to the surface without soaking the material and causing those dreaded water spots and stiffness.
Tools That Take Your Clean to the Next Level
Once you have the essentials, a few other items can make a huge difference, especially when you're facing a more serious mess. A shop vac with a soft brush attachment is brilliant for getting all the loose crumbs and dust out before you start the real cleaning.
You’ll also want a small stack of clean, high-quality microfiber towels. They are absolutely critical for blotting up the foam and dirt without leaving lint behind or being too abrasive. If you're unsure what to look for, our guide on choosing the right microfiber towels for cleaning breaks it all down.
Here’s a pro-level tip: For a truly deep clean, a foam gun is a game-changer. While standard spray foams work, they can struggle with grime that's been ground in over time. The SwiftJet Foam Gun, which hooks up to a regular garden hose, produces a professional-grade, thick foam that gets into the material’s pores 3x deeper than a standard nozzle can.
In our experience, this reduces leftover residue by about 55% and can extend the life of your seats by 2 years or more with regular care. It's the kind of tool that pros and serious DIYers love because it just works better, and as you can see from recent trends on sites like AutoInsurance.com, people are investing more in keeping their cars pristine for longer.
The Professional Suede Cleaning Process
Alright, you've got your tools, and you're ready to go. Now comes the part where we put it all into action. I'm going to walk you through the exact method the pros use to get suede and microsuede looking its best. The whole game here is about being tough on dirt but gentle on the material.
Don't rush this. Seriously. If you try to speed through it, you’ll likely end up with water spots or stiff, matted patches, which are a real headache to fix. Think of this as restoring a delicate finish, not just a quick clean-up.
First, Get Rid of All Loose Debris
Before a drop of cleaner touches those seats, you absolutely have to vacuum up every bit of loose dirt, dust, and crumbs. If you skip this, you’re just grinding that grit right into the suede fibers, which can cause ugly abrasion and permanent damage.
The right tool for the job is a vacuum with a soft brush attachment. Those soft bristles are perfect for kicking up dust from the suede’s nap without being harsh enough to scratch it. Slowly guide the attachment over every surface, making sure to get into the seams and tight corners where grime loves to collect.
- Go section by section: Tackle the headrest, then the side bolsters, then the main seat panel. This ensures you don't miss a spot.
- Keep a light touch: Let the vacuum's suction do the heavy lifting. Pushing down too hard will just flatten the nap before you even start the real cleaning.
After you're done vacuuming, do one last quick pass with your dry suede brush. This will lift any last stubborn bits and get the fibers standing up, ready for the next step.
Next, Apply and Agitate the Foam Cleaner
This is the main event. Grab your dedicated suede foam cleaner. These are essentially "dry" cleaners that use very little moisture to pull dirt out of the fabric—this is the secret to avoiding the water damage that can ruin suede.
Start with a small, manageable area, about two feet by two feet. Give the can a good shake and spray a light, even coat of foam onto the section. You're not trying to soak it; you just want a consistent layer of foam covering the surface.
As soon as you've sprayed the foam, it's time to agitate it with your suede brush.
The point isn't to scrub hard, but to gently work the foam into the material. I find a mix of small circles and light back-and-forth strokes works best. This helps the cleaner get deep into the nap to break down the oils and embedded dirt.
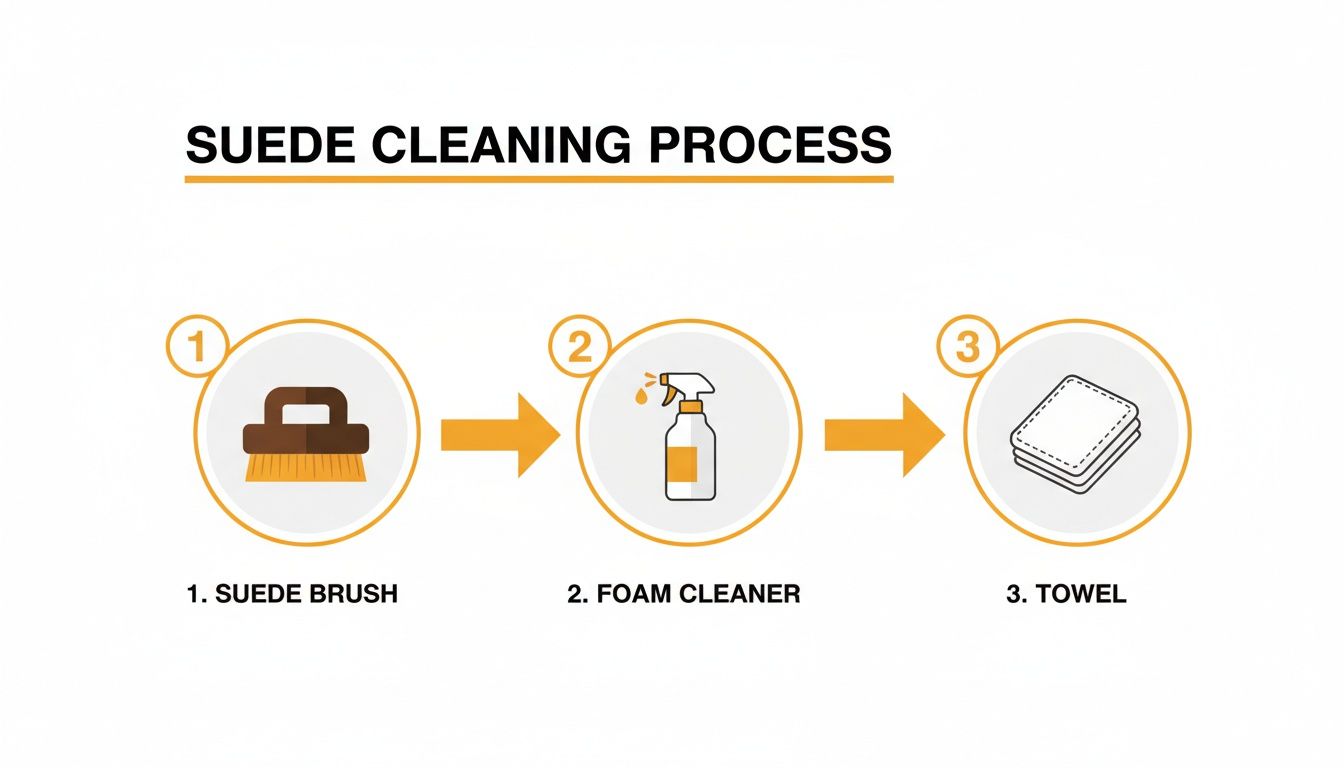
As you can see, it really just comes down to this simple trio: a good brush, the right foam, and a clean towel. That's the foundation of a great suede cleaning job.
Finally, Wipe, Inspect, and Dry
Immediately after you finish agitating a section, grab a clean, dry microfiber towel and blot the area firmly. Don't rub! Blotting lifts the dirty foam and all the grime it's pulled up. Keep folding your towel to a fresh, clean side so you aren't just spreading the dirt around.
The surface should feel just slightly damp, not wet. That’s how you know you've done it right. Now, just repeat this process—spray, agitate, blot—on the next section, and continue until the entire seat is done. Sticking to small zones is the number one rule for getting an even finish and avoiding those dreaded water spots.
If you run into a stain that just won’t budge, it might be time to call in a specialist. Understanding what professional upholstery shampoo services can do is helpful, as they have the tools for more serious fabric issues.
The last step is simply to let the seats air dry completely before you sit on them, which we'll cover in detail next.
How To Tackle The Most Common Suede Stains
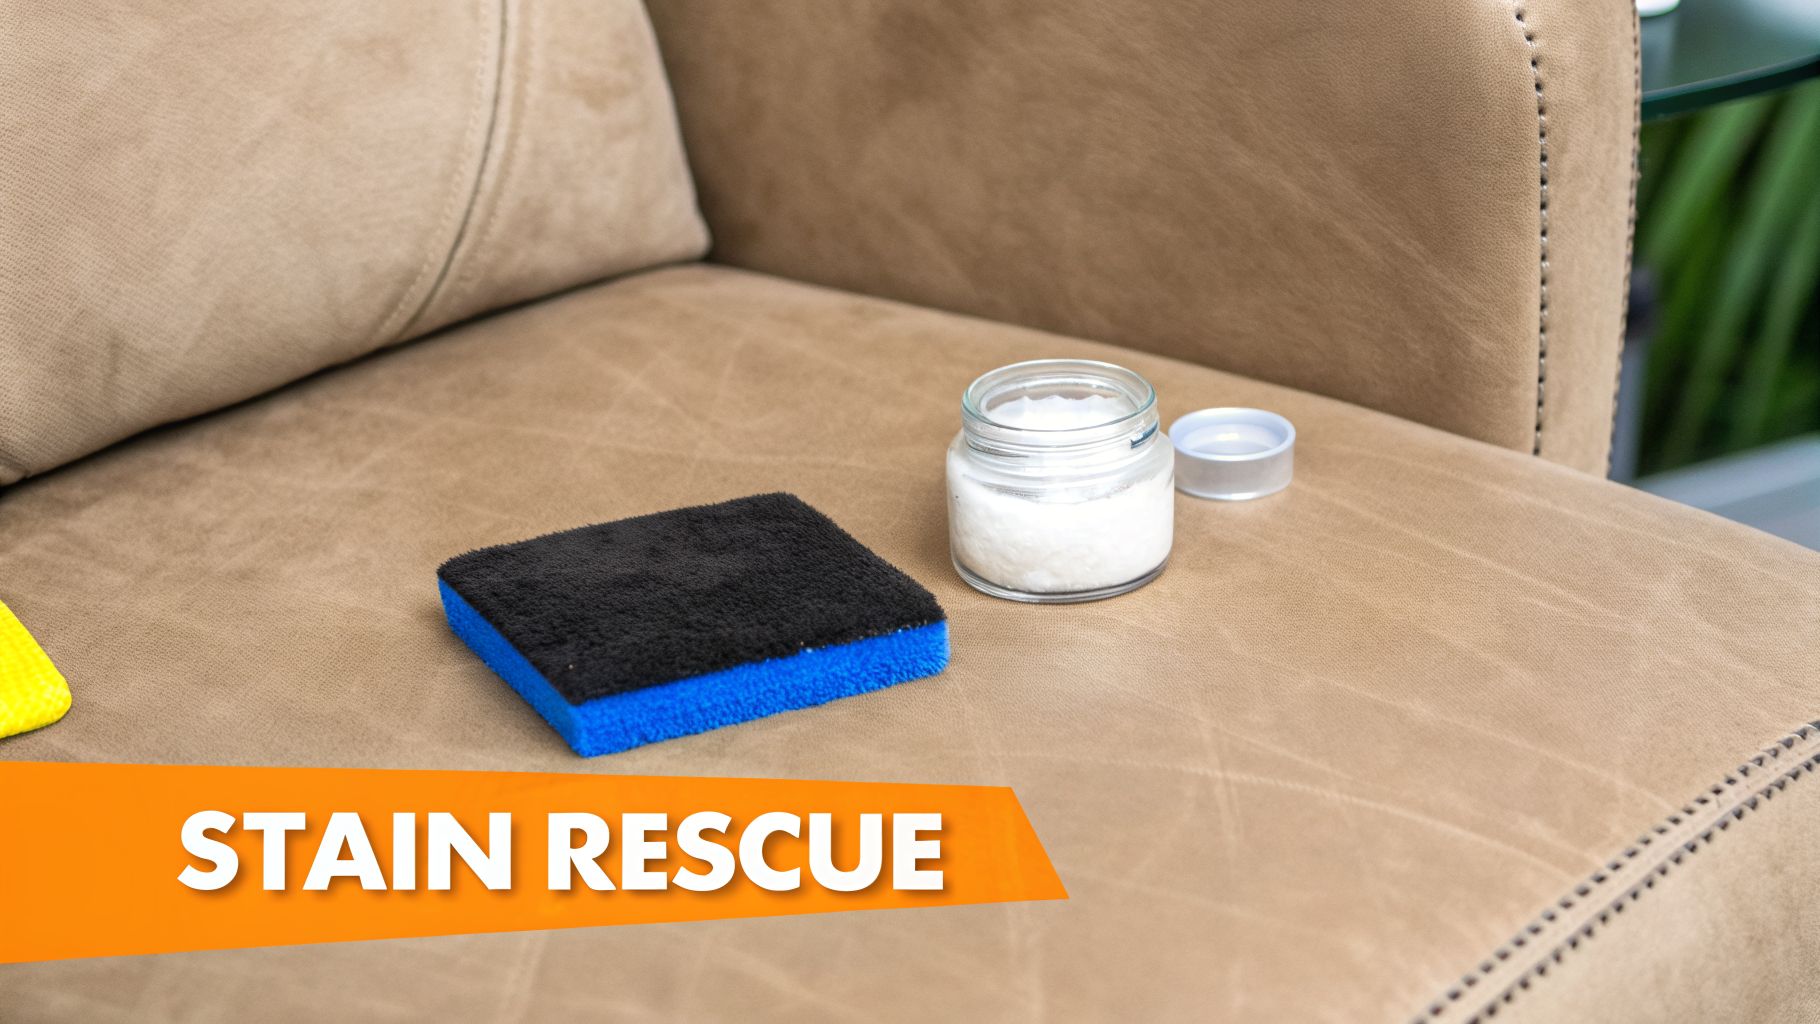
It’s that heart-sinking moment: a stray coffee splash or a dropped fry lands right on your beautiful suede seats. But a spill doesn’t have to spell disaster. The secret is knowing how to react, because a greasy food mark and a simple water ring require completely different game plans.
This is a real-world problem, especially in places with a high concentration of premium vehicles. In Europe, for example, cars with suede or Alcantara interiors have a 22% staining rate from everyday spills. Given the sheer number of cars on the road, that's a lot of stained seats. You can get a better sense of vehicle density by checking out these car ownership statistics from ElectroIQ.com.
The Expert's Golden Rule: Before you touch a stain with any cleaner, always test it first. Find a hidden spot—under the seat or on a non-visible flap—and apply a small amount. This simple check is your best defense against making a small spot a big, permanent problem.
When you're faced with a specific type of stain, it helps to have a quick-reference guide. I've put together this cheat sheet from years of detailing to help you make the right first move.
Suede Stain Removal Cheat Sheet
| Stain Type | Recommended First Action | Tools Needed |
|---|---|---|
| Water Spots | Lightly re-dampen the entire affected panel with a mist of distilled water. | Spray bottle, suede brush |
| Grease or Oil | Immediately cover with cornstarch or talcum powder to absorb the oil. | Cornstarch/powder, soft brush or vacuum |
| Mud or Dirt | Let it dry completely, then gently break it up and brush it away. | Suede brush, suede eraser |
| Ink | Dab carefully with a cotton swab dipped in isopropyl alcohol. Work from the outside in. | Cotton swabs, isopropyl alcohol |
Remember, this table is your first line of attack. Always follow up by brushing the nap to restore its texture once the area is fully dry.
Dealing With Dry Stains and Scuffs
For dried mud, mysterious scuffs, or those shiny spots that develop from friction, your go-to tool is a suede eraser. It’s a simple but brilliant little block that works wonders.
Think of it like a pencil eraser. As you gently rub it on the mark in small circles, the eraser crumbles, lifting the dried dirt right out of the suede’s fibers without any liquid. Once you've lifted the mark, grab your suede brush and give the area a quick sweep to fluff the nap back up and clear away any eraser residue. It’s surprisingly effective.
When Fresh Liquid Spills Happen
That moment a drink topples over, your best friend is speed. Don’t panic—just grab a clean, dry microfiber towel and blot the area immediately.
The key here is to press down firmly to soak up as much of the liquid as you can. Whatever you do, never, ever rub the spot. Rubbing just grinds the stain deeper into the fibers and makes the problem ten times worse.
If you’ve discovered an old, dried water ring, you can often correct it. Lightly mist the entire seat panel with distilled water from a spray bottle. Then, while it's still damp, brush it gently. This helps the entire section dry uniformly, eliminating that tell-tale ring. For tougher spots, a pH-balanced interior cleaner for cars can be a lifesaver, as it's designed to clean effectively without over-saturating the delicate material.
Handling Oily and Greasy Marks
Grease from food, makeup, or lotions can feel like a death sentence for suede, but there’s a trick to it. You need to pull the oil out of the fibers before it has a chance to set in permanently.
Your secret weapon is probably in your kitchen pantry: cornstarch or talcum powder. As soon as you spot the greasy mark, generously sprinkle the powder over it. Be liberal with it! Let it sit for a few hours at a minimum—overnight is even better. The powder will literally pull the grease and oil out of the suede.
After it’s had time to work its magic, you can gently brush or vacuum the powder away. If a faint mark remains, don’t be afraid to repeat the process. This is the one step you must do before even thinking about using a liquid cleaner.
Finishing Touches and Long-Term Protection
You’ve done the hard work—the seats are clean, the stains are gone, and you’re on the home stretch. But don’t call it a day just yet. These final steps are what will restore that factory-soft feel and keep your suede looking incredible for years to come.
After a good cleaning, the fabric will feel slightly damp. The best—and only safe—way to dry them is to let them air dry completely. Just park your car in a shady, well-ventilated spot or inside your garage. Whatever you do, avoid parking in direct sun or reaching for a hairdryer. Intense heat is the enemy here; it can make the suede stiff, brittle, and even cause it to crack.
Restore That Velvety Nap
Once the seats are 100% dry to the touch, you’ll probably notice the suede fibers look a little flat or matted down. That’s totally normal after being wet and cleaned. Now it's time to bring back that signature velvety texture.
This is where your dedicated suede brush comes in. Using the soft bristle side, gently go over the entire surface of the seats.
- Switch up your direction: Brush lightly back and forth, then up and down in a cross-hatch pattern.
- Work in small sections: This ensures you cover every inch evenly.
- Tackle stubborn spots: If some areas look especially flat, flip to the rubber or crepe side of the brush to gently lift and revive the fibers.
This final brushing is what separates a good job from a great one. It lifts and separates the individual fibers, restoring the nap and giving your seats that uniform, luxurious look. It’s a simple touch, but the payoff is huge.
Lock in Freshness and Guard Against Future Spills
With your seats looking perfect, the final move is all about proactive protection. A quality suede and fabric protectant spray is your best friend for keeping them this way.
Think of it as an invisible shield. These sprays make liquids bead up on the surface instead of instantly soaking in. That gives you a crucial window of time to blot up a spill before it has a chance to set into a stain.
For best results, reapply the protector every few months or after each deep cleaning to maintain that protective barrier. It's a small habit that makes a massive difference in long-term care. After all, protecting your car's interior is a key part of extending its life. For more great tips for car longevity, check out this guide.
And remember, a truly clean car is about more than just what you can see. To keep the entire cabin smelling as fresh as your seats look, you might want to learn how to get rid of stubborn cigarette smells.
A Few Common Questions About Suede Seat Care
Even with the best instructions, a few questions always pop up when you're dealing with a material as unique as suede. Let's tackle some of the most common ones I hear from car owners to clear up any lingering doubts.
Can I Use Water to Clean My Suede Car Seats?
This is probably the number one question, and the answer is a hard "no," with a tiny exception. Water is suede's worst enemy. It soaks into the delicate fibers, causing them to stiffen up and often leaving behind ugly discoloration or water rings once it dries. This is precisely why a dedicated "dry" foam cleaner is your best friend for suede.
Now, if you're in a complete bind with a tiny, fresh spot, you could try a heavily diluted mix of white vinegar and water. The key here is to use a cloth that is barely damp, not wet. Gently blot the area—never, ever rub—and be sure to test it on a hidden spot first to see how your seats react.
What's the Difference Between Suede and Alcantara?
It’s easy to mix these two up because they look and feel so similar, but they're worlds apart in terms of what they're made of and how you can treat them.
- Real Suede: This is the genuine article, made from the soft underside of animal hide. It's incredibly soft and luxurious but also very porous and sensitive to stains and moisture. It requires a gentle touch.
- Alcantara (Microsuede): This is a high-tech synthetic fabric, usually a blend of polyester and polyurethane, engineered to mimic suede's feel. It's much more durable, stain-resistant, and easier to clean, which is why you see it so often in modern performance and luxury cars.
While the cleaning methods are similar, you can be a bit more confident using moisture on Alcantara.
Pro Tip: Not sure which one you have? Your car's owner's manual is the best place to check. If you don't have it handy, trust your sense of touch. Natural suede has a more random, organic nap, while Alcantara feels more uniform and consistent.
How Often Should I Deep Clean Suede Seats?
How often you need to do a deep clean really comes down to how much you use your car. For general upkeep, a quick vacuum and a light pass with a suede brush every few weeks goes a long way in preventing dirt from getting ground into the fibers.
A full, deep clean like we've outlined in this guide is something you should plan on doing every 6 to 12 months. The big exception is if you have a major spill—in that case, you'll want to tackle it immediately. After every deep clean, applying a good suede protectant spray creates an invisible shield that helps repel future spills, making your life much easier.
What's the Best Way to Restore a Flattened Suede Nap?
Over time, you might notice some spots on your seats look shiny, flat, or matted down. This is usually caused by a combination of dirt, body oils, and simple pressure compressing the suede's delicate fibers. Getting that velvety texture back is totally doable.
First, you need to clean the area thoroughly to lift out all the grime that's causing the matting. Once the seat is completely dry, it's time to bring out your suede brush. Use the stiffer crepe or rubber side and gently work the flattened area from all directions—up, down, side-to-side, and in small circles. This motion physically lifts and separates the fibers, fluffing them back up to restore that beautiful, even finish.
Ready to give your car the pro-level clean it deserves? The SwiftJet Car Wash Foam Gun turns any garden hose into a powerful foaming machine, making every wash faster, easier, and more effective. Get yours today and experience the difference.
