

You know the feeling. A coffee lid pops loose, the kids leave crumbs in the seams, or a dog hops in with damp paws, and suddenly the seat that looked fine yesterday needs attention today. Car seat cleaning sounds cosmetic until you notice how fast stains settle in, how long odors hang around, and how much grime hides where you can't see it.
Why Your Car Seats Are Dirtier Than You Think
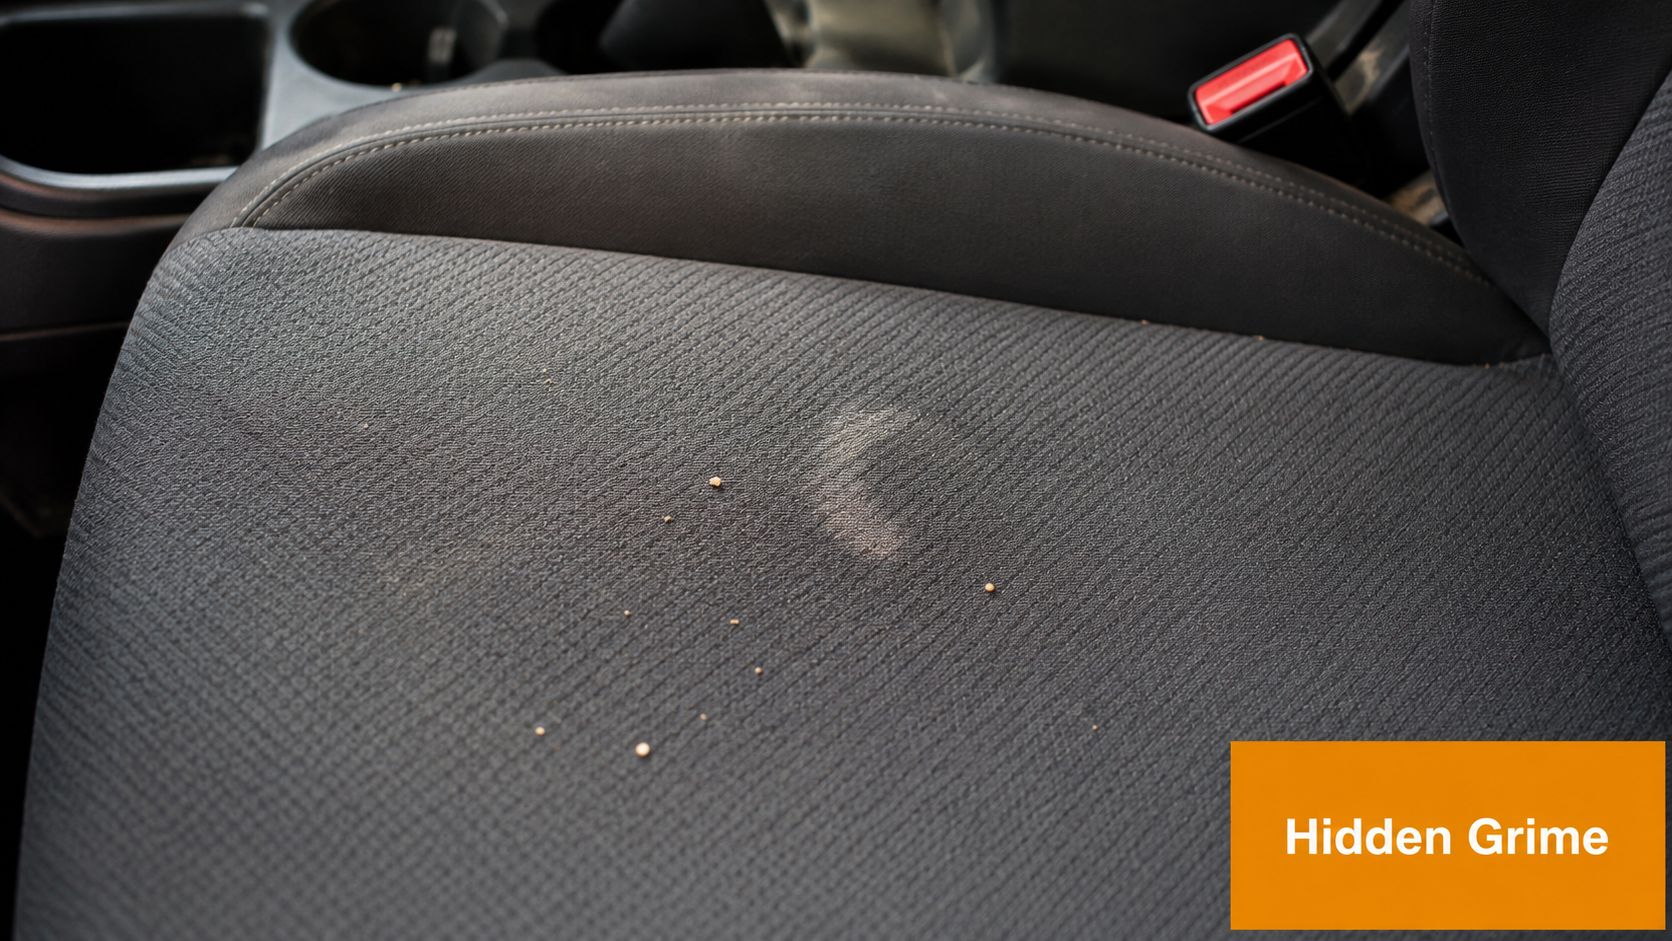
A seat can look only mildly messy and still be carrying far more than crumbs. A University of Birmingham study found car seats can carry at least 100 bacteria and fungi per square centimetre, and that was reported as twice as many as on a toilet seat. Later reporting also noted around 300 to 650 bacteria on driver's seats alone, with a 2022 Aston University follow-up finding 649 bacteria on driver's seats source context.
That matters because seats are touched constantly. People sit on them daily, spills work into seams, and moisture gives microbes a place to linger. Once you treat the seat as a hygiene surface instead of just an upholstery problem, your whole approach changes.
Cleanliness is maintenance, not just appearance
The practical takeaway is simple. Surface dirt is the part you see, but the deeper issue is what settles into fabric, stitching, and the gaps around the seat. If you wait until the seat looks bad, you're usually cleaning after buildup has already spread.
Practical rule: Clean the seat before the stain becomes a routine. The earlier you treat spills and grime, the less scrubbing, soaking, and rework you'll need later.
That's why a proper routine needs to match the material, the type of stain, and the space around the seat. Cloth, leather, and vinyl all need different handling, and child car seats need a completely different safety mindset. A good car seat cleaning routine doesn't just restore appearance, it protects the seat, the cabin, and in some cases the restraint system itself.
Gathering Your Car Seat Cleaning Toolkit
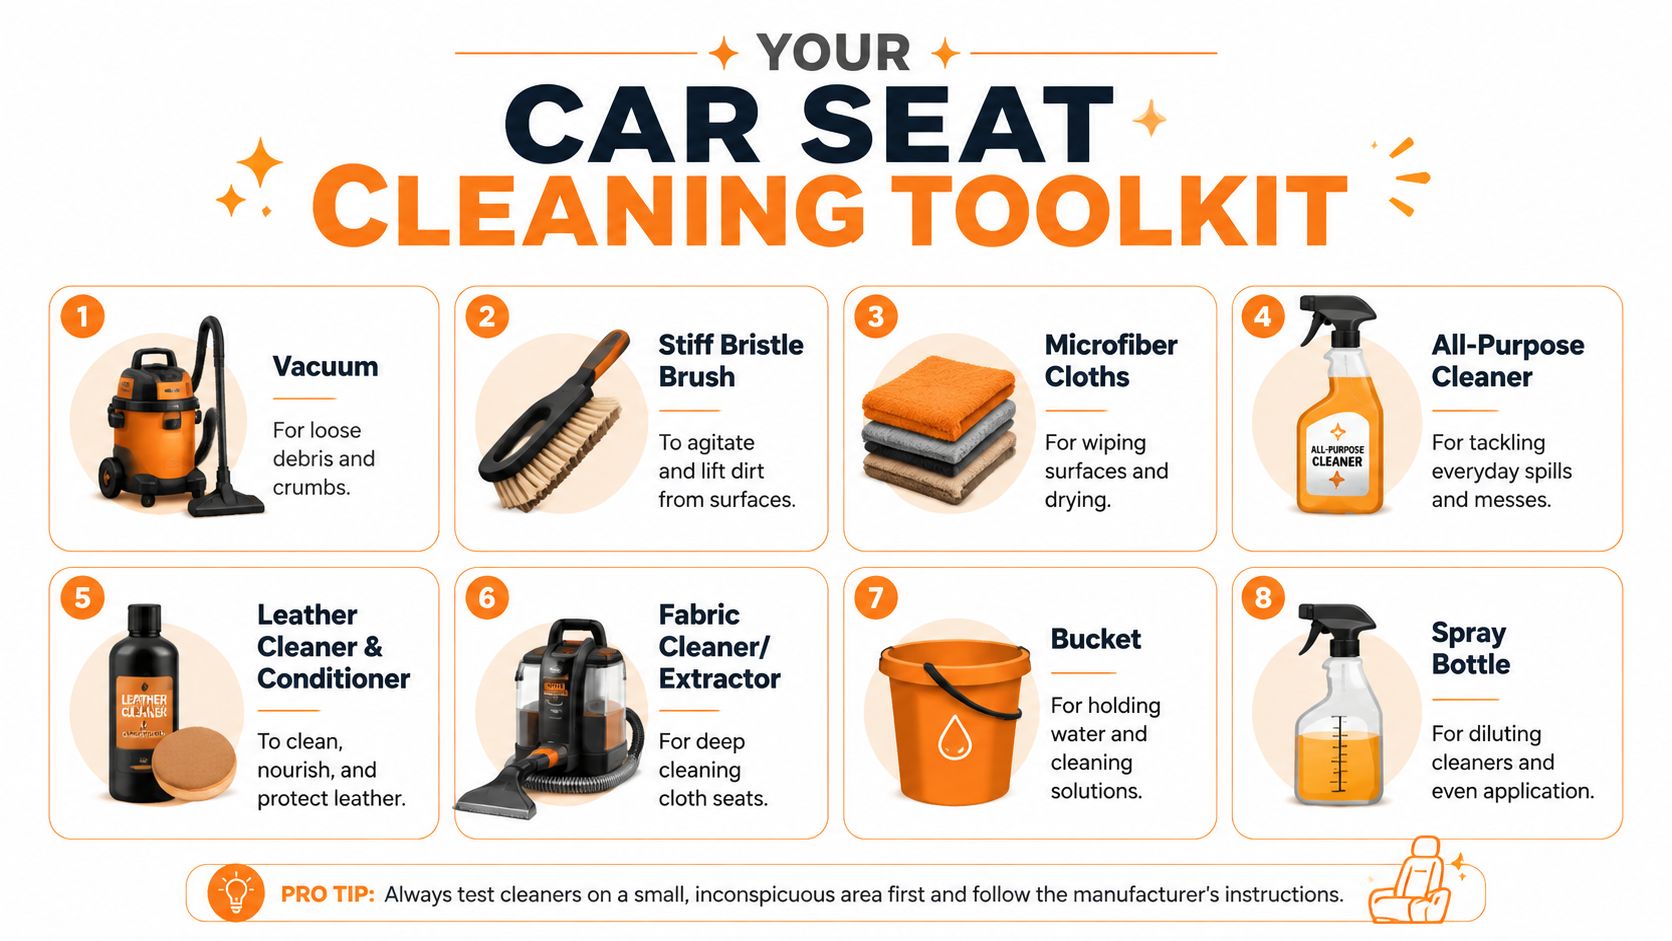
Before you touch the seat, line up the tools that fit the material. A vacuum with a crevice attachment plays a more significant role than commonly perceived, because loose grit turns into abrasive paste once it gets wet. Microfiber towels are essential, and you want several so you can switch to a clean side instead of pushing dirt around.
Build the kit around the seat material
For cloth seats, the safest setup is a vacuum, a soft or medium brush, a fabric cleaner, microfiber towels, and, if you have it, an extractor. A technical workflow for fabric recommends vacuuming first, then cleaning in small sections, using overlapping 2-inch strokes with a cotton terry cloth, and finishing with a low-pressure extractor below 30 PSI fabric workflow. That kind of setup helps you lift soil instead of flooding foam.
For leather seats, keep the kit gentler. Use a pH-neutral leather cleaner, a soft brush or microfiber applicator, and a leather conditioner for the finish after cleaning. Harsh all-purpose products can strip protection and leave leather looking dull or dry, so the cleaner matters as much as the technique.
For vinyl, you can usually use a milder all-purpose cleaner and a microfiber towel, then dry the surface well. Vinyl is less delicate than leather, but it still responds badly to aggressive scrubbing and overly wet application.
A decent spray bottle helps dilute products correctly, and a bucket keeps rinse water or solution controlled instead of spilled across the cabin. If you're looking to build out a small at-home setup, the portable gear overview at more from WipesBlog for auto cleaning is a useful comparison point for compact tools and workflows.
What not to buy first
Skip the temptation to start with heavy shampoo, random household degreasers, or overly scented sprays. Those products often create more residue than they remove. If you need one rule to keep costs down, buy by material, not by marketing.
Practical rule: The best tool is the one that removes soil without forcing extra moisture into the foam underneath.
A Practical Guide to Spot Treating Stubborn Stains
Most seat stains don't become hard because they're impossible to remove. They become hard because they sit too long. In a survey of 1,000 U.S. drivers, 32% said they cleaned their cars only once a year, and 12% said they never clean them survey data. That kind of delay gives spills time to set deep into upholstery fibers, so spot treatment has to come first.
Coffee, grease, ink, blood, and urine need different tactics
Coffee and other drink spills need blotting before anything else. Press a microfiber towel into the stain, lift, and repeat with a clean area of the towel. Don't rub in circles, because rubbing spreads pigment and drives liquid deeper.
Grease or oil needs an absorbent first pass. Blot up excess, then apply a cleaner made for upholstery or the seat material and work it in lightly with a brush. If you push too hard, you'll smear the stain outward and create a larger halo.
Ink is where restraint matters. Use a tiny amount of the right spot cleaner, work from the outside edge inward, and lift frequently with a clean cloth. For leather in particular, the dedicated guidance at cleaning pen off leather is worth following because pen marks can worsen fast if you overwork them.
Blood should be treated with cold water and careful blotting, not heat. Heat can set protein stains, so avoid hot water or steam on the first pass. Work gently and let the cleaner do the work.
Pet urine needs immediate absorption followed by a cleaner that breaks down odor, not just color. If the smell sits in the foam, the seat may look clean and still carry the odor back every time the cabin warms up.
The rule for all stain types
Test any product in a hidden area first. Then apply in small amounts, blot between passes, and stop as soon as the stain stops transferring. That discipline is what keeps a small spill from becoming a permanent upholstery repair.
Practical rule: The goal is to lift the stain, not to saturate the seat chasing it.
Deep Cleaning Methods for Every Seat Material
A full deep clean works best when you stop treating every seat like the same surface. Cloth can take more aggressive soil removal. Leather needs a cleaner hand. Vinyl sits somewhere in the middle, with a simple wipe-down usually doing the job when maintenance has been consistent.
Cloth seats
Start with a thorough vacuum, including seams, bolsters, and the gap where the cushion meets the backrest. If you skip this, every later pass turns loose grit into mud. Then pre-treat visible spots and let the product sit only as long as the label allows.
Work one section at a time with a fabric cleaner and a brush, using the overlapping stroke method described earlier for controlled agitation. Wipe with a cotton terry cloth, then extract or blot the area so moisture doesn't linger. That is the part that protects you from re-soiling later, especially on fabric that dries unevenly fabric workflow.
A low-moisture approach is better than soaking the seat and hoping it evaporates. If the seat feels damp for hours, you've left too much water behind. For cloth, controlled cleaning beats aggressive shampoo every time.
Leather seats
Vacuum first, but do it gently so you don't drag grit across the finish. Apply a leather cleaner to the towel or brush, not directly onto the seat in a heavy spray. Work in small sections, then wipe the residue away before it dries.
Leather wants light pressure and patience. A soft brush can lift grime from stitching and grain, but hard scrubbing can wear the topcoat. After the surface is clean and dry, add conditioner to help maintain suppleness and reduce the dry, chalky look that shows up when leather gets neglected.
Vinyl seats
Vinyl usually needs less drama. Vacuum the surface, wipe with a mild cleaner, and use a microfiber towel to lift away soil. If a spot is stubborn, a soft brush is enough in most cases.
The key is to dry it cleanly. Vinyl doesn't need the same conditioning routine as leather, but it does benefit from being wiped down completely so dust and residue don't settle back into the texture.
For a broader material comparison, more from WipesBlog for auto cleaning offers a helpful companion view on seat-specific care. The main point stays the same, use the least aggressive method that gets the job done.
Proper Drying and Eliminating Lingering Odors
Cleaning a seat badly often starts looking fine and then smells worse a day later. Moisture trapped in foam, seams, and seat tracks creates the kind of stale odor that a fragrance spray can't really fix. Guidance from detailing experts also points out that the area under and around car seats is one of the most neglected parts of the interior, and that hidden debris is a common source of lingering smells neglected areas.
Dry the seat fully, not just the surface
Blot with dry microfiber towels after cleaning, then open doors or windows if the weather allows. Fans help pull moisture out of seams and foam faster than waiting for still air. If you used an extractor or any wetter method, give the seat more time before closing the car back up.
Moisture left in the foam is the fastest way to trade a clean-looking seat for a musty cabin.
Don't rely on fragrance to cover a damp smell. That usually just mixes perfume with mildew. If the seat still feels cool or damp to the touch, it isn't done drying yet.
Deal with odor at the source
For spills, food smells, or pet odors, use an odor treatment that targets the cause rather than layering scent on top. Enzyme-based cleaners are useful when the smell comes from organic material. Activated charcoal can help in the cabin over time by absorbing ambient odor, especially after a deep clean.
If you're tempted to mask the smell with an air freshener, read the dangers of air freshener chemicals first. Strong fragrance products can create a different problem instead of solving the first one.
The under-seat area deserves its own pass too. Vacuum crumbs, hair, and debris from the tracks and from the carpet edge beneath the seat before you call the job finished. The cabin can smell “clean” only when those hidden zones are clean.
For a broader interior finish routine, how to make your car smell good is a useful companion read after the upholstery work is done.
Safety Precautions Maintenance and When to Hire a Pro
Child car seats change the rules. Safety guidance strongly warns against machine-washing harness webbing or submerging buckles on child car seats, because improper cleaning can damage materials and affect how the restraint performs in a crash child seat safety. Follow the manual first, not a generic cleaning habit from the rest of the car.
Keep child seats clean without compromising safety
Wipe the shell, padding, and visible surfaces with the manufacturer-approved method. Don't lubricate a buckle, don't soak webbing, and don't assume a hot wash will “sanitize” anything that's part of the restraint system. If grime is packed into a buckle or a harness section won't clean safely, replacement or manufacturer guidance is smarter than improvisation.
Small maintenance habits that prevent bigger jobs
Vacuum seats regularly so grit doesn't become embedded. Treat spills immediately instead of waiting for a weekend detail. Keep the cabin dry after rain or snow, and use sun protection where needed to reduce fading and hardening of materials.
Practical rule: Fast cleanup beats deep restoration. The less time soil sits, the less often you'll need aggressive methods.
Know when DIY stops making sense
Call a professional detailer when you're dealing with mold, heavy smoke odor, badly set stains, delicate leather that's already dry or cracked, or a child seat that needs attention beyond the manual's safe steps. A pro has the tools to extract thoroughly, address odor at the source, and work on materials that you don't want to experiment on. If the seat still smells wrong after drying, or the stain keeps coming back, that's a sign the spill reached deeper than the surface layer.
If you want better results with less trial and error, visit SwiftJet and see how their cleaning tools fit into a practical home detailing routine. Their gear is a strong match for DIY car seat cleaning when you want foam, control, and a faster wash workflow at home.
