

You're halfway through a job and the tool in your hand is getting close to the work, but the cut is still wrong. The burr won't reach the corner, the weld cleanup is too broad for an angle grinder, and the compressor keeps sounding like it's falling behind. That's where an air die grinder earns its place on the bench, because it gives you compact, high-speed control where bigger tools just get in the way.
The Role of the Air Die Grinder in Modern Shops
A good day in the shop often starts with a problem that looks small and behaves badly. A casting edge needs cleanup inside a tight pocket, a gasket surface has stubborn residue, or a port needs a careful touch without chewing the surrounding metal. A pneumatic air die grinder is the tool you reach for when the work is delicate, the access is poor, and you need speed without dragging a heavy body across the part.
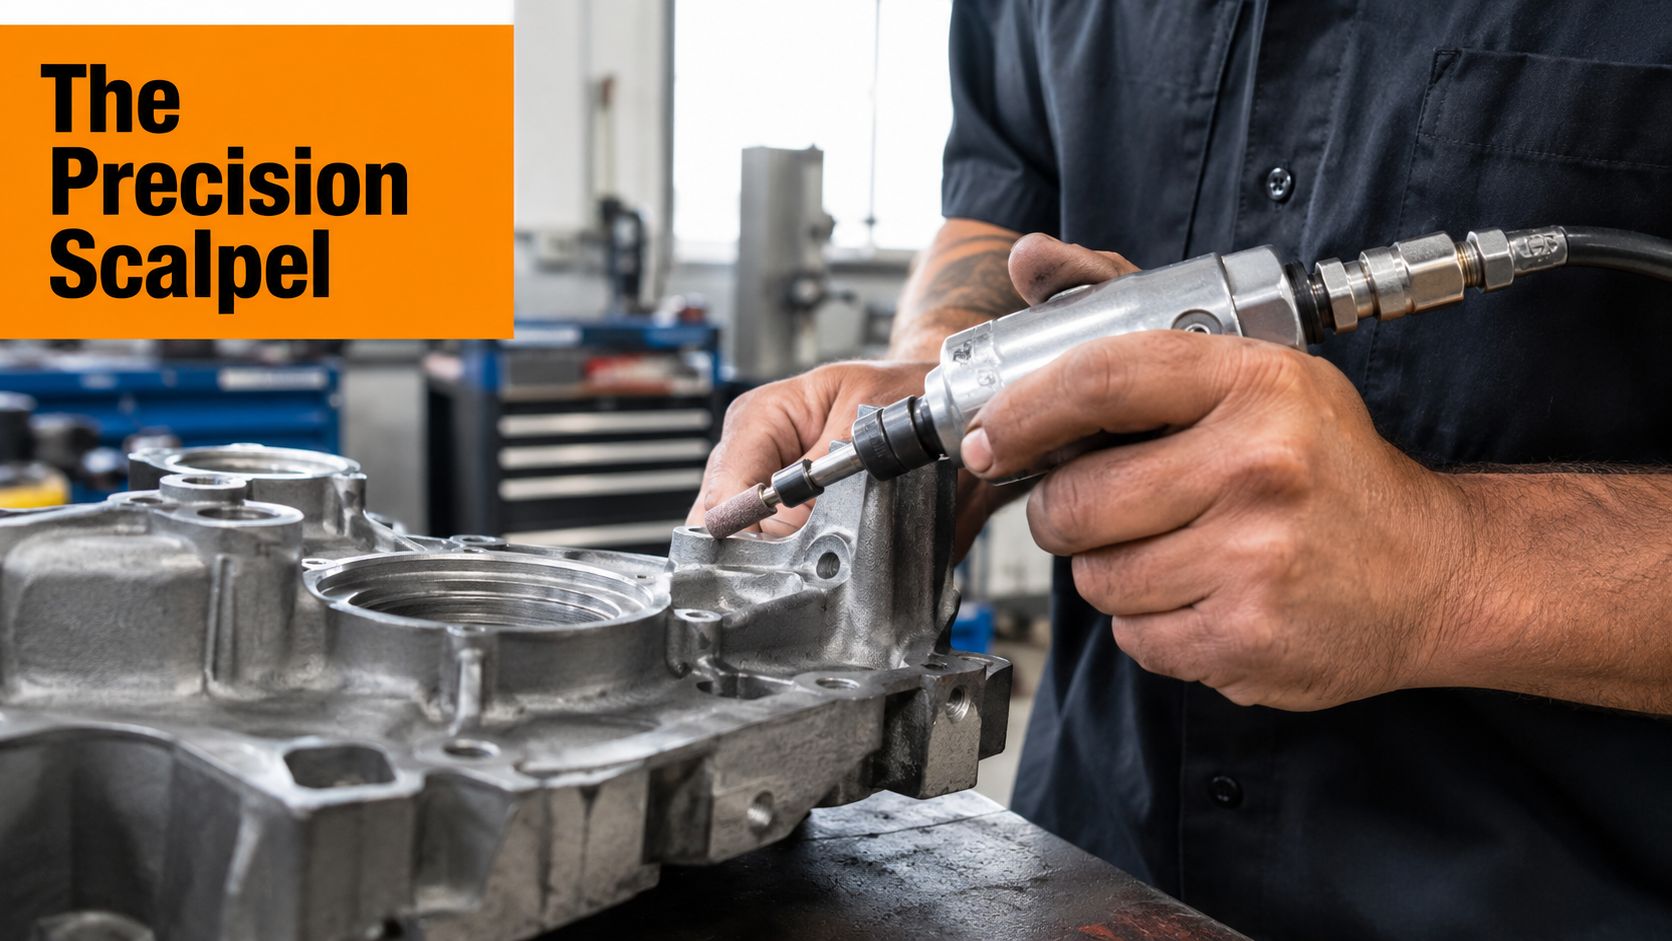
In practice, that makes it the scalpel of fabrication and detailing. An angle grinder is built for broader material removal, but an air die grinder is about reach, finesse, and staying in control near the final surface. That's why it shows up in automotive repair, metal fabrication, and industrial maintenance, especially where compressed air is already part of the workflow.
The market data backs up that staying power. The global straight air die grinder market was valued at USD 263 million in 2024, is projected to reach USD 275 million in 2025, and is forecast to rise to USD 359 million by 2032, which implies a 4.5% CAGR over the period, according to Intel Market Research. That doesn't read like a dying category. It reads like a tool class that keeps finding work because the jobs themselves still need precision.
How Pneumatic Mechanics Deliver Precision Power
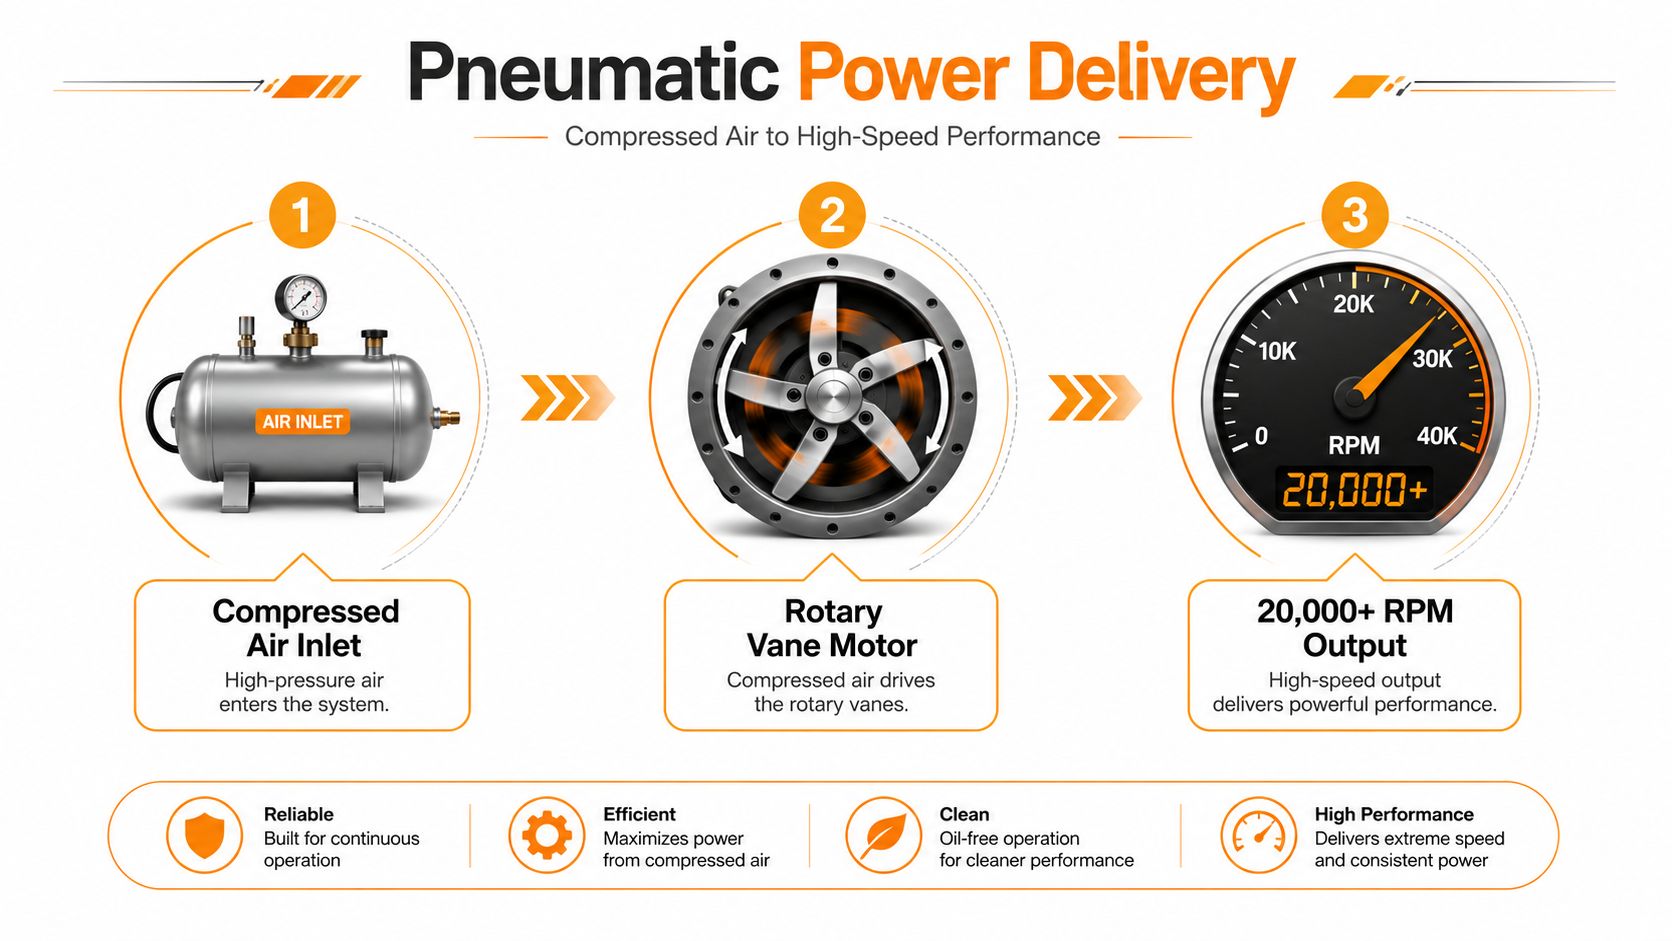
A pneumatic air die grinder feels precise because compressed air is turned into rotation with very little bulk in the hand. Inside the tool, a rotary vane motor uses airflow to spin fast enough for finishing, deburring, polishing, and light material removal. That compact, high-speed layout is why the tool fits so well into cramped castings, tight engine bays, and assembled parts where a larger grinder would get in the way.
A patent titled "Air die grinder" was filed on March 12, 1997 and published on July 7, 1998 in US5775981A, which shows how the modern tool settled into the way shops use compressed air. The same source also supports the practical speed range, with air die grinders typically operating around 15,000 to 30,000 RPM. Standard units at 90 PSI and about 6 CFM of air delivery can produce roughly 200 W to 400 W of output, which explains why they can remove material efficiently without feeling heavy or bulky.
Free speed is not the whole story
A spec sheet can mislead you if you only look at no-load RPM. A tool may advertise a fast free speed, but real work happens under load, when the burr bites and airflow has to keep the rotor moving. If the air supply is weak, the grinder sounds busy but cuts like it is tired.
Practical rule: judge the tool and the compressor as one system. A strong grinder on a weak air supply is still a weak setup.
PSI gets the air to the tool, but CFM keeps the motor fed. If the compressor cannot maintain airflow, the grinder loses bite, slows under pressure, and starts to feel inconsistent from one pass to the next. For a related shop-air comparison, see the air blower gun guide, which shows how different pneumatic tools share the same air-supply basics even when the work they do is different.
If you want a closer look at how shop air moves cleanly to tools, the guide to compressor piping for UK engineers from MA Hydraulics Ltd is a useful reference.
For a related shop-air comparison, see the 100 psi air compressor guide, especially if you are trying to understand where pressure ratings fit into tool performance.
Choosing the Right Form Factor for the Job
A lot of buyers start with brand names and finish with regret. The body shape matters more than you might expect, because a grinder can be powerful and still be useless if it can't physically reach the surface you need to work. That's where the form factor decision becomes practical, not theoretical.
Straight grinders for reach and control
A straight air die grinder works best when the burr has to travel into a passage, port, or long access path. It's the natural pick for porting, deep deburring, and situations where the tool needs to line up with the work instead of turning around it. In automotive work, that usually means engine castings, cylinder head cleanup, and long-reach finishing where the operator wants direct control.
Right-angle grinders for corners and weld joints
A right-angle die grinder earns its keep in tight weld cleanup, gasket removal, and spots where a straight body would crash into the surrounding structure. It's not the fastest option in open access, but it often wins the job because the head can get where the burr needs to be. On awkward chassis work, that matters more than raw speed.
Pencil grinders for micro-detail work
A pencil grinder is the specialist's choice. It's best for micro-detailing, engraving, tiny burr removal, and ultra-fine work where the contact area is small and the hand wants precise pressure, not brute force. The mistake here is using a pencil grinder for serious stock removal, because it's meant for finesse.
| Form Factor | Best Use Case | Access Level |
|---|---|---|
| Straight | Porting, deep-reach deburring, internal finishing | High reach in a straight line |
| Right-angle | Tight weld joints, gasket cleanup, corner work | Best around obstructions |
| Pencil | Micro-detailing, engraving, tiny corrections | Extremely tight, precise access |
The choice also changes how the tool feels over time. A straight grinder usually gives you the clearest line of sight. A right-angle body often helps the wrist in cramped spaces, while a pencil grinder reduces hand strain only when the task calls for a light touch.
If your shop already uses a long hose run, keeping the air line tidy matters just as much as the tool body. A practical resource on that side of the setup is the 100-foot air hose reel guide, because reach affects how freely you can use the grinder without fighting the line.
A grinder should fit the work before it fits the budget. If the head can't reach the surface cleanly, the wrong model becomes expensive fast.
The Compressor Match and Airflow Requirements
A lot of good tools disappoint people. The grinder itself may be fine, but the compressor can't keep up, so the tool slows, the burr chatters, and the finish gets inconsistent. That's why CFM matters more than the marketing brochure makes it sound.
Published tools show a wide spread in airflow demand. One lighter grinder is listed around 3.5 to 4.1 CFM, while a high-flow 0.6 hp unit reaches 26 CFM at 90 PSI, which means the difference isn't cosmetic, it changes the shop setup you need. Those figures come from Grainger Canada's air die grinder listing. If your compressor can't deliver the required CFM at pressure, the tool won't hold speed under load.
What happens when airflow is short
The symptom is easy to spot. The grinder spins acceptably in the air, then bogs down as soon as the burr touches metal. That speed sag lowers removal rate and makes the cut feel uneven, especially during continuous polishing or deburring.
A good spec comparison shows how the airflow story matters even when horsepower looks similar. A 1.0 HP straight grinder was published at 23,000 RPM, 4.1 CFM, 78 dBA, and 0.45 m/s² vibration, while a 90-degree variant from the same line held the same horsepower and airflow but ran at 18,000 RPM with slightly higher vibration at 0.5 m/s². Those figures come from Capri Tools' grinder set page. The lesson is straightforward, the tool shape and airflow demand both affect how it behaves in the hand.
Shop rule: size the compressor for the tool's real airflow demand, not the no-load speed on the carton.
Before you start cutting, check the regulator, confirm the line pressure, and make sure the hose and fittings aren't choking the supply. Then run the tool in short bursts, listen for droop, and watch for heat buildup. If the tool fades as you work, the compressor is often the bottleneck, not the grinder.
Operational Safety and Vibration Management
A die grinder doesn't punish you all at once. It wears on your hands, hearing, and concentration a little at a time, especially during long finishing sessions. That's why safety with this tool is less about dramatic accidents and more about habits that keep the job controlled from start to finish.
Noise is one of the first things to respect. In the published spec data, one 1.0 HP straight model sits at 78 dBA, while another grinder example reaches 96 dB(A) and 1.68 m/s² vibration, according to the Capri and related tool listings already cited. That spread tells you two things, noise and vibration vary by design, and your PPE choices should match the tool you picked, not the one you hoped you were using.
What a safe setup looks like
- Wear proper eye protection: burrs throw chips fast, and even light deburring creates sharp debris.
- Use hearing protection: tools in this class can be loud enough that hearing protection isn't optional during extended use.
- Check accessories before mounting: a cracked stone, wheel, or burr is not worth trusting.
- Match the accessory to the task: oversized or undersized accessories reduce control and raise risk.
- Hold the tool with a relaxed grip: death-gripping the body makes vibration fatigue worse, not better.
Moisture and lubrication matter here too. A dry or contaminated tool can run harshly, which pushes vibration up and makes the vane motor work harder than it should. If the tool starts feeling rough after a period of neglect, don't assume it's just old. Often it's dirty air, poor lubrication, or both.
Keep the work steady and let the burr do the cutting. Forcing the tool creates heat, noise, and fatigue faster than most apprentices expect.
Daily Maintenance and Troubleshooting
Most die grinder problems start small. A tool that sounds a little dry today becomes a tool that stalls, heats up, or loses consistency next week. If you want it to last, treat maintenance as part of the job, not a separate chore.
Simple routine that prevents most headaches
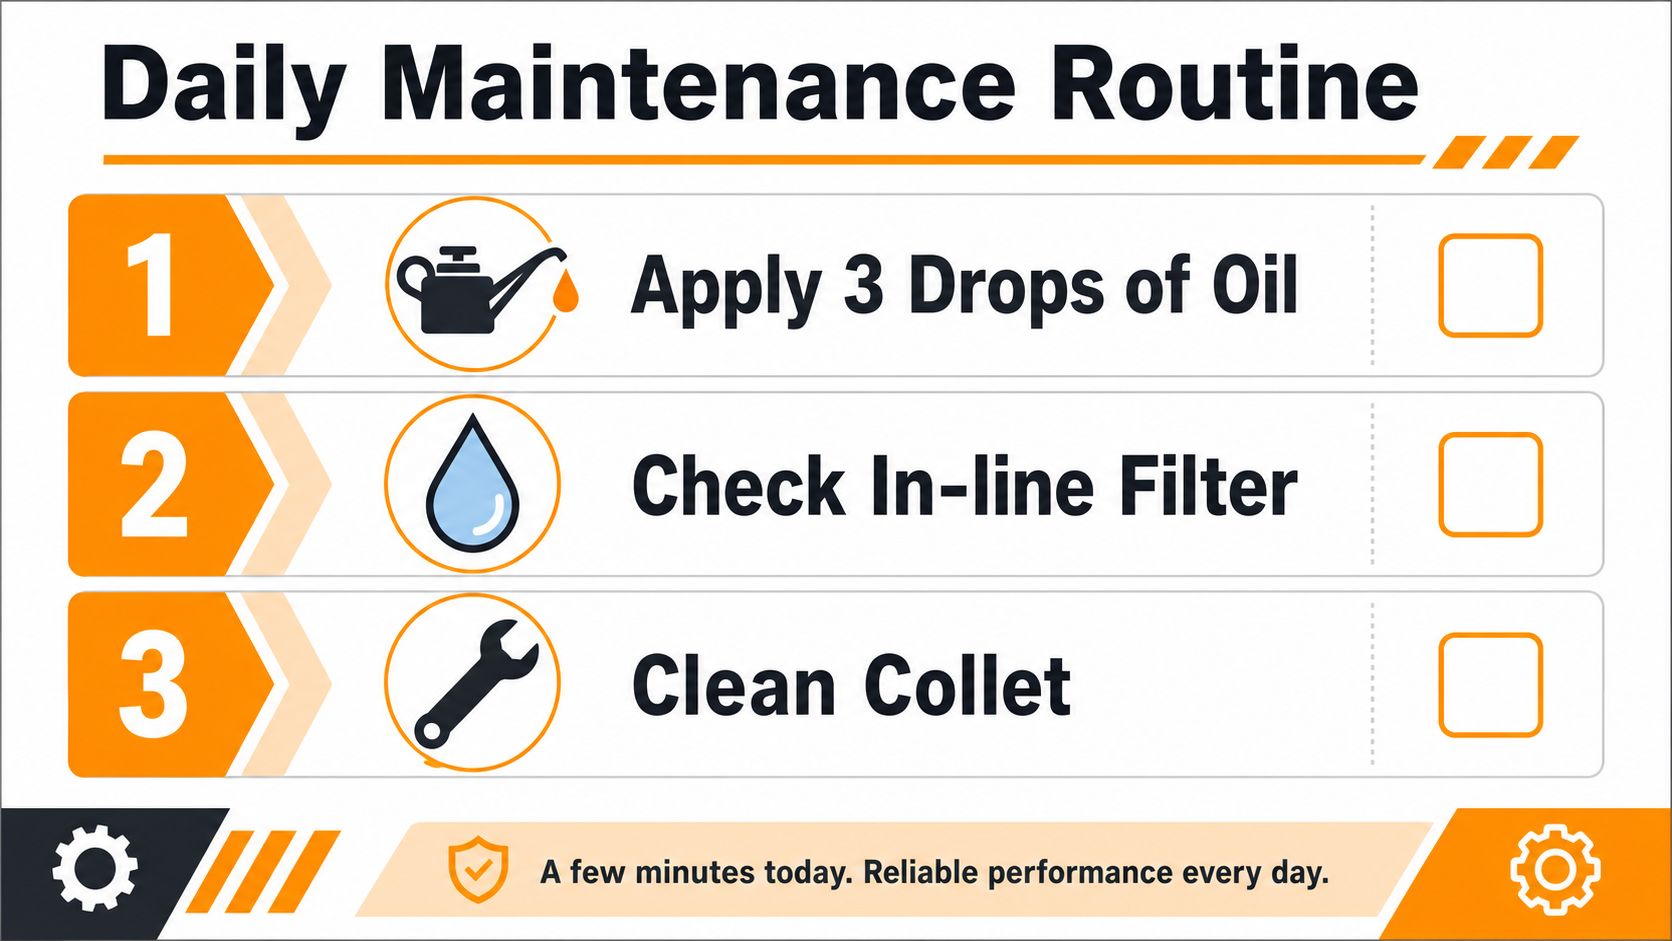
- Apply three drops of oil before use if the tool doesn't have a dedicated lubricator.
- Check the in-line filter for water and debris, because moisture shortens tool life.
- Clean the collet so the burr seats properly and doesn't wobble in service.
A dirty collet can make a good grinder feel sloppy. A clogged filter can make the tool act weak even when the motor itself is fine. And if the body gets hot fast, that often points back to poor lubrication or contaminated air rather than a bad day at the bench.
| Symptom | Likely Cause | First Check |
|---|---|---|
| Runs but has no power | Low airflow, restricted hose, or internal vanes sticking | Compressor supply and air line |
| Runs too hot | Lack of lubrication or dirty air | Oil, filter, and moisture |
| Feels rough or uneven | Dirty collet or worn accessory | Collet condition and burr seating |
A grinder that's fed clean, lubricated air usually rewards you with predictable behavior. A neglected one becomes inconsistent, and inconsistency wastes time because you end up chasing the finish instead of completing it.
The buying decision should follow the same logic. Match the tool to your compressor, match the form factor to your task, and choose accessories that fit the work instead of fighting it. If you do that, the grinder becomes one of the most useful tools in the shop instead of another noisy box taking up shelf space.
If you want better wash tools, faster cleanup around the garage, and gear that fits the way real owners work, take a look at SwiftJet. Their foam gun setup is built for practical vehicle care, and it pairs well with the kind of shop mindset that values control, durability, and clean results.
