
Before you even think about grabbing a calculator, let's clear up the most common mistake people make with a 1 in 10 dilution. It's a simple misunderstanding that can throw your entire mixture off, leaving you with a solution that's either too weak to work or so strong it could damage surfaces.
A true 1:10 dilution means you add 1 part concentrate to 10 parts water. This gives you 11 total parts, not 10. That small detail is everything.
What a 1 in 10 Dilution Really Means
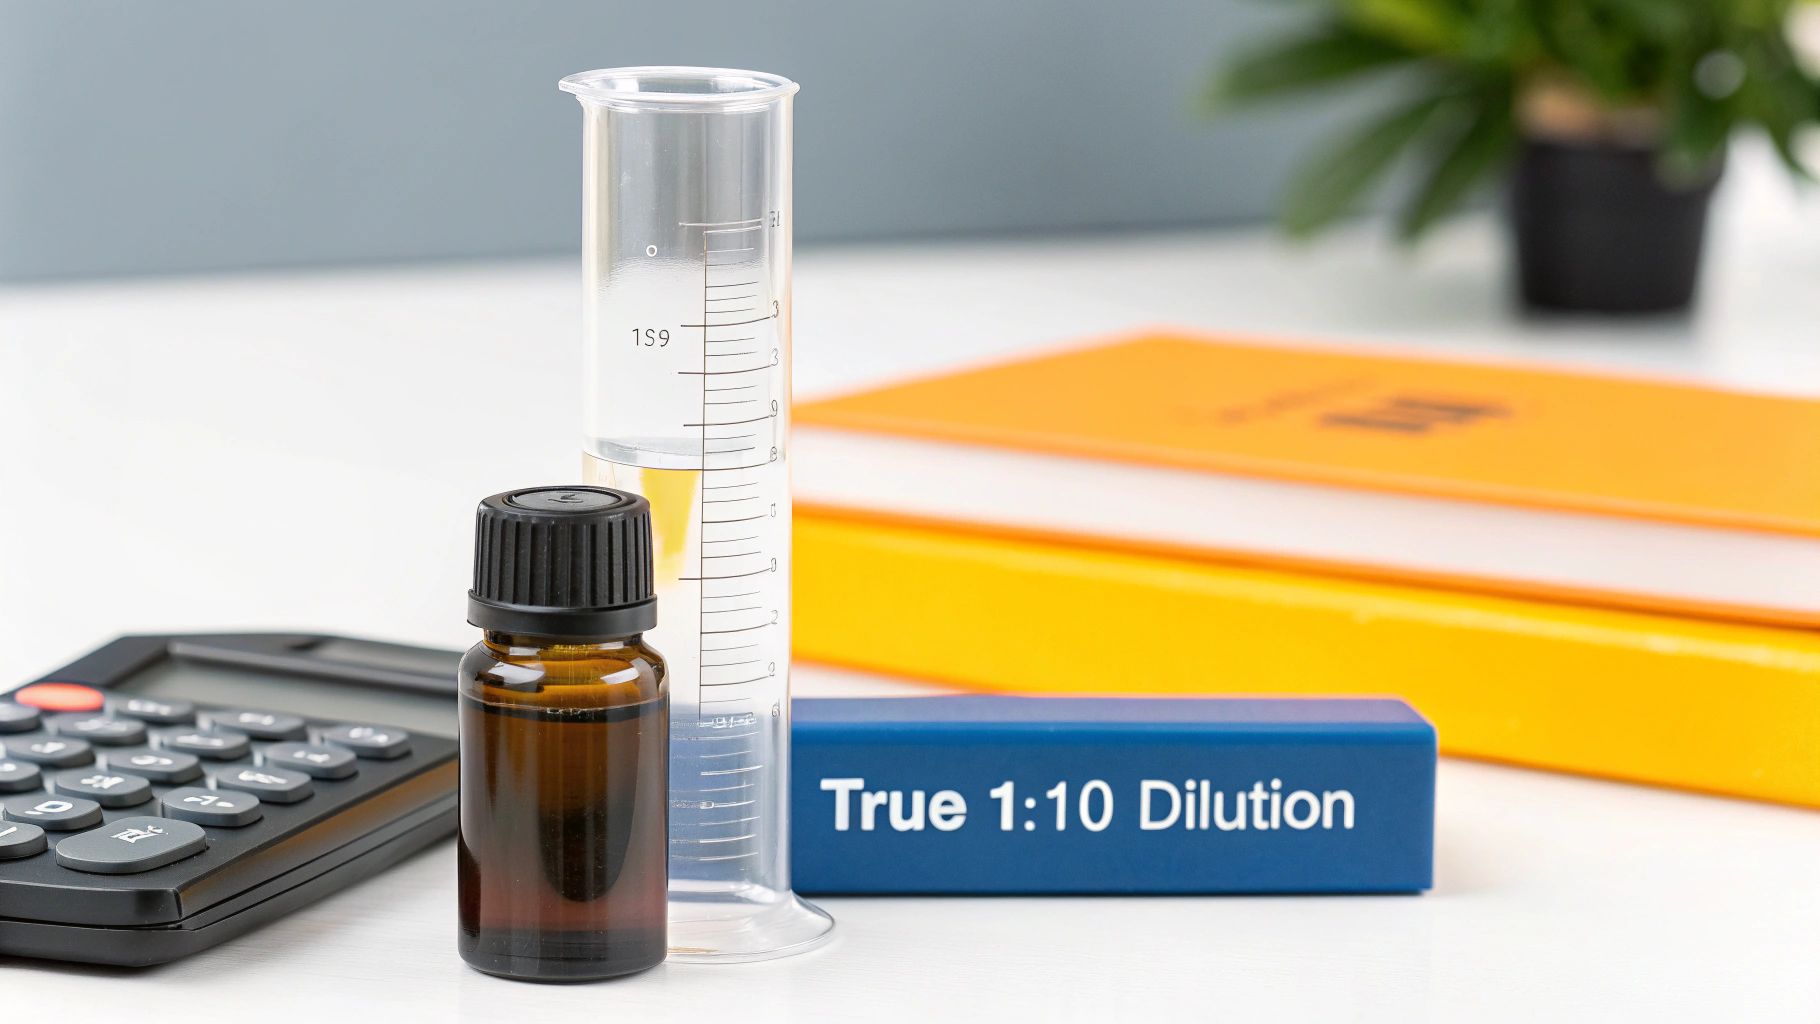
When you see "1 in 10" or "1:10" on a product label, it's a recipe. The "1" is your concentrate—that potent car shampoo or heavy-duty cleaner. The "10" is your water (or whatever you're using to dilute it). Many people assume this means the final mix is 10% concentrate, but that's not quite right. It's a subtle but important difference.
Let's look at this quick summary to see how the parts come together.
1 in 10 Dilution At a Glance
| Component | Parts | Description |
|---|---|---|
| Concentrate | 1 part | The product you start with. |
| Water (Diluent) | 10 parts | The liquid you add to the concentrate. |
| Total Solution | 11 parts | The final, ready-to-use mixture. |
As you can see, the concentrate is only one-eleventh of the final volume, not one-tenth. Getting this right is the secret to consistent, predictable results every single time.
The Math in Action
So, what does this look like in the real world?
- Your concentrate actually makes up about 9.1% of the total solution (1 ÷ 11 = 0.0909).
- The water makes up the other 90.9%.
This level of precision is especially important when you're dialing in the perfect mix for your SwiftJet foam cannon. If you want to learn more about getting that thick, shaving-cream-like foam, check out our complete foam cannon soap ratio guide.
The takeaway is simple: a 1:10 ratio means 1 part concentrate + 10 parts water. The final volume is the sum of all parts, which in this case is 11. This means your concentrate is actually about 9.1% of the finished solution.
Once you get this concept down, mixing any chemical becomes second nature. Whether you're filling a small spray bottle or a large tank, the principle remains the same. It’s the foundation for making sure every mixture you prepare is effective, safe, and does exactly what it's supposed to do.
Simple Formulas for Nailing Your Dilutions
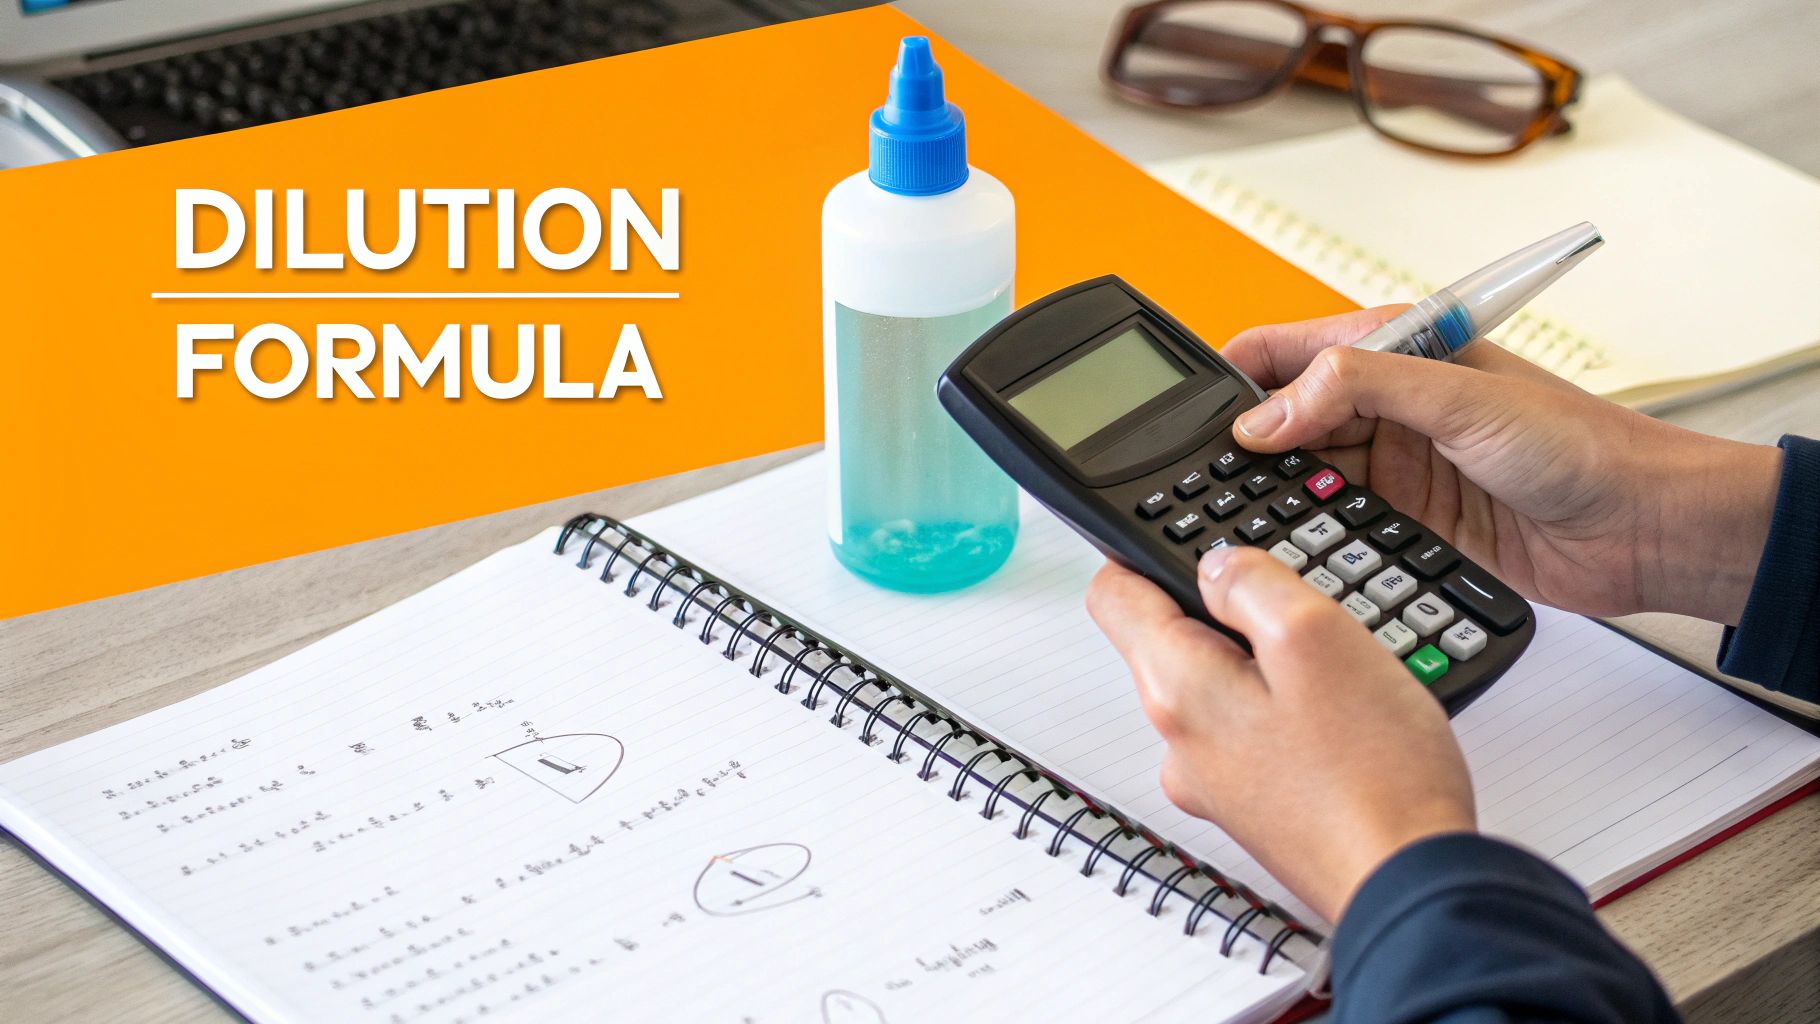
Now that we've cleared up what a 1:10 ratio means, let's get down to the practical math. Don't worry, you won't need a fancy 1 in 10 dilution calculator or complex algebra. Just two basic formulas will cover any situation you'll run into, whether you're mixing a strong cleaner or a mild car wash soap.
The first step is simply figuring out what you're trying to do. Are you filling a specific container to the top, or are you starting with a measured amount of water? Each scenario has its own simple path forward.
Formula 1: When You Know the Total Volume
This is the one you'll use most often. You've got a spray bottle, a bucket, or a foam cannon reservoir, and you just want to fill it up with the final, ready-to-use solution.
- To find the concentrate needed: Total Volume ÷ 11
- To find the water needed: Concentrate Amount × 10
Let’s run through a quick example. Say you want to fill a standard 32 oz spray bottle. Just divide 32 by 11, which gives you 2.9 oz of concentrate. For the water, multiply that 2.9 by 10, giving you 29 oz. Mix them together, and you have about 32 oz of perfectly diluted product.
Formula 2: When You Know How Much Water You Have
Sometimes, you start with the water. Maybe you’ve already filled a bucket with a gallon of water and just need to add the right amount of chemical. This one's even easier.
- To find the concentrate needed: Water Volume ÷ 10
If you've got 1 gallon of water (128 oz), the math is a straight shot: 128 ÷ 10 = 12.8 oz of concentrate. Pour that in, give it a swirl, and you're good to go. This is a great way to confidently mix your own homemade car wash solution.
A Quick Pro Tip: I always add the concentrate to the water, never the other way around. This little trick prevents the solution from foaming up too much as you pour and helps you avoid splashing the potent, undiluted chemical.
This dilution method isn't just for car detailing; it’s a standard in scientific labs for a reason. A 1:10 dilution reliably reduces the concentration of a chemical by about 90%, making it a trusted benchmark. If you want to dig a bit deeper into how these concentrations are expressed, it can be helpful to brush up on the basics of understanding percentages.
Real-World Examples for Any Project Size
Let's put the math into practice. Seeing how these formulas work with real numbers, whether you're mixing a small spray bottle or a big bucket, is the best way to get comfortable with them.
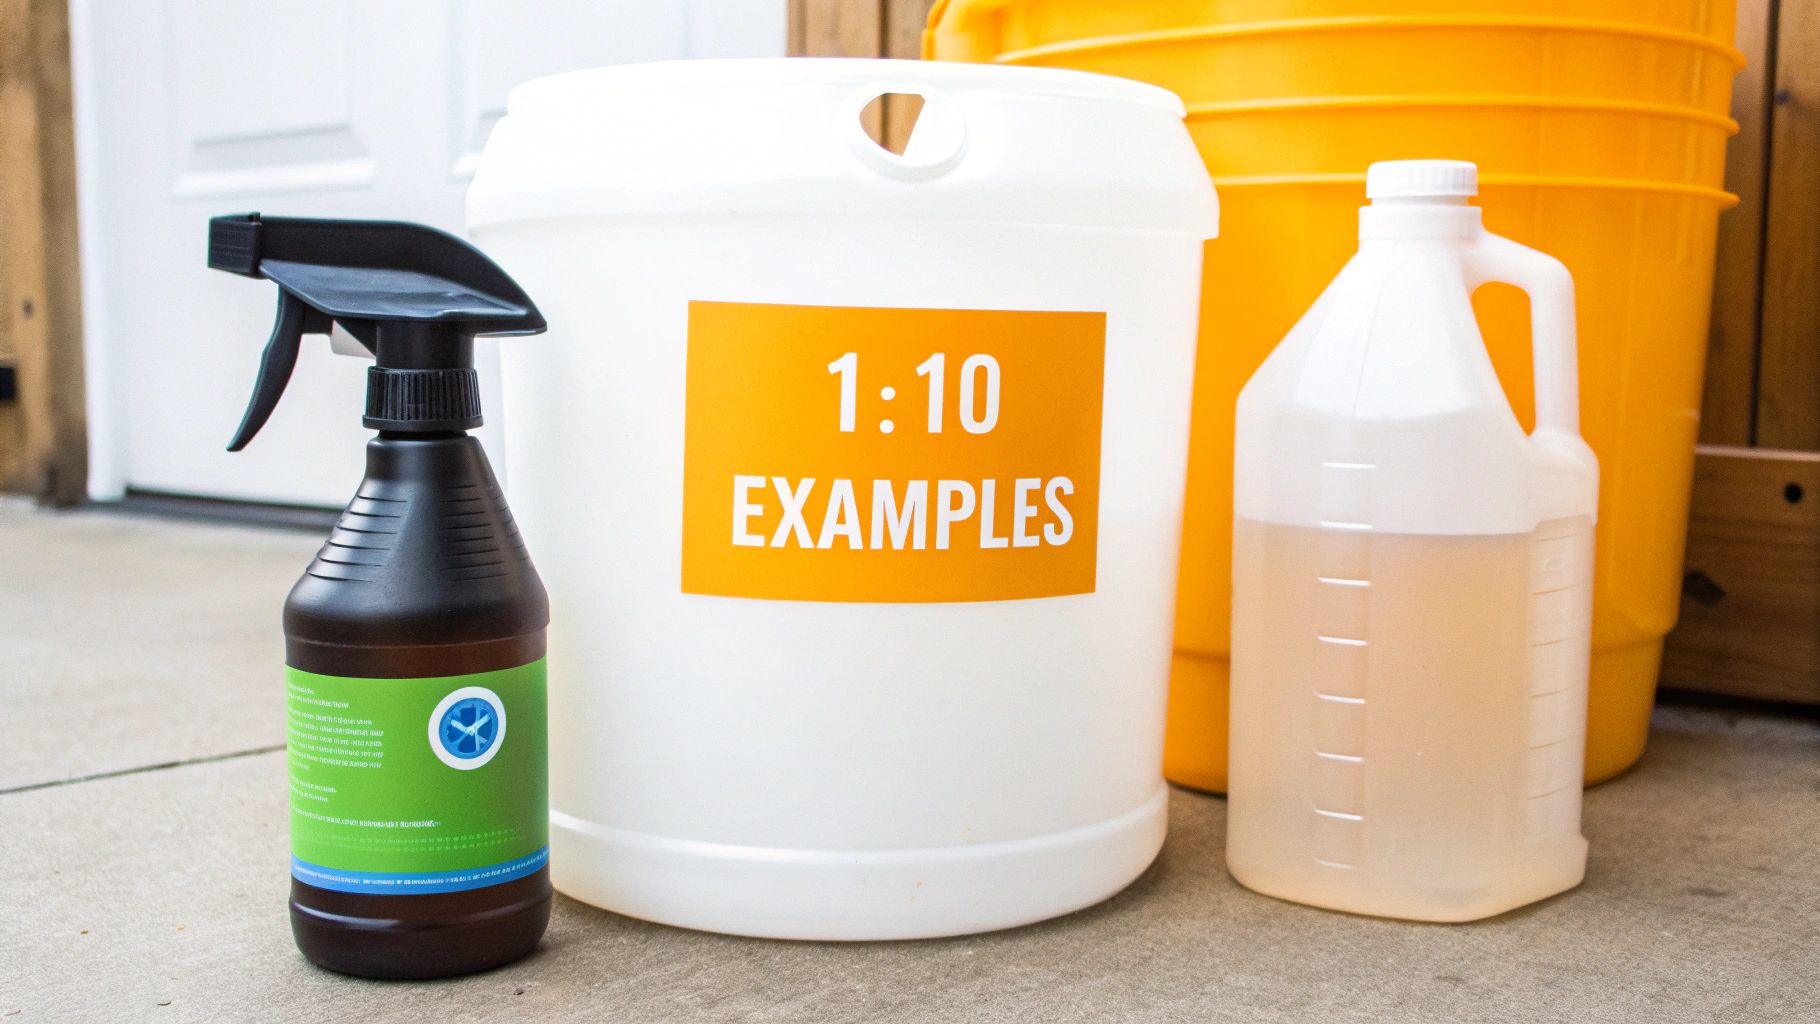
Below are a few common scenarios you'll likely run into, showing the exact amounts you'll need in both ounces and milliliters.
Mixing for Household Tasks
Even for a small job, getting the ratio right matters. Think about filling a standard 32 oz spray bottle for an all-purpose cleaner. You don’t need a fancy calculator, just some simple division.
Simply divide your total volume (32 oz) by 11. That gives you 2.9 oz of concentrate. The rest, 29.1 oz, is your water. It’s that easy.
Common 1:10 Dilution Cheat Sheet
For those times you just need the numbers without the fuss, this quick-reference table is a lifesaver. I keep a similar one taped up in my garage for quick mixes.
| Total Volume | Concentrate Needed | Water Needed |
|---|---|---|
| 32 oz | 2.9 oz | 29.1 oz |
| 1 Gallon (128 oz) | 11.6 oz | 116.4 oz |
| 5 Gallons (640 oz) | 58.2 oz | 581.8 oz |
| 1 Litre (1000 ml) | 91 ml | 909 ml |
This little cheat sheet covers the most common sizes and really speeds up the process when you're in the middle of a project.
Scaling Up for Larger Applications
What if you're tackling a much bigger job, like washing a car or treating a large section of your lawn? The logic stays exactly the same, even when you're working with a 5-gallon bucket (640 oz).
Just do the same math: 640 oz / 11 = 58.2 oz of concentrate. The remaining 581.8 oz is water.
Many professional concentrates, especially in horticulture, come with metric measurements. If you're mixing a 5-litre solution in a garden sprayer, you'll need 455 ml of concentrate and 4,545 ml (4.5 L) of water. It’s a common ratio used by pros everywhere. In fact, an estimated 65% of commercial farms rely on 1:10 dilutions for preparing things like pesticides and fertilizers. For more on this, the folks at Omni Calculator have some great resources.
My Personal Tip: I always label my pre-mixed batches with the ratio, the contents, and the date I mixed it. It saves me a ton of guesswork and hassle later on.
Pro Tips for Nailing the Perfect Mix
Getting the ratio right is one thing, but applying it effectively is another. This is especially true when using tools like a foam gun.
To get that perfect, thick foam with a tool like the SwiftJet Foam Gun, you need a true 1:10 mixture as it's being sprayed. I always keep a separate, calibrated measuring cup right next to my foam cannon canister. This way, I know the solution in the canister is precise before I even hook up the hose.
A few other habits I've picked up over the years:
- Do a small test spot. Before going all-in, I mix a tiny sample to check the foam's consistency. If it's too thin or runny, I can adjust before wasting a large batch.
- Use clear containers. Whenever possible, mix in a clear bottle or a graduated cylinder. Being able to see the measurement lines makes life so much easier.
- Rinse everything. Always give your measuring tools a good rinse between different chemicals to avoid cross-contamination.
- Store concentrate properly. Leftover concentrate should always go back into its original, clearly labeled container for safety.
Mastering these simple steps will take the guesswork out of your mixing. You’ll feel confident tackling any project, knowing your dilutions are spot-on every single time.
How to Use Foam Guns and Sprayers
https://www.youtube.com/embed/DcD-VN4nf_Y
Bringing a foam gun into your car washing routine is a huge upgrade, but the settings can be a bit confusing at first. You’ll see dials marked with ratios like 1:10 or 1:20, but it's crucial to understand these don't mean you're getting that exact dilution straight from the nozzle.
That dial just controls how much water from your hose mixes with the soap solution inside the canister. To hit a true 1:10 final mixture on the paint, you actually need to "pre-dilute" the concentrate inside the foam gun's reservoir first.
Pre-Diluting for Perfect Foam
Think of it as a two-step process. First, you create a slightly stronger mix in the canister, and then the foam gun dilutes it a second time as it sprays.
Let's say your foam gun canister holds 32 oz. Instead of pouring in straight soap, a great starting point is to add 4-5 oz of your favorite car wash soap and then top it off with about 28 oz of warm water. Mixing with warm water helps the soap dissolve completely, giving you a much more consistent foam. This creates a potent soap solution that’s ready for the foam gun to work its magic.
After you've pre-diluted the solution in your canister, you can fine-tune the foam's thickness with the top dial. Turning it to a richer setting (often marked with a "+" or the letter "E") will pull more of your pre-mixed solution from the canister, giving you that thick, shaving-cream-like foam. For a full breakdown, our complete guide on how to use a foam gun walks through the whole process for tools like the SwiftJet.
My personal method involves a quick test spray on a small, inconspicuous area first. If the foam is too runny and slides right off, I'll add another ounce of soap to the canister. If it's way too thick and clinging so much it's hard to rinse, I know to dial back the soap next time.
Why Your Foam Gun’s Settings Matter
It's a common mistake to assume the settings on all foam guns are the same. A "1:10" setting on one brand can be wildly different from another. The actual output is a moving target.
- Test your output: A simple way to get a feel for your specific gun is to fill the canister with only water. Spray into a measuring bucket for exactly 30 seconds and see how much water you end up with. This gives you a baseline for your gun's flow rate.
- Adjust for pressure: Don't forget that your home's water pressure (PSI) plays a big role. Higher pressure can force more water through the system, diluting the soap more aggressively than you might expect.
Once you realize that the canister mix and the gun's setting work together, you take control of the whole process. This two-step approach is the secret to getting that thick, effective foam you're looking for, rather than just guessing with the dial and hoping for the best.
Pro Tips for Safe and Accurate Mixing
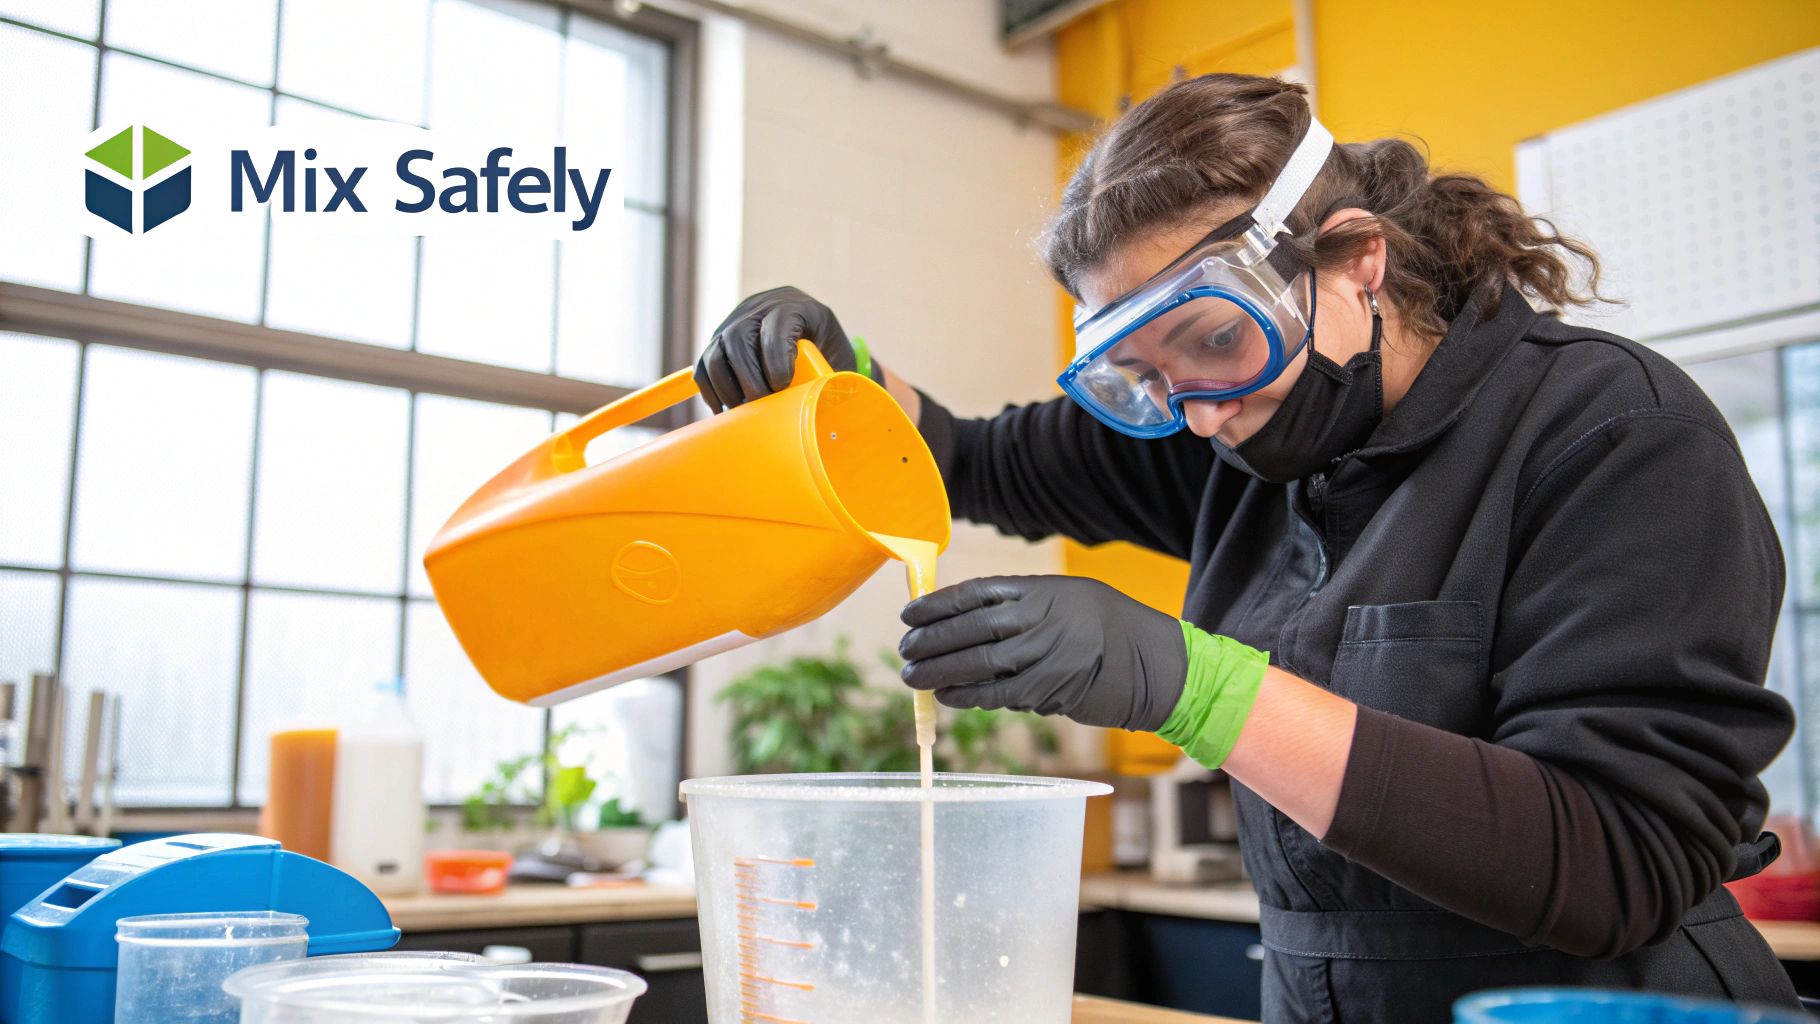
Getting the math right is half the battle, but your technique in mixing is what really guarantees a safe and effective result. The golden rule is simple: always add the concentrate to the water, never the other way around. This little habit prevents the dangerous splashes that can happen when water hits a potent chemical.
And speaking of safety, don't even think about mixing without gloves and goggles. It only takes a second for a mistake to happen. I also recommend working in a well-ventilated area—your garage with the door open is perfect—to avoid breathing in any fumes.
Here are a few habits I've picked up over the years that eliminate errors:
- Dedicated Tools: Keep a specific set of measuring cups and funnels just for your chemicals. Don't borrow them from the kitchen.
- Label Everything: As soon as you mix a batch, slap a label on it with the ratio, the contents, and the date you mixed it.
- Spot Test First: Before you go spraying a whole car or deck, test a small, inconspicuous area. This quick check has saved me from costly mistakes more than once.
These small steps make a huge difference, whether you're using a 1 in 10 dilution calculator or just winging it. An accurate mix not only works better but also protects the surfaces you're working on.
Must-Do Safety Measures
Rushing is your enemy when dealing with concentrated solutions. Take your time and pour the concentrate slowly and carefully into your water. This gives you total control.
Clear, readable labels are non-negotiable. They prevent someone from grabbing the wrong bottle and creating a dangerous situation. When you're done, always store any leftover concentrate in its original, clearly marked container.
Pro Insight: I always mix a tiny pilot batch first. It’s a great way to spot any potential issues with the solution before you’ve committed the time and product to a full batch.
A couple more things: always use a clean funnel to prevent cross-contamination between different products, and thoroughly rinse your measuring cups immediately after use.
For instance, when you're preparing homemade garden pest repellent recipes, getting the dilution just right is critical. You want it strong enough to deter pests but gentle enough not to harm your plants.
Quick Tricks for Nailing the Accuracy
For consistent results, use mixing containers with clear, easy-to-read measurement lines. A simple tip for powders or thick liquids is to use slightly warm water—it helps the concentrate dissolve much more quickly and evenly.
If you're setting up a foam gun or hose-end sprayer, you can calibrate it easily:
- First, fill your sprayer's reservoir with plain water.
- Spray into a measuring jug for exactly 20 seconds and see how much water you collected.
- You can then adjust your sprayer's settings to get the foam consistency you want, whether that's a thinner, wetter foam or a thick, clinging one.
Little checks like this take the guesswork out of the equation and stop you from wasting expensive solution.
Ultimately, building consistent habits is what leads to confidence and flawless results every single time.
Your Dilution Questions Answered
Even with all the formulas, a few questions always seem to pop up. Let's tackle some of the most common ones I hear, so you can mix your solutions with total confidence.
Is a 1:10 Ratio the Same as a 10% Solution?
This is a fantastic question, and it trips a lot of people up. The short answer is no, they aren't the same, and it's a critical difference.
A 1:10 dilution ratio means you're adding 1 part concentrate to 10 parts water. This gives you 11 total parts in your final mix. When you do the math, the concentrate is only about 9.1% of that total volume.
A true 10% solution, on the other hand, means the concentrate makes up exactly 10% of the final volume. To get that, you'd actually mix 1 part concentrate with 9 parts water, giving you a total of 10 parts. It’s a subtle but important distinction.
Can I Store Pre-Mixed Solutions?
Generally, yes, but there are a couple of things to keep in mind. If it’s a simple mix of a chemical concentrate and water, it should last pretty much indefinitely as long as it's in a sealed, clearly labeled container and kept out of the sun. The high or low pH of most concentrates keeps bacteria from growing.
Where it gets tricky is when you start adding other stuff to the mix, like a squirt of dish soap into your weed killer. Those additives can break down over time and reduce the solution's effectiveness. For any custom cocktail like that, I always recommend mixing just what you need and using it within a few months for the best results.
How Do I Calculate Other Dilution Ratios?
The great news is the logic is exactly the same, no matter the ratio. If a product calls for a 1:20 dilution, you just remember you have 21 total parts (1 part concentrate + 20 parts water).
To figure out how much concentrate you need, just divide your total desired volume by 21.
Let's say you want to make a full gallon (128 oz) of a 1:20 solution. The calculation is simple:
128 oz / 21 = 6.1 oz of concentrate.
You'd then top that off with the remaining 121.9 oz of water.
This straightforward approach works for any ratio you'll ever come across.
Ready to stop guessing and start foaming? The SwiftJet Foam Gun makes getting that perfect, sudsy car wash incredibly simple.
Get your SwiftJet Foam Gun today and experience a professional-level clean at home!