
Every great car detail follows a proven roadmap. You start by getting your workspace and tools in order, then move to a deep interior clean, followed by washing and decontaminating the exterior. After that, it's paint correction time, and finally, you lock in all your hard work with a protective layer. Following this order is key—it prevents you from making simple mistakes like causing scratches or leaving water spots.
Setting the Stage for a Perfect Detail
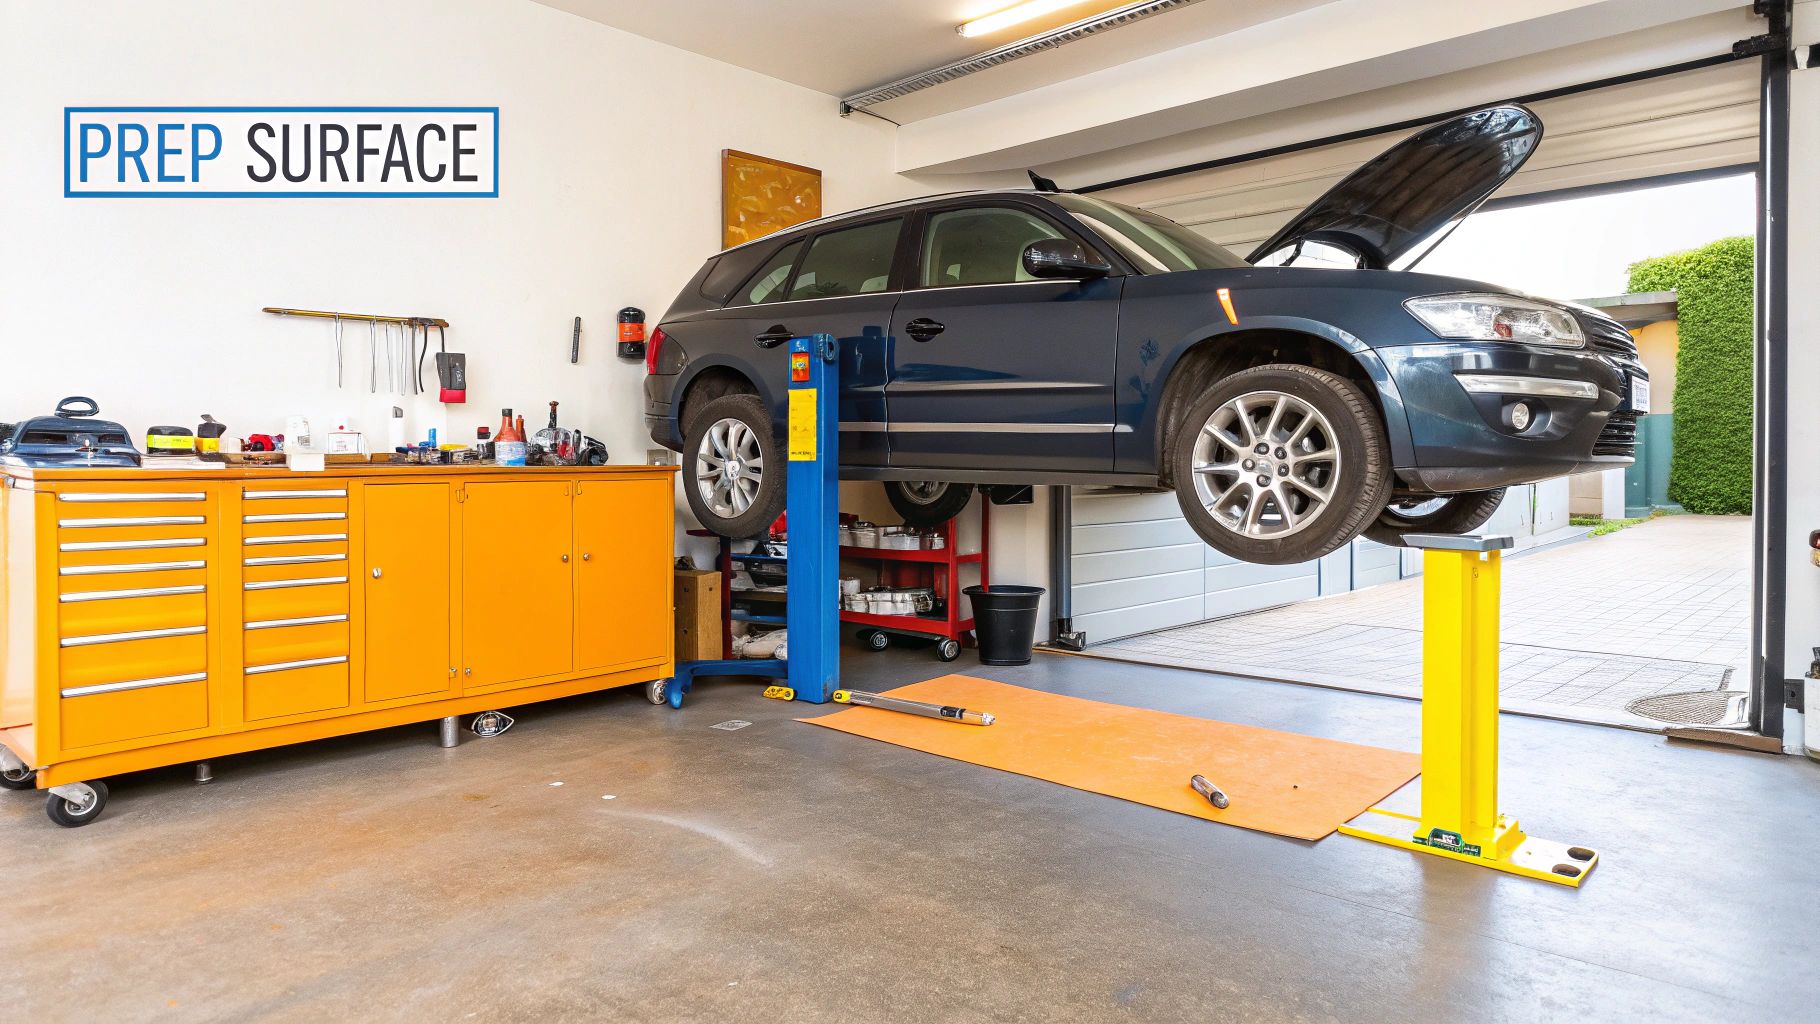
Before you even think about spraying the car down, the prep work you do will make or break the final result. The number one rule? Get out of the sun. Detailing in direct sunlight is a classic rookie mistake. Products will bake onto the surface before you have a chance to work them in or wipe them away, leaving you with a streaky, spotty mess.
Just as important, make sure every panel on the car is cool to the touch. A hot hood will cause your cleaners and polishes to evaporate way too fast, killing their effectiveness. Give it a quick touch—if it feels even slightly warm, it’s best to wait until it cools down.
Your Pre-Detailing Checklist
Trust me, there’s nothing worse than getting halfway through a wash and realizing you’ve run out of clean microfiber towels. A quick check of your supplies before you start saves you from that kind of frustration and keeps the whole process running smoothly.
Make sure you have all the essentials ready to go. If you're building out your kit, our complete car detailing supplies list is a great place to start.
At a bare minimum, you'll want this setup:
- Two Buckets with Grit Guards: This is non-negotiable. One for soapy water, one for rinsing your wash mitt. It's your best defense against swirl marks.
- Plenty of Microfiber Towels: You can never have too many. Keep separate towels for washing, drying, glass, and the interior to prevent cross-contamination.
- pH-Neutral Car Shampoo: A good shampoo will cut through dirt and grime without stripping off any wax or sealant you already have on the paint.
- Dedicated Wheel Cleaning Tools: Your wheels are covered in brake dust and road grime. Use separate brushes and mitts for them so you're not dragging that filth all over your paint.
A well-organized workspace is the first step toward a professional-quality detail. By preparing your tools and environment, you create an assembly line of success, making each subsequent step easier and more effective.
Making the Interior Feel Brand New Again
Let's be honest, the interior is where you actually live in your car, but it's often the last thing people think about cleaning. Bringing back that new-car feel isn't just about a quick wipe-down; it requires a systematic attack.
First thing's first: get everything out. I mean everything. Pull out the floor mats, and clear out the receipts, empty coffee cups, and all the random stuff that accumulates in door pockets and cup holders. You can't clean a cluttered space.
With a blank slate, it’s time to vacuum like you mean it. Don't just skim the surface. Grab a crevice tool and get into those tight spots between the seats and the center console where all the crumbs hide. A brush attachment is perfect for gently lifting dust from air vents and textured plastics. This isn't just vacuuming; it's excavating the foundation of dirt.
Tackling Different Interior Surfaces
Your car's interior is a cocktail of different materials—plastic, vinyl, leather, cloth, and glass. Grabbing one "all-purpose" cleaner and going to town is a rookie mistake that can cause real damage. Each surface needs its own specific approach.
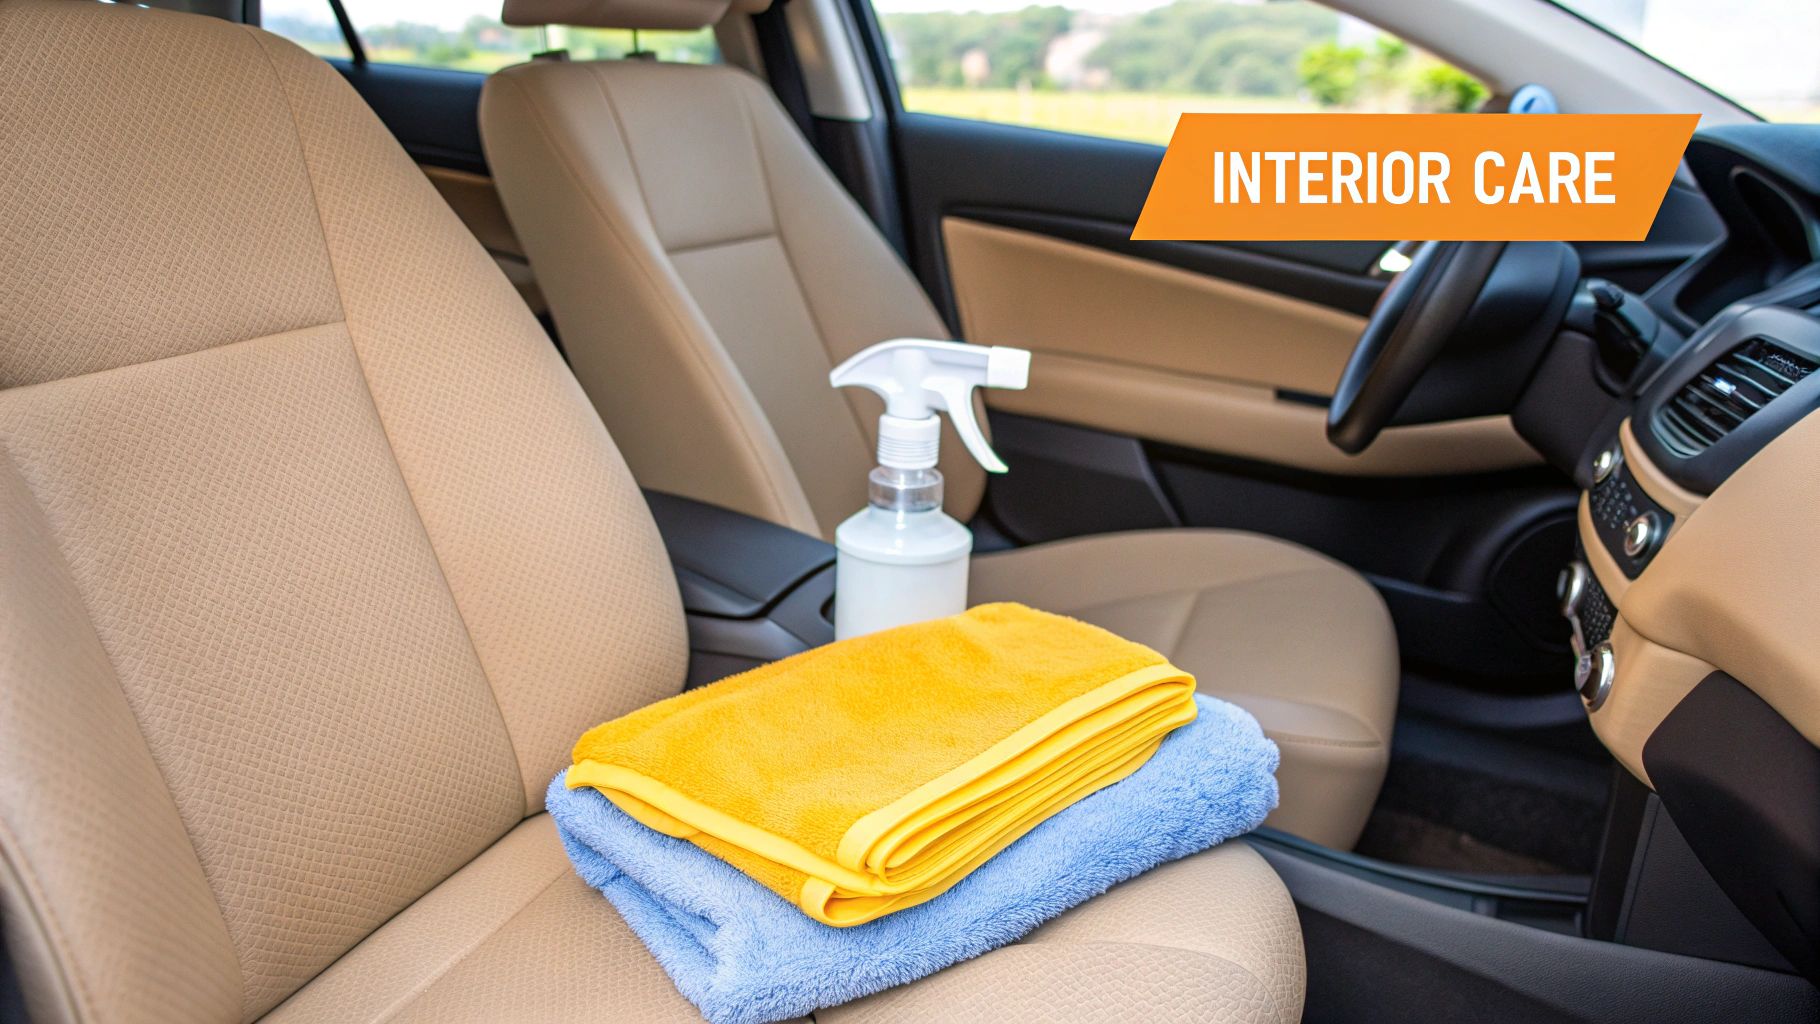
For hard surfaces like your dashboard, door panels, and console, a quality interior cleaner is the right tool for the job. Here’s a pro tip: never spray the cleaner directly onto the surface. Mist it lightly onto a clean microfiber towel instead. This prevents overspray from hitting your windows or infotainment screen and gives you total control, eliminating those annoying streaks.
Once everything is clean, don't skip the UV protectant. Think of it as sunscreen for your car's plastics and vinyl. A quick application can prevent the dashboard from cracking and fading after years of sun exposure.
The biggest mistake I see is people using harsh household cleaners on their car's interior. These products can strip protective finishes, discolor plastics, and completely dry out leather, leading to expensive repairs down the line.
Deep Cleaning Upholstery and Fabrics
Cloth seats and carpets are magnets for spills, dirt, and odors. For everyday grime, a good upholstery cleaner and a stiff brush will do the trick. Just spray the cleaner, give the area a good scrub to lift the dirt out of the fibers, and then blot it up with a dry microfiber towel.
For a truly deep clean or to tackle some set-in stains, you might need to bring in the heavy machinery. A carpet extractor is a game-changer. It pushes a cleaning solution deep into the fabric and then sucks it—along with years of filth—right back out. The dirty water you'll dump out is both disgusting and deeply satisfying.
- Leather Care: Leather requires a two-step process. First, use a dedicated leather cleaner with a soft-bristled brush to gently scrub away body oils and dirt. Wipe it clean, and immediately follow up with a high-quality leather conditioner. This puts moisture back into the material, keeping it soft and preventing cracks.
- Screens and Electronics: Infotainment screens are delicate. Always use a cleaner specifically made for electronics and spray it onto a fresh microfiber cloth, not the screen itself. Never use an ammonia-based glass cleaner here; it can eat away at the anti-glare coating.
The final touch is cleaning the inside of your windows. Use a good, streak-free glass cleaner and the two-towel method. One towel applies the cleaner and does the initial wipe, and a second, completely dry towel buffs the glass to a crystal-clear finish. It’s a small step that makes the entire car feel infinitely cleaner.
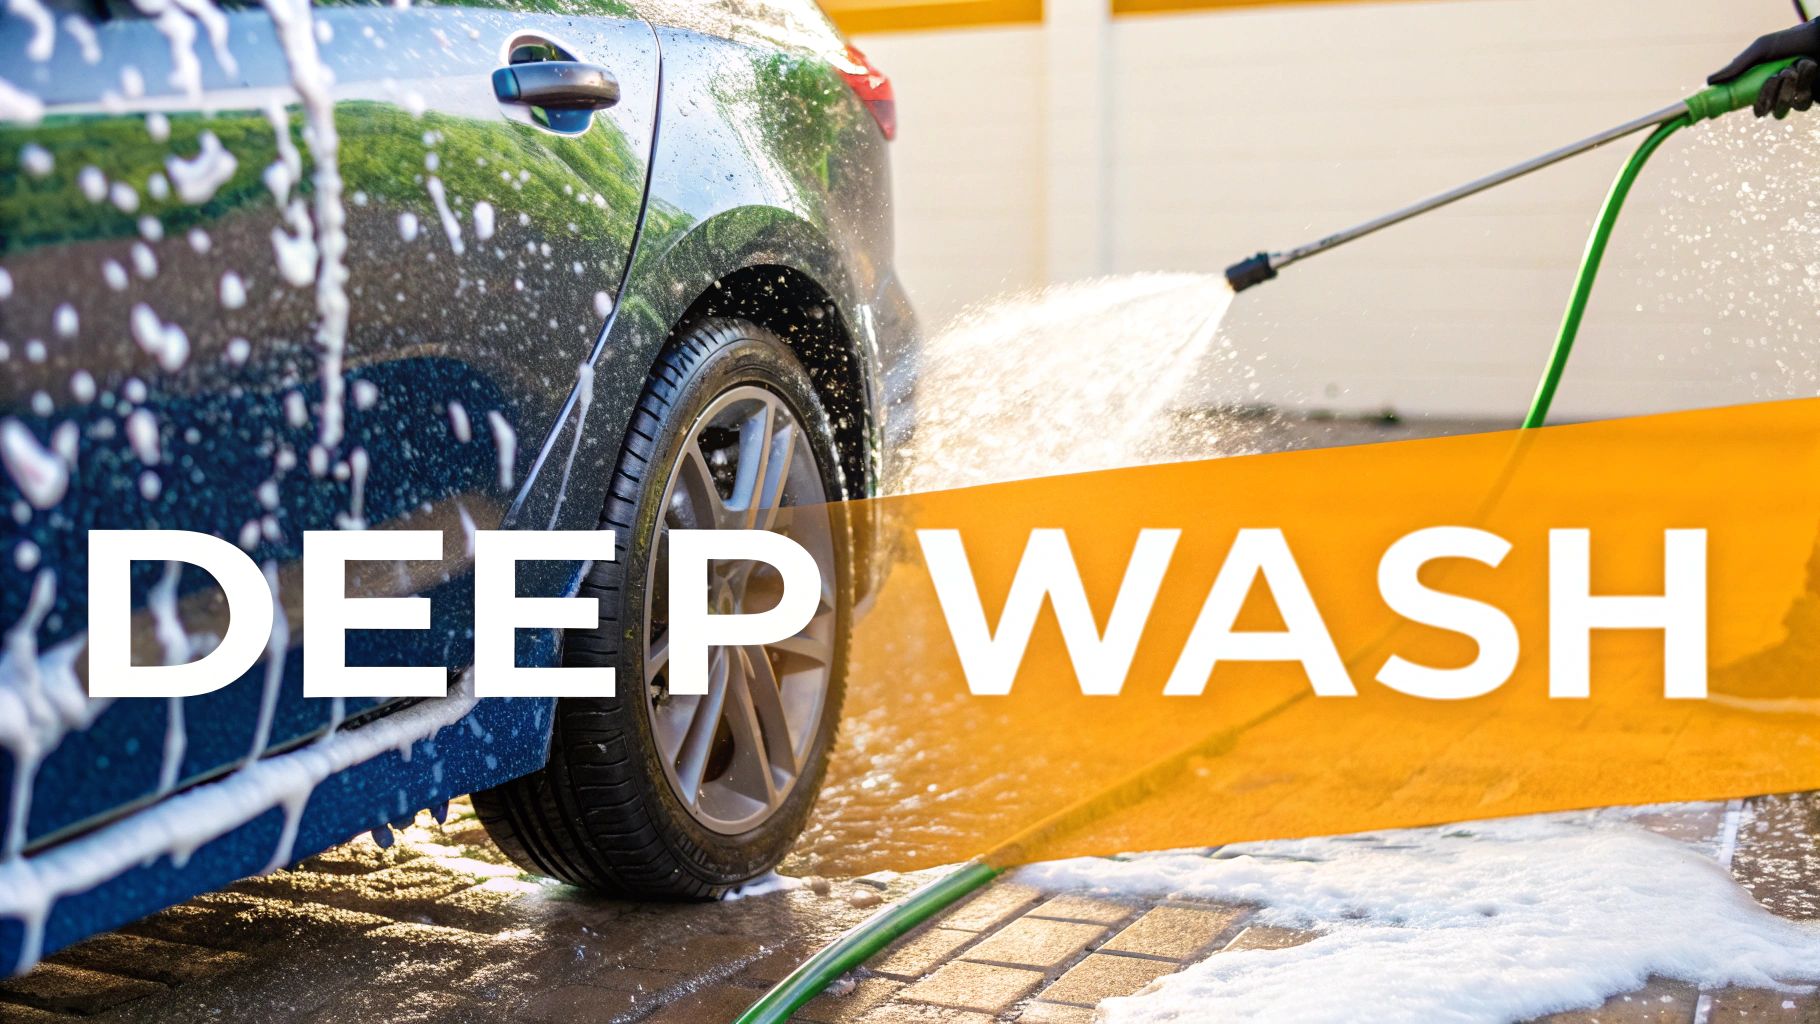
The Art of the Exterior Wash and Decontamination
This is where you start to see the real magic happen. A proper exterior wash isn't about scrubbing hard; it's a careful process designed to lift dirt away from your paint without scratching it. The goal isn't just to get the car looking clean—it's to set the stage for the deep gloss and protection that comes next.
Before you even think about touching the paint with a wash mitt, you need to get the heavy stuff off. This is where the pre-wash comes in, and it's non-negotiable. A foam gun or cannon is your best friend here. By blanketing the vehicle in a thick layer of snow foam, you're encapsulating all those larger, gritty pieces of dirt, letting them loosen and slide right off with a gentle rinse. This one step is probably the single most effective thing you can do to prevent swirl marks.
The Foundation of a Safe Wash
With the worst of the grime gone, it's time for the contact wash. When it comes to preventing scratches, the two-bucket method is the undisputed king. It’s a simple technique, but it's a cornerstone of professional detailing for a reason.
You’ll need two buckets, and both should have grit guards sitting at the bottom. One bucket gets your pH-neutral car shampoo, and the other is just for plain rinse water. After you wash a small section—say, half a door panel—dunk your dirty mitt into the rinse bucket first. Scrub it against the grit guard to knock all the collected grit loose. Then, and only then, do you dip it back into your soapy water. This keeps you from dragging dirt all over your car’s finish. If you want to dive deeper, we have a whole guide on the two-bucket car wash method.
There's a reason we're so focused on the exterior. It's a massive part of the job. In fact, exterior car detailing makes up around 64% of the entire global car detailing service market. It just goes to show how much people value that flawless, well-kept finish.
Beyond Clean: Chemical and Physical Decontamination
Even after a perfect wash, the job isn't done. Run your hand over the paint (inside a clean plastic bag for extra sensitivity), and you'll likely feel a gritty texture. Those are bonded contaminants—microscopic particles that a normal wash just can't remove. They ruin the feel of the paint and will get in the way of any polishing or waxing you do later. Taking them out requires a two-pronged attack.
First up is chemical decontamination. Think about all the brake dust your wheels kick up. Those are hot, sharp iron particles that embed themselves in your paint, especially on the lower body panels. An iron remover spray is designed to chemically dissolve them.
- Iron Remover: Just spray it on, let it sit for a few minutes until you see it "bleed" purple, and then give it a thorough rinse.
- Tar Remover: For the stubborn, sticky road tar you find behind the wheels and along the rocker panels, a dedicated tar remover will melt it away.
Next, you move to physical decontamination with a clay bar. The clay bar, used with a good lubricant, glides across the paint and literally pulls out any remaining embedded gunk—things like industrial fallout, tree sap, and even paint overspray. This is the step that truly leaves your paint feeling as smooth as glass.
A huge rookie mistake is either pushing down too hard on the clay bar or skimping on the lubricant. The clay should glide effortlessly. If you feel it start to drag or stick, stop immediately and add more lube. Otherwise, you risk marring the paint you just worked so hard to clean.
This whole decontamination process is what prepares the surface for the next, more intensive stages of detailing.
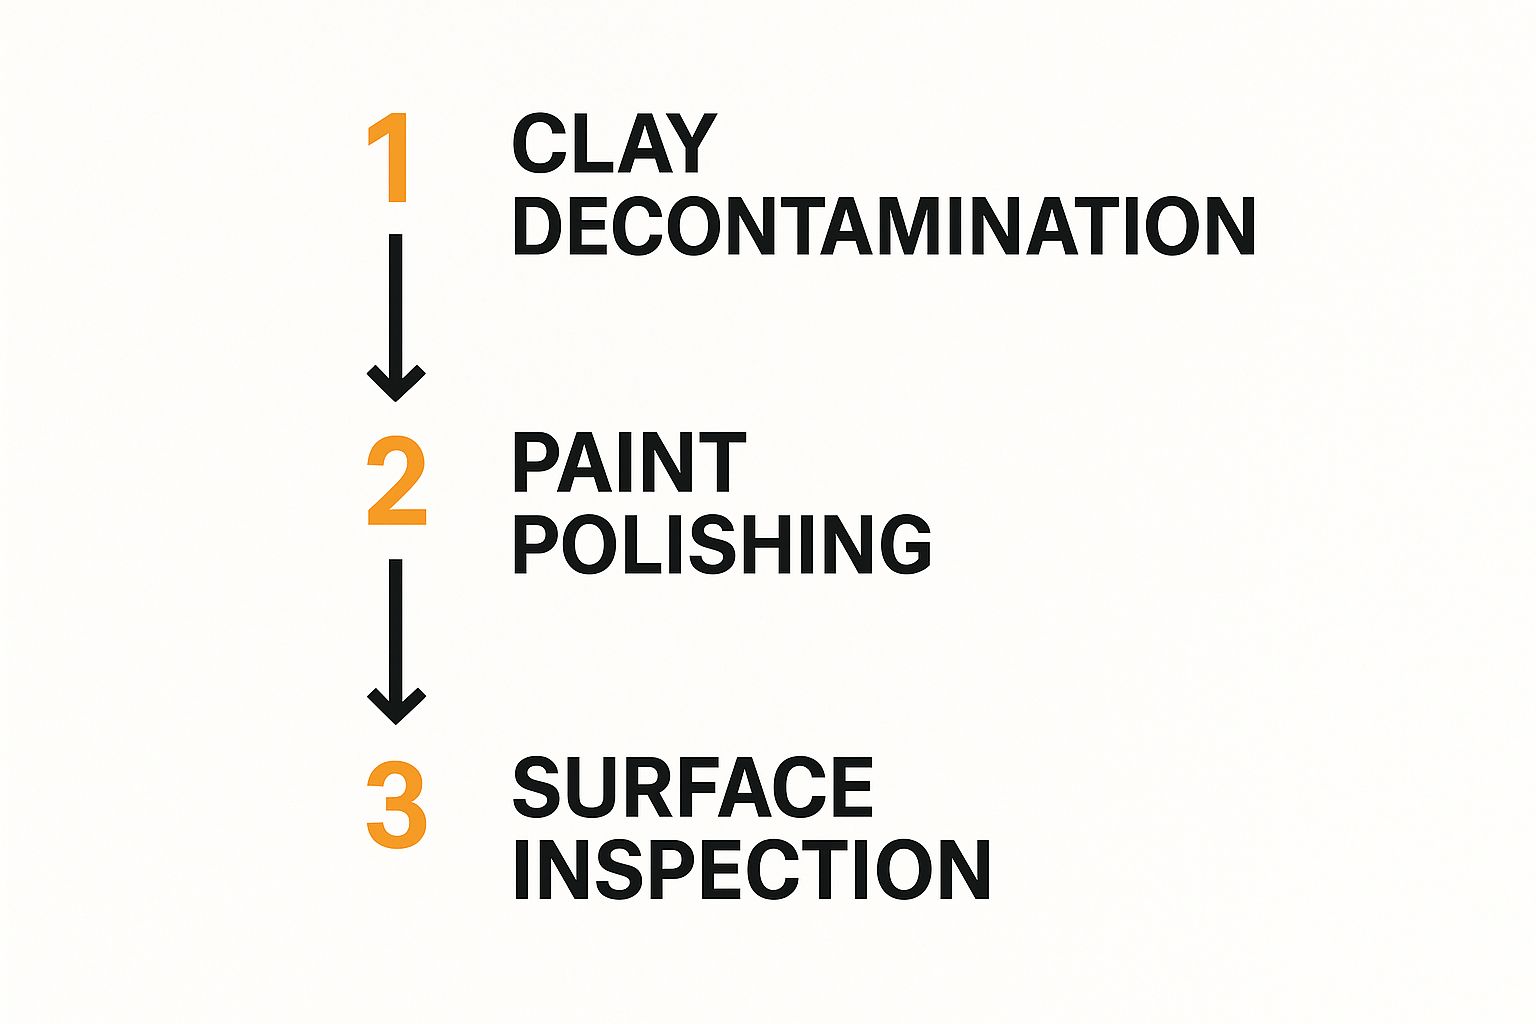
As you can see, once the surface is truly pure, both chemically and physically, you can finally move on to correcting imperfections. At this point, your car is perfectly prepped and ready for paint correction.
Restoring Shine with Paint Correction
Now that the paint is perfectly clean and smooth, we get to the part that truly transforms a car's appearance: paint correction. This is what separates a simple wash from a professional detail. We're essentially re-leveling the clear coat on a microscopic level, knocking down the tiny imperfections that catch the light and make the finish look hazy and dull.
I like to think of a car's clear coat as the surface of a still lake. When it's perfect, the reflection is crystal clear. But swirl marks and fine scratches are like tiny ripples from a breeze, distorting that reflection and making it look muddy. Polishing calms those ripples, bringing back that deep, wet, mirror-like shine. Honestly, this is one of the most satisfying steps in detailing a car.
Assessing the Damage
First thing's first: you can't fix what you can't see. Your standard garage lights are designed to be soft and fill the space, which is great for finding your tools but terrible for spotting paint defects. You need a powerful, direct light to really see what you're working with.
A dedicated detailing light is the gold standard here, but in a pinch, the flashlight on your smartphone can reveal a lot. Get up close, hold the light at an angle to a panel like the door or hood, and slowly move it around. You'll likely see a spiderweb of fine, circular scratches. Those are the swirl marks that are stealing your car's gloss.
Choosing Your Correction Strategy
Paint correction isn't a one-size-fits-all job. The approach you take completely depends on the severity of the swirls and scratches you found during your inspection.
- One-Step Polish: If your car just has light swirls and looks a little tired, a one-step polish is often all it needs. This usually involves a finishing polish on a soft foam pad to quickly refine the surface and bring out a ton of gloss. It's a massive improvement for minimal work.
- Multi-Step Correction: For paint that's seen better days—think deeper scratches, heavy swirls, or oxidation—you'll need to be more aggressive. This starts with a compounding step. You'll use a more abrasive compound with a firmer pad to cut down the serious defects. Then, you follow that up with a polishing step to remove the haze left by the compounding and refine the finish to a flawless shine.
The idea of taking a machine to your paint can sound scary, but don't be intimidated. Modern dual-action (DA) polishers are incredibly forgiving for beginners. Unlike the old-school rotary polishers that can burn paint in seconds, a DA machine oscillates randomly, which drastically reduces the risk of causing any damage.
Your First Polishing Experience
If you're just getting into paint correction, a dual-action polisher is the only tool you should be considering. Grab a medium-polishing pad and a quality polish to start. This combo gives you a nice balance of defect-removing power and finishing ability, making it a very safe but effective place to begin.
Here’s a simple technique that will deliver great results safely:
- Dab 3-4 pea-sized drops of polish onto your foam pad.
- With the machine still off, lightly tap the pad against the paint in a small 2x2 foot section to spread the product.
- Switch the machine on to a low speed and make a couple of slow, overlapping passes to get even coverage.
- Bump up the speed a bit and work the area in a crosshatch pattern—a few passes up and down, then a few passes side to side.
- After a few complete passes, turn the machine off, wipe the residue with a clean microfiber towel, and inspect your work with your light.
This whole process hinges on the surface being perfectly decontaminated. If you skipped that part, the polisher will just grind leftover grit and contaminants into the paint, causing more harm than good. You can read our full guide on how to properly clay bar a car to make sure you get this vital prep work right. A clean surface ensures your polishing pad is only touching the clear coat, which is the key to getting a jaw-dropping finish.
Locking In All That Hard Work: Your Final Layer of Protection
You've spent hours washing, claying, and polishing. The paint is looking absolutely perfect. This next part isn't about making it look better—it’s about keeping it looking that way for as long as humanly possible. This is where you apply your Last Step Product (LSP), the crucial final barrier that shields your flawless finish from the harsh realities of the road.
This protective layer is your car's armor. It stands between your perfect paint and everything that wants to ruin it: UV rays, acid rain, bird bombs, and road grime. Without it, all the effort you just put in could be erased in just a few weeks. I like to think of it as putting a quality screen protector on a brand-new phone—it preserves the perfection underneath.
Choosing Your Paint's Shield
When it comes to paint protection, you've got a few fantastic options, and each one has its own personality. The right choice really comes down to the look you're after, how much durability you need, and frankly, how much time you want to spend applying it. There's no single "best" choice, only what’s best for your car and your schedule.
- Carnauba Wax: This is the old-school classic, and for good reason. Detailers love it for the deep, warm, wet-look glow it provides. It’s a real pleasure to apply, but it's more of a short-term fling, typically lasting 6-8 weeks.
- Paint Sealant: Think of sealants as synthetic, engineered protection. They deliver a sharp, glassy, and highly reflective shine. Built for endurance, a good sealant can easily last 4-6 months while providing excellent defense against the elements.
- Ceramic Coating: Here's the undisputed king of long-term protection. These are liquid polymers that chemically bond with your paint, creating a semi-permanent, incredibly hard layer that can last for years, not months. The gloss is insane, and they make the car ridiculously easy to clean.
Your LSP is the gatekeeper for your paint's health. Whether you choose the warm glow of a carnauba wax or the long-lasting defense of a ceramic coating, this final step ensures your finish remains brilliant and protected for months or even years to come.
Nailing the Application
No matter what you've chosen, a proper application is everything. If you don't get this part right, the product won't bond correctly and you'll be disappointed with the results. First rule: always work on a cool, clean panel, and never in direct sunlight. Using a fresh foam applicator pad, apply your LSP in a thin, even layer. Less is more here.
For waxes and sealants, the best approach is to tackle the car in small, manageable sections—think a 2x2 foot area at a time. Lay down the product, let it haze up according to the manufacturer's directions (usually just a few minutes), and then gently buff it off with a plush, clean microfiber towel. Keep flipping your towel to a clean side to avoid smearing.
Don't Forget the Finishing Touches
A truly detailed car is one where everything looks sharp. Once the paint is locked in, it's time to bring all the other exterior surfaces up to the same level. This is what separates a good job from a great one.
- Tires and Trim: Give your tires a rich, black finish with a quality tire dressing—it's like shining your shoes. For any faded black plastic, use a dedicated trim restorer. It not only brings back the color but also protects it from future UV damage.
- Glass: Grab your favorite streak-free glass cleaner and give all the exterior windows one last wipe-down. This will clean off any lingering polish or wax residue. Want to go the extra mile? Apply a glass sealant. You'll love watching the water bead up and fly right off the windshield next time it rains.
Taking care of these final details is what elevates your work from just a car wash to a full, professional-level detail. It’s the stuff that makes people notice.
Common Questions We Hear All the Time
Even with a solid workflow down, some questions always seem to come up. Nailing these details can be the difference between a pretty good job and a truly professional finish. Let's tackle some of the most common things people ask.
How Often Should I Really Be Detailing My Car?
For a full-on, deep-clean detail like the one we've just covered, you're looking at doing it about two to three times a year. Think of this as a major reset for your car's finish—it gets rid of all the built-up gunk and corrects any new swirls or scratches that have shown up.
But that doesn't mean you can ignore it the rest of the time. To keep it looking that good, you need to do regular maintenance washes. For most people, that means every one to two weeks.
Of course, the "right" answer depends on a few things:
- Where you live: A car in a dusty, industrial area or a place with a lot of rain is going to need more love than one in a mild, clean climate.
- How you drive: Is it a daily driver slogging through traffic or a garage queen that only sees sunny weekends?
- Where you park it: A car that lives in a garage is protected from the elements and will stay cleaner for way longer than one parked on the street.
What's the Real Difference Between Polishing and Waxing?
This is a big one, and it's super important to get right. It boils down to one simple idea: polishing corrects, and waxing protects.
Polishing is what actually fixes your paint's problems. It uses a very fine abrasive to physically shave off a microscopic layer of the clear coat. This is how you level out the surface and get rid of swirl marks, light scratches, and water spots. It’s the step that brings back that deep, mirror-like gloss.
You polish to fix the surface; you wax to protect that newly fixed surface. They are not interchangeable steps—one restores, and the other preserves.
Waxing, on the other hand, does nothing to correct imperfections. Instead, you're applying a sacrificial layer on top of the paint. This layer is what stands between your clear coat and things like UV rays, bird droppings, and road grime. It adds a beautiful shine of its own, but its main job is to be a shield.
Can I Just Detail My Car in the Sun?
Please don't. This is a hard and fast rule in detailing: never work on a hot surface or in direct sunlight. It will make your life miserable and can even damage your car's finish.
The heat from the sun makes water and detailing chemicals evaporate in seconds. What's left behind? Ugly water spots from the minerals in the water and a sticky, streaky mess from the product that didn't get wiped away in time. It's a nightmare to clean up.
For the best—and safest—results, always work in the shade, pull the car into a garage, or wait for a cool, overcast day. Your car (and your sanity) will thank you for it.
Ready to elevate your car wash game? The SwiftJet Car Wash Foam Gun turns any garden hose into a professional foaming system, making your detailing process faster and safer.
Get your SwiftJet Foam Gun today!