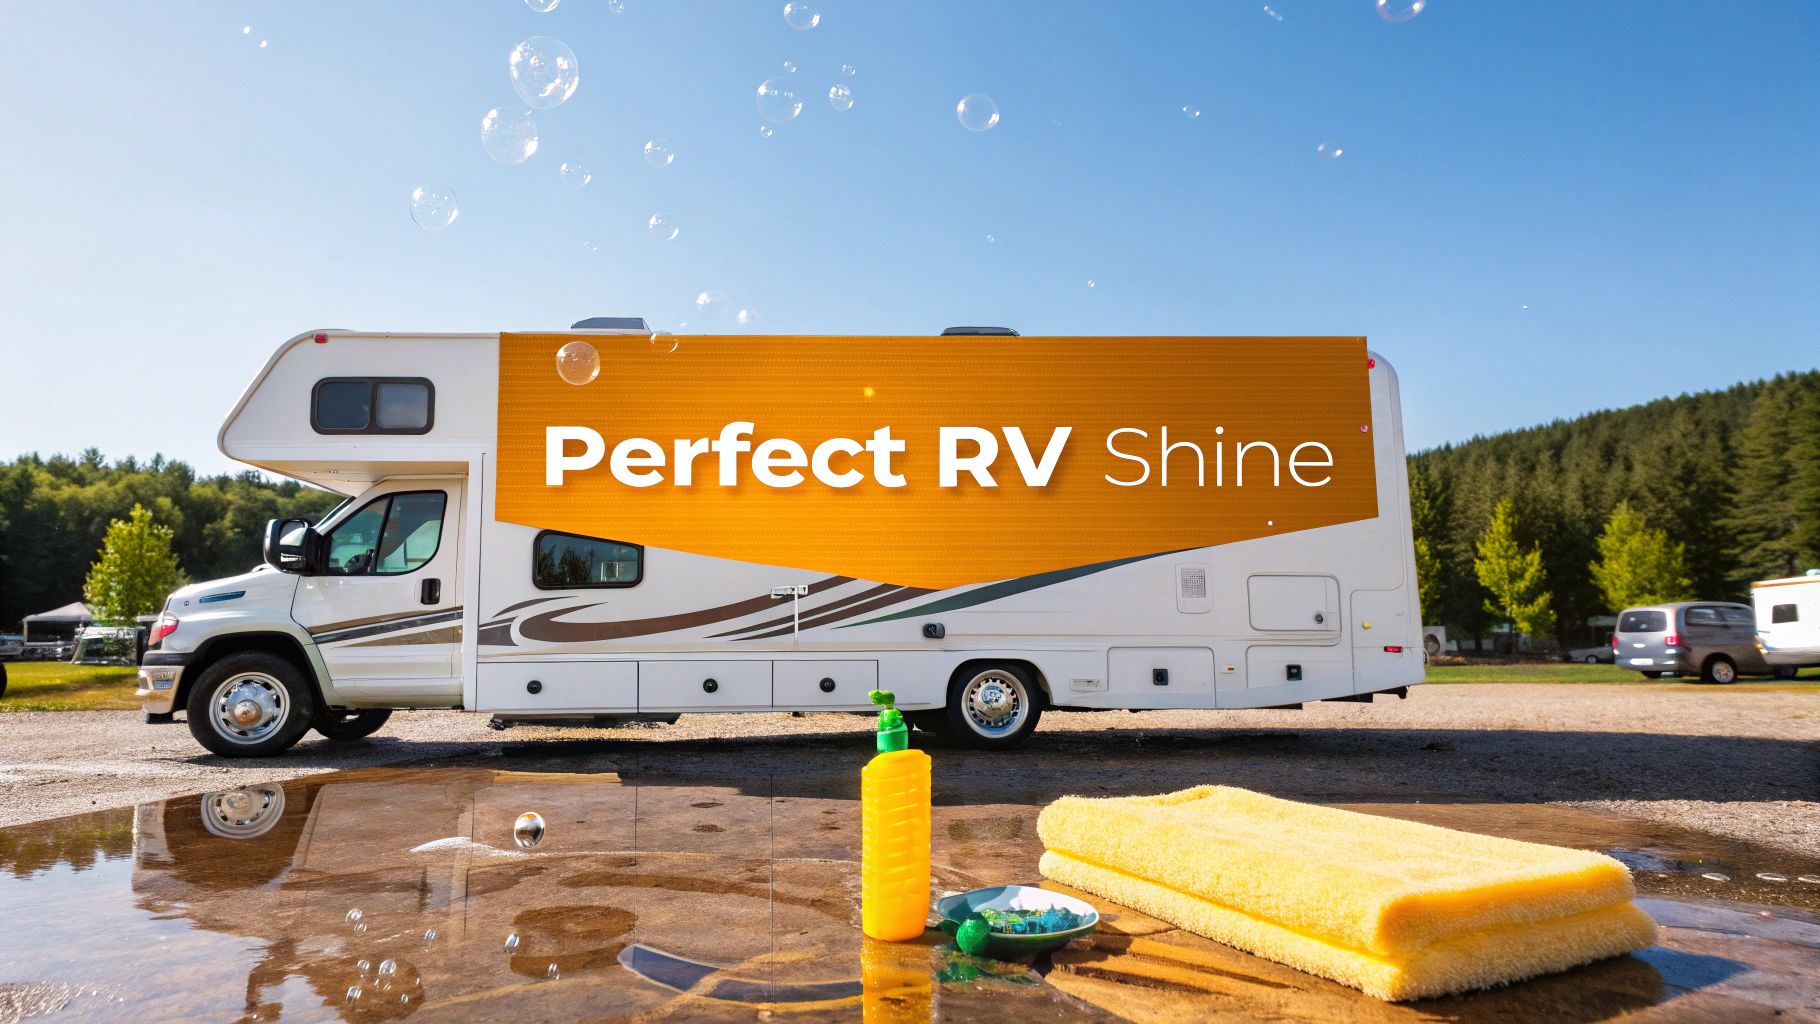
When it comes to the best RV exterior cleaning products, you're looking for solutions built for your rig's specific needs. Think gentle washes for fiberglass, tough removers for those stubborn black streaks, and a good UV-blocking wax to fight off sun damage. Getting this combination right isn't just about making your RV shine; it’s about building a shield against the road grime and weather that's constantly trying to wear it down.
Why Your RV Needs More Than Just a Car Wash

Think of your RV as a full-time athlete, always out in the elements. Your daily driver car gets to hide in a garage, but your RV is out there 24/7, taking a beating from UV rays, acid rain, bird droppings, and baked-on bug guts. This stuff doesn't just look bad; it's actively eating away at your RV's protective surfaces.
This is exactly why grabbing a bottle of regular car soap from the auto parts store is a bad idea. An RV is a mix-and-match of different materials, and each one needs special attention.
- Diverse Materials: You've got fiberglass or aluminum siding, a rubber roof, vinyl decals, and plastic trim all on one vehicle. A harsh detergent that’s fine for your car's clear coat could completely dry out and crack a rubber EPDM roof.
- Unique Grime: RVs get their own special kind of dirty. Those infamous black streaks running down from your window seals and roof trim are a prime example—standard car wash soaps just weren't made to tackle them.
- Size and Scale: The massive surface area of an RV presents its own challenge. You need products that clean effectively without creating more work, like leaving impossible-to-remove water spots when the soap dries too fast in the sun.
Protecting Your Long-Term Investment
Keeping the outside of your rig clean is about so much more than just looking good—it’s about protecting your investment. If you let the exterior go, you're inviting expensive problems. Oxidation can turn your fiberglass siding into a chalky, faded mess, while failing sealants can lead to the ultimate RVer's nightmare: water leaks.
A clean, protected RV doesn't just hold its value better; it stays structurally sound for many more years of adventure.
Investing in the right cleaning products is one of the smartest forms of preventative maintenance you can do. It's your first line of defense against the premature aging of your RV.
More and more owners are catching on to this. In fact, the global RV cleaning service market is expected to grow significantly, all because people understand that proper maintenance is key. This trend really underscores how vital specialized care is for keeping an RV in great shape. You can discover more insights about this growing market and what it means for owners.
At the end of the day, choosing the right RV exterior cleaning products isn’t just another chore. It's one of the most important things you can do to protect your home-on-wheels.
Building Your Ultimate RV Cleaning Toolkit
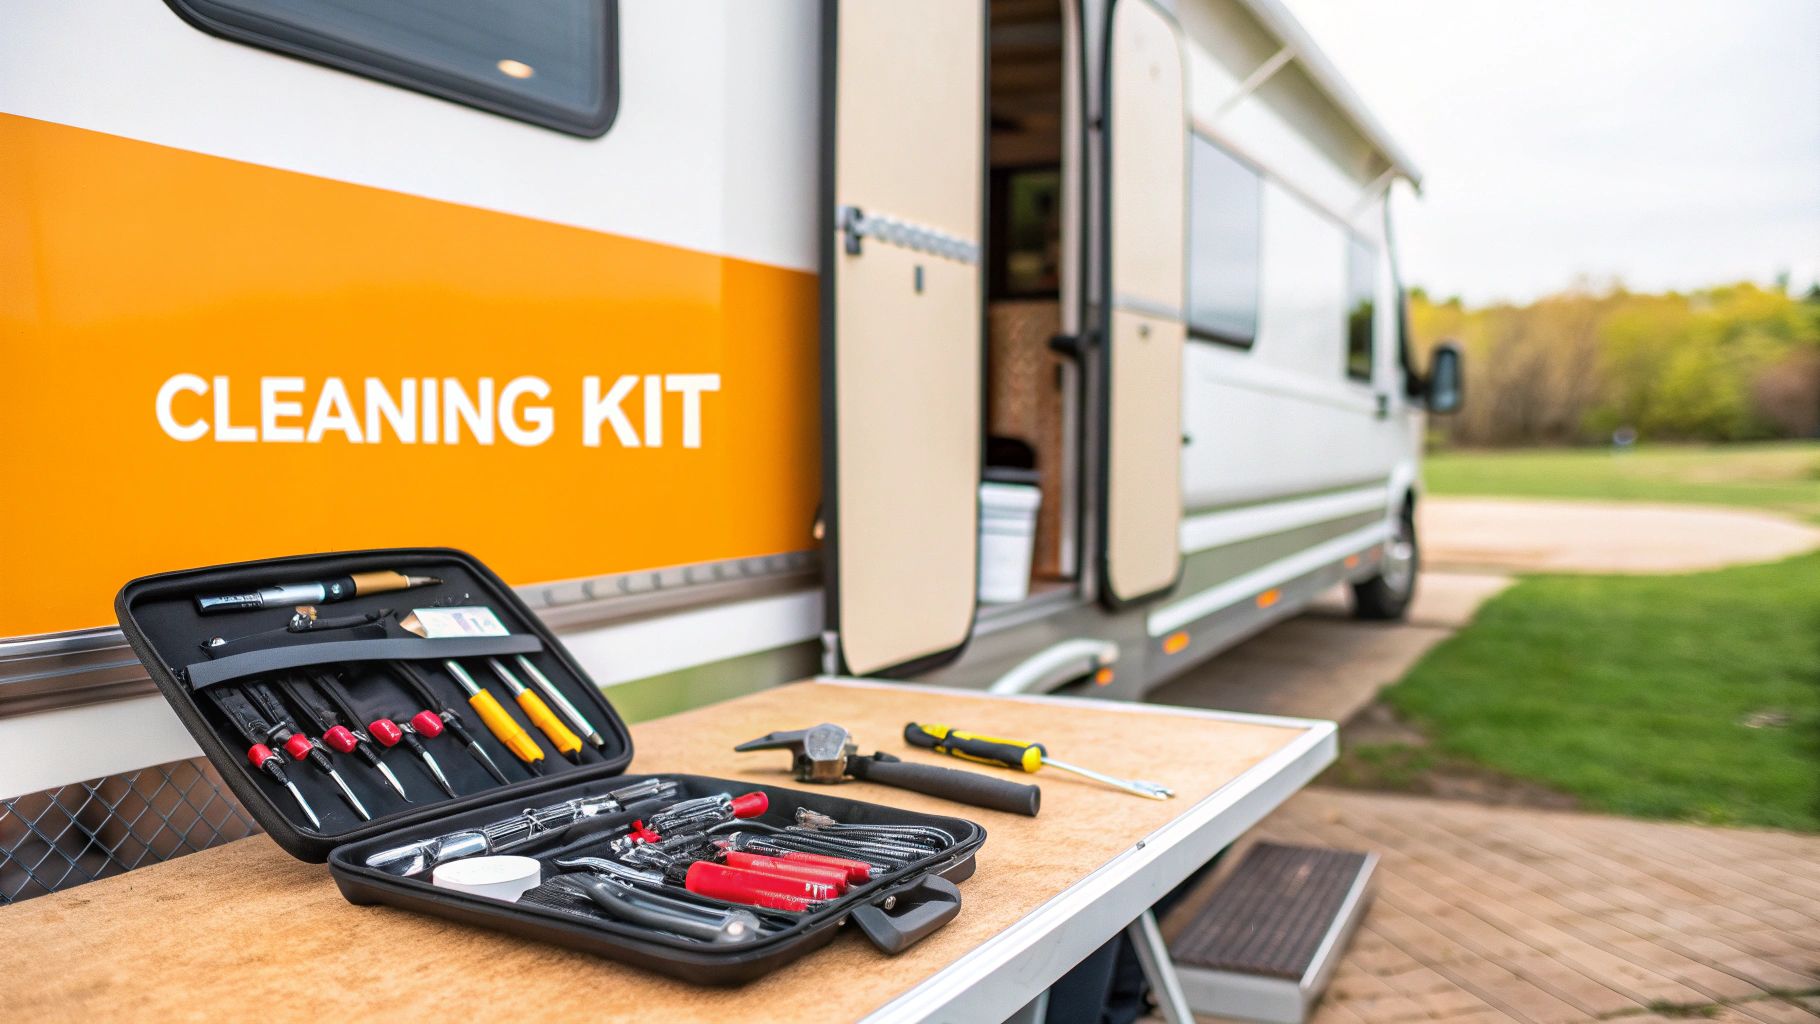
Putting together the right set of RV exterior cleaning products is a bit like stocking a mechanic's toolbox—you wouldn’t grab a sledgehammer for a job that needs a precision screwdriver. Every product in your cleaning arsenal has a specific purpose, designed to handle different kinds of grime on all the different surfaces of your rig. It's time to move past a simple bucket of soapy water and build a specialized kit that can tackle anything the road throws at you.
This isn’t just about getting a better shine; it’s about protecting your investment. And it seems more and more RV owners agree. The market for these products is booming as people take a more hands-on approach to maintenance. In fact, the broader car care market—which includes many RV essentials—was valued at roughly USD 1.54 billion in 2025 and is still climbing. That growth is fueled by a 6% annual increase in what people spent on vehicle care between 2020 and 2022. If you're curious, you can read the full research on these market trends to see the whole picture.
Let's dive into what you actually need.
H3: The Foundation: Wash and Wax Soaps
The absolute workhorse of any RV cleaning kit is a high-quality wash and wax soap. Think of this as your go-to for routine cleanups. These formulas are made to cut right through road film, dust, and light dirt while leaving behind a thin, protective layer of wax.
This two-in-one approach is a huge timesaver. Instead of washing, rinsing, drying, and then waxing, you get to clean and add a bit of UV protection and shine all in one pass. It’s the perfect solution for those regular washes that keep your rig looking sharp between the big deep-cleaning sessions.
H3: The Armor: Dedicated Waxes and Sealants
While a wash and wax soap is great for maintenance, a dedicated wax or sealant is your RV’s heavy-duty shield. You apply these after a thorough wash, and they create a tough, water-beading barrier that gives you long-lasting protection from the worst of the elements.
- Natural Waxes (Carnauba): Famous for giving you that deep, wet-look shine that makes colors pop. They offer fantastic UV protection but usually only last a few months.
- Synthetic Sealants (Polymers): These are engineered for endurance and can easily last 6 months or longer. They create an incredibly slick, almost glass-like finish that makes it tough for dirt and grime to even get a grip.
A good sealant in the spring will guard your RV against the intense summer sun, while a fresh coat in the fall will protect it from the damp and cold of winter storage.
H3: The Specialists: Targeted Cleaners for Tough Jobs
Some messes just won't budge with a general cleaner. This is where your "special forces" come in—products designed to eliminate specific, stubborn problems without causing any collateral damage to your RV's finish.
Using a specialized cleaner is like calling in a surgeon instead of a general practitioner. It addresses one specific problem with precision, ensuring the surrounding areas remain unharmed and the issue is resolved effectively.
I’m talking about black streak removers, bug and tar removers, and dedicated wheel cleaners. Each one contains a formula designed to dissolve its target, whether that’s the oily residue from window seals or the acidic gunk left by insects, all without stripping your wax or dulling your paint.
H3: The Essentials: Roof, Awning, and Tire Care
Your toolkit isn't complete until you have the right stuff for your roof, awning, and tires. Using the wrong product on these sensitive materials can lead to some seriously expensive damage down the road.
- Roof Cleaners: If you have an EPDM or TPO rubber roof, you need a cleaner that's free of petroleum distillates. The wrong stuff will dry out the material, leading to cracks and swelling.
- Awning Cleaners: Whether your awning is vinyl or fabric, a proper cleaner will knock out mold, mildew, and tree sap without compromising its waterproof coating.
- Tire Dressings: A good tire dressing does more than just make your tires look shiny and black. It should contain UV inhibitors to stop the rubber from cracking and aging—a problem we all know as dry rot.
By picking the right product for each of these key jobs, you’re not just cleaning your RV; you’re creating a complete care system. This way, you’ll always have the perfect tool on hand to keep every inch of your home-on-wheels looking its best.
To make things even easier, here's a quick rundown of the essential products you'll want in your cleaning caddy.
Your RV Cleaning Product Toolkit at a Glance
| Product Category | Primary Function | Best For Surfaces |
|---|---|---|
| Wash & Wax Soap | General cleaning and light protection | Fiberglass, gel coat, full-body paint, aluminum |
| Dedicated Wax/Sealant | Long-term UV and element protection | Fiberglass, gel coat, full-body paint |
| Black Streak Remover | Targets and dissolves ugly black streaks | Gutters, window frames, siding |
| Bug & Tar Remover | Breaks down stubborn insect and road grime | Front cap, windshield, bumpers, mirrors |
| Roof Cleaner | Safely cleans delicate roof materials | EPDM, TPO, and fiberglass roofs |
| Awning Cleaner | Removes mildew, stains, and sap | Vinyl and fabric awnings |
| Tire Dressing | Protects rubber from UV damage and dry rot | RV tires |
Having these on hand means you're prepared for whatever the road—or the campsite—throws your way.
Matching Products to Your RV's Specific Surfaces
Think of your RV's exterior like a team of different specialists. The fiberglass sidewalls, the rubber roof, and the vinyl decals each have their own job, and they all need their own type of care to stay in top shape. Grabbing a single, one-size-fits-all cleaner for everything is like asking a pitcher to play catcher—it just doesn't work out well in the long run and you risk causing some serious, permanent damage.
Choosing the right product isn't just about getting a better shine; it's a core part of preventative maintenance. The wrong chemical can easily dull a glossy finish, dry out and crack a rubber roof membrane, or make your vibrant decals start peeling away years before they should. This is the kind of detail that separates a rig that looks great for years from one that shows its age way too fast.
As more people get into RVing, the market for specialized cleaning products has exploded. It shows a growing awareness that proper care matters. The global car care products market—which covers a lot of the stuff we use on our rigs—was valued at USD 12.26 billion in 2025 and is on track to hit USD 15.32 billion by 2030. A big driver of this is online sales, which are growing by 6.14% every year, making it easier than ever to find the exact product for every part of your RV. You can learn more about these market findings on Mordor Intelligence. This trend really drives home how crucial it is to match your cleaner to the material you're working on.
Caring for Gel-Coat and Fiberglass Finishes
Most modern RVs you see on the road have either a gel-coat or a full-body paint finish laid over a fiberglass shell. This slick, glossy surface is your rig’s main shield against the weather, but it's notorious for oxidizing—that chalky, faded look you see on older RVs that have spent too much time in the sun.
To keep that finish looking brand new, stick with a pH-neutral, non-abrasive wash. Harsh detergents will strip off any protective wax and can even start to etch the gel-coat itself over time. After a good wash, applying a high-quality wax or a polymer sealant isn't optional; it's essential.
- UV Protection: Look for waxes and sealants that specifically call out their UV-blocking features. This is your number one defense against the sun's fading power.
- Gentle Application: Always use soft microfiber mitts or towels for washing and applying products. This helps you avoid creating those tiny scratches and swirl marks that dull the finish.
Safely Cleaning Painted Aluminum Siding
You'll often find painted aluminum siding on classic RVs or more budget-friendly models. It's tough stuff, but it still needs a gentle touch. The biggest risk here is damaging the clear coat that sits on top of the paint, protecting it from the elements.
Just like with fiberglass, a gentle, pH-balanced soap is what you want. Aggressive, high-alkaline cleaners can make the clear coat go cloudy, leaving the paint underneath exposed and vulnerable. It's important to match products to all your RV's surfaces; for example, if your rig has vinyl accents, you'll want to find the best cleaning solution for vinyl siding to avoid any damage.
Protecting Your Decals and Graphics
Those cool vinyl graphics are what give your RV its personality, but they're also the most fragile part of the exterior. Their edges are especially prone to peeling and lifting if you're not careful.
The golden rule for cleaning decals is to avoid high pressure at all costs. A pressure washer can sneak under the edge of a graphic and peel it right off in a heartbeat, and there’s no coming back from that.
Instead, just use a soft cloth or a sponge with your regular RV wash soap. Never take a stiff brush or an abrasive cleaner to your graphics. When it's time to wax, go ahead and apply it gently right over the decals. It gives them an extra layer of UV protection and helps stop them from cracking and fading.
The Non-Negotiable Rules for Rubber Roofs
Your RV's roof is without a doubt its most important surface. If you have an EPDM or TPO rubber roof, using the right cleaner isn't just a good idea—it's critical for the roof's lifespan and for keeping your warranty intact.
- Avoid Petroleum Distillates: Any cleaner with petroleum solvents is a huge red flag. These chemicals can cause the rubber to swell, bubble, and break down over time, which is a fast track to disastrous leaks.
- Use a Specialized Roof Cleaner: Always buy a product that is specifically labeled as safe for EPDM or TPO roofs. They’re formulated to get rid of chalking, dirt, and mildew without harming the membrane.
Proper roof care is so vital that we've given it its own dedicated guide. For a much deeper dive, check out our guide on how to clean an RV roof for all the step-by-step details. Taking a few extra minutes to choose the right product for each surface is what will keep your whole rig protected and looking fantastic for years of adventures.
The Pro Method for Washing and Waxing Your RV
Bringing a road-weary RV back to its former glory is one of the most satisfying jobs an owner can do. It looks like a huge undertaking, but if you follow a proven method, you can turn a weekend-long chore into a surprisingly efficient process. This is the exact playbook professional detailers use, and it's all about working smarter, not harder.
The secret isn’t elbow grease. It’s about using the right rv exterior cleaning products in the right order. This systematic approach saves you from re-doing your work, like washing dirty water over a clean panel or, even worse, creating swirl marks in the finish.
Step 1: Start With a Thorough Pre-Rinse
Before you even think about touching your rig with a wash mitt, give it a good, solid rinse with a hose. Always start at the top and let gravity be your friend, pulling all that loose dirt, dust, and grime down and away.
Seriously, don't skip this. This initial rinse gets rid of the bigger, grittier particles that act like sandpaper when you start scrubbing. It's like sweeping a floor before you mop—it makes the real cleaning safer and far more effective.
The infographic below breaks down how a pro tackles each part of the RV, making sure every material gets the right treatment.
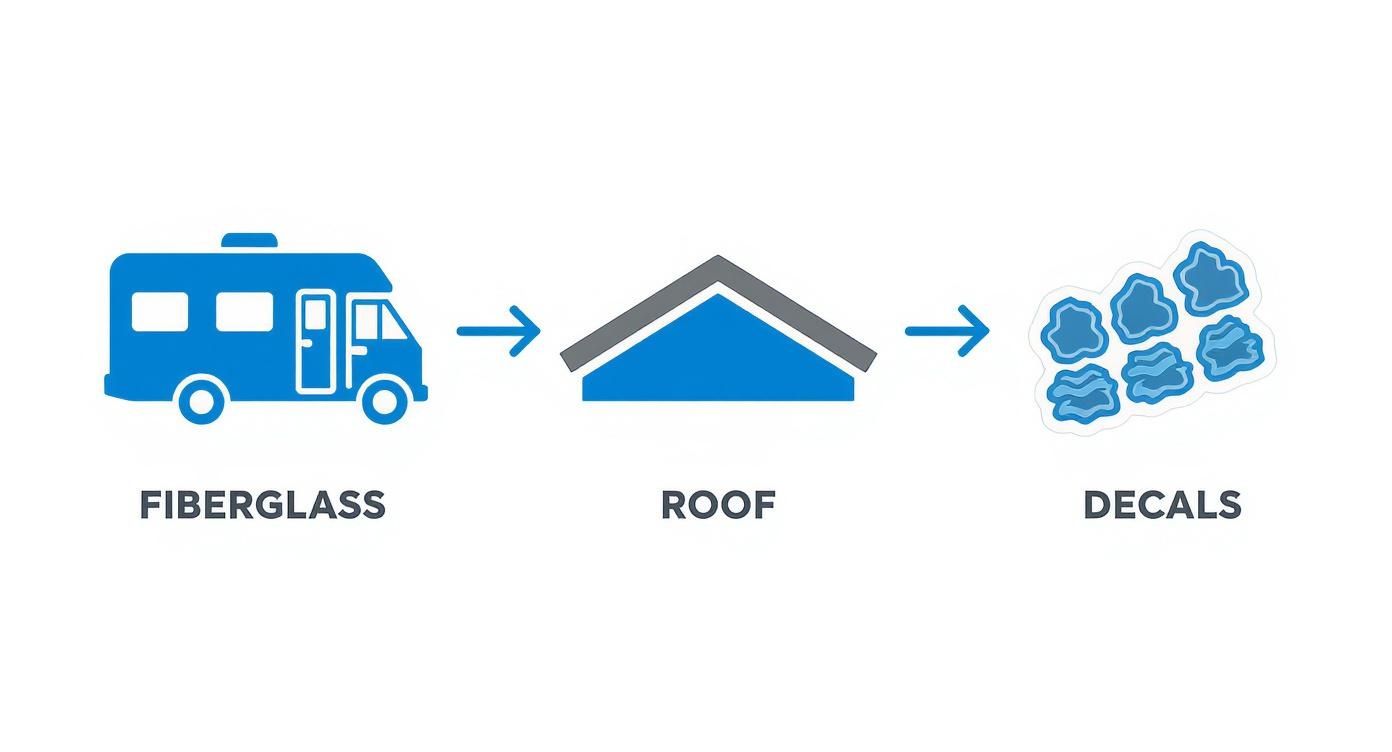
This visual really drives home that top-down approach, beginning with the roof, moving to the fiberglass sides, and saving the delicate decals for last.
Step 2: Master the Top-Down Washing Technique
The golden rule of washing anything this big is simple: work from the top down. The roof is almost always the dirtiest part, and all that grime is going to run down the sides. If you wash the sides first, you'll just have to wash them again.
To really nail this, you need to use the two-bucket method. It’s the single best way to keep your finish looking new and avoid scratches.
- Get Your Buckets Ready: Fill one bucket with your RV wash soap solution. Fill a second bucket with nothing but clean water—this is your rinse bucket.
- Dunk and Wash: Dip your clean wash mitt into the soap bucket and start washing a small section of the roof.
- Rinse the Mitt: Here's the key. Before you grab more soap, dunk that dirty mitt into your rinse bucket and swish it around. All the grit you just picked up will fall to the bottom.
- Reload with Soap: Now, with a clean mitt, go back to your soap bucket for a fresh load.
- Repeat: Keep this cycle going—wash, rinse the mitt, reload with soap—until the entire RV is sparkling.
This simple technique ensures you aren't just dragging dirt from one part of your RV to another. You're always applying a clean, sudsy mitt to the surface, which is exactly what you want.
Step 3: Tackle Stubborn Bugs and Tar
After the main wash, you'll probably notice some lingering bug splatters on the front cap and maybe some road tar along the bottom edges. This is the time to hit them with a specialized bug and tar remover.
Just spray the product on the problem spots and let it dwell for a minute or two. You'll see it start to break down the gunk. Then, gently wipe it away with a soft microfiber towel. The trick is to let the chemical do the work, so you don't have to scrub aggressively and risk damaging the finish.
A dedicated cleaner is your best friend here. It's formulated to dissolve that specific, sticky mess without stripping away the protective wax or sealant you're about to apply.
Step 4: Rinse and Dry for a Spotless Finish
With everything clean, it’s time for the final rinse. Once again, work from top to bottom, making sure you get all the soap residue off. Whatever you do, don't let the RV air dry in direct sunlight—that’s a guaranteed recipe for water spots, which are just mineral deposits left behind by the water.
Instead, use a large, plush microfiber drying towel or a soft water blade to get the bulk of the water off quickly. Pro tip: an electric leaf blower is fantastic for blasting water out of window seals, trim pieces, and other nooks where it loves to hide and drip later. If you want to get into more of these advanced tricks, our complete guide on how to wash an RV like a pro has you covered.
Step 5: Apply a Protective Wax or Sealant
Your RV is now perfectly clean and dry. This last step is the most important one for keeping it that way. A quality RV wax or a modern synthetic sealant creates a tough barrier against the elements, shielding your finish from UV rays, making water bead right off, and making your next wash-up a whole lot easier.
Using a foam applicator pad, apply a thin, even coat of your chosen product. Work in small, manageable sections, and just follow the directions on the bottle for how long to let it haze over before buffing. Then, grab a clean, dry microfiber towel and buff it off to reveal a brilliant, protected shine that’s ready for the next adventure.
Keeping Your RV Gleaming Between Deep Cleans
Let's be honest, a full, top-to-bottom wash and wax is a big job. It's satisfying, for sure, but it’s a project. The real secret to an RV that always looks sharp isn’t those marathon cleaning sessions—it’s the smart, simple things you do in between. That's what preserves the shine and protects your rig on the road.
This kind of proactive maintenance saves you a ton of elbow grease later on. Think of it like wiping down your kitchen counters each night instead of letting spills pile up for a week. A few minutes of regular upkeep prevents a much bigger, tougher job down the line. The exact same idea applies to your RV’s exterior.
The Power of Quick Touch-Ups
When you're parked at a campground with water restrictions or just need a fast cleanup before you roll out, waterless wash and wax sprays are your best friend. These sprays are designed to lift light dust and dirt off the surface, wrapping it up so you can wipe it away with a microfiber towel without leaving scratches behind.
Along the same lines, a good quality detail spray is perfect for zapping fingerprints, pollen, and water spots while giving the gloss a quick boost. A quick spray and wipe after a dusty drive can bring back that "just-washed" look in minutes, making your rig the envy of the campground. No, they don't replace a proper wash, but they are absolutely essential for keeping your RV looking great day-to-day.
Zap Stains Before They Set
Some of the worst things for your RV's finish are the little messes you ignore. Bug guts and bird droppings, for instance, are incredibly acidic and can permanently etch into your gel-coat or clear coat if you let them sit.
The rule of thumb is simple: clean it as soon as you see it. The longer that stuff bakes in the sun, the more damage it does, turning a simple wipe-down into a potential repair job.
Keep a bottle of bug and tar remover and a few clean microfiber towels in an outside bay where you can grab them easily. A quick spot clean takes less than a minute but can save your finish from permanent damage. For those who prefer a greener approach, there's great information on effective and eco-friendly car cleaning products that are perfect for this kind of spot treatment.
Your Simple Maintenance Schedule
Building these habits into your RV life is easy. The key is consistency, not intensity. A simple routine will keep your rig protected and make that next big wash way less of a chore.
Here’s a practical schedule to get you started:
- After Every Drive: Do a quick walk-around and spot-clean any new bug splatters off the front cap and mirrors.
- Once a Week (While Traveling): Grab a waterless wash or detail spray and wipe down the high-traffic, high-visibility areas. This gets rid of that layer of campsite dust and grime.
- As Needed: Clean bird droppings, tree sap, or any other ugly spots immediately. Don’t even let them sit overnight.
By making these small habits part of your routine, you’re actively protecting your RV's exterior. It’s not just about looking good; it's about preserving the value and integrity of your home on wheels, one quick wipe at a time. This maintenance-focused use of RV exterior cleaning products ensures your rig is always ready for the next adventure.
Common RV Cleaning Mistakes That Can Wreck Your Rig
Even with a garage full of the best RV exterior cleaning products, a few simple mistakes can ruin all your hard work. It's surprisingly easy to strip wax, dull the finish, or even cause permanent damage to your seals and graphics. Knowing what not to do is just as important as knowing what to do.
Think of it like caring for a classic car. You wouldn't use sandpaper to get a bug off the hood, right? The same logic applies here—the right technique is everything when it comes to protecting your investment.
Mistake #1: Using the Wrong Soap
This one is probably the most common blunder we see. It seems so easy to just grab that bottle of dish soap from the kitchen sink, but that’s one of the worst things you can do for your RV's finish.
Dish soap is a powerful degreaser, designed to cut through bacon grease and caked-on food. The problem is, it can't tell the difference between road grime and the protective layer of wax on your rig. It will strip that wax right off, leaving your finish totally vulnerable to UV rays and oxidation.
How to Fix It: Stick to a dedicated, pH-neutral RV wash. These formulas are made to gently lift dirt and contaminants without destroying the protective coatings you've spent time applying.
Mistake #2: Washing in Direct Sunlight
It feels like the perfect time to wash your RV on a bright, sunny day, but it’s a setup for disaster. The sun's heat causes water and soap to dry almost instantly, leaving behind ugly water spots and a streaky soap film that’s a real pain to get off.
Those spots aren't just cosmetic, either. They're mineral deposits left behind from the water, and over time they can actually etch into your gel-coat or clear coat.
How to Fix It: Plan your wash for the early morning, late evening, or on a cool, overcast day. If you absolutely have to wash in the sun, work in very small sections. Wash, rinse, and immediately dry one small area before you even think about moving on to the next one.
Mistake #3: Getting Aggressive with the Pressure Washer
A pressure washer can be your best friend or your worst enemy. In the wrong hands, it can cause thousands of dollars in damage in just a few seconds. That high-pressure stream can catch the edge of a vinyl decal and peel it right off.
Even worse, it can shred the soft sealant around your windows, vents, and seams. Once that sealant is gone, you’ve created a wide-open invitation for water to leak into your walls, leading to rot and mold.
How to Fix It: If you must use a pressure washer, use a wide-angle tip (a 40-degree tip is a good choice) and always keep the nozzle at least 18 to 24 inches away from the surface. Critically, never aim the spray directly at the edges of decals or any sealed seams.
Your RV Cleaning Questions, Answered
When it comes to keeping your RV looking its best, a lot of questions can pop up. It's totally normal. Getting the right answers means you can clean with confidence, knowing you're not accidentally causing harm. Let's tackle some of the most common questions we hear from RVers out on the road.
Can I Just Use Car Wash Soap on My RV?
We get this one a lot. In a real pinch, you probably could, but it’s really not a great long-term solution. Think of it this way: car soaps are designed for the specific paints and clear coats on your truck or sedan. They just don't have the right ingredients to fight the kind of heavy-duty grime an RV collects, like those stubborn black streaks or the chalky residue from the roof.
RV-specific soaps are formulated to be gentle yet effective on a whole mix of surfaces—gel-coat, fiberglass, vinyl decals, and especially the sensitive rubber roofing materials like EPDM. Using the right stuff means you’re cleaning safely without risking damage to your seals or graphics.
How Often Should I Be Washing and Waxing My Rig?
A good rhythm to get into is washing your RV after every big trip, or at the very least, once a season. That usually works out to be every three to four months. Sticking to this schedule stops all that road grime, bug guts, and environmental gunk from baking onto the surface and causing real damage.
As for waxing, you'll want to give it a full coat of a quality wax or sealant twice a year. A good application in the spring gets it ready for the summer sun and travel season, and another one in the fall protects it from the elements during winter storage.
What’s the Secret to Getting Rid of Black Streaks?
Black streaks are the bane of every RVer's existence! The best way to tackle them is with a product made specifically for the job. These ugly stains are usually an oily residue that runs off your window seals and roof trim, and your regular wash soap often won't be strong enough to cut through it.
Just spray a dedicated black streak remover directly onto the stain. Let it work its magic for a minute or so to break down the grime, then give it a gentle scrub with a soft brush. Make sure you rinse the area really well afterward to get all the cleaner off.
Do Those Waterless RV Wash Sprays Actually Work?
They absolutely do, but for the right job. Waterless washes are fantastic for light cleaning and touch-ups between your big, sudsy washes. They’re perfect for wiping off dust, pollen, and fingerprints, especially when you're staying at a campground with strict water rules.
Just remember, they aren't meant for an RV that's caked in thick mud or heavy dirt. For that, you'll still need to break out the bucket and hose.
Ready to get that professional-level clean without all the elbow grease? SwiftJet has the gear you need. Our Car Wash Foam Gun connects right to your garden hose, blanketing your rig in thick suds to make washing faster and way more effective. Explore the SwiftJet Foam Gun and get your free wash mitt today!