

You fill a gas can, set it in the trunk, get home, and the whole car smells like a fuel pump. Or you splash a little on your hands at the station and the odor follows you through the day. Often, that smell is attacked incorrectly, with scrubbing too hard, using hot water, spraying perfume over it, or tossing contaminated clothes straight into the washer.
That usually makes the problem worse.
Gasoline odor removal is less about masking smell and more about source control, safe evaporation, absorption, and material-specific cleaning. Hard plastic trim needs one approach. Skin needs another. Upholstery, clothing, garage concrete, and HVAC ductwork each behave differently. If you treat them all the same, the smell comes back.
Why That Gasoline Smell Is So Hard to Banish
You wipe up a small splash, crack the windows, and an hour later the car still smells like fresh fuel. That usually means the gasoline did not just sit on the surface. It flashed into vapor, crept into porous material, and settled into places people miss on the first pass.
Gasoline is stubborn because it creates two problems at once. You have liquid residue on carpet, fabric, plastic texture, or skin, and you have fumes continuing to release from that residue. If you only cover the odor, the source keeps feeding the smell back into the air. In enclosed spaces such as trunks, cabins, and garages, that cycle lasts much longer than people expect.
Source first, cleaner second
In the shop, I look for the hidden holding points before I reach for any deodorizer. On a vehicle, that can be a floor mat backing, seat foam under the fabric, trunk liner, cargo carpet, the seal around a gas can, or the cowl intake where the HVAC system pulls outside air into the cabin. In a garage, it is often cardboard, shop rags, broom heads, wood shelving, or concrete that soaked up a drip and keeps off-gassing.
That is why a car can smell clean at first, then stink again the next morning when it heats up.
Practical rule: If the smell comes back after ventilation, assume fuel residue is still present somewhere.
Heat and airflow can spread the odor
Hot water, a hair dryer, or parking the car in full sun too early can make the smell feel worse because more fuel vapor gets released before you have removed the residue. I do not need a health agency quote to make that call. It is standard spill-cleanup logic. More heat means faster evaporation, and faster evaporation means more fumes in your breathing space.
Airflow still matters, but it has to be controlled. Ventilate first to lower vapor concentration, then clean the contaminated material, then use adsorption for the leftovers. For lingering cabin odor after the actual spill has been cleaned, activated charcoal can help pull residual fumes out of enclosed airspace. This guide to a charcoal smell remover explains why that aftercare step works best after source removal, not instead of it.
One more place gets missed all the time. The HVAC system. If gasoline fumes were pulled through the vents while the blower was running, the cabin filter and duct surfaces can keep reintroducing the smell even after the carpet looks dry. That is why some odor jobs seem to "come back" every time the fan turns on.
First Priority Safely Removing Gas from Your Skin
If gasoline gets on your skin, deal with that before the car, clothes, or garage floor. The goal isn't to scrub your hands raw until they “feel clean.” The safe approach is degrease, neutralize, then moisturize.
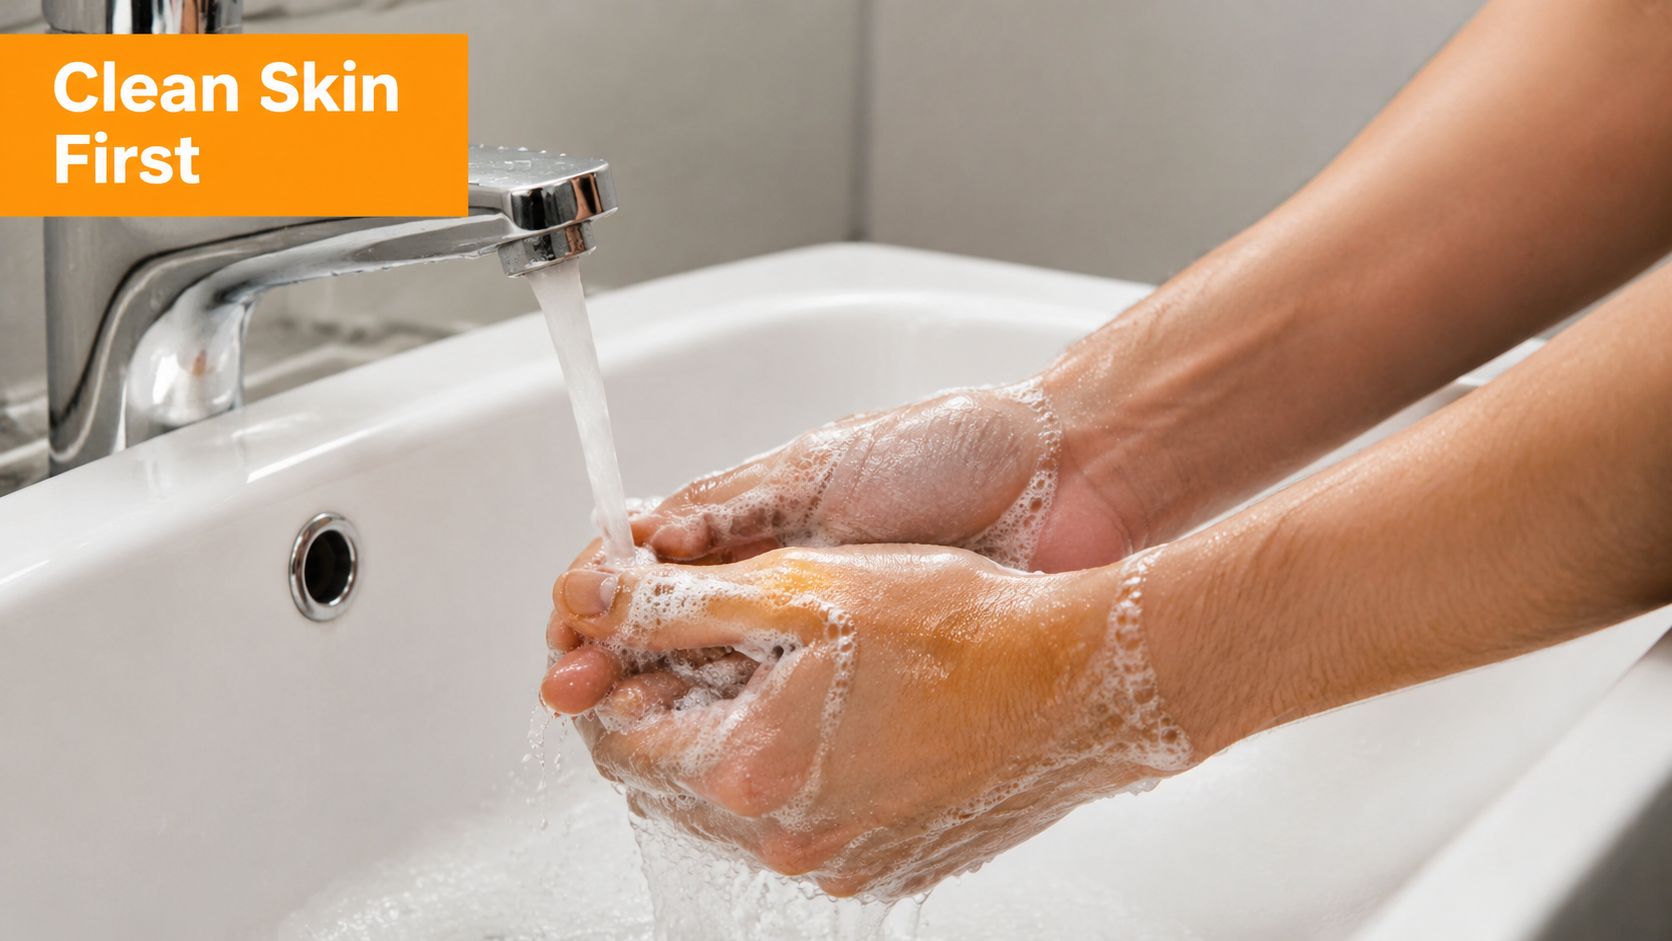
A 2023 NIH report on solvent exposure warns that improper deep scrubbing can increase skin permeability by up to 30%, which raises the risk of systemic toxicity. The same guidance supports a protocol centered on barrier-friendly cleaning and repair through degreasing, neutralizing, and moisturizing, per the NIH reference.
What to do right away
Start at a sink with cool or lukewarm water, not hot. Remove rings or gloves and wash off visible residue first.
Then use this sequence:
- Break down the fuel Use a mild grease-cutting hand soap, mechanic's hand cleaner without aggressive grit, or a small amount of dish soap. Work it over the affected area gently. The point is to loosen the fuel film.
- Rinse and repeat gently Rinse thoroughly. If the smell is still obvious, wash once more. Two gentle washes are safer than one aggressive one.
- Follow with a mild cleanser A pH-neutral hand wash helps remove leftover residue from the first degreasing step without stripping the skin further.
- Dry by patting, not rubbing Use a clean towel and pat dry. Friction is part of what irritates solvent-exposed skin.
- Apply moisturizer or barrier cream Use an unscented hand cream, barrier repair cream, or plain moisturizer right away. Gasoline strips oils from the skin. Replacing that barrier matters.
What not to do
A lot of old-shop habits are bad medicine.
- Don't scrub with stiff brushes unless a medical or industrial protocol specifically calls for it.
- Don't use gasoline, brake cleaner, or stronger solvents to remove gasoline.
- Don't keep washing over and over for an hour. If odor lingers lightly after proper washing, that doesn't always mean active contamination remains.
- Don't ignore irritation. Redness, burning, cracking, or prolonged discomfort means the skin barrier took a hit.
If your hands smell faintly of gas but the skin is clean, calm, and moisturized, that's a different situation from visible residue still sitting on the skin.
When skin exposure needs medical attention
Get medical help if you develop significant irritation, feel unwell after exposure, or got gasoline on large areas of skin. If gasoline splashed into your eyes or you inhaled heavy fumes and feel dizzy or nauseated, stop the cleanup and get appropriate help first.
Neutralizing Gasoline Odor on Clothes and Fabrics
Clothing is where people make the most dangerous mistake. They toss fuel-contaminated clothes into the washer and assume detergent will sort it out. It won't.
The National Fire Protection Association prohibits machine washing or drying clothes with gasoline residue. Gasoline has a flash point of -40°F, and heat or friction in appliances can trigger ignition. The safe protocol is several days of outdoor airing before any hand-washing is attempted, according to the NFPA guidance.
The non-negotiable first step
Take the garment outside to a shaded, well-ventilated area. Hang it where fumes can dissipate safely. Don't leave it near open flame, power tools, grills, water heaters, or anything that can spark.
Leave it out until the airborne gasoline smell has fully dissipated. This part takes patience, and patience is cheaper than a laundry fire.
How to hand-wash it properly
Once the garment no longer gives off active fumes outdoors, move to a manual cleaning process.
- Use a basin or bucket Fill it with cold water.
- Add dish soap Dish soap is useful because it cuts oily residue better than many fabric detergents.
- Work the fabric by hand Agitate gently, especially at seams, cuffs, knees, pockets, and any area that took the splash.
- Rinse thoroughly If the rinse water still smells strongly, repeat.
- Air-dry again Let the item dry outside before deciding whether it needs another hand wash.
For heavy contamination on tougher fabrics, baking soda can help as a pre-treatment on the affected area before washing. On delicate fabric, test first and keep the process conservative.
If the fabric is carpet, rug, or upholstery
Loose household fabrics can sometimes be hand-treated. Installed carpet and dense rugs are trickier because fuel moves downward into backing and padding. If you're dealing with a petroleum-based mess on floor textiles, the workflow has some overlap with other stubborn residues. That's why a practical restoration guide like this one on Birmingham rug cleaning for tar can be helpful for understanding how oily contaminants behave in fibers and backing.
For vehicle fabric and seat material, proper surface-safe methods matter more than kitchen-sink improvisation. If you need a separate reference for general fabric care inside vehicles, this guide on how to clean car upholstery is a useful companion.
Household vs. Commercial Gasoline Odor Removers
| Treatment | Effectiveness | Best For | Safety Notes |
|---|---|---|---|
| Dish soap and cold water | Good for light to moderate residue after airing out | Work clothes, sturdy cotton, shop rags | Hand-wash only if contamination has aired out first |
| Baking soda | Helpful as a dry pre-treatment or odor absorber | Surface odor on fabric and mats | Don't rely on it alone for soaked items |
| White vinegar | Can help with lingering odor after primary cleaning | Secondary deodorizing step | Test on delicate fabrics first |
| Enzyme odor remover | Useful for residual smell after bulk fuel is gone | Upholstery, some rugs, seat fabric | Follow label directions and don't use it as a substitute for safe airing |
| Professional textile cleaning | Best when odor has migrated deep into padding or backing | Rugs, carpet, delicate items, severe contamination | Safer than repeated DIY washing when fuel is deep in the material |
Clothes that still smell sharply of gasoline after proper outdoor airing and hand-washing usually need another round of manual treatment or retirement. Don't force them through a washer or dryer because you're tired of waiting.
Deep Cleaning Your Car Interior and HVAC System
A gasoline smell inside a vehicle is usually a mix of two problems. One is the spill you can see. The other is the vapor you can't. If you only clean the obvious spot, the cabin can still stink every time the car heats up.
For porous upholstery and carpet, timing matters. The first 2 hours are critical. After that, removal efficacy drops to below 50% without professional extraction. Automotive studies also show that activated charcoal used overnight adsorbs 90% of trapped VOCs, while skipping that adsorption step leads to a 65% failure rate from odor rebound, according to SAE-cited automotive findings.
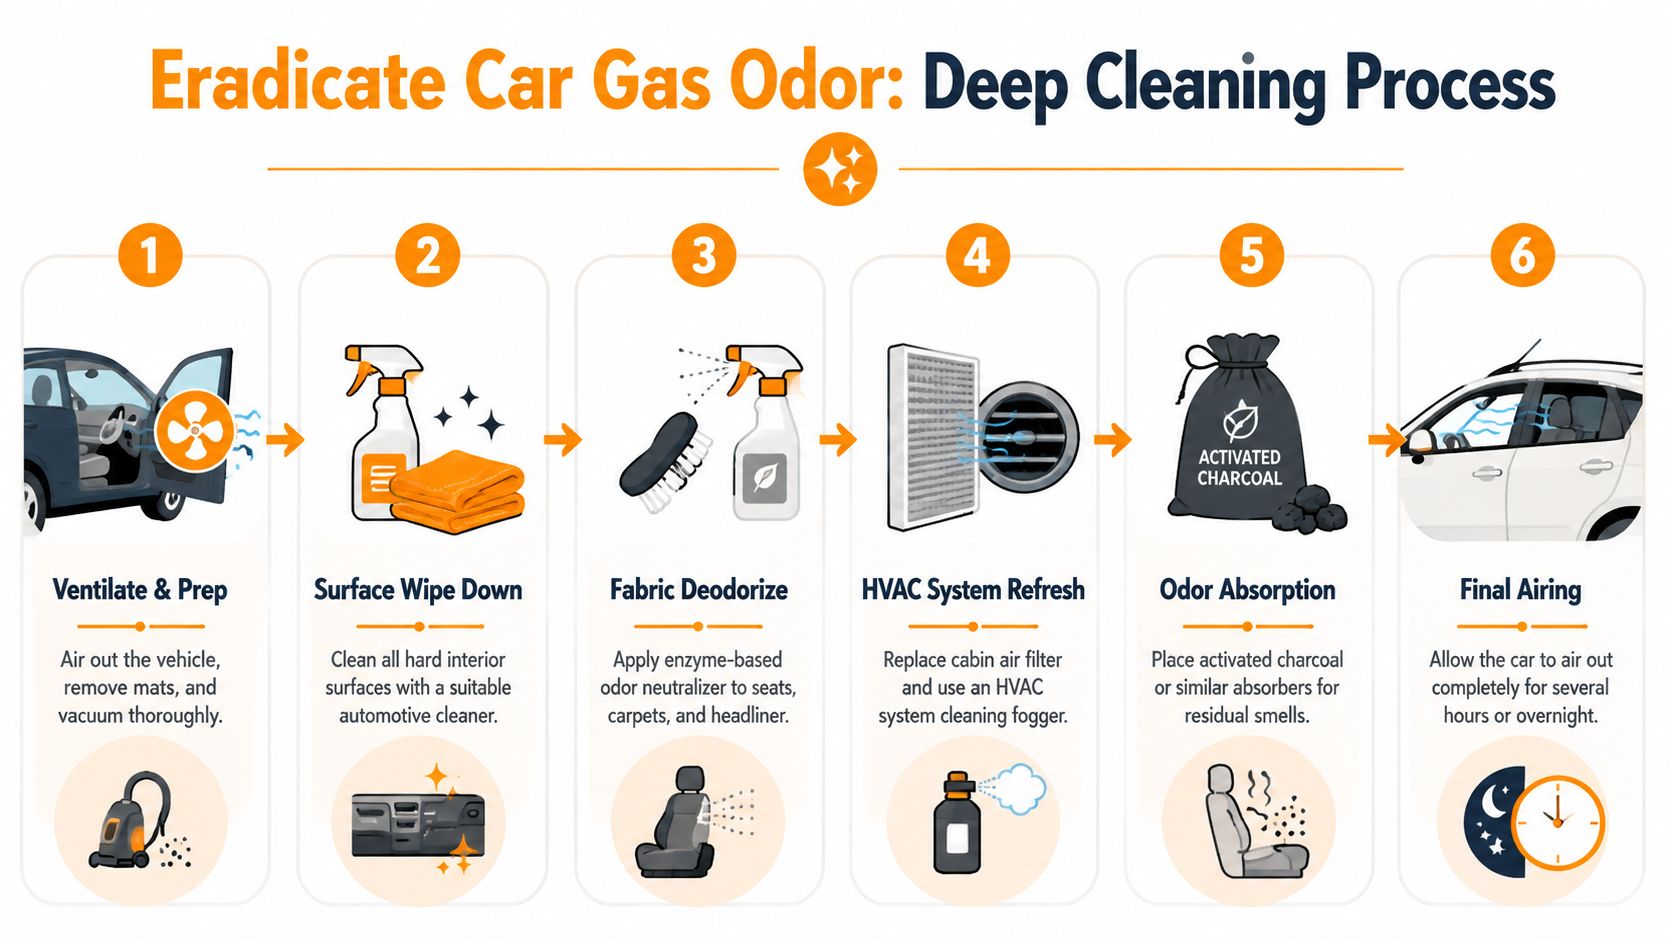
A good visual helps if you're dealing with a spill in the cabin:
What to do in the first response window
Open all doors and windows if it's safe to do so. Remove floor mats, cargo liners, and any loose items near the spill. Then start blotting.
Press and lift. Don't scrub. Don't grind a towel into the carpet. Don't use heat.
If the spill is on fabric, carpet, or a seat bolster, use clean microfiber towels or absorbent paper towels to lift as much liquid fuel as possible. Keep swapping to clean material so you're not reapplying fuel you just removed.
Overnight adsorption is where many DIY jobs succeed or fail
Once the loose liquid is removed, cover the affected porous area with activated charcoal or baking soda and leave it overnight. The adsorption stage is what pulls residual vapor from the material instead of just cleaning the top surface.
In detailing work, rushed jobs fall apart. The carpet might look clean in an hour, then smell worse the next afternoon when the cabin heats up.
The nose test that matters is the next day, not ten minutes after wiping.
Later in the process, if you want a broad interior treatment option for residual odor after the spill itself has been cleaned correctly, a dedicated car odor eliminator bomb can play a supporting role. It's not the first step. It's part of finishing.
Cleaning hard surfaces around the spill
Gasoline vapor doesn't stay politely on one fabric square. It moves onto trim, sill plates, console sides, plastic cargo panels, and rubber mats.
Use an interior-safe automotive cleaner on hard surfaces and wipe them thoroughly with clean microfiber. Focus on:
- Door sills and kick panels
- Plastic trunk trim
- Seat rails and plastic seat bases
- Cupholder and console edges
- Rubber floor mats and cargo trays
If a gas can tipped over in the trunk, remove the mat or liner and clean both sides. Don't forget the underside. Smell often hides there.
Here's a walkthrough video for a related odor-removal workflow inside vehicles:
The hidden problem most people miss
Persistent gasoline odor often lives in the HVAC system. Fumes get pulled into the evaporator area and ductwork, then re-enter the cabin every time the fan runs. Surface cleaning won't fix that.
Run the A/C on fresh air mode, not recirculate, to purge the cabin and ducts. If the smell intensifies when the fan comes on, inspect and replace the cabin air filter. A contaminated cabin filter keeps feeding odor back into the interior.
This is why some drivers swear they cleaned everything and still get hit with fuel smell at stoplights or when they switch on climate control.
A practical vehicle workflow
If I'm handling a gasoline odor complaint in a vehicle, the order is simple:
- Ventilate fully.
- Remove loose contaminated items.
- Blot the spill area.
- Clean nearby hard surfaces.
- Apply charcoal or baking soda overnight on porous material.
- Recheck the next day.
- Purge HVAC on fresh air.
- Replace the cabin air filter if odor returns through vents.
- Use a finishing odor-neutralizing product only after the fuel source is gone.
That same logic shows up in other odor restoration jobs too. Pet contamination, for example, also teaches the lesson that hidden material and airflow pathways matter more than surface fragrance. That's why broader cleaning references like these effective pet odor solutions can still be useful for understanding odor behavior, even though the contaminant is different.
Clearing Fumes from Your Garage and Tools
A garage spill has two jobs for you. Remove the liquid residue from the floor, then clear the air so fumes don't keep hanging around the space.
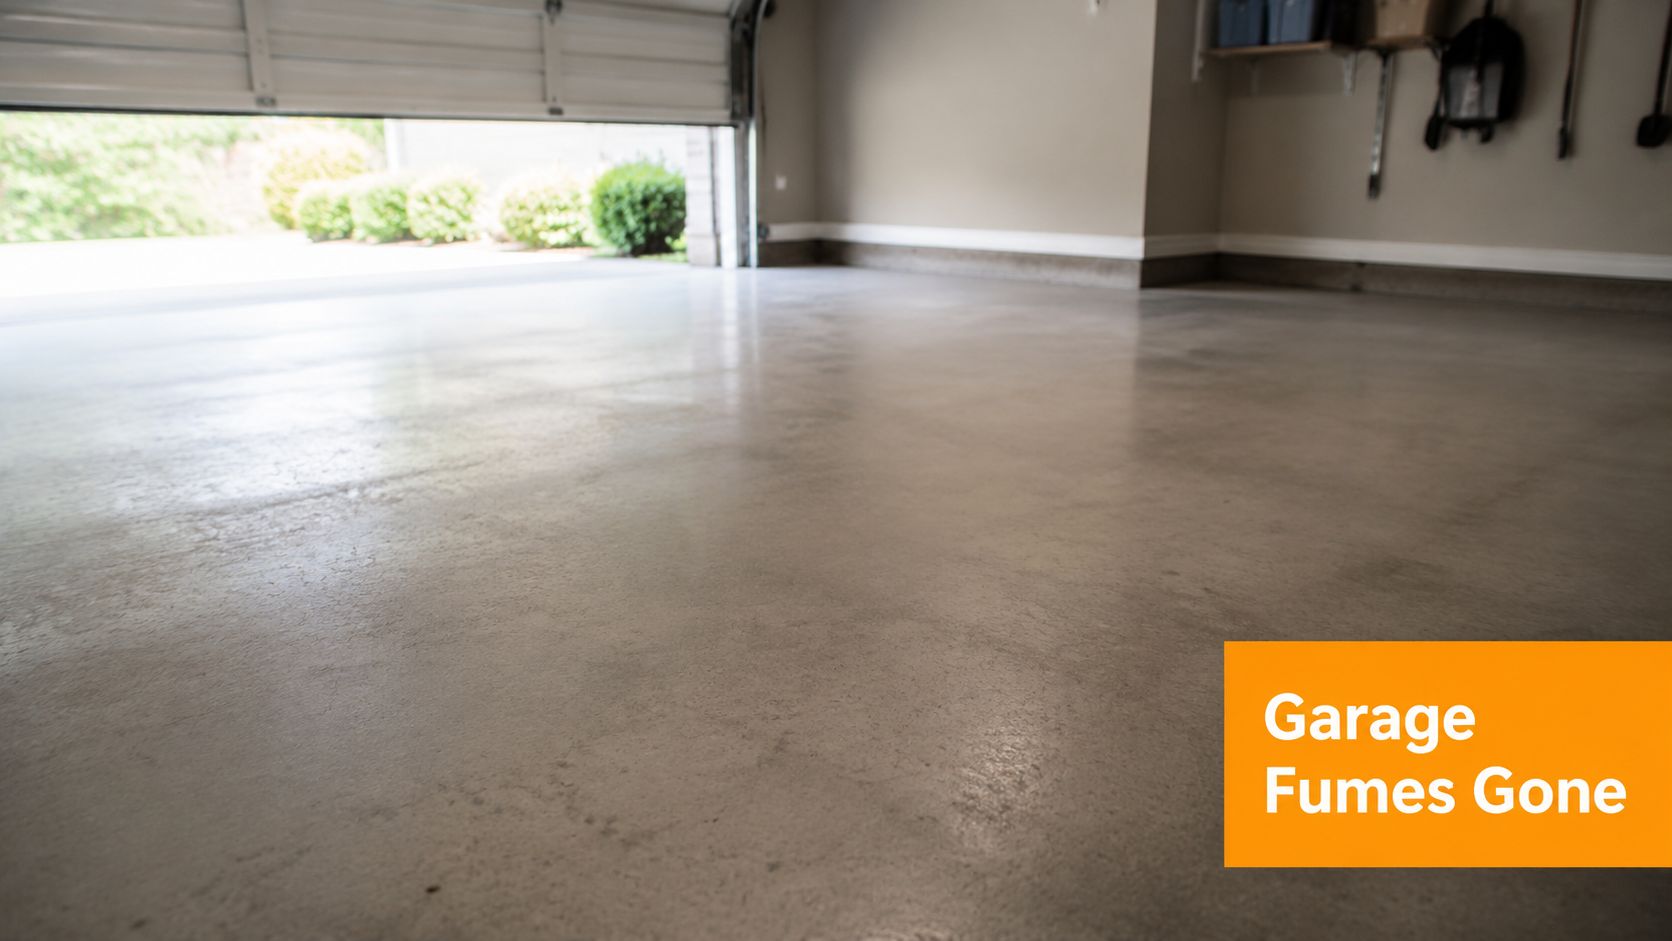
Concrete is a problem surface because it's porous. If you mop gasoline around, you spread contamination and push it into the slab. A phased absorption and neutralization method works better. EPA-linked emergency response guidance notes that rubbing a spill can drive 40% to 60% of the solvent deeper into a porous surface. The correct method is to blot or absorb first, then follow with a neutralizing treatment such as sodium bicarbonate, as outlined in EPA emergency response material.
Start dry, not wet
Use an absorbent first. Clay-based kitty litter, absorbent granules, sawdust, or other dry absorbent material can pull up free liquid before you introduce any cleaner.
Leave the absorbent in place long enough to capture the spill, then sweep it up carefully and dispose of it according to local rules for fuel-contaminated waste. Don't grind it into the floor with your shoes.
Degrease the residue
After the bulk fuel is gone, scrub the remaining film with a heavy-duty degreaser and a stiff deck brush or shop brush that you don't mind dedicating to dirty work. Then rinse conservatively. You want to remove residue, not wash fuel deeper into joints or surrounding materials.
For tools, wipe them down with a suitable degreaser or light cleaning solvent that won't leave corrosive moisture sitting on metal. Dry them immediately. If you use water-based cleaning on metal tools, follow up with full drying and light protection against rust if appropriate.
Open the garage door fully and move air outward. Ventilation should carry fumes away from the structure, not just swirl them around the room.
Don't forget the air in the space
The smell in the room may outlast the spill on the floor. Cardboard boxes, shop towels, wood shelving, and soft goods can all hold onto odor. Remove contaminated rags from the garage promptly and seal them in a safe temporary container until disposal.
If the smell lingers through the structure or drifts indoors, it may be time to think beyond cleanup and consider airflow and filtration. In those cases, homeowners sometimes benefit from professional indoor air quality services that address residual fumes in enclosed spaces.
Prevention and When to Call a Professional
Most gasoline odor jobs are preventable. Use sealed fuel cans that latch properly. Transport them upright. Put them in a tray or on a rubber cargo liner, not directly on carpet. Don't overfill equipment. Check caps, vents, and gaskets before you put cans back in the car or onto a garage shelf.
For vehicles, a small spill in a trunk is usually manageable if you act immediately and treat both the material and the HVAC side if needed. What turns a simple cleanup into a nightmare is delay. Once fuel gets into seat foam, carpet padding, subfloor materials, or hidden interior cavities, DIY methods become less reliable and less safe.
Call a professional when the problem crosses these lines
- The smell has no obvious spill source That can point to a mechanical leak, not a detailing problem.
- Gasoline reached padding, subfloor, drywall, or structural materials At that point you may be dealing with extraction, removal, or remediation, not surface cleaning.
- You feel dizzy, nauseated, or develop headaches during cleanup Stop and get fresh air first. Health comes before saving a floor mat.
- The odor keeps returning after proper source removal That often means hidden contamination in foam, ductwork, filters, or building materials.
- You're dealing with a larger spill than a normal household cleanup should handle Bigger spills raise both fire and inhalation risk quickly.
The line between DIY and denial
A lot of people keep “trying one more product” when the underlying issue is that the contamination sits somewhere they can't reach. Detail chemicals can do a lot. They can't fix a leaking fuel line, a trunk seam soaked through to the backing, or a garage that has absorbed fumes into surrounding materials.
If you want to remove gasoline smell for good, think like a technician. Find the source. Control vapor. Use the right method for the material. Don't rush the adsorption phase. Don't use heat. And don't turn a manageable spill into a dangerous one by treating gasoline like ordinary dirt.
If you're cleaning up the aftermath of a fuel spill, the right tools make the rest of your vehicle maintenance easier too. SwiftJet offers practical car-cleaning gear for home users who want better control, better foam coverage, and a faster wash routine without overcomplicating the job.
