
When it comes to washing your car with a pressure washer, the single most important decision you'll make is the soap you use. The golden rule is to always grab a pH-neutral formula made specifically for cars. These soaps are designed to be tough on dirt but gentle on your car's finish, so they won't strip away your wax, sealant, or ceramic coating.
Choosing the Right Soap for Your Car
Walking down the car care aisle can be overwhelming, but picking the right soap is crucial for protecting your vehicle. Reaching for the dish soap under the sink is one of the worst things you can do. It's loaded with harsh degreasers that will absolutely obliterate any protective layers on your paint, leaving it exposed to the sun and grime.
A good car wash soap does more than just clean; it provides lubrication. This slickness lets your wash mitt glide across the paint instead of dragging dirt and grit around, which is a major cause of those frustrating swirl marks and fine scratches.
Understanding pH Levels and Soap Types
The secret to a safe, sparkling clean is all in the soap's chemistry. For your regular weekly or bi-weekly wash, you want a pH-neutral soap. It has just the right balance to clean effectively without being aggressive enough to harm the wax or sealant you've so carefully applied.
Now, if you're dealing with a car that just came back from a muddy off-road adventure or is caked in winter road salt, you might need something with a little more punch. A slightly more alkaline soap can break down that heavy contamination, but use it with caution. Think of it as a reset button, not your everyday cleaner, as it can start to weaken your protective coatings over time.
Pro Tip: Stick to one soap per wash. Mixing different car wash formulas is a bad idea. Their chemicals can react poorly, neutralizing their cleaning ability or, even worse, leaving a stubborn film on your paint.
To make it even easier, here’s a quick guide to help you pick the right soap for the job.
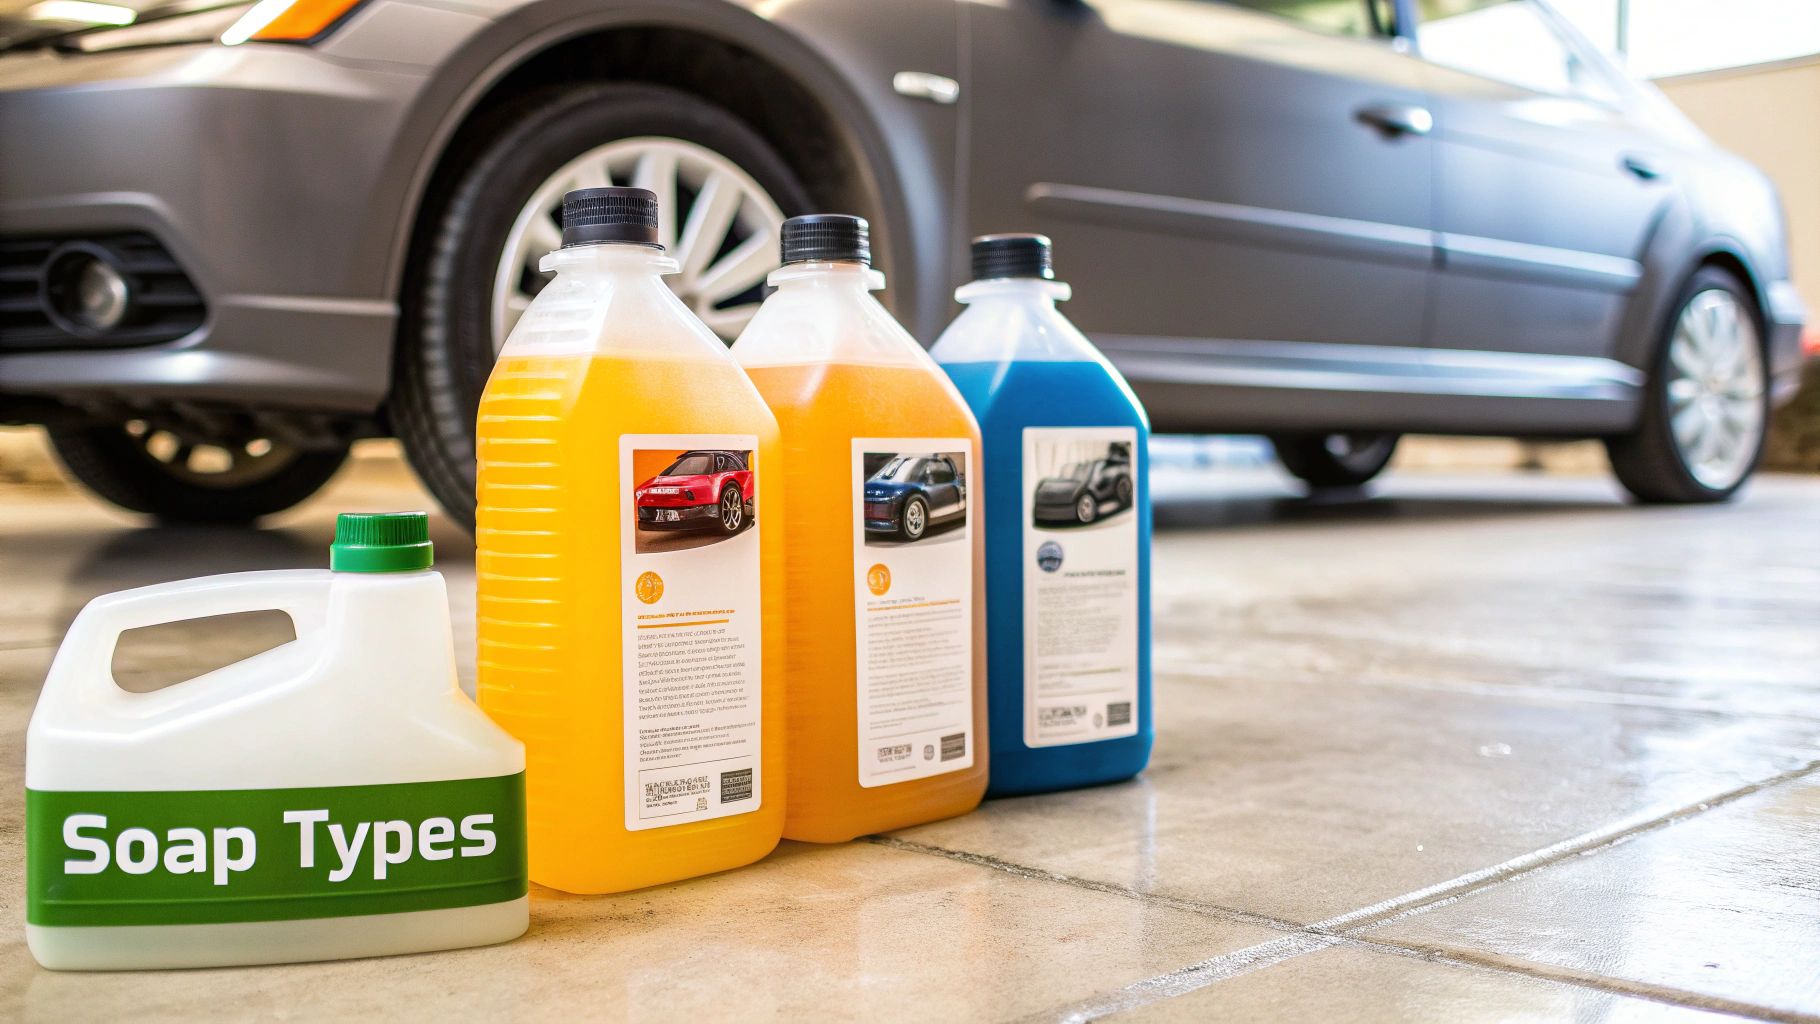
Car Soap Type Comparison
| Soap Type | Best For | Key Feature |
|---|---|---|
| pH-Neutral Soap | Routine maintenance washes | Gently cleans without stripping wax or sealants. |
| Snow Foam | Pre-wash to remove heavy, loose dirt | Creates a thick, clinging foam that encapsulates grit. |
| Wash and Wax | Quick, all-in-one cleaning and protection | Adds a temporary layer of wax for extra shine and beading. |
| Heavy-Duty / Degreaser | Stripping old wax or cleaning extreme grime | Strong alkaline formula for deep cleaning before a full detail. |
Each type has its place, and knowing when to use them is a key part of proper car care.
Snow Foam vs. Standard Car Soap
You'll hear two terms thrown around a lot: snow foam and standard car soap. They aren't the same thing.
Snow foam is a pre-wash product. You spray it on with a foam cannon, like the SwiftJet, and let its super-thick foam dwell on the car. The foam’s job is to cling to the surface, breaking down and lifting off the heavy, loose dirt before you ever touch the paint with a mitt. It's a massive step in preventing scratches.
Standard car soap is what you use in your bucket for the actual contact wash. It still foams up, but its main purpose is to provide that crucial lubrication and cleaning power as you wash the car by hand.
This chart really drives home the difference in how these soaps perform.
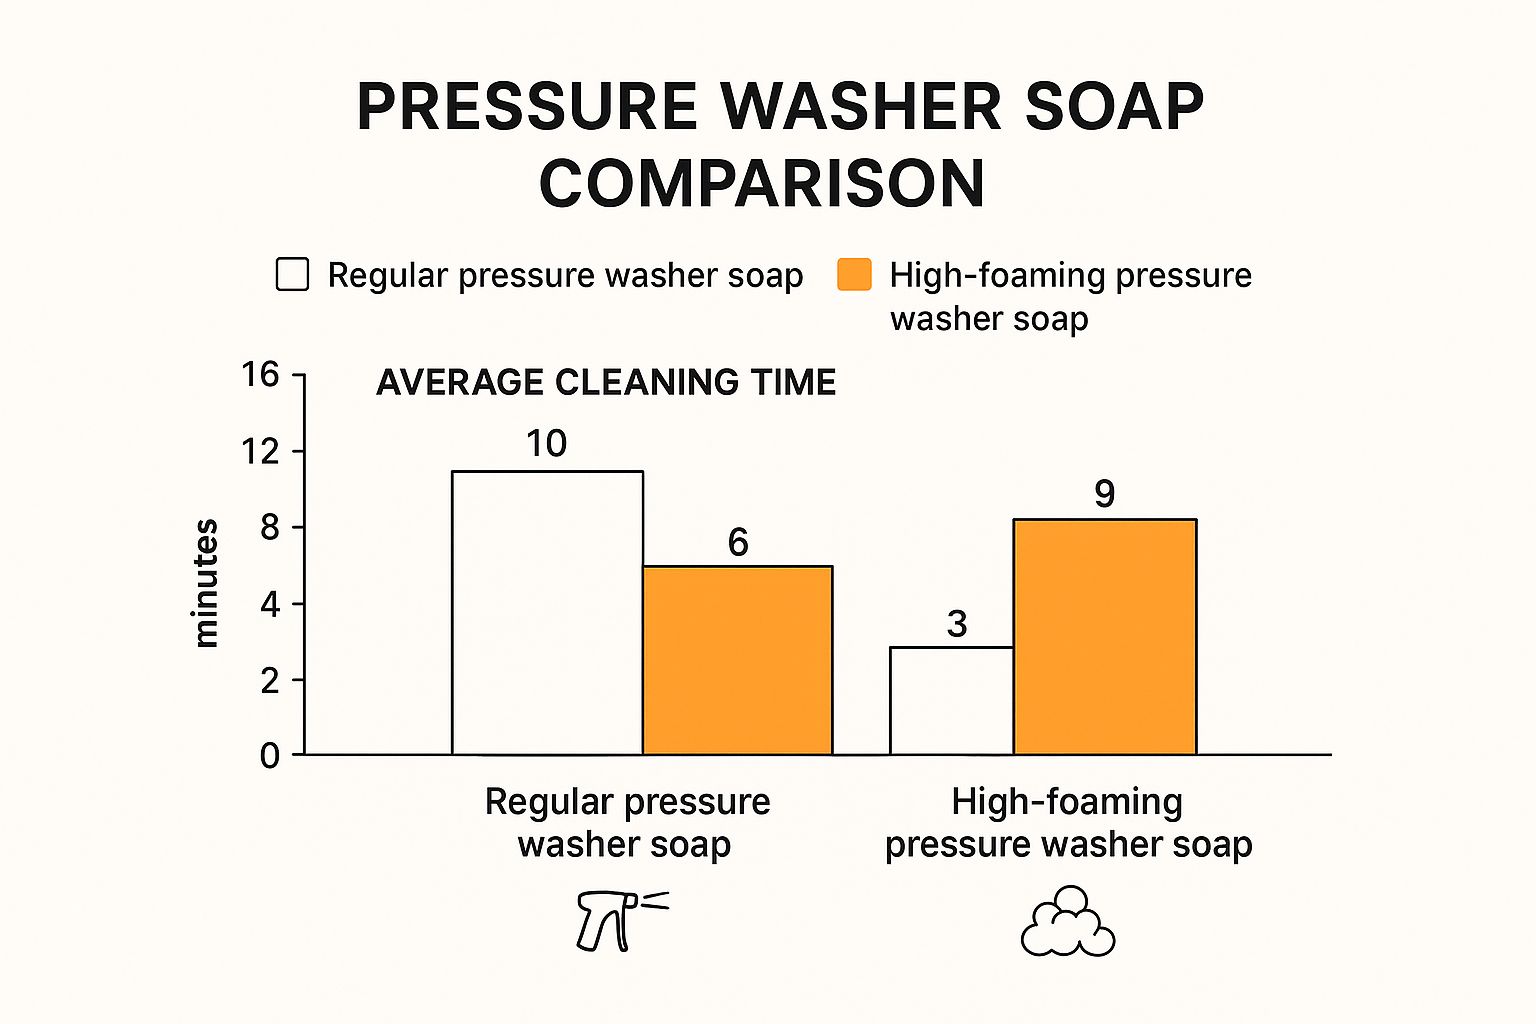
As you can see, high-foaming soaps give you more dwell time and can cut down on your overall cleaning time. It’s no surprise that the demand for these specialized products is booming; the global car wash soap market hit a value of USD 4.5 billion in 2024. If you're interested in the numbers, you can discover more insights about the car wash soap market growth.
Getting Your Pressure Washer and Foam Cannon Ready to Go
Before you can coat your car in that satisfying, thick blanket of foam, you have to get the basics right. A good setup is the foundation of a safe and effective wash. It all starts with making sure your connections are solid and the equipment is dialed in correctly.
First things first, hook your pressure washer up to your water source. Make sure every fitting is snug—you'd be surprised how much a small leak can mess with your water pressure. I always recommend running plain water through the hose and wand for a few seconds before you even think about attaching the foam cannon. This little trick pushes out any trapped air and guarantees you get a solid, uninterrupted stream right from the get-go.
Picking the Right Nozzle and Connecting the Cannon
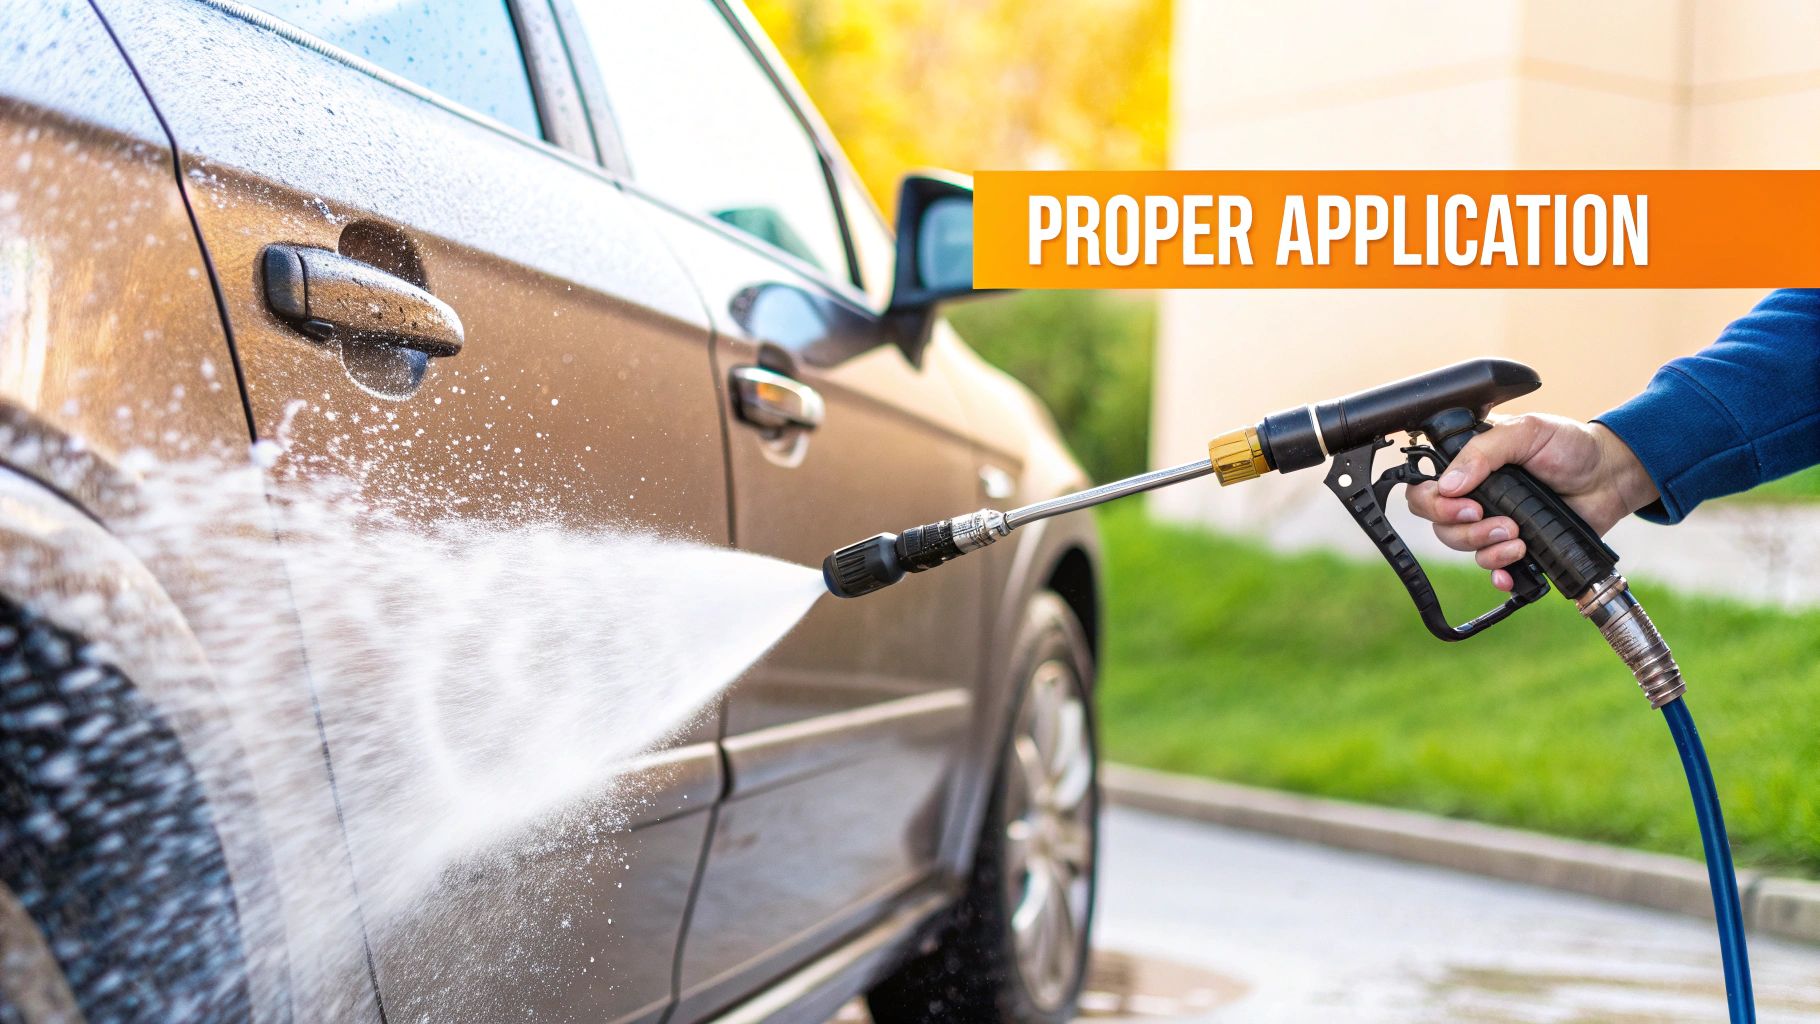
This is a step you absolutely cannot skip. The nozzle you choose makes a huge difference. For the initial rinse, your best friend is the 40-degree (white) fan tip. It gives you a nice, wide spray that's strong enough to knock off loose dirt without being so aggressive it damages your paint.
Whatever you do, never use a zero-degree (red) tip on your car. That’s a recipe for disaster.
Quick Pre-Wash Checklist:
- Are all the hose connections tight? No drips?
- Is the pressure washer set between 1200-1900 PSI?
- Do you have the 40-degree nozzle on for rinsing?
- Is your foam cannon locked securely onto the wand?
Once you have the right nozzle ready, it’s time to click in your SwiftJet foam cannon. Most quality cannons use a standard quarter-inch quick-connect fitting, which makes it super easy. It should snap right onto the end of your pressure washer wand with a satisfying click. Always give it a little tug to be sure it’s locked in place.
If you’re still weighing your options for applicators, check out our guide on the foam cannon vs foam gun to see what works for you. Nailing this setup means you’re ready to apply the pressure washer soap for cars perfectly and get that professional shine right in your own driveway.
Getting the Soap and Water Ratio Just Right
If you've ever wondered how detailers get that thick, shaving-cream-like foam, the secret isn't some magic trick—it's all about nailing the dilution. The ratio of your pressure washer soap for cars to water is the single most important factor. It's what separates rich, clingy suds from a watery mixture that just slides off your paint.
For most concentrated car soaps, a great place to start is a 1:10 dilution ratio. In practical terms, this means for every one part of soap, you’ll add ten parts of water. If you're using a standard 32 oz foam cannon bottle, this works out to about 3 oz of soap, then filling the rest with water.
Think of this as your baseline, not a hard-and-fast rule.
Pro Tip: The goal is to create foam that's thick enough to cling to the side of your car for several minutes. This "dwell time" is crucial. It gives the soap's cleaning agents time to get to work, breaking down and lifting away dirt before you even touch the surface with a wash mitt.
Fine-Tuning the Mix
Don't be afraid to experiment a little to find what works best for you. Things like the hardness of your water or even the specific foam cannon you're using can change how much foam you get. For instance, if you have particularly hard water, you'll probably need to add a bit more soap to get that same rich lather.
Here are a couple of common issues I see and how to fix them on the fly:
- Is your foam too watery? If the suds run right off the car, you almost certainly need more soap. Try adding another ounce of concentrate to your bottle and give it another go.
- Is the cannon sputtering? If it’s spitting out clumps of soap instead of a smooth stream of foam, your mixture is too thick. Just add a bit more water to the bottle to thin it out.
Getting this mix dialed in might take a few tries, but once you find that sweet spot, you’ll be able to get a perfect, consistent wash every single time.
For an even deeper dive into the science of foam, be sure to check out our complete foam cannon soap ratio guide.
Nailing Your Foam and Rinse Technique
Alright, your gear is ready and your soap mix is dialed in. Now comes the fun part. How you actually apply the foam and rinse it off is a huge piece of the puzzle—it's what separates a decent wash from a professional one and keeps those dreaded swirl marks at bay.
Before you even think about foam, grab your 40-degree fan nozzle for a quick pre-rinse. Start at the roof and work down, giving the whole car a good once-over. You're not trying to power-wash the grime off here. The idea is just to knock off the loose, heavy stuff so you aren't grinding it into your paint later. This one simple step is your best defense against scratches.
How to Apply Foam Like a Pro
With the loose dirt gone, it’s time to foam up. Here's a little pro tip that might feel backwards at first: start spraying the foam from the bottom of the car and work your way up.
Why the reverse order? Simple. If you start at the top, the soap immediately starts running down over the dirtiest lower panels, creating clean streaks through the grime. Going bottom-up lets the foam cling to the dirtiest areas—like your rocker panels and bumpers—for the longest possible time, giving the pressure washer soap for cars a real chance to break down all that road film. Your goal is a thick, even blanket of foam over the entire car.
Let the foam do the work for you. Give it a solid 3-5 minutes to sit and do its thing. You’ll literally see it dissolving dirt and pulling it off the paint. The only rule is don't let it dry, especially if it's hot or you're stuck washing in the sun.
The Final Rinse: Getting That Spot-Free Finish
Once the foam has worked its magic, switch back to your rinse nozzle. This time, you're going to do the opposite of how you foamed. Start rinsing from the top of the car and work your way down.
This top-down method lets gravity be your friend. It pulls all the soap and loosened dirt down and off the car, preventing you from re-soiling panels you just cleaned. It's the only way to guarantee you won't be left with annoying soap streaks or water spots.
For a perfect, systematic rinse every time, follow this order:
- Start with the roof, letting the water sheet down the sides.
- Move on to the windows and pillars.
- Rinse the hood and trunk next.
- Finish with the side panels, doors, and all the lower sections.
Following this foam-and-rinse sequence every time will get you that flawless, just-detailed shine you're looking for, safely and effectively.
Pro Tips for a Showroom Finish
Getting a good wash is easy, but getting a great one? That's all in the details. After the foam has done its job softening up the grime, it's time for the contact wash. This is where the two-bucket wash method comes in—it’s the single best thing you can do to prevent swirl marks. One bucket is for your soapy water, and the other is just for rinsing your wash mitt. Simple, but incredibly effective.
Here's another crucial tip: always try to wash your car in the shade, not in direct sunlight. The sun's heat makes everything dry way too fast, which is a recipe for stubborn water spots and soap streaks before you even have a chance to rinse.
Finessing the Details
While the foam is still clinging to the car, grab a soft detailing brush. It’s perfect for getting into all the tricky spots where a big wash mitt just can’t reach.
- Grilles and Vents: These are magnets for bugs and road grime.
- Emblems and Badges: A gentle brushing around the letters lifts trapped dirt without you having to apply any real pressure.
- Window Seals: You'd be surprised how much gunk hides in these little crevices.
The final, and arguably most important, step to that flawless look is drying the car properly. A high-quality, plush microfiber drying towel will soak up an incredible amount of water without scratching the paint. For an even better result, I like to use a leaf blower or a dedicated car dryer to blast water out of places like mirror housings and door jambs. This stops those annoying drips that ruin a perfect finish.
Pro Tip: When choosing your soap, keep in mind that many of the best new formulas are eco-friendly. Car owners are looking for powerful cleaners that are also biodegradable, and brands are stepping up. It’s a win for your car and the environment.
If you need help picking the right soap for your setup, we've got you covered. Check out our guide to the top 8 foam cannon car wash soaps to find your perfect match.
Answering Your Top Car Wash Soap Questions
When you first start using a pressure washer and foam gun on your car, you're bound to have some questions. I've been there. Getting these basics right from the start is the key to avoiding common mistakes and achieving that flawless, swirl-free shine.
Let's tackle the biggest one right away: "Can I just use dish soap?" Please, don't. Dish soap is an aggressive degreaser designed to strip away caked-on food. It will do the exact same thing to your car's wax or sealant, leaving your clear coat exposed and vulnerable.
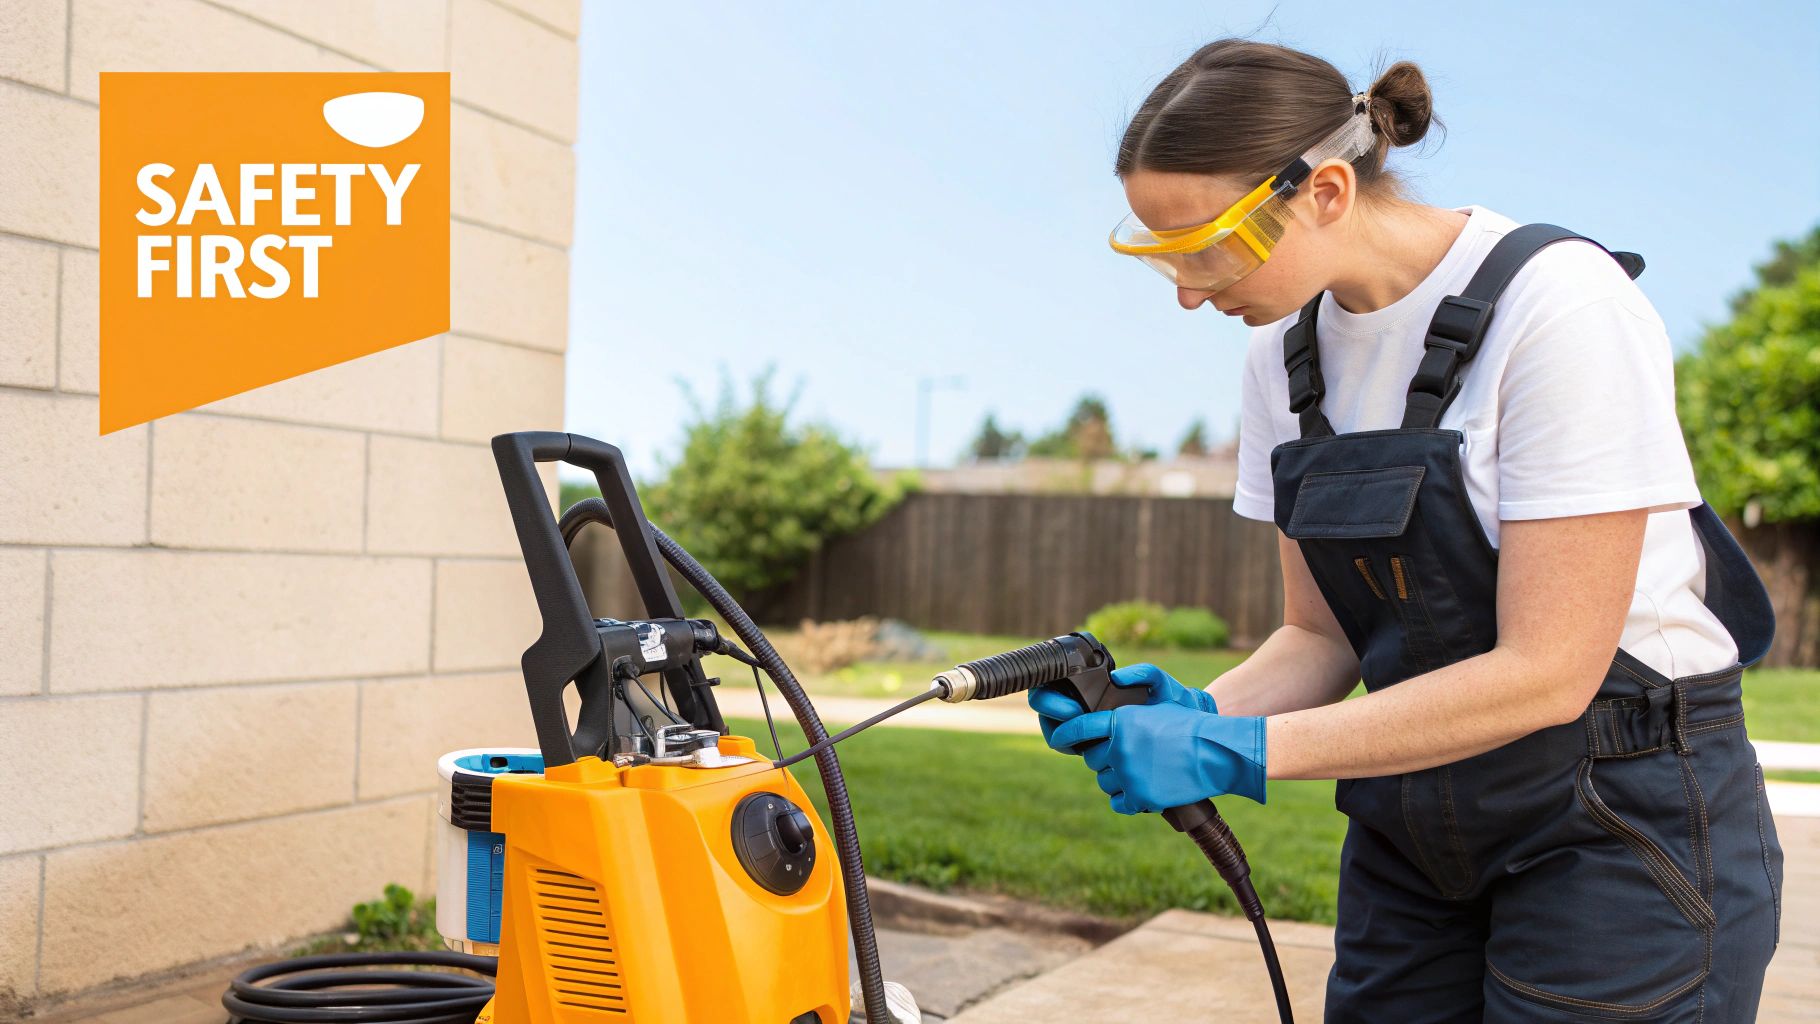
Another common concern is pressure. More isn't always better. You'll want to keep your pressure washer in the sweet spot of 1200-1900 PSI. Going any higher can seriously damage your paint, trim, or even glass. Always pair it with a wide-angle tip, like a 40-degree nozzle, to spread that pressure out safely.
Will Any Old Car Soap Work?
This is where a lot of people get tripped up. While a standard car wash soap is fine for a bucket wash, it's not going to give you that thick, satisfying foam you see from a foam cannon.
To get the most out of your SwiftJet, you really need a soap specifically formulated for pressure washers. These are designed with the right consistency to create a rich, clinging foam. Regular soaps are often too thin and just produce watery suds that run right off the paint before they have a chance to work.
The secret to a great foam wash is "dwell time." You want that foam to stick to the car for a few minutes without drying. This gives the soap's cleaning agents time to break down and lift dirt away from the surface, which is essential for a safe, scratch-free wash.
Finally, what about mixing different soaps? I'd advise against it. Car wash formulas are carefully balanced. Mixing them can cause unpredictable chemical reactions that might cancel out their cleaning ability or, even worse, leave a stubborn film on your car. Stick with one quality soap per wash for the best results.
Ready to stop dreaming about that perfect, thick foam and actually make it happen? The SwiftJet Car Wash Foam Gun is designed to deliver professional results without the hassle. Upgrade your car wash routine today