
Learning how to wax a car is actually pretty straightforward. At its core, you're just spreading a thin coat of wax over your car's clean paint, letting it dry to a light haze, and then buffing it off with a soft microfiber towel. Simple as that.
This creates a tough, protective layer that not only gives your car that deep, wet-look gloss but also shields the paint from all sorts of environmental nastiness. It’s a foundational skill in car care that anyone can get the hang of.
Why Waxing Your Car Is a Must-Do for Paint Protection
That incredible shine is a great perk, but the real MVP of a wax job is protection. Think of car wax as armor for your vehicle's paint—a sacrificial barrier that takes the hit from the daily assault of the elements, so your delicate clear coat doesn't have to.
And this isn't just about looking good in the parking lot. It’s about protecting your investment. A well-kept finish can seriously impact your car's value when it's time to sell or trade it in.
The Protective Power of Wax
A good layer of wax delivers several crucial benefits that go way beyond just making your car shiny. It’s a shield against a whole host of threats that can cause lasting damage if left unchecked.
- UV Ray Defense: Just like sunscreen for your skin, wax blocks the sun's harsh UV rays, which are the primary culprits behind faded, oxidized, and dull-looking paint.
- Contaminant Barrier: It creates a barrier that stops acidic things like bird droppings, bug splatters, and tree sap from eating into your clear coat.
- Hydrophobic Properties: Wax makes the surface repel water. You'll see water bead up and roll right off, which helps prevent ugly water spots and makes your next wash a whole lot easier.
A lot of people think waxing is some complex job best left to the pros. Honestly, that's a myth. With the right products and a bit of patience, you can get a fantastic, professional-looking result right in your own driveway.
More Than Just a Pretty Finish
At the end of the day, waxing is a critical piece of preventative maintenance. It’s not just for show. In fact, studies show that a properly waxed car can resist UV damage by up to 70%, which can extend the life of your paint by years. That same care can even boost resale values by 5-10%.
While doing it yourself is rewarding, sometimes you need a deeper level of care. For those times, looking into professional preventative maintenance services can be a great way to keep your car in top shape. Think of this as your first step in turning a simple chore into a satisfying skill.
The Critical Prep Work for a Flawless Wax Job
Applying wax to a dirty car is like painting over rust—you're just sealing in the problems and wasting your time. A truly durable, head-turning wax finish is built on a foundation of meticulously clean paint. This is where the real work happens, separating a quick, amateur job from a professional-grade result.
This preparation stage isn't just about a quick rinse. It’s a deliberate process designed to remove every trace of dirt, grime, and embedded contaminants. This ensures the wax can bond directly to your car’s clear coat for maximum protection and shine. Honestly, rushing this step is the single biggest mistake you can make.
Starting With a Proper Car Wash
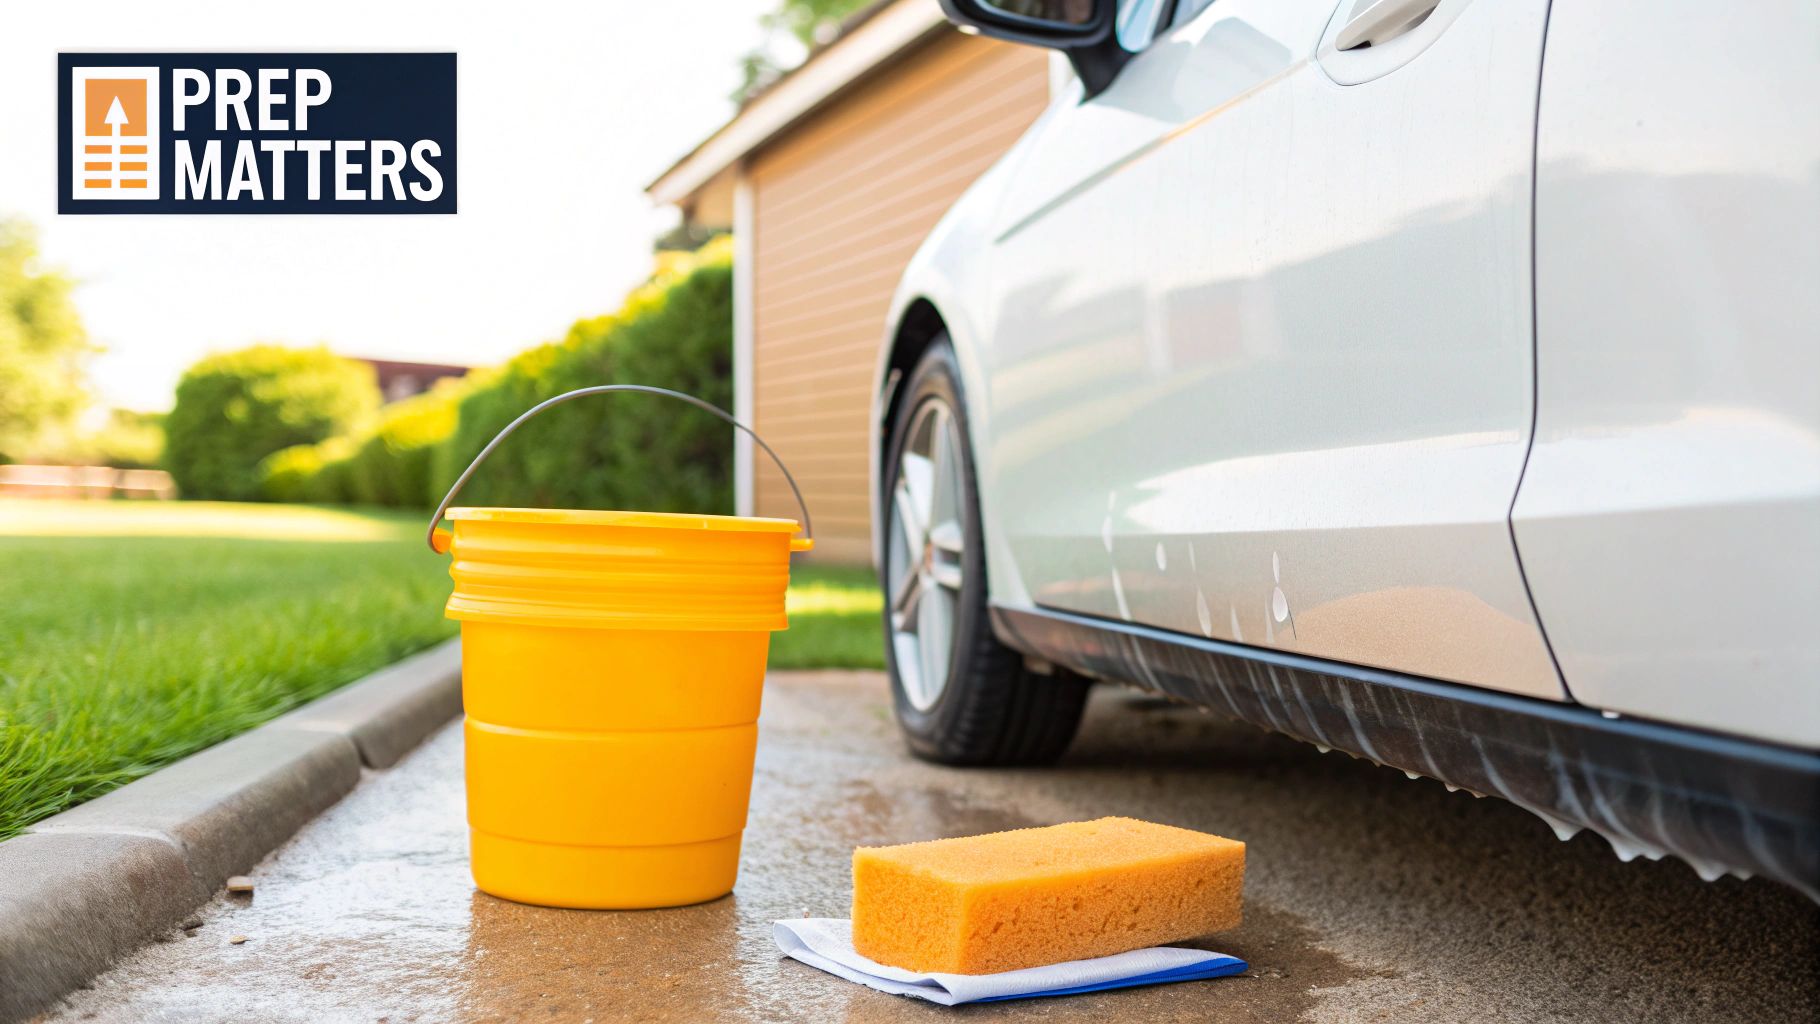
First things first: a thorough wash. The goal here isn't just to get the car wet; it's to remove all that loose dirt without inflicting new scratches, which is a surprisingly common problem. Professional detailers and seasoned enthusiasts almost universally rely on the two-bucket wash method for this very reason.
The method is simple but incredibly effective. You'll have one bucket for your soapy car wash solution and a second one filled with plain water just for rinsing your wash mitt. After washing a single panel, you dunk the dirty mitt into the clean water rinse bucket first. This dislodges all the collected dirt and grit before you reload it with fresh suds from the soap bucket. It’s a small step that stops you from dragging abrasive junk all over your paint.
Want to make the wash even safer? A pre-wash foam treatment can make a huge difference. Using a tool like the SwiftJet foam gun, you can blanket the entire vehicle in a thick layer of suds before your mitt ever touches the paint. This foam dwells on the surface, encapsulating and lifting heavier dirt, which you can then simply rinse away. Less scrubbing means a much lower risk of creating swirl marks.
Pro Tip: Always, and I mean always, wash your car in a shaded area, never in direct sunlight. The sun will bake soap and water onto the surface before you can rinse, leaving you with stubborn water spots and streaks that are a real pain to remove later.
Going Beyond the Surface: Decontamination
Even after a perfect wash, your car's paint still isn't truly clean. Don't believe me? Try this: run your hand over the surface. For an even better feel, place your hand inside a thin plastic sandwich bag to heighten your sense of touch. If it feels gritty or rough, those are bonded contaminants that a normal wash just won't touch.
These contaminants are nasty little things that bond to your paint over time, like:
- Industrial Fallout: Tiny metal particles from things like railway lines or industrial zones.
- Tree Sap and Tar: Sticky gunk that gets baked onto the paint by the sun.
- Paint Overspray: Airborne paint particles from nearby projects that settle on your car.
If you apply wax over these embedded particles, you're not just creating a bumpy finish. You're actually preventing the wax from properly bonding to the clear coat, which severely compromises how long it will last and how well it protects.
The Essential Step of Claying Your Car
This is where a clay bar or a clay mitt becomes your best friend. The process, known as paint decontamination, involves gliding a piece of automotive clay lubricated with a detail spray across the paint. The clay is just tacky enough to gently pull those embedded contaminants out of the clear coat, leaving behind a surface that is as smooth as glass.
This step is absolutely non-negotiable for a flawless wax job. It’s the true secret to achieving that deep, liquid shine and making sure your wax protection lasts for months, not weeks. If you're new to the process, we have an excellent resource that shows you how to clay bar a car with an easy step-by-step guide to walk you through it.
Once your vehicle is washed and decontaminated, give it a final rinse. If you happen to be using a pressure washer, choosing the right pressure washer nozzle is key to cleaning efficiently without doing any damage.
Finally, dry the car completely with high-quality microfiber drying towels. Any water left behind can interfere with the wax application, leading to streaks and poor bonding. With a perfectly clean, smooth, and dry surface, you are now ready for the main event.
Choosing Your Wax: Carnauba vs. Synthetic Sealants
Walking into the car care aisle can be overwhelming. You're hit with a wall of waxes, sealants, and hybrids, all promising a mirror-like shine. It’s easy to get lost in the noise, but here's the secret: there's no single "best" wax. The right choice depends entirely on your car, your climate, and what you’re trying to achieve.
The big debate usually boils down to two camps: the old-school warmth of natural carnauba wax versus the tough, engineered protection of synthetic paint sealants. Each has its die-hard fans for good reason. Think of it as choosing between a classic leather jacket and a modern GORE-TEX shell—one offers timeless style and feel, while the other delivers hardcore performance. Your decision here is going to shape the look, feel, and lifespan of your finish.
The Old-School Champion: Carnauba Wax
Carnauba is the original gangster of the wax world. It's a natural wax harvested from the leaves of a Brazilian palm tree, and detailers have loved it for decades. Why? Because it delivers an incredible depth and warmth. If you've ever seen a classic car at a show with a finish that looks like you could dive into it, you were probably looking at a high-quality carnauba wax.
The trade-off for that beautiful, wet-look shine is durability. A solid carnauba wax job will typically last you six to eight weeks, give or take, depending on how much rain and sun it sees. This makes it a fantastic choice for a garaged show car or for someone like me who actually enjoys the ritual of waxing their car every couple of months.
The Modern Contender: Synthetic Sealants
On the other side of the aisle, you've got synthetic paint sealants. These are polymers cooked up in a lab with one primary goal in mind: long-lasting, resilient protection. A sealant forms a slick, hard shell over your paint that laughs at heat, harsh detergents, and environmental gunk in a way carnauba just can't.
While some purists argue sealants can't match the deep glow of carnauba, they deliver a sharp, reflective, almost glass-like shine that looks amazing on modern cars. But their real claim to fame is longevity. A quality sealant can easily give you four to six months of solid protection, making it the perfect option for a daily driver that has to battle the elements day in and day out.
What about Hybrids? You'll see a lot of "ceramic-infused" or "hybrid" waxes now. These products try to give you the best of both worlds—the easy application and shine of a traditional wax, plus some of the hardcore water-beading and durability from ceramic technology. They're a great middle ground if you want more protection without going for a full-blown ceramic coating.
To make it easier to decide, here’s a quick rundown of how they stack up.
Car Wax Type Comparison
This table gives you a quick at-a-glance comparison to help you match a product type to your needs.
| Wax Type | Primary Benefit | Durability | Application Difficulty |
|---|---|---|---|
| Carnauba Wax | Deep, wet-look shine | Low (6-8 weeks) | Moderate |
| Synthetic Sealant | Long-lasting protection | High (4-6+ months) | Low to Moderate |
| Hybrid/Ceramic Wax | Balanced shine & durability | Medium (3-5 months) | Low |
There's no wrong answer here. It's about weighing what matters most to you: the legendary shine of carnauba or the modern, rugged protection of a sealant.
Choosing Your Application Method
Once you've picked your product, you have to decide on the form factor. The way a wax is packaged and applied can be just as important as what's in it, affecting your application time and the final look.
- Paste Wax: This is the traditionalist's pick. Pastes usually have a high concentration of waxes and allow for a very thin, controlled application. It takes a bit more elbow grease, but the results are often spectacular.
- Liquid Wax: Generally easier and faster to spread than pastes, liquids are a fantastic all-around choice. They work great for both hand and machine application, offering a nice balance of performance and ease of use.
- Spray Wax: This is the king of convenience. Spray waxes are perfect for a quick touch-up between major details or as a "topper" to boost the gloss on top of an existing wax or sealant. They aren't as durable, but you can't beat the speed.
The market backs this up. For instance, detailed analysis shows that traditional paste wax grabs a 30% share, often used by pros who need that deep, layered protection that can last. On the flip side, sprays account for about 25% of the market, serving people who need a quick shine that can be done in under 10 minutes. If you're interested in the market trends, you can learn more about car wax market insights.
In the end, it's a personal call. Are you chasing that show-car glow, or do you need set-it-and-forget-it protection for your daily commute? How much time do you want to spend? Answering those questions will point you straight to the perfect product for you and your car.
Mastering Wax Application by Hand or Machine
Alright, with your car perfectly clean and decontaminated, we’re ready for the main event. All that prep work created the ideal canvas, and this is where you’ll see that effort transform into a stunning, protective shine.
Whether you're a traditionalist who prefers the classic feel of applying wax by hand or you like the efficiency of a machine, the core principles don't change. You'll want to work in small sections, apply a razor-thin coat, and keep your technique consistent from start to finish.
A classic rookie mistake is slathering on a thick layer of wax, thinking more product means more protection. It's actually the opposite. A thick coat is a nightmare to buff off, often leaving you with streaks and a cloudy, uneven finish. The goal is to lay down a super thin, uniform layer that can cure properly and bond tightly to the paint.
This is the basic flow you'll be following.
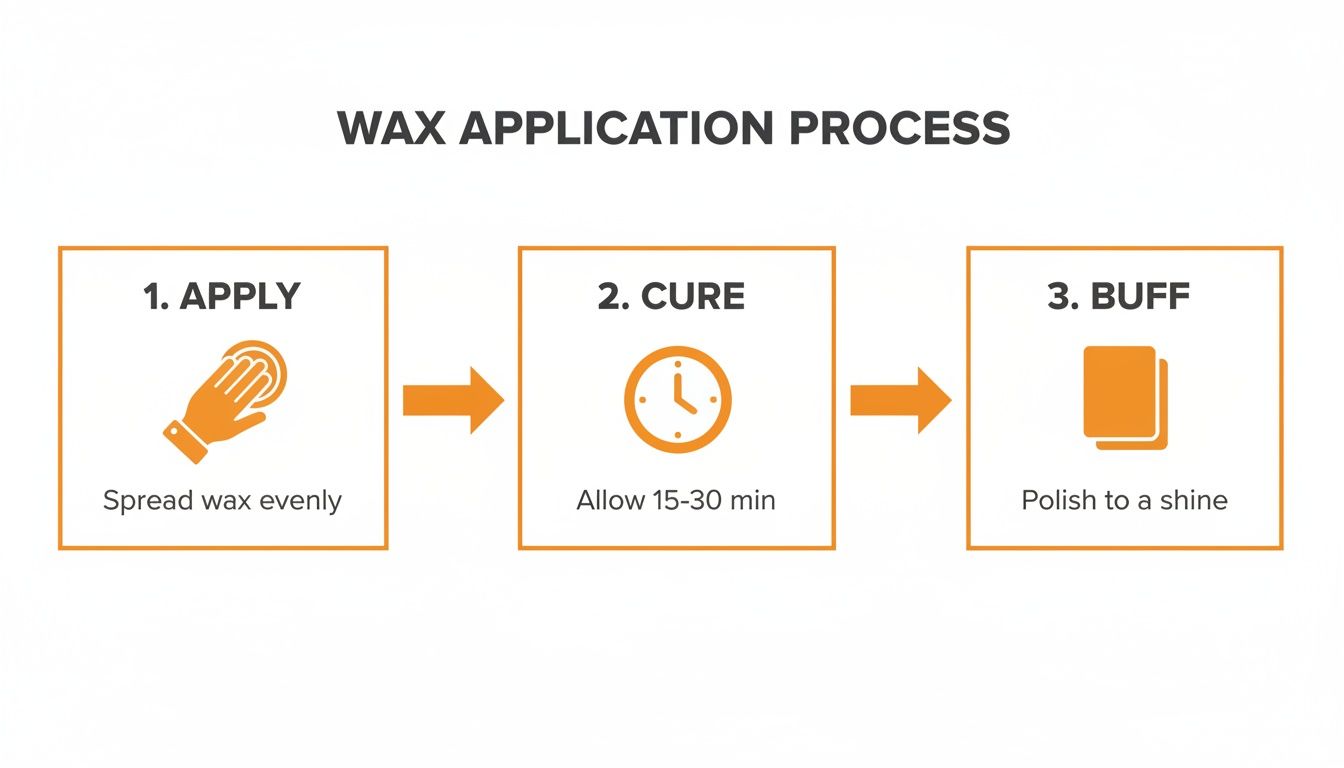
The biggest takeaway here is patience. Letting the wax properly cure before you start buffing is just as critical as how you put it on.
The Art of Applying Wax by Hand
There's something uniquely satisfying about applying wax by hand—it really connects you with your vehicle. All you need is a quality foam or microfiber applicator pad and your wax of choice.
Start by dabbing a tiny amount of product onto your pad. If you're using a paste wax, a gentle swipe across the surface is plenty. For liquid waxes, a few pea-sized dots will do the trick.
Tackle one small section at a time, something around 2x2 feet. Think half the hood, a single fender, or one door panel. Breaking the car down into these manageable zones ensures the wax won't dry out too much before you have a chance to buff it off.
Gently apply the wax using overlapping circular motions or straight-line passes—go with whatever feels most comfortable and natural to you. The key is to maintain light, even pressure to ensure the whole panel is covered with that crucial thin layer. Don't scrub or push hard; just let the applicator glide and do the work.
A common pitfall is applying too much pressure around raised edges and sharp body lines, which can leave the wax layer too thin in those spots. Use an even lighter touch in these areas to maintain a uniform coat across the entire panel.
Once you've covered a section, just move on to the next. By the time you’ve finished two or three sections, the first one will likely be cured and ready for buffing. This systematic approach creates an efficient workflow and leads to a flawless result.
Using a Machine for Efficient Application
If you're looking to cover more ground quickly and guarantee perfectly uniform coverage, a dual-action (DA) polisher is an amazing tool for the job. A DA polisher oscillates in a random pattern, which makes it incredibly safe for beginners because it dramatically reduces the risk of burning through the paint.
To apply wax with a DA polisher, you'll need a soft foam finishing pad—these are typically designated by colors like black, red, or blue. They're designed purely to spread product evenly without any abrasive action.
Here’s how to do it:
- Pad Priming: Before you start on your first panel, apply four or five small dots of liquid wax or sealant to the pad. For the following panels, you’ll only need two or three dots to replenish it.
- Speed Setting: Set your polisher to its lowest speed, usually a 1 or 2. That’s all the power you need to spread the wax without flinging it everywhere.
- Technique: Place the pad flat against the paint before you turn the machine on. Guide the polisher over the panel in slow, overlapping passes—first horizontally, then vertically. This crosshatch pattern ensures you don’t miss a spot.
Technique definitely matters, but some research shows that using a polisher between 2,000-3,000 RPM can cut application time by as much as 70%. On the flip side, the meticulous nature of hand-applying builds extremely even layers that can trap up to 99% of surface dirt, so both methods have their pros.
Whether you choose to work by hand or with a machine, having the right tools on hand makes all the difference. For a complete rundown of everything you might need, check out our guide on the ultimate car detailing supplies list to make sure you're fully prepared. In the end, the best method is the one you’re most comfortable with and that gives you the results you’re after.
Buffing and Curing for That Perfect Wet Look
Getting the wax onto the paint is only half the job. The real magic—that stunning, deep shine—happens when you take it off correctly. This is where your hard work really pays off, so don't rush it.
This stage is more than just wiping. It's about letting the wax "cure." This is a crucial window of time where solvents in the wax evaporate, allowing the protective polymers to form a strong bond with your car's clear coat.
If you jump the gun and wipe it off too soon, that bond never fully forms. You'll drastically shorten the wax's lifespan and lose out on most of the protection you were trying to add in the first place.
Knowing When the Wax Is Ready
So, how do you nail the timing? Forget the stopwatch. All you need is your finger. The go-to method for pros and enthusiasts is called the swipe test.
It's simple. Just gently swipe a clean finger over a small, waxed section. Here's what to look for:
- Does it smear or streak? If you see a greasy trail, the wax is still wet. Give it more time. Wiping it off now will just make a mess.
- Does it swipe clean? If your finger clears the residue away easily, revealing a glossy surface underneath, you're good to go. The wax has hazed over perfectly and is ready for buffing.
A word of caution: don't let the wax sit for too long after it passes the swipe test. Some waxes, especially carnaubas, can harden like concrete if left on for hours. Trying to buff that off is a nightmare and a surefire way to scratch your paint.
Perfecting Your Buffing Technique
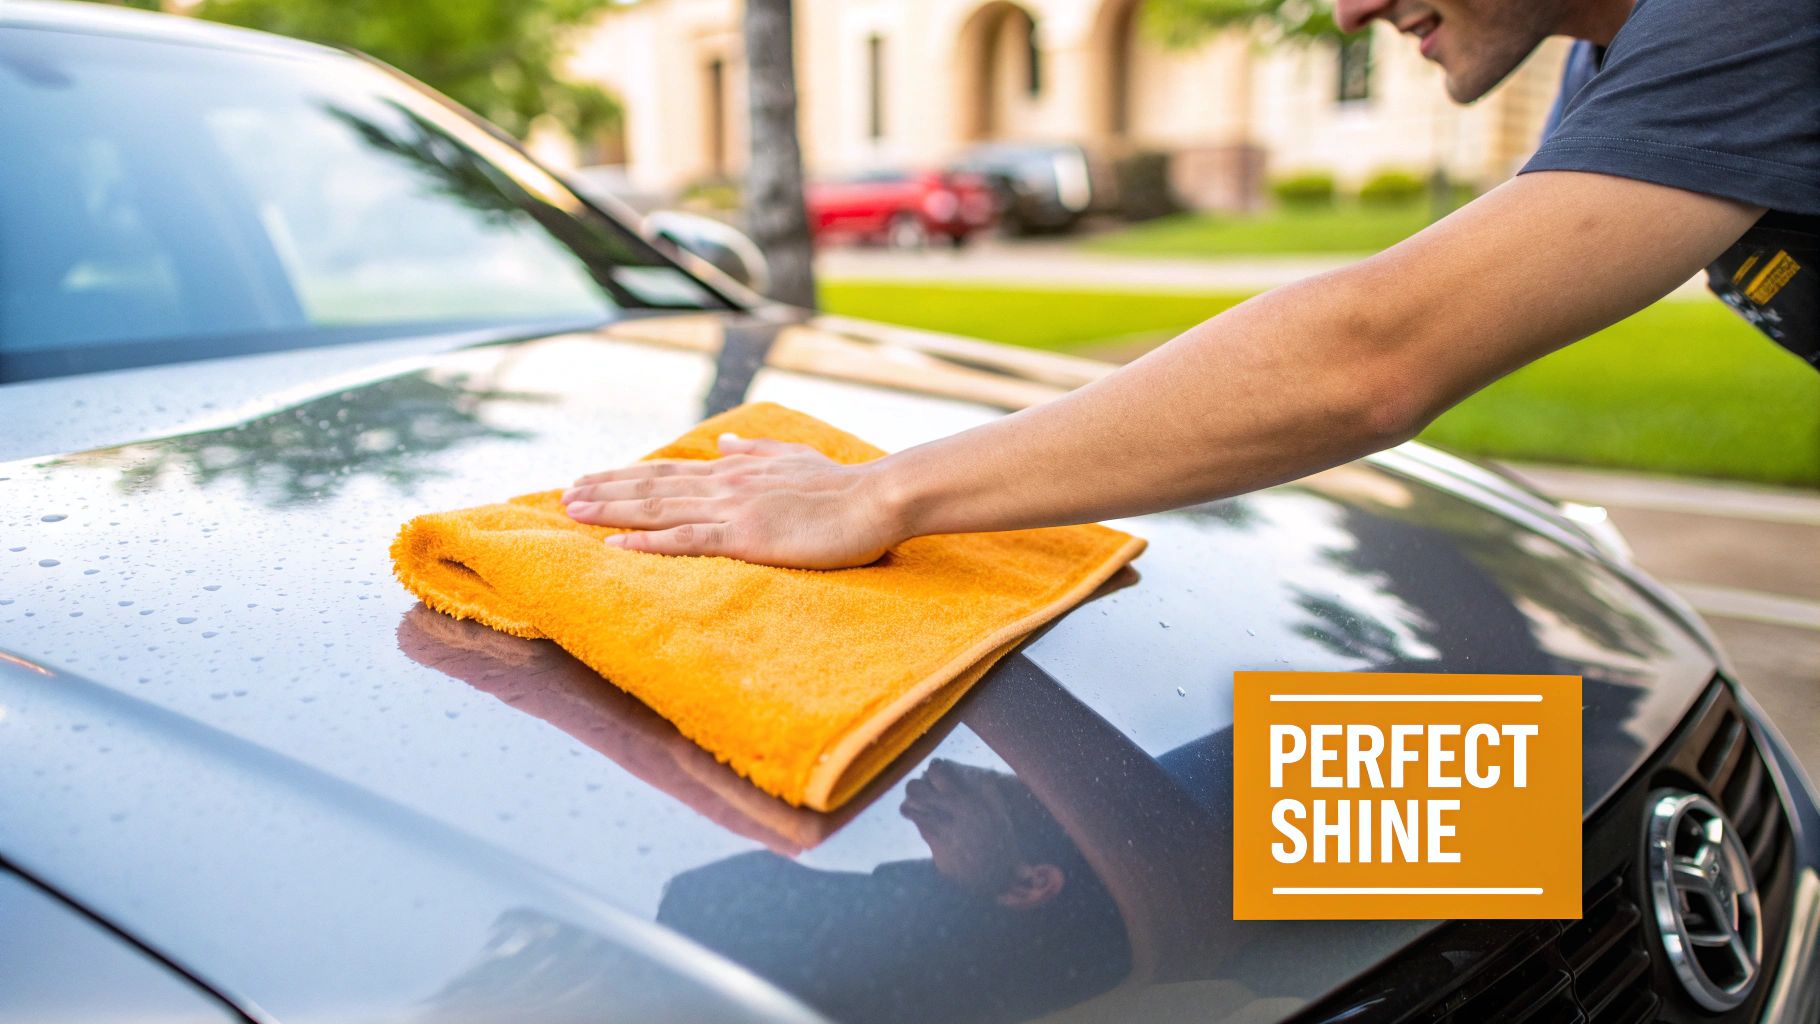
Once your wax passes the swipe test, it's time to buff away the residue. Your choice of towel here is critical. Grab a high-quality, plush microfiber towel. Please, don't use old t-shirts or rough shop rags—their fibers are abrasive and can easily mar your fresh finish with fine scratches.
For the best results, fold your microfiber towel into quarters. This little trick gives you eight clean surfaces to work with as you move around the car, which is a huge advantage.
Start by using one side of the folded towel for an initial, light pass. The goal here is just to knock down the bulk of that hazy wax residue. No need to apply heavy pressure; let the towel do the work.
Then, flip the towel over to a completely clean, fresh section for the final buff. This is the "money" pass. It removes any faint streaks and polishes the surface to that deep, wet-looking gloss we're all after. Using a clean side prevents you from dragging old wax residue back over the paint.
This two-step wipe-down is the secret to a perfectly clear, streak-free finish every single time. While waxing is fantastic for protection, achieving that glass-like surface often starts with paint correction. If you're tackling deeper imperfections, you can learn more about how to polish car paint in our other guide.
How to Maintain Your Shine and Avoid Common Mistakes
So, you’ve put in the work, and your car looks incredible with that deep, liquid shine. Great job! But the real trick is making that finish last. Protecting your work isn't just about looks; it's about extending the life of that protective wax layer you spent time applying.
The first habit to change is how you wash your car. Those harsh, high-alkaline soaps used at many automatic car washes (and definitely dish soap) are wax killers. They can strip your fresh coat in just one wash.
To keep that protective barrier intact, you need to switch to a pH-neutral car wash soap. These formulas are specifically made to lift dirt and grime without being aggressive enough to break down your wax or sealant. This one simple change makes a huge difference.
Extending Protection Between Washes
Even with gentle washing, your wax layer will naturally wear down over time. One of the best ways to boost its lifespan and keep the gloss at its peak is to use a quick detail spray. Think of it as a booster shot for your wax.
After you've washed and dried your car, a quick mist of detail spray and a gentle wipe with a fresh microfiber towel does a few things:
- It safely removes light dust, pollen, and fingerprints without needing a full wash.
- It restores that slick, water-beading surface.
- It adds a fresh layer of shine, making the paint pop just like it did on day one.
This little trick only takes a few minutes but can easily add weeks to the life of your wax job, keeping that "just-detailed" look going strong.
The name of the game in maintenance is being gentle. Your wax is a sacrificial layer designed to take the abuse so your paint doesn't have to. Every time you touch the car, you're removing a microscopic amount of it. By using the right products, you slow that process way down and maximize the time between full re-waxing sessions.
Common Waxing Mistakes and How to Fix Them
Sometimes, knowing what not to do is just as valuable as knowing the right steps. I've seen countless beginners get frustrated by simple, avoidable mistakes that lead to a streaky, hazy finish. If you can steer clear of these common slip-ups, you’ll get a perfect result every single time.
Let's break down the most frequent mistakes I see and, more importantly, how to fix them.
| Mistake | Why It's a Problem | Easy Solution |
|---|---|---|
| Waxing in Direct Sunlight | The heat bakes the wax onto the paint before you can buff it, causing stubborn streaks and a blotchy finish. | Always work in the shade or inside a garage. The paint surface should always be cool to the touch before you begin. |
| Using Too Much Wax | More isn't better. A thick coat doesn't add more protection—it just makes removal a sweaty, difficult chore and wastes product. | Apply a thin, even coat. Seriously, less is more. If you can barely see the haze, you’ve applied the perfect amount. |
| Skipping the Prep Work | Waxing over embedded dirt or contaminants just seals them against the paint, which can cause scratches and prevent the wax from bonding properly. | Don't cut corners here. A thorough wash and clay bar treatment is non-negotiable for a professional-looking finish. |
| Using Dirty Towels | A microfiber towel caked with old wax or grit will leave streaks and can easily inflict fine scratches on your clear coat. | Start with a stack of clean, high-quality microfiber towels. Fold each one into quarters to give yourself 8 fresh sides to work with. |
Avoiding these simple mistakes is really the secret to getting that professional, head-turning shine every time you detail your car. It’s all about working smarter, not harder.
Got Questions About Waxing? We’ve Got Answers.
Even after you’ve waxed a few cars, questions pop up. Let’s tackle some of the most common ones we hear from car owners, whether they're just starting out or have been detailing for years.
How Often Should I Really Be Waxing My Car?
Honestly, there’s no single answer—it all comes down to the type of wax you’re using and where your car lives. A beautiful, natural carnauba wax gives an incredible shine but typically only lasts about 6-8 weeks. On the other hand, a modern synthetic sealant can keep your paint protected for a solid 4-6 months.
Forget marking your calendar. The best way to know is the water bead test. Just spray a little water on the hood. If you see tight, round beads, your wax is still doing its job. If the water smears or sheets off in a flat layer, that protective barrier is gone, and it’s time for a fresh coat. A car that sits outside in the sun and rain will always need more attention than one that sleeps in a garage.
My Two Cents: Your hands are one of your best tools. After a good wash, run your clean hand over the paint. If it doesn't feel slick and glassy anymore, that’s a sure sign your protection is fading.
Is It Okay to Wax Over Scratches or Chips?
Wax is great for protection, but it’s not a miracle worker for paint damage. It can temporarily fill and hide the absolute finest swirl marks, but it's not a solution for deeper scratches or chips.
In fact, trying to wax over a noticeable scratch will usually just pack the defect with dried wax residue, making it stand out even more. The right way to do it is to address the imperfections first. Use a polishing compound on light scratches before you wax. For anything deeper, like a rock chip, you'll want to use touch-up paint, let it fully cure, and then apply your wax over the repaired spot to blend and protect it.
Ugh, I Got Wax on the Plastic Trim. What Now?
We’ve all been there. Getting wax on black plastic or rubber trim leaves that ugly, chalky white stain that’s a pain to remove. The absolute best strategy is prevention. A few minutes with some painter's tape to mask off those areas will save you a huge headache later.
If you slip up and get wax on the trim, wipe it off immediately before it has a chance to dry. If you’re too late and it's already set, don’t panic. A dedicated trim cleaner will usually do the trick. In a pinch, a simple pencil eraser can often lift the residue with a little gentle rubbing.
Ready to make your pre-wax wash safer and more effective? The SwiftJet Foam Gun turns any garden hose into a high-powered foamer, lifting dirt and grime away from the paint to help prevent scratches. Upgrade your car care routine today at swiftjetusa.com.