
That little sticky spot of tree sap on your car might seem like just a minor inconvenience, but it's actually a ticking time bomb for your paint job. It's made of a complex cocktail of sugars and minerals that immediately starts to bond with your car's clear coat. Let it bake in the sun, and that bond hardens, beginning to etch right into the paint and cause permanent damage.
The faster you act, the better. Taking care of it now can save you a costly trip to the detailer for professional paint correction later.
Why Tree Sap is So Bad for Your Paint
One of the biggest mistakes car owners make is ignoring a little drip of sap. It's not like dust or dirt that just sits on the surface; tree sap starts a chemical reaction with your car's protective clear coat. Heat and UV rays from the sun put this process into overdrive, almost like a corrosive agent slowly eating away at your car's finish.
The longer it sits, the worse it gets. A simple cleaning job can quickly morph into a serious problem. That sticky goo hardens into a solid resin, making it incredibly tough to remove without the right products and techniques. If you wait too long, you could be looking at:
- Ugly Stains: The sap can leave a nasty yellowish or brown stain that seeps deep into the clear coat.
- Permanent Etching: The acidic compounds in sap create dull, rough patches on your paint that you can't just wash off.
- Clear Coat Failure: In the worst-case scenarios, the sap can actually cause the clear coat to bubble, crack, or peel away entirely.
Don't Just Take Our Word For It
This isn't just a theory; the data backs it up. A 2022 report identified tree sap as the third most common cause of paint degradation for cars parked outdoors. The study revealed that vehicles with sap left on them for over 30 days were 4.5 times more likely to require professional paint correction.
This whole process is remarkably similar to how other contaminants, like bird droppings, wreak havoc on your paint. Both contain acidic elements that cause etching and need to be dealt with immediately to prevent lasting damage. For more on that, see our guide on how to safely remove bird poop from your car.
Once you understand what's actually happening to your paint on a chemical level, it's easy to see why you need to act fast. Spending a few minutes cleaning up a fresh sap spot today can save you hundreds of dollars and keep your car looking great for years to come.
Choosing the Right Sap Removal Method
Not every sticky spot of sap is created equal, and your game plan shouldn't be either. The real trick is to match your removal technique to the sap's condition. Are you dealing with a fresh, gooey drip or a rock-hard blob that's been baking in the sun? Getting this right from the start can save you a ton of frustration and, more importantly, protect your car's paint.
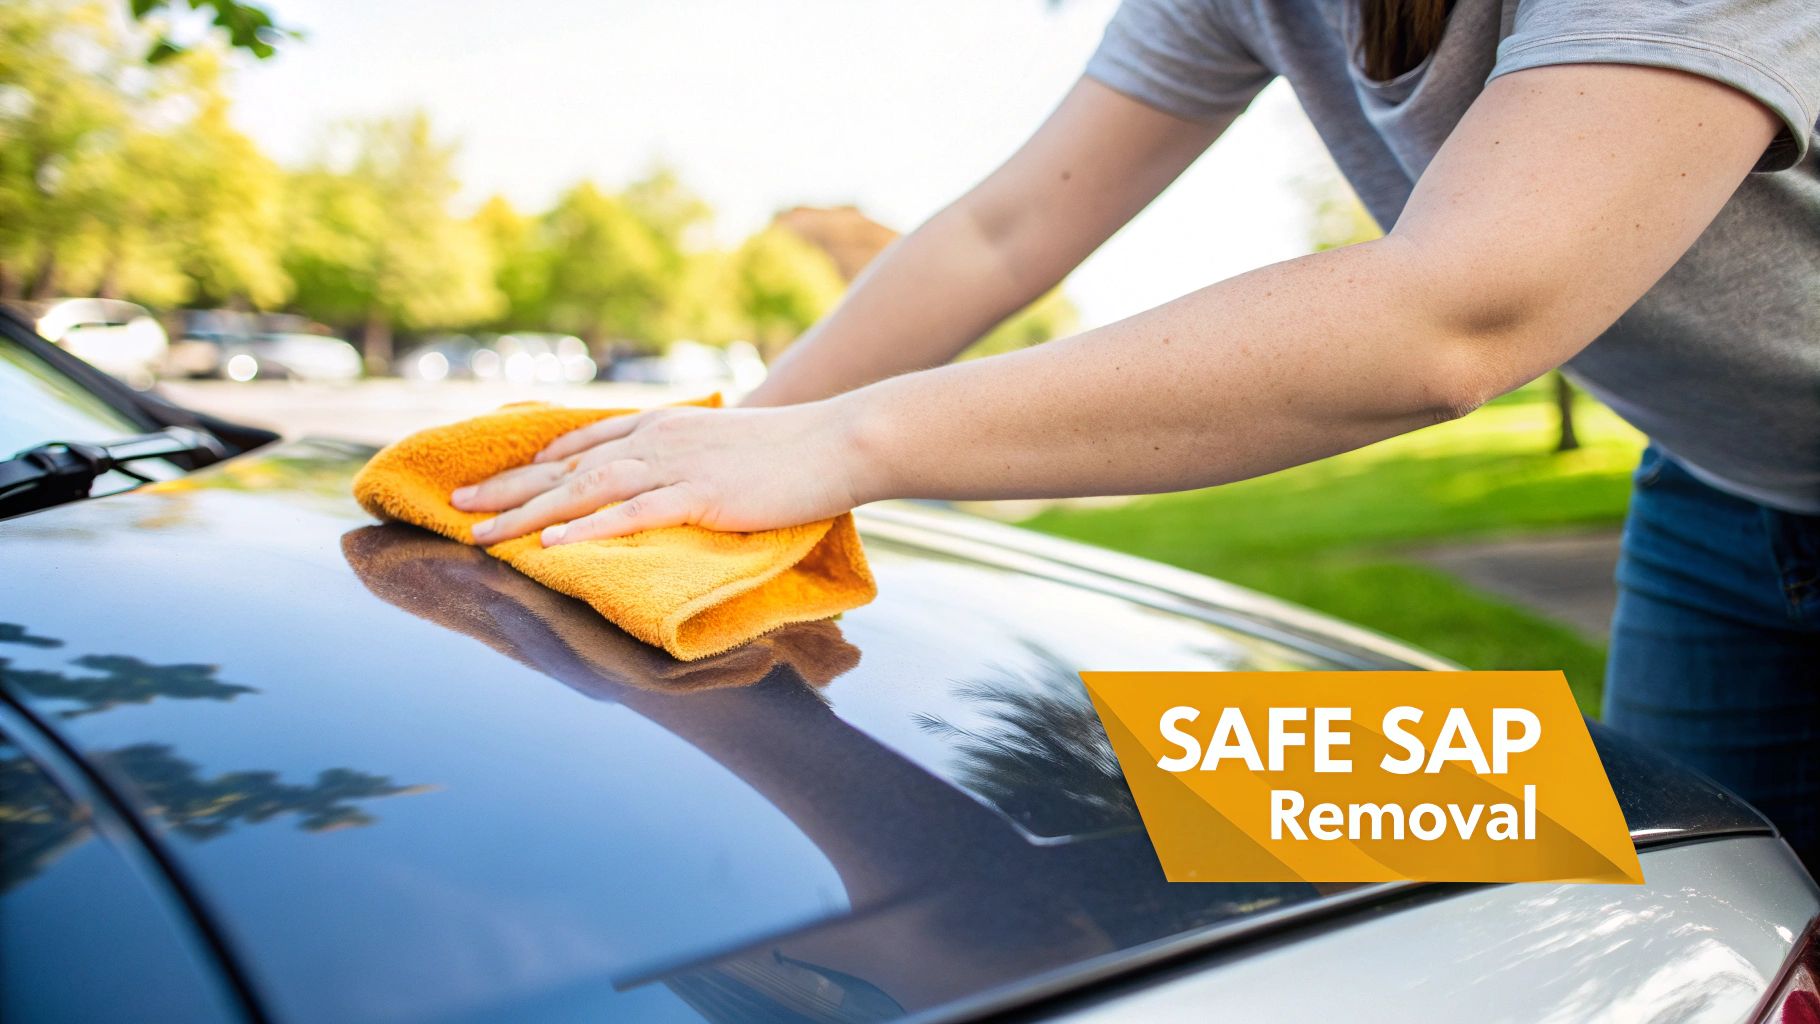
For fresh sap, you can usually start with the gentlest approach. Often, a bit of warm, soapy water and a soft microfiber towel are all it takes. If that doesn't quite cut it, isopropyl (rubbing) alcohol is a great next move. It acts as a mild solvent that's fantastic at dissolving the sugars in fresh sap without being too aggressive on your car's clear coat.
Assessing the Sap Situation
But what about the sap that's been on your car for days or even weeks? That’s when you need to bring in the heavy hitters. This is where dedicated automotive products really show their value.
- Commercial Sap Removers: These are purpose-built formulas designed to break down hardened resins. When you follow the directions, they are generally the safest and most effective option for modern car paint.
- Detailing Clay Bar: A clay bar is a more physical approach. It works by grabbing and shearing off contaminants bonded to the paint's surface, like that stubborn sap, leaving the finish feeling slick and smooth. It's best used on those really tough spots after a chemical cleaner has softened them up.
This handy guide breaks down how quickly you need to get to work once you spot sap on your car.
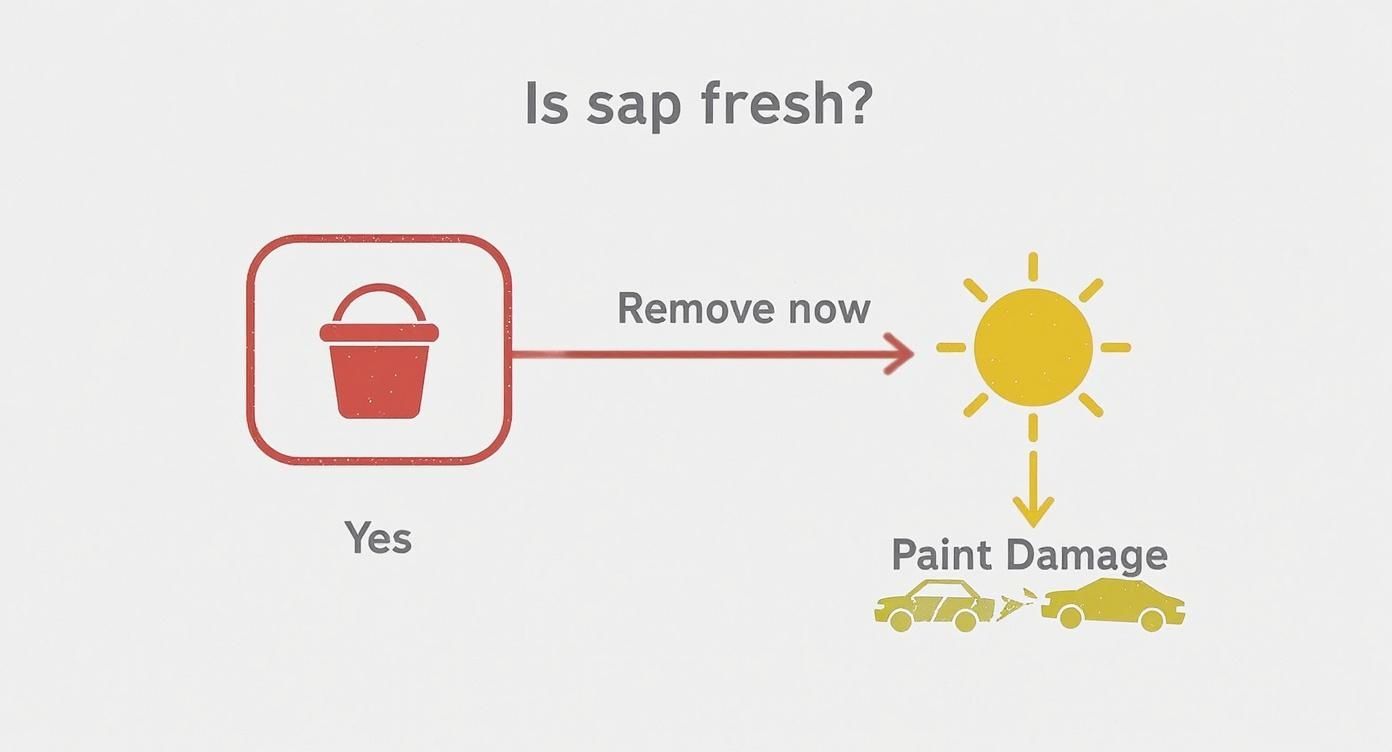
As you can see, fresh sap is a simple "deal with it now" situation. Letting it harden, however, puts you on a direct path toward potential paint damage.
Common DIY Methods and Their Risks
It's tempting to reach for something you already have in the house, but you have to be careful. While household products can work, they also carry risks. A 2023 survey revealed that while 56% of DIY attempts were successful using isopropyl alcohol, a worrying 34% of all DIY jobs ended with minor scratches or dull spots in the paint. The culprit was almost always aggressive scrubbing or using the wrong kind of towel. You can learn more about the importance of proper sap removal techniques to avoid these mistakes.
Deciding which product to use depends entirely on what you're up against. Here's a quick comparison to help you choose the right tool for the job.
Comparing Sap Removal Solutions
| Removal Method | Best For | Effectiveness | Potential Risk |
|---|---|---|---|
| Warm, Soapy Water | Fresh, soft sap | Low to Moderate | Very Low |
| Isopropyl Alcohol | Fresh sap, some semi-hardened sap | Moderate to High | Low (can dry out paint/trim) |
| Commercial Sap Remover | Hardened, baked-on sap | Very High | Low (if used as directed) |
| Clay Bar | Stubborn, bonded sap residue | High (after chemical treatment) | Moderate (requires lubrication) |
Ultimately, whether you're using a specialized product or a household solution, the key is to work smart, not hard.
The takeaway is clear: Patience is your best tool. No matter which method you choose for removing tree sap from your car paint, the goal is to let the product do the dissolving, not to force it off with scrubbing. Rushing the process is what leads to scratches.
Getting That Sap Off Your Paint—The Right Way
Alright, let's get down to business. If there's one thing I can't stress enough, it's this: let the product do the work, not your elbow grease. Trying to muscle the sap off is a surefire way to turn a simple clean-up into a trip to the body shop for paint correction. Patience is truly your best friend here.
First things first, you have to work on a clean surface. Never, ever try to remove sap from a dirty car. All that dust and road grit will act like sandpaper as soon as you start wiping. Give the affected area a proper wash with a good car shampoo and warm water, then dry it completely with a fresh microfiber towel. This one step is what separates a successful job from a scratched-up mess.
The Soak-and-Dissolve Method
The whole idea here is to dissolve the sap, not scrub it off. We want it to loosen its death grip on your paint on its own. Whether you're reaching for a bottle of isopropyl alcohol or a dedicated sap remover, the approach is the same. Start by applying a good amount of the cleaner to a folded microfiber towel or a cotton ball.
Now, place that soaked cloth right on top of the sap and just let it sit there. If the sap is still fresh and sticky, 30-60 seconds is often all it takes. For older, hardened spots, you might need to give it a few minutes to really work its magic. This "dwell time" is crucial—it's when the solvent gets in there and starts breaking down the tough resins.
After letting it soak, gently wipe the area in a light circular motion. You should feel the sap start to give way and lift off the paint. If you feel any resistance, stop. Don't press harder. The answer is to reapply the cleaner and let it soak a little longer. This isn't a race, and rushing is how you end up with swirl marks.
My Two Cents: Always do this work in the shade on a cool panel. Hot sun is your enemy here. It makes solvents like alcohol evaporate before they can do their job and can even leave weird residue behind. A cool surface gives the product the time it needs to work properly.
Essential Rules for a Perfect Finish
Stick to these best practices, and you'll get a great result without any nasty surprises. Think of these less as suggestions and more as non-negotiable rules for protecting your car's paint.
- Always Do a Spot Test: Before you go all-in, find an inconspicuous spot—like inside the door jamb—and test your cleaning solution. This quick check ensures it won't react poorly with your specific paint job.
- Use the Right Towels: Quality microfiber towels are a must. Stay away from paper towels or old shop rags. Their fibers can be surprisingly rough and will leave behind fine scratches, or "micro-marring," on your clear coat.
- Tackle One Spot at a Time: Don't try to do the whole hood at once. Focus your attention on one drop of sap, get it removed completely, and then move on to the next. This gives you way more control.
- Don't Forget to Protect: Any cleaner strong enough to dissolve tree sap will also strip off any wax or sealant you had on the paint. Once the sap is gone and the area is clean, you must apply a fresh coat of wax or sealant to restore that crucial layer of protection.
How to Handle Stubborn, Hardened Sap
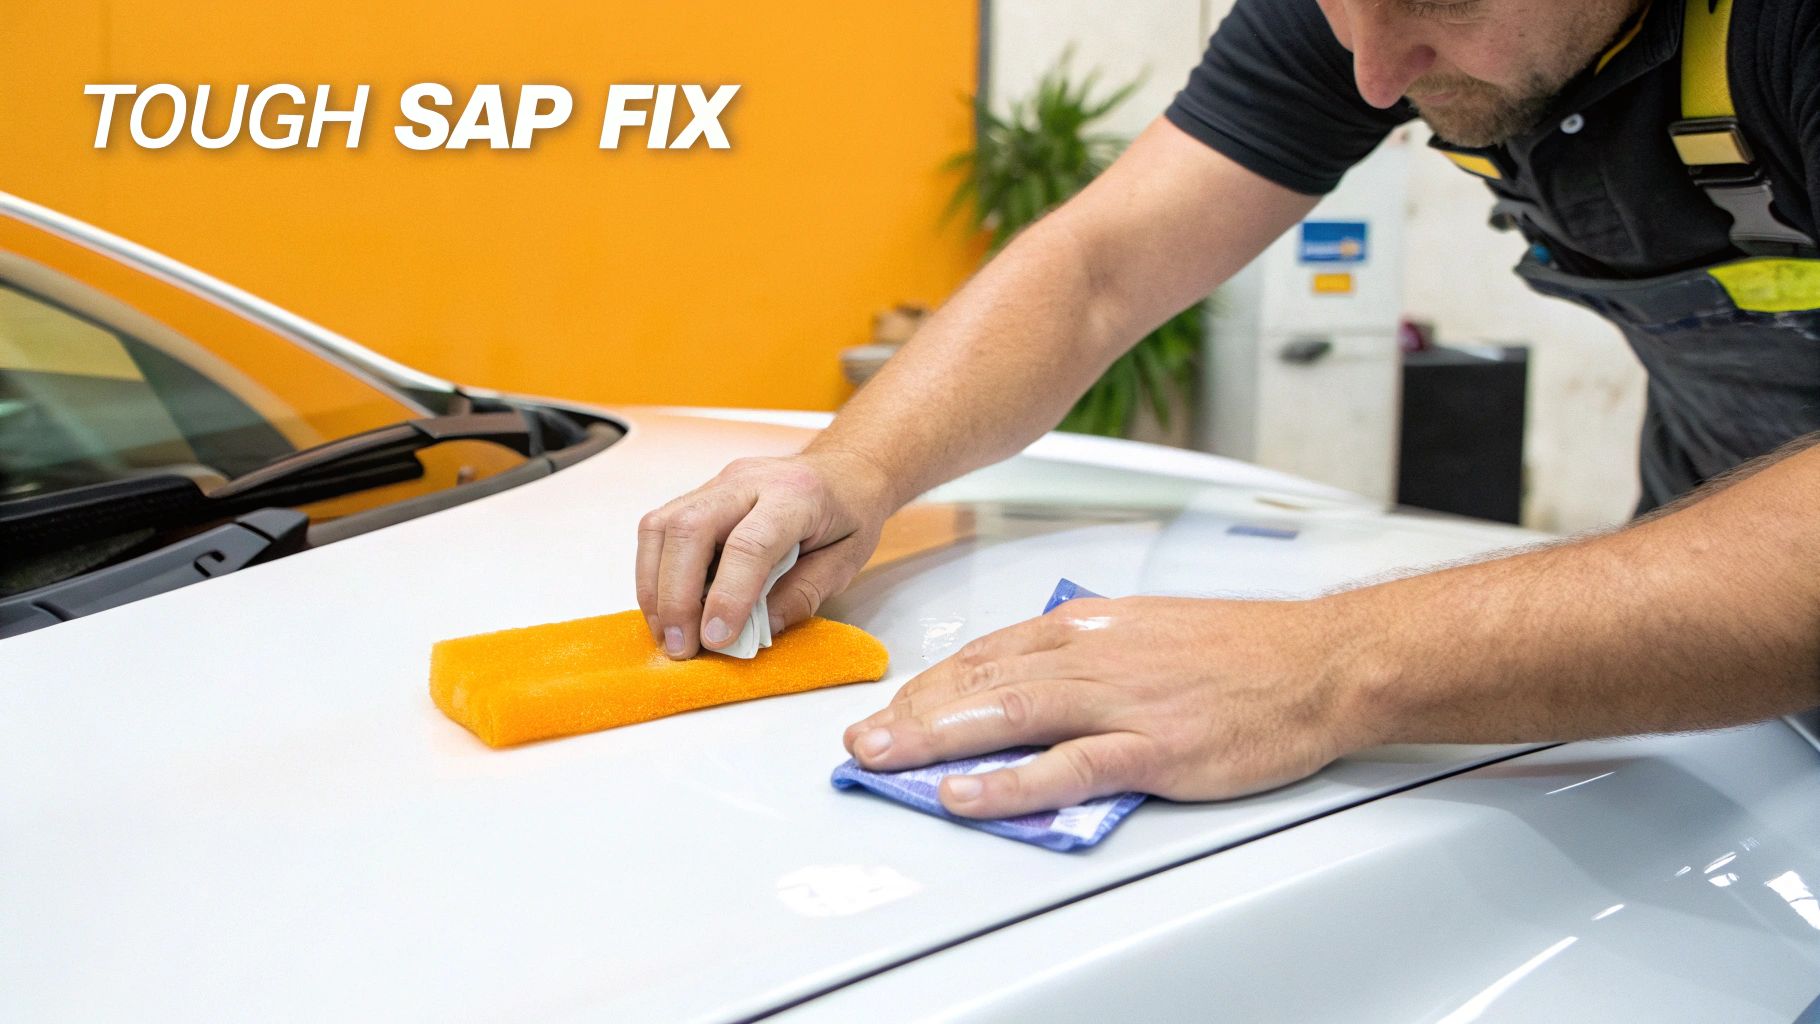
When the easy methods don't cut it, you’re usually dealing with sap that's been baking in the sun for weeks. It's transformed from a sticky nuisance into a petrified resin. It’s time to escalate your approach, but don't worry—you can still handle this at home without calling a professional detailer just yet.
The secret is to move from simple solvents to more powerful, purpose-built solutions.
Your first line of defense should be a quality bug and tar remover. These products are specifically formulated to break down the tough, complex polymers found in insect guts and hardened tree sap.
The process is similar to using rubbing alcohol, but it demands more patience. Spray the remover generously onto the sap and let it sit for at least a full minute, sometimes longer. Follow the product instructions. This "dwell time" is non-negotiable; it gives the chemicals a chance to dissolve the resin from the inside out. Once it's had time to work, use a clean microfiber towel to gently wipe it all away.
When Chemical Cleaners Aren't Enough
Still there? If the sap refuses to budge even after a chemical treatment, it’s time for a detailing clay bar. A clay bar is a specialized tool that physically shears off contaminants bonded to your paint's surface. Think of it as a deep exfoliation for your car's clear coat.
Proper lubrication here is absolutely critical to avoid scratching your paint. You’ll need a dedicated clay lubricant or a quick detailer spray to create a slick surface.
Spray the lubricant all over the sap residue and on a small piece of the clay bar. Using very light pressure, just glide the clay back and forth over the spot. You'll feel it "grab" at first. As it pulls the sap off the paint, you'll feel the surface become perfectly smooth under the bar.
For a full walkthrough, check out our complete step-by-step guide to using a clay bar for a flawless, factory-fresh finish.
Procrastination is your car’s worst enemy when it comes to paint. A 2021 AAA study found that an astonishing 90% of car owners delay cleaning off sap. The study also noted that cars with sap left on for over 14 days were 67% more likely to suffer permanent paint damage. You can read more about these crucial findings on car care habits.
Restoring and Protecting Your Paint
Alright, you got the sap off. That's a huge win, but don't close up shop just yet. Any product strong enough to break down that stubborn, sticky sap has also stripped away the protective wax or sealant on your car.
Without that barrier, your clear coat is completely exposed to everything from harsh UV rays to bird droppings and, you guessed it, more sap. It's like cleaning a wound and then forgetting to put on a bandage.
The Final, Crucial Step
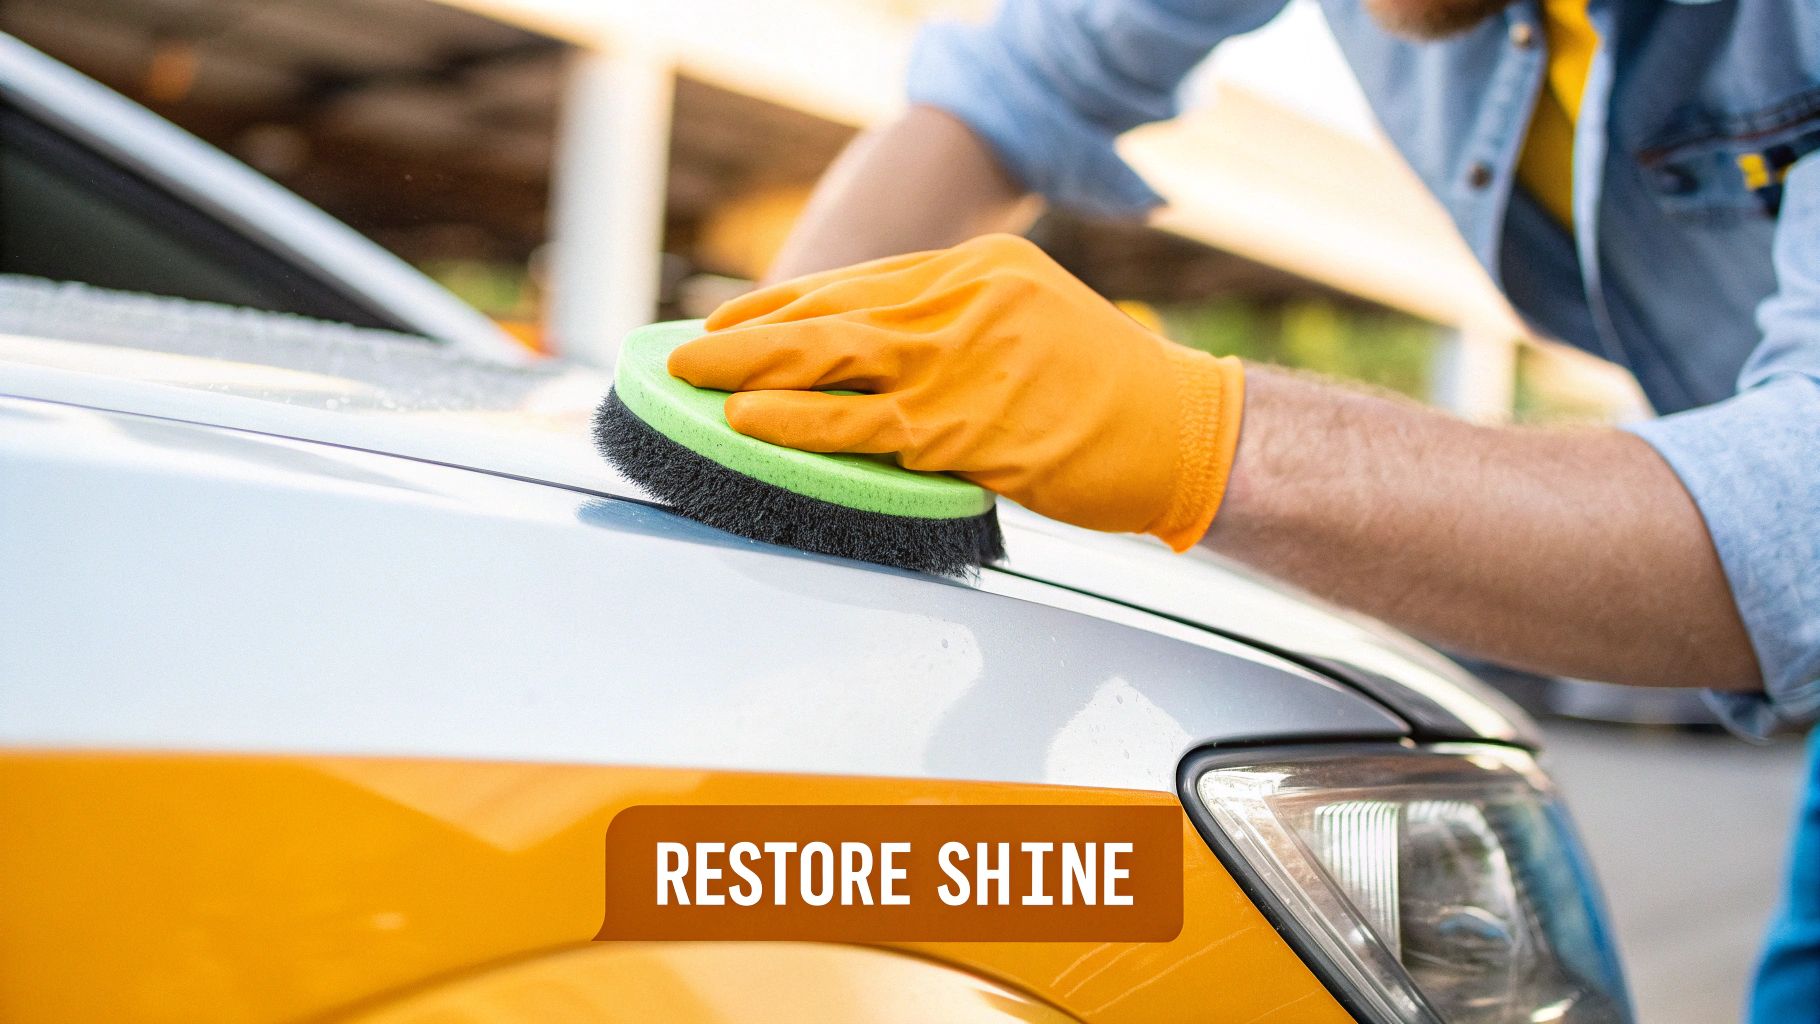
Now it’s time to shift from defense to offense. Applying a fresh coat of high-quality car wax or a modern paint sealant is the single most important thing you can do after a deep clean like this. It’s not just about getting that showroom shine back; you're creating a slick, protective layer over the paint.
This new barrier makes it incredibly difficult for contaminants to get a grip on the surface.
Key Takeaway: Don't skip this step. A well-protected surface makes future cleanups infinitely easier. What was once a tough scrubbing job can become a simple wipe-down.
Once you’ve mastered sap removal, learning the best way to protect car paint will save you a ton of work down the road. And if you noticed any dull or hazy spots after cleaning, learning how to fix oxidized paint and restore your car's shine can take your car's finish to the next level.
Your Top Questions About Tree Sap, Answered
Even when you know the steps, you're bound to have questions pop up. I get them all the time. Let's tackle some of the most common ones I hear from car owners dealing with stubborn sap.
Can I Just Use Something From My Garage, Like WD-40 or Nail Polish Remover?
This is a big one, and the answer is a hard no on nail polish remover. The main ingredient is usually acetone, a potent solvent that will eat right through your clear coat and paint in seconds. It’s a recipe for a much bigger, more expensive problem.
As for WD-40, while some people swear by it for everything, I'd steer clear. It's an oil-based product, and that oily film it leaves behind is a real pain to remove completely. If you don't get it all off, any wax or sealant you apply later won't stick properly, leaving the spot unprotected. It's always best to stick with products made for cars or a simple bottle of isopropyl alcohol.
The Sap Is Gone, but It Left a Dull Spot. What Now?
If you've removed the sap but see a faint stain or a dull patch left behind, you're likely seeing the first signs of paint etching. The acidic nature of the sap has started to eat into the clear coat.
For very minor spots, you might be able to correct it yourself by hand using a good quality polishing compound. It takes some elbow grease, but it can work. If the etching is more noticeable, though, that’s a job for a professional detailer. They’ll use a machine polisher to carefully level the clear coat, which is the only way to safely remove the damage and bring back that factory shine.
On the rare occasion that tree sap causes extreme damage that can’t be fixed with polishing, you might wonder if insurance can help. It's worth learning about what comprehensive auto insurance covers, as some policies do provide protection against this type of environmental damage.
Remember, a regular car wash is a great first step to clean the area, but it won’t have the power to break down hardened tree sap on its own.
Speaking of washing, a foam gun can make prepping your car for sap removal much faster and safer. The one from SwiftJet is a great option. Shop the SwiftJet Car Wash Foam Gun now and make your next car wash a breeze.