
To get rid of hard water spots, you need to break down the mineral gunk that gets left behind after water dries. It's a classic problem every car owner faces. If you catch them early, a simple mix of white vinegar and water can often do the trick.
But for those more stubborn spots that have had time to settle in, you might need to break out a clay bar or a specialized water spot remover. The real secret? Act fast. Don't let them sit and bake into your paint, because that's when the real damage starts.
What You're Really Dealing With in Hard Water Spots
Those ugly, chalky circles on your car’s finish aren't just dried water. They're tiny, concentrated piles of mineral deposits. When water evaporates, it leaves behind whatever was in it—usually calcium and magnesium carbonate. Think of it like the limescale that builds up on your shower head, but on your car's precious paint.
When the spots are fresh, the minerals are just sitting on top of the clear coat. In the detailing world, we call this a Stage 1 water spot. They’re an eyesore, but they're relatively harmless if you clean them off quickly.
The trouble starts when you let them bake in the sun. The heat and minerals create a chemical reaction that actually eats into the clear coat, forming a tiny, shallow pit. This is a Stage 2 water spot, or what's known as "etching." You can actually feel it with your fingertips—it's rough and definitely won't come off with a standard car wash.
Diagnosing the Severity on Your Vehicle
Before you grab any product, you need to figure out what you're up against. Using an aggressive polish on a simple surface spot is overkill and can do more harm than good. Luckily, a quick touch test is usually all you need.
- Stage 1 Mineral Deposits: Wash and dry the area first. Now, gently run your fingernail over the spot. If the surface feels perfectly smooth, you’re just dealing with a fresh deposit on the surface. Easy fix.
- Stage 2 Etching: If you feel a gritty texture or a distinct edge around the spot, the minerals have already started to etch into the paint. This is going to require a bit more muscle to correct.
This little diagnostic trick is your best first move. It helps you pick the right tool for the job from the get-go.
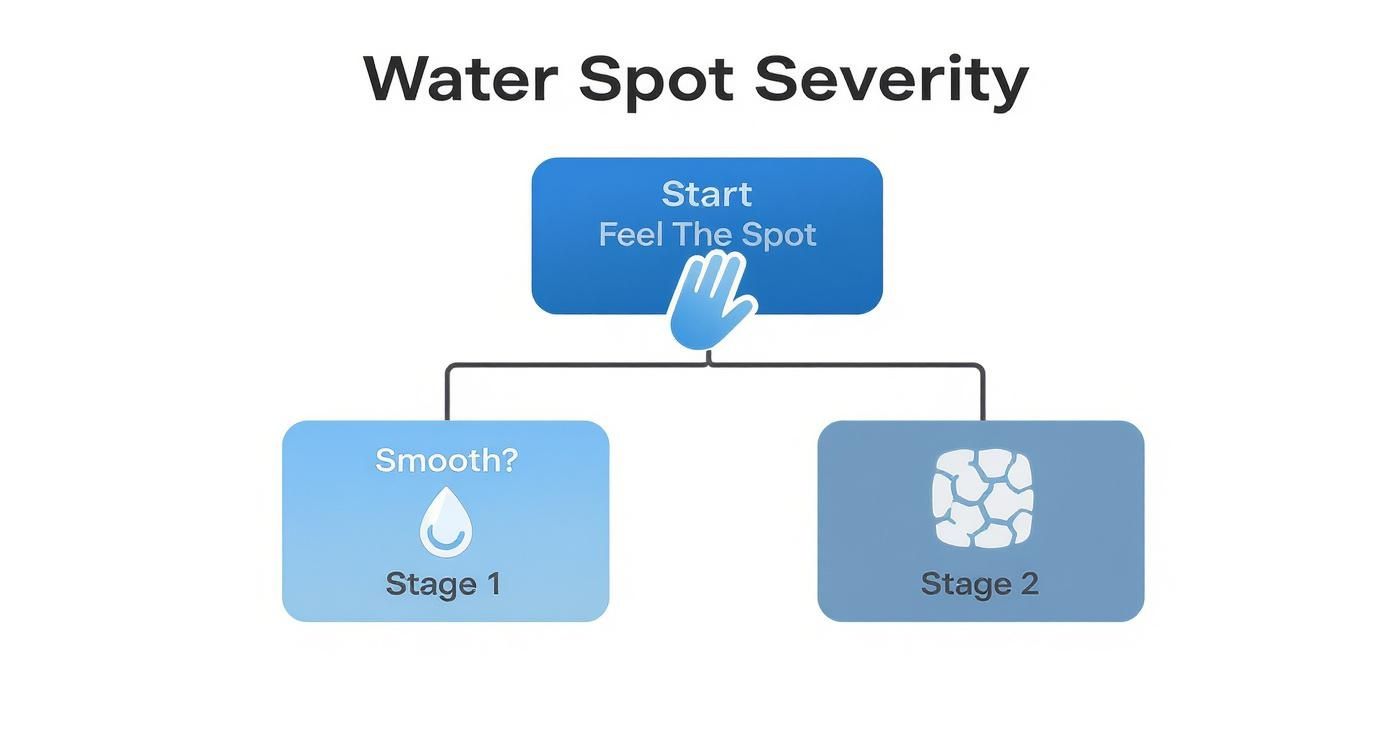
As the infographic shows, a simple feel of the surface tells you everything you need to know, guiding your entire removal strategy.
To help you quickly identify the type of water spots on your car, here’s a quick guide to their severity and the typical approach needed for each.
Hard Water Spot Severity Levels
| Severity Level | Appearance | Removal Method |
|---|---|---|
| Stage 1 (Fresh) | Light, chalky film or faint circles. Surface feels smooth. | Mild acid solution (vinegar/water) or a dedicated water spot spray. |
| Stage 2 (Etched) | Distinct, visible spots. Surface feels rough or gritty. | Clay bar treatment or a chemical water spot remover. May require light polishing. |
| Stage 3 (Severe) | Deeply etched craters visible even when wet. Feels like a pit in the paint. | Machine polishing or compounding. In extreme cases, professional paint correction is needed. |
Knowing where your spots fall on this chart saves you time, effort, and prevents you from accidentally damaging your paint with a method that's too aggressive for the problem.
The crucial takeaway is this: hard water spots are a progressive problem. What starts as a simple mineral stain can evolve into permanent paint damage if ignored.
This distinction is everything because it determines how you'll tackle the problem. It's a big deal, considering hard water is responsible for over 85% of water spots on cars around the globe. It's a universal headache for anyone who cares about their vehicle's appearance.
You can learn more about the science behind these stubborn stains and exactly how to remove hard water stains effectively. Don't let a totally preventable issue turn into a repair bill you'll regret.
Getting Your Water Spot Removal Arsenal Ready
Before you even think about tackling those stubborn hard water spots, you need to gear up properly. Trust me, having the right tools is the single biggest difference between getting a flawless finish and spending a frustrating afternoon possibly making things worse. It’s not about buying the most expensive gear, but having the right gear for this specific job.
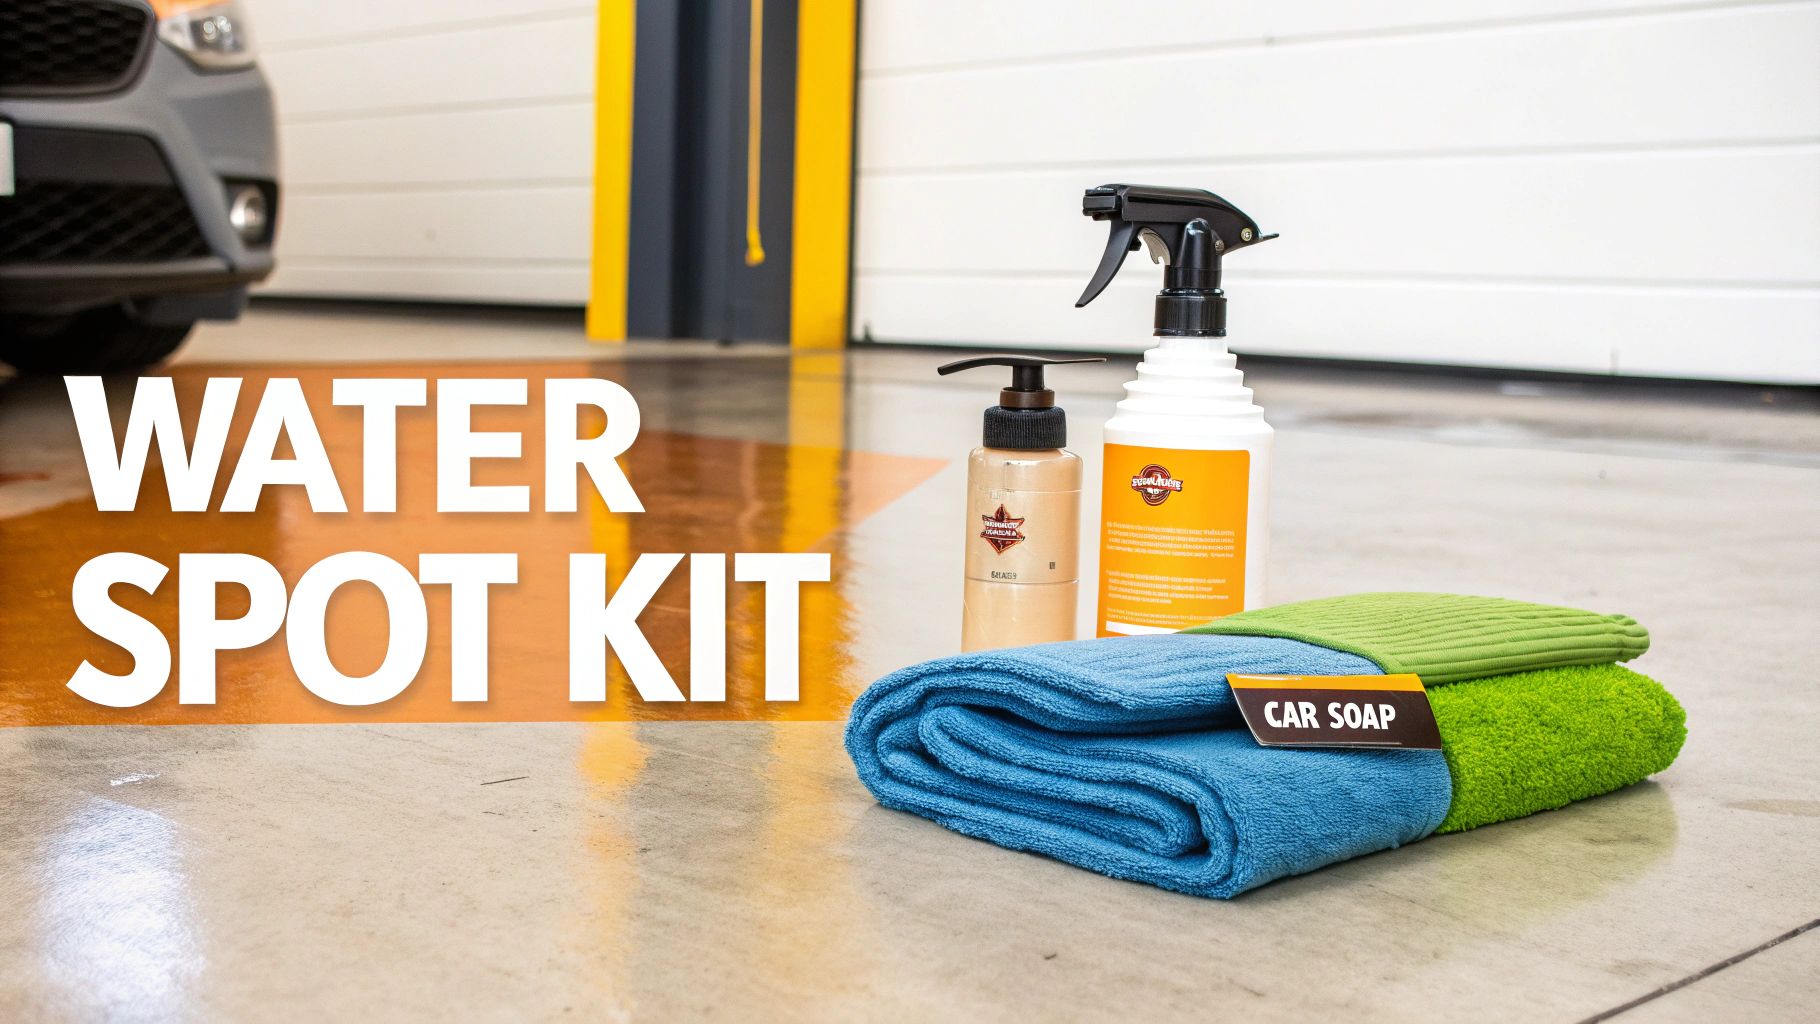
Your first line of defense is getting the basics right. Think of these as the non-negotiables for safely getting rid of those mineral deposits without adding new scratches to your paint.
- Plush Microfiber Towels: You can't have too many of these. Grab at least three clean, separate towels—one for applying your cleaner, another for the initial wipe-down, and a third, perfectly dry one for the final buff. And please, never use a towel that's touched your wheels on your paint.
- Two Buckets with Grit Guards: This is a classic pro-detailing trick for a reason. One bucket holds your soapy water, and the other is just for rinsing your wash mitt. This simple setup stops you from dragging abrasive grit right back across your car's finish, which is how most swirl marks are born.
- pH-Neutral Car Wash Soap: Step away from the dish soap. It’s far too aggressive and will strip off any wax or sealant you have. A good, pH-neutral car soap will clean effectively without compromising your paint’s protection.
The Specifics for Spot Treatment
Once the car is washed and dried, it's time to zero in on the water spots themselves. This is where your tools get a bit more specialized, aimed directly at breaking down those mineral bonds.
For fresh, Stage 1 spots, the most common—and surprisingly effective—solution is a simple mix of distilled white vinegar and distilled water. Using distilled water is crucial here. It’s free of minerals, so you won’t be trading one set of spots for another.
If the spots feel rough to the touch, you've likely got Stage 2 spots. Your best friend here is a quality clay bar and its accompanying clay lubricant. The clay glides over the paint and literally shears off the bonded mineral contaminants, leaving the surface feeling smooth as glass.
Pro Tip: Never, ever reach for household cleaners like Windex or bathroom tile cleaner. They're loaded with ammonia and other harsh chemicals made for hard surfaces like porcelain, not your car's delicate clear coat. They can cause permanent damage.
It's interesting how the science of cleaning mineral stains translates to other areas. For instance, the same principles of using an acid to dissolve mineral deposits are at play when removing rust stains from toilets, just on a much tougher surface.
Putting together a complete kit means you're ready for anything. If you want a full rundown, our complete guide to building a car detailing supplies list covers everything a pro would have on their cart. A little prep work now makes the whole process go much more smoothly.
Tackling Light Surface Spots: Your First Line of Defense
When you catch those fresh, chalky mineral deposits early—what we call Stage 1 spots—the best approach is a quick and gentle one. These spots are just sitting on top of your paint and haven't had a chance to etch into the clear coat. That means you can skip the aggressive chemicals and heavy-duty polishing for now. The whole game is about dissolving those minerals without doing any harm to the finish underneath.
Before you even think about treating the spots, though, the car has to be completely clean. I can't stress this enough. Trying to rub out water spots on a dirty car is a surefire way to create a swirl-marked mess. Every little piece of dust and grit turns into sandpaper against your paint.
This is exactly why a proper pre-wash is non-negotiable. Using a tool like the SwiftJet Car Wash Foam Gun lets you blanket the entire vehicle in a thick, clinging foam. This pH-neutral foam loosens up all the grime, lifting it from the surface so it can be rinsed away safely. You’re left with a perfectly clean canvas to start the real work.
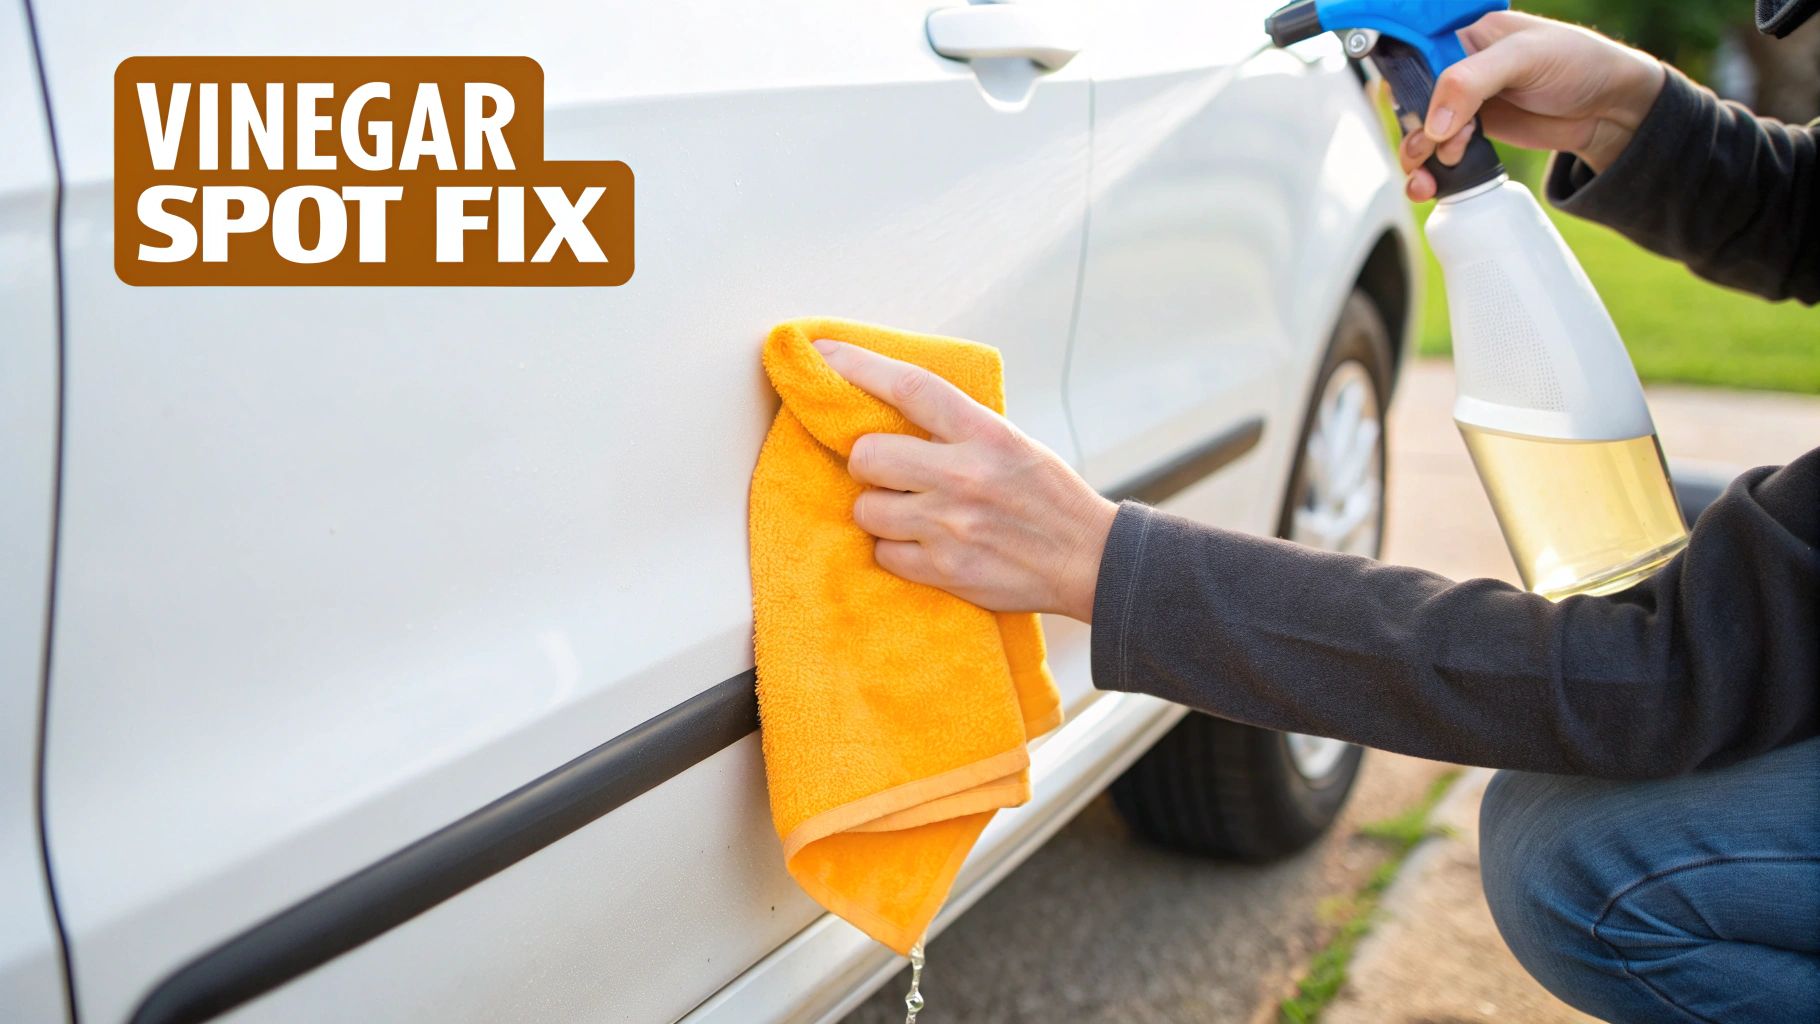
The Go-To Vinegar Solution: A Safe Starting Point
For light water spots, you don't need to reach for some miracle product right away. Honestly, a simple DIY solution is often your best bet. The mild acidity in regular white vinegar is brilliant at breaking down the alkaline minerals—mostly calcium and magnesium—that cause those ugly spots.
You'll want to mix a 50/50 blend of distilled white vinegar and distilled water. And yes, it has to be distilled water. Using regular tap water is counterproductive because you'll just be swapping one set of mineral spots for another.
Pro Tip: Always test your solution on a small, out-of-the-way spot first, like the bottom of a door panel. This quick check makes sure it plays nice with your car's specific paint or any wax you have on there. It’s a simple step that can save you a huge headache.
Once you’ve done your spot test and everything looks good, you're ready to tackle the rest of the car with confidence.
The Right Way to Apply It
How you put the solution on the car is just as critical as the mixture itself. If you rush it, you’ll get sloppy results or, even worse, create new problems. The goal here is control and precision.
Here's the method I've found works best:
- Work Out of the Sun: Never, ever do this on a hot panel or in direct sunlight. The heat will make your vinegar solution evaporate almost instantly, leaving behind a concentrated acid that could potentially harm your clear coat.
- Small Sections at a Time: Lightly mist your solution onto a clean microfiber applicator, not directly on the paint. Gently wipe it over a small area, maybe 2x2 feet at most. This keeps you focused and allows the solution to work evenly.
- Let It Sit (But Not for Long): Give the solution about 30 to 60 seconds to dwell on the surface. This is just enough time for the acid to do its magic and dissolve the minerals. Whatever you do, don't let it dry.
- Wipe and Neutralize: Grab a separate, clean microfiber towel and gently wipe the area clean. For extra peace of mind, you can follow up with a quick detailer spray. This helps neutralize any lingering vinegar before you rinse.
- Rinse It All Off: Once you've treated all the spots, give the entire car a good, thorough rinse with clean water to make sure no residue is left behind.
Mastering this simple process is one of the most useful skills you can have as a car owner. It’s the key to learning how to remove hard water spots from your car the right way, turning a potentially damaging issue into a quick and easy maintenance task.
Stepping Up to Advanced Spot Removal Techniques
So, the vinegar trick didn't cut it. When a simple wash or a mild acidic solution isn't making a dent, it's a sure sign the mineral deposits have started to properly bond with your car's clear coat. This is where we shift from merely dissolving the minerals to physically lifting them off the surface.
The golden rule in detailing is to always start with the least aggressive method first. You don't want to jump straight to a heavy-duty compound and risk damaging your paint when a gentler approach would have done the job just fine.
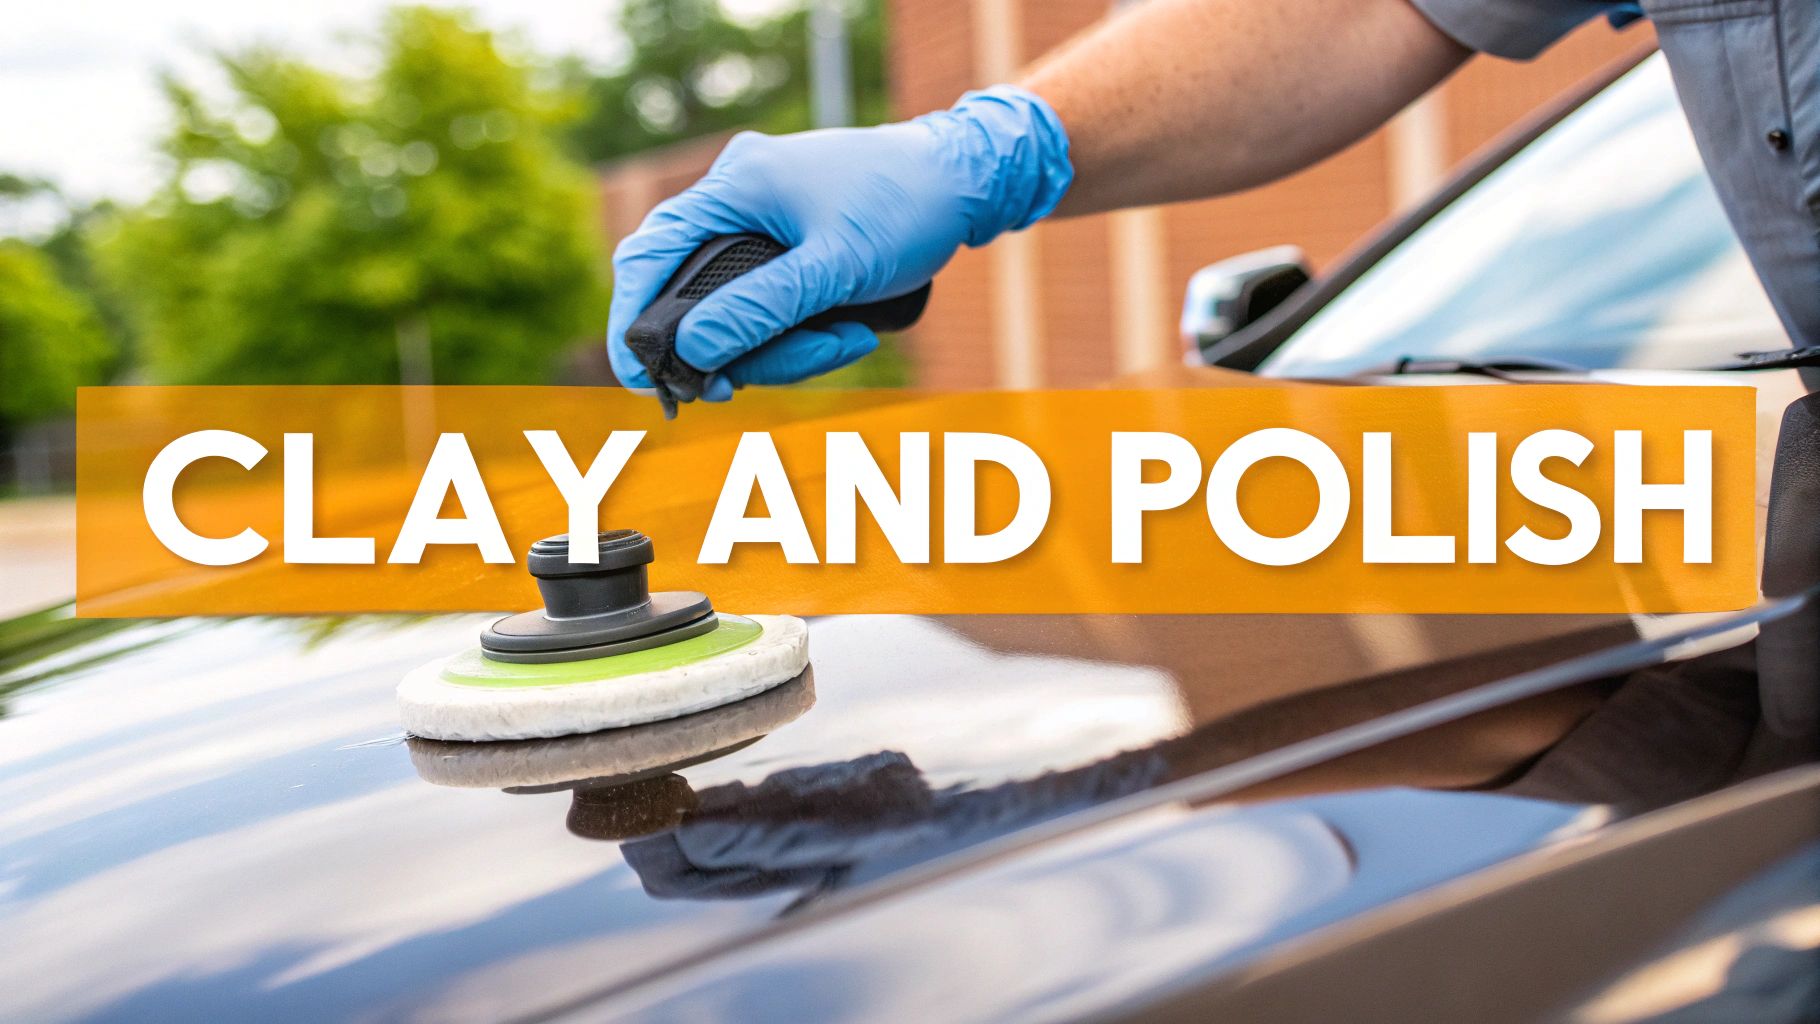
Your first line of defense in this next stage is a detailing clay bar. It’s a fantastic tool that’s far less intimidating than it looks. A clay bar is designed to glide across the paint and shear off bonded contaminants—like those gritty Stage 2 water spots—that a normal wash simply can't handle.
Using a Clay Bar for Gritty Water Spots
Think of your car's clear coat as a smooth pane of glass. Hard water spots are like tiny bits of cement stuck to it. A clay bar acts like a razor, cleanly shaving them off without scratching the glass underneath. The secret to making this work without causing micro-scratches (we call this "marring") is plenty of lubrication.
Seriously, never use a clay bar on a dry surface. You need a dedicated clay lubricant or even a high-quality quick detailer spray to create a slick barrier for the clay to glide over.
Here's the process I follow:
- Prep the surface. Make sure the section you're working on is clean and cool to the touch.
- Get spraying. Liberally spray your lubricant over a small, manageable section, about 2x2 feet. Don't be shy with it.
- Glide, don't scrub. Gently move the clay bar over the lubricated area in straight lines, first side-to-side, then up-and-down. You'll literally feel the surface change from gritty to glass-smooth under your fingertips.
- Wipe and check. Grab a clean microfiber towel, wipe away the lubricant residue, and inspect your work.
If you're new to claying, it can feel a bit strange at first. For a complete walkthrough from start to finish, check out our guide on how to clay bar a car the easy way. It’ll help you get that flawless finish without any guesswork.
When to Bring in a Dedicated Water Spot Remover
Sometimes, even after claying, you can still see the ghostly outline of a water spot. This means the minerals have started to etch into the clear coat, and a clay bar (which only removes surface contaminants) can’t reach them. This is the perfect time to reach for a dedicated chemical water spot remover.
These products are specifically formulated with a blend of mild acids that are stronger than vinegar but still safe for your clear coat when used correctly. They're designed to break down the most stubborn mineral deposits.
I’ve found that gel-like formulas work best. They cling to vertical panels like doors and fenders, giving the chemicals more time to work their magic before running off. Just apply a small amount to a microfiber applicator, gently work it into the area for about 30 seconds, and wipe it away thoroughly. Always follow up with a quick rinse or a neutralizing spray to make sure no acidic residue is left behind.
The Final Resort: Polishing Out Etched Spots
If you’ve tried a clay bar and a chemical remover and can still see the outline of the spots, it means they've etched into the clear coat. At this point, you're no longer removing something on the paint; you need to level the paint around the etch to make it invisible. This is a job for a machine polisher.
For most light etching, a dual-action (DA) polisher paired with a light polishing pad and a fine-cut polish is all you need. This process microscopically abrades the clear coat, smoothing out the tiny craters left by the minerals until the surface is perfectly flat and reflective again.
This is the ultimate solution for a perfect shine, but it should absolutely be your last resort after you've exhausted all other, less aggressive methods.
Your Proactive Plan to Prevent Water Spots
https://www.youtube.com/embed/JFzSymiB5ko
Look, while knowing how to get water spots off your car is a great skill to have, the real win is never having to deal with them in the first place. You've got to shift your mindset from reacting to spots to preventing them. The biggest and simplest thing you can do? Properly drying your vehicle. Seriously.
Every drop of water left on your paint is a potential problem. Once it evaporates, those pesky mineral deposits are all that’s left, and that’s what causes the spots and etching. Investing in a couple of high-quality, plush microfiber drying towels will change your life. If you want the safest method, an electric leaf blower or a dedicated car dryer blasts water out of every nook and cranny without ever touching the paint.
Create a Protective Shield
Beyond just drying, your best defense is making the paint too slick for water to even hang around. When you apply a protective layer, you create a hydrophobic surface—a fancy way of saying it aggressively repels water. Water beads up and flies right off, so it never has a chance to dry and leave minerals behind.
You’ve got a few great options here, from basic to pro-level:
- Car Wax: This is the classic choice. A good carnauba wax gives you a beautiful, warm glow and solid protection that lasts a couple of months. It's a fantastic starting point.
- Paint Sealant: Think of this as synthetic, next-generation wax. Sealants are engineered polymers that create an incredibly slick and durable barrier, often lasting four to six months.
- Ceramic Coating: This is the ultimate in paint protection. A true ceramic coating is like a glass-like shell for your car's paint. It’s super-durable, chemically resistant, and can last for years, making water bead like crazy and cleaning an absolute breeze.
Thinking ahead to prevent water spots is just good car care. In the same way, being proactive about your driving and maintenance habits can also help reduce vehicle emissions and make your drive a little greener.
Smart Habits for Spot-Free Results
Finally, a few small tweaks to your routine can make a huge impact. It sounds obvious, but be smart about where you park. That spot right next to the lawn sprinklers? Avoid it like the plague. Sprinkler water is almost always hard, unfiltered water—it's a leading cause of those super-stubborn water spots.
Pro Tip: For a truly perfect, spot-free rinse every time, look into getting a deionized water system. These filter out all the minerals (Total Dissolved Solids, or TDS) from your water. If there are no minerals, there's nothing left behind to create a spot as the water evaporates.
It might seem like an advanced step, but if you live in an area with brutally hard water, a deionizer can completely solve the problem at the source. It turns a constant detailing battle into a non-issue.
Common Questions About Hard Water Spot Removal
Even with a solid plan, a few questions always come up, especially when you're trying to tackle something as stubborn as hard water spots. Getting these details right can be the difference between a pristine finish and a costly mistake. Let’s clear up some of the most common things people ask.
Can I Use Household Cleaners Like Windex or CLR?
In a word: no. Please don't. This is one of the quickest ways to damage your car's finish. Household cleaners are packed with harsh chemicals like ammonia and aggressive abrasives that are designed for tough surfaces like tile and porcelain, not your car's delicate clear coat.
Using them on your paint can strip away any wax or sealant you have, dull the finish, and even chemically stain your paint and plastic trim. Always, always stick to products made specifically for cars. They’re pH-balanced to be tough on dirt but gentle on your vehicle's surfaces.
You wouldn’t use a hammer to hang a picture frame, right? Using a household cleaner on your car is the same idea—it’s the wrong tool for the job and will cause a ton of damage.
Will a Regular Car Wash Get Rid of the Spots?
A good wash is always the right place to start, as it gets rid of any loose dirt and grime sitting on the surface. But when it comes to hard water spots, your regular car soap just doesn't have the muscle. The calcium and magnesium have chemically bonded to your clear coat, and soap alone can't break that bond.
To really get them off, you need one of two approaches:
- A chemical approach: This means using a mild acid to dissolve the minerals. A simple vinegar solution or a dedicated water spot remover product works perfectly here.
- A mechanical approach: This involves physically removing the deposit. You can use a clay bar to gently shear off the bonded minerals or a machine polisher to carefully level the clear coat if etching has occurred.
Think of it like this: a regular wash cleans the surface, but water spot removal is a targeted treatment for a specific problem on that surface.
How Can I Tell if the Water Spots Have Caused Permanent Damage?
There’s a simple test you can do to figure out how bad the damage is. First, wash and dry the area completely. Then, gently run your fingernail over one of the spots.
If the surface feels totally smooth, you're looking at Stage 1 spots—they're just mineral deposits sitting on top of the paint. If you feel a gritty texture or a little ridge, the minerals have started to etch into the clear coat, which is Stage 2. Deep, permanent damage often looks like a cloudy or hazy patch that you can still see even when the car is wet. That usually requires professional paint correction to fix.
Ready to make your car wash routine easier and more effective? The SwiftJet Car Wash Foam Gun connects to any garden hose to cover your vehicle in thick, dirt-lifting foam, preventing scratches and making cleanup a breeze. Upgrade your car care arsenal today at swiftjetusa.com.