
Cleaning your tires properly is about more than just a quick spray-down. It requires a dedicated tire cleaner, a good stiff brush to really get into the sidewalls, and a thorough rinse to make sure no residue is left behind. This isn't just for looks—it's a crucial step in preventing long-term damage from all the gunk they pick up on the road.
Why Cleaning Your Tires Actually Matters

Let's be real, cleaning tires often feels like a chore we can easily skip. But ignoring them is a mistake that goes way beyond appearances. Sure, clean tires make a car look sharp and well-cared-for, but this simple task is a critical part of your vehicle's overall health.
The big issue here is the corrosive stuff your tires collect every time you drive. We're talking about a nasty mix of brake dust, road salt, oil, and general grime. Brake dust is the worst offender; it’s full of tiny metallic particles that, when left to sit, can literally eat away at your wheel’s protective finish and even start to degrade the rubber itself.
Protecting Your Investment
A tire that's regularly cleaned doesn't just look better—it genuinely lasts longer. That caked-on layer of grime can easily hide small cracks, punctures, or other signs of trouble that could become serious problems if you don't catch them early.
Beyond that, the chemicals festering in road grime can speed up the aging process of the rubber. This leads to it becoming dry, brittle, and discolored, a phenomenon often called "tire blooming" or that ugly browning you sometimes see. Taking the time to clean them properly pays off, especially when you decide to sell your car. Clean wheels and rich, black tires send a clear message to buyers: this vehicle was meticulously maintained. It’s a small detail that makes a big impact on curb appeal and resale value.
A regular cleaning routine removes harmful contaminants, extending the life of your tires and preserving your vehicle’s finish. This proactive approach prevents the costly corrosion and rubber degradation that neglect can cause.
Making tire care a priority can even indirectly help reduce the overall maintenance bill for electric cars and gasoline-powered ones. At the end of the day, spending an extra 15 minutes to clean your tires the right way is a smart investment in your vehicle’s:
- Safety: Giving you a chance to spot hidden damage before it's too late.
- Longevity: Preventing premature cracking, browning, and wear.
- Value: Boosting its appearance for a better resale price.
Your Essential Tire Cleaning Toolkit
Ever wonder what separates a decent car wash from a professional detail? Often, it comes down to the tools. Having the right gear on hand is the difference between a frustrating Saturday afternoon and a deeply satisfying job. When it comes to cleaning tires, this is especially true.
Forget grabbing whatever all-purpose cleaner is under your sink. To do this right, you need a dedicated, pH-balanced tire cleaner. These formulas are specifically designed to obliterate road grime, brake dust, and caked-on old dressing without harming the rubber. For particularly stubborn jobs, you might even need effective cleaning tabs to cut through the gunk.
Brushes and Buckets
The right brush is just as critical as the cleaner you choose. In fact, professional and DIY detailers have created a huge demand for specialized tools. The Tire & Wheel Cleaning Brush Market, valued at USD 120 million, is expected to hit USD 200 million by 2033. That growth is fueled by people like us who know the right tool makes all the difference.
You’ll want two completely different brushes in your kit:
- A stiff-bristled tire brush: This is your workhorse for scrubbing the rubber sidewalls. Those firm bristles are what you need to dig deep into the tire’s lettering and texture to lift out that embedded dirt.
- A soft-bristled wheel brush: This one is only for your wheels. A dedicated soft brush prevents you from scratching delicate finishes like chrome or alloy with the gritty brake dust you just scrubbed off your tires.
This infographic lays out the basic flow of a proper tire and wheel cleaning session.
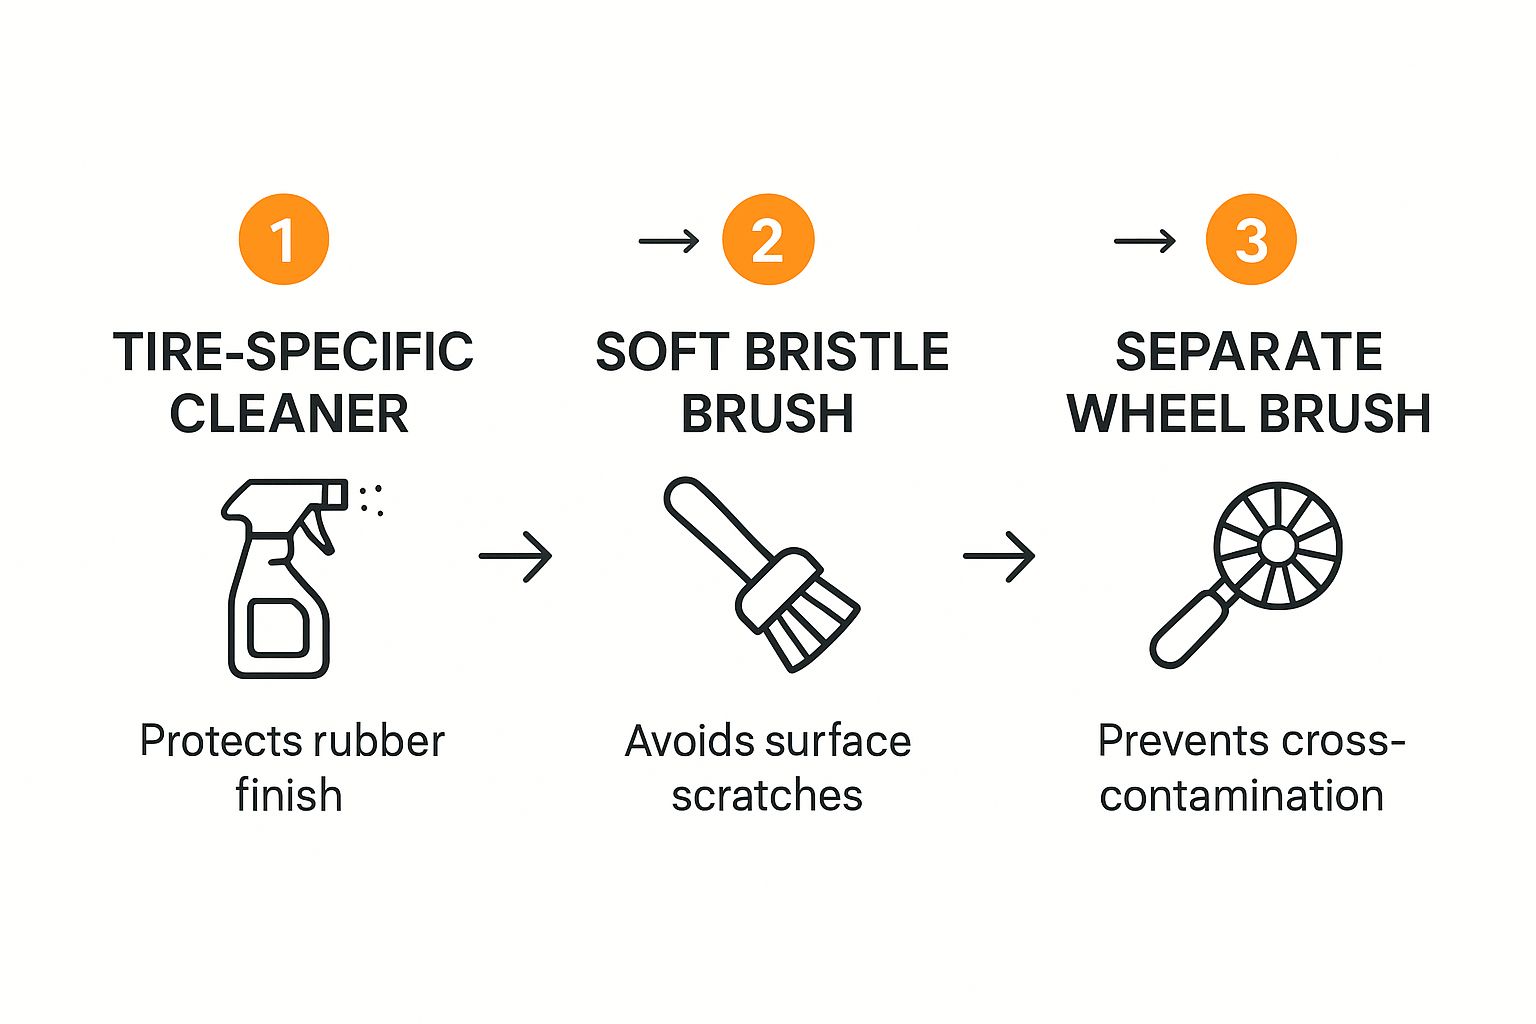
As you can see, the key is separating your tools and products for each surface—tires and wheels are not the same! This prevents damage and gets you that truly professional look.
Using separate tools isn't being picky; it's fundamental to preventing scratches and ensuring that corrosive brake dust from your wheels never gets scrubbed into your tire's sidewall.
Before you get started, let's put it all together in a simple checklist.
Essential Tire Cleaning Toolkit Checklist
Here’s a quick rundown of the gear you'll want to have ready to go. Having these items on hand makes the whole process smoother and more effective.
| Tool/Product | Key Feature | Pro Tip |
|---|---|---|
| Tire Cleaner | pH-balanced, non-acidic | Look for a foaming spray. The foam clings to the tire, giving the cleaner more time to work. |
| Stiff Tire Brush | Hard, durable bristles | An ergonomic handle will save your hands during a long scrubbing session. |
| Soft Wheel Brush | Flagged-tip bristles | Get a brush with a long, flexible handle to easily reach behind spokes and into the wheel barrel. |
| Two Buckets | 5-gallon size | Use one for your soapy water and one for rinsing your brushes to avoid cross-contamination. |
| Microfiber Towels | Waffle-weave or plush | Have a few dedicated, old towels for tires. They will get stained, so don't use your best ones! |
With this setup, you’re well on your way to a perfect finish. To build out the rest of your detailing arsenal, take a look at our complete guide here: https://www.swiftjetusa.com/blogs/news/the-ultimate-2025-car-detailing-supplies-list-12-essentials.
The Pro Method for Flawless Tires
Ready to get that professional, deep-cleaned look right in your own driveway? It's not just about the products you use—it's about the process. Following a proven method is the secret to getting fantastic results without accidentally damaging your wheels or tires.
First things first: always work on cool, dry tires and preferably out of direct sunlight. If you just got back from a drive, let the car sit for at least an hour. Spraying cleaner onto a hot surface is a recipe for disaster; it flashes off too quickly and can leave behind stubborn chemical stains that are a real pain to remove.
Here’s another non-negotiable tip from the pros: tackle only one tire and wheel assembly at a time. Trying to do all four at once just lets the cleaner dry before you can scrub and rinse, leading to streaks and spots. Focus all your energy on one corner from start to finish before moving on.
Rinsing and Applying the Cleaner
Start with a solid pre-rinse using your garden hose or a pressure washer. The goal here is to blast away all the loose stuff—surface dirt, brake dust, road salt—before you ever touch the wheel with a brush. This simple step dramatically reduces the risk of scratching the finish when you start scrubbing.
With the loose grime gone, grab your dedicated tire cleaner and generously spray it directly onto the rubber sidewall. Get it everywhere, making sure to cover all the raised lettering and grooves. A good foaming cleaner will cling to the tire, giving it more time to work its magic and break down all the caked-on gunk.
You’ll know the cleaner is working when you see the "browning" effect. That gross-looking brown foam is actually a great sign! It's the cleaner pulling years of old tire dressing, stubborn dirt, and oxidized rubber right to the surface.
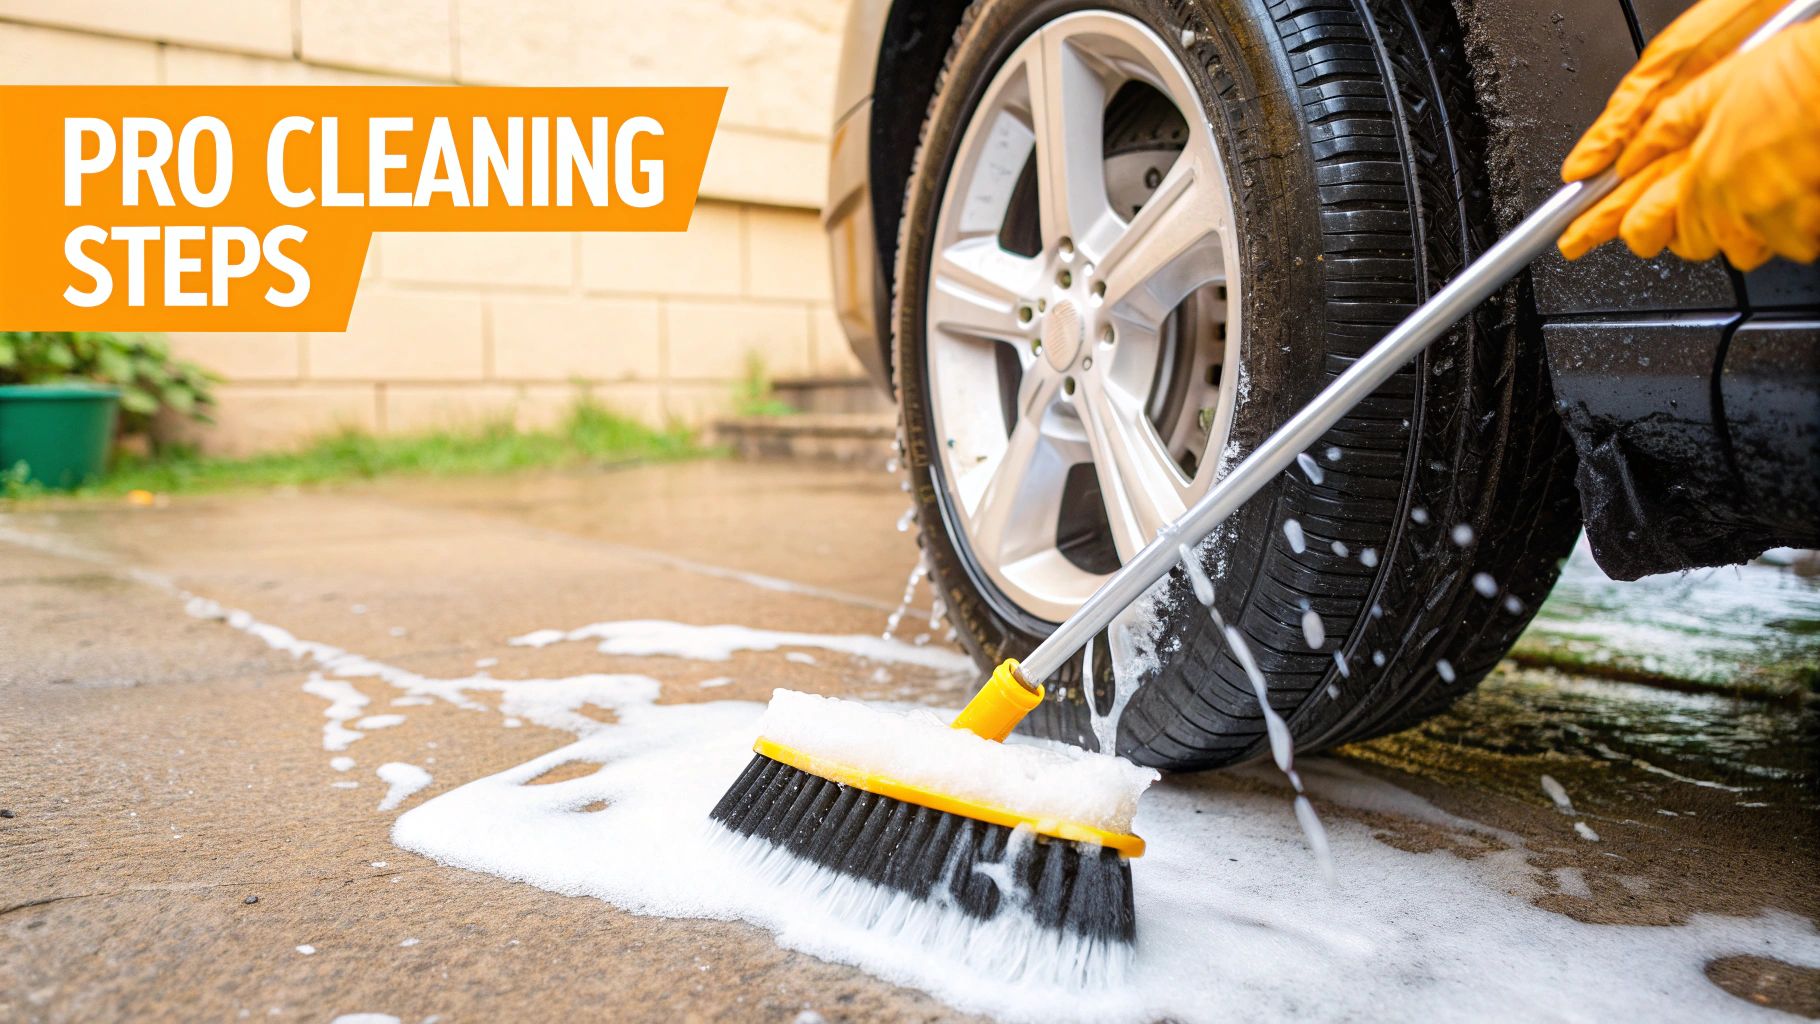
The Art of Agitation and Scrubbing
Now it's time to put in a little elbow grease. Grab your stiff-bristled tire brush, give it a quick dip in your water bucket, and get to scrubbing the sidewall. I find a mix of circular and back-and-forth motions works best to get the bristles deep into the tire's texture.
Next, switch over to your soft-bristled wheel brush. It’s absolutely critical to use a separate, gentler brush for the painted or finished surfaces of the wheel to avoid scratches. For a deeper dive, you can check out our expert tips for cleaning car rims for a perfect shine. Make sure to clean around the lug nuts and as far into the inner barrel as you can reach.
Remember to rinse your brushes frequently in a separate bucket of clean water. This prevents you from just moving dirt around instead of removing it. It’s a small detail that makes a big difference.
Finally, give the entire tire and wheel a complete, thorough rinse. You want to wash away every last bit of cleaner and loosened grime. Any residue left behind will just act like a magnet for new dust. Keep rinsing until the water running off is totally clear—that's your cue that you're done and ready for the next wheel.
Dealing With The Tough Stuff: Stubborn Grime and Stains
Every so often, a standard wash just isn't enough. You'll find yourself dealing with stubborn, baked-on brake dust, little black specks of road tar, or a nasty, caked-on layer of old tire dressing that just won’t come off. When your usual routine fails, it's time to call in the specialists.
Baked-on brake dust is one of the most common headaches. These tiny, hot metal particles embed themselves into the surface, and a normal cleaner barely makes a dent. This is where iron remover sprays become your secret weapon.
When you spray one of these on, it gets to work chemically, reacting with the iron particles. You'll see it turn a dramatic reddish-purple color and "bleed" down the wheel—that's how you know it's dissolving the contamination that your brush couldn't touch. We actually have a full guide dedicated to this, which you can find here: how to remove brake dust.
Advanced Cleaning Techniques
For other sticky situations like road tar or tree sap, you'll want a dedicated tar remover. The trick is to apply a little bit to a microfiber towel, not directly to the surface, and gently dab and wipe the spot until it dissolves. Avoid aggressive scrubbing, which can easily damage your wheel's finish.
Another great trick, borrowed from the paint correction world, is to use detailing clay. A clay bar will safely pull out those fine, bonded contaminants that washing leaves behind, leaving the surface perfectly smooth and ready for a protective wax or sealant.
Don't be afraid to repeat a process. For extremely neglected tires, it might take two or even three rounds of cleaning with a strong degreaser to fully strip away years of built-up grime and old dressings.
Cleaning technology is always improving, and we're seeing more powerful tools become available. The global market for tire cleaning systems, which includes high-pressure water and steam cleaners, was recently valued at around USD 250 million and is expected to keep growing. This shift shows that more people are looking for serious, targeted solutions to handle the toughest cleaning jobs.
Applying Dressing for Protection and Shine
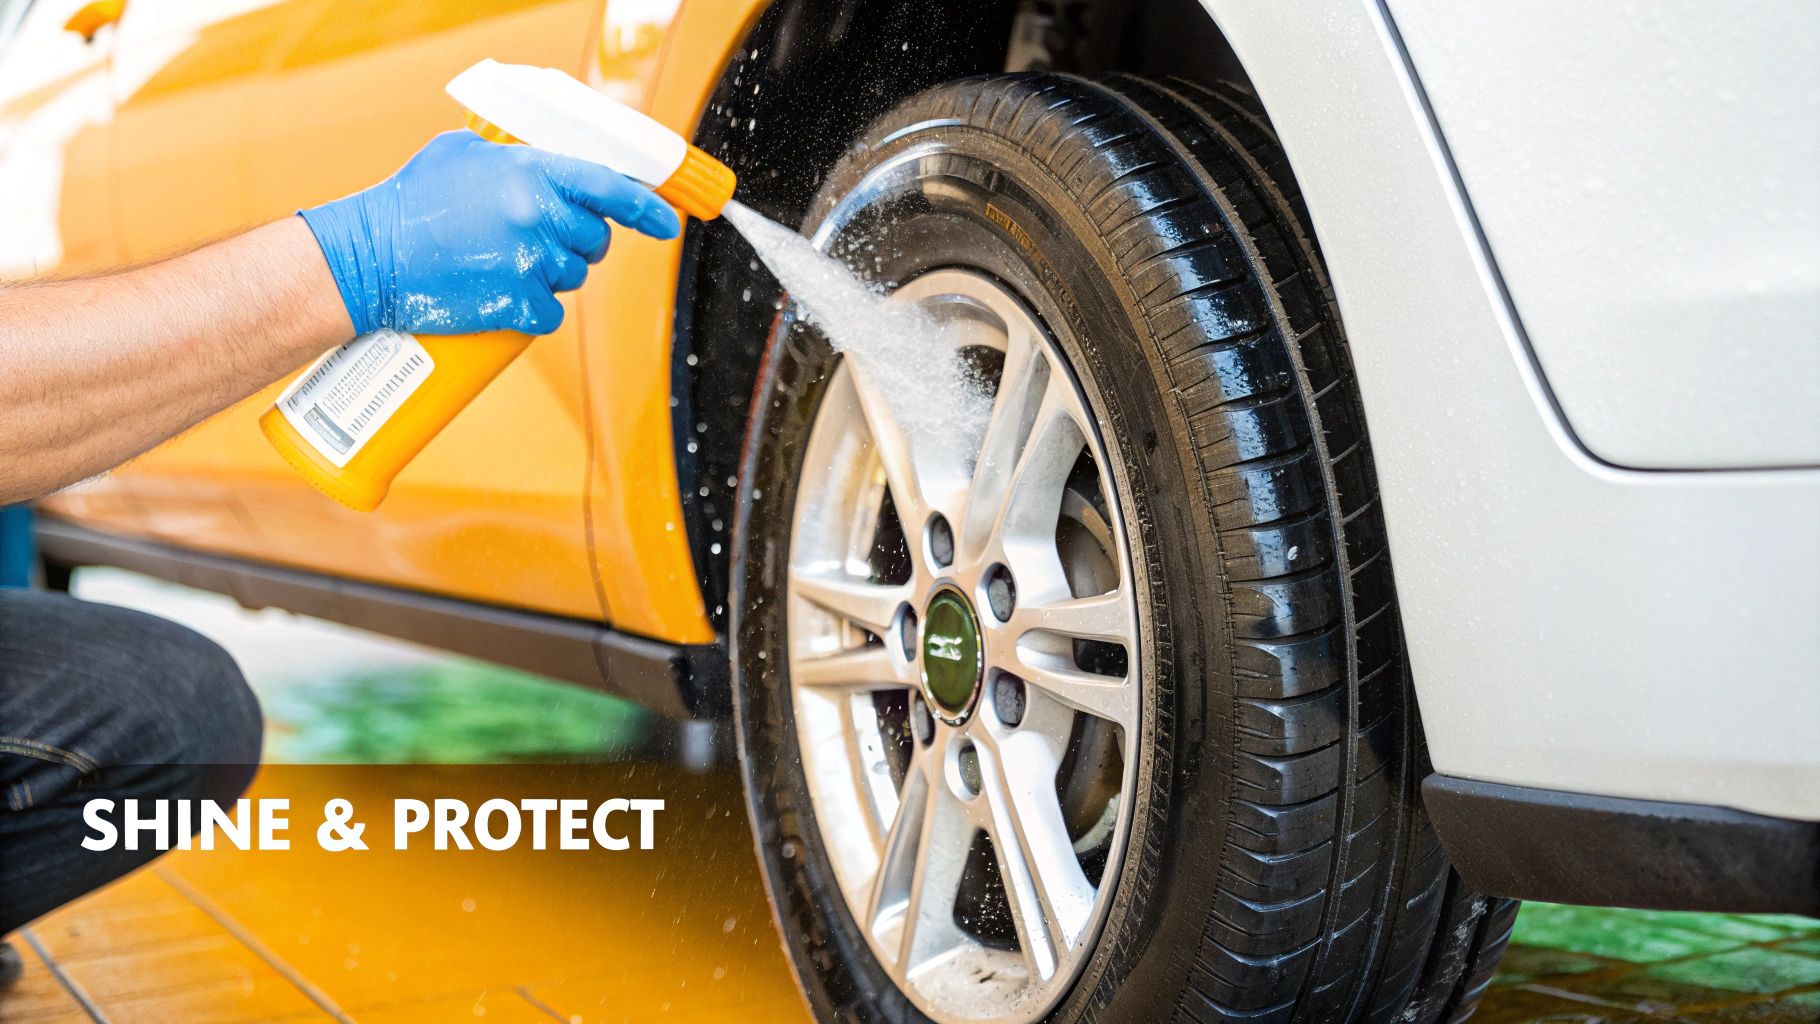
So, you've scrubbed your tires down to the bare rubber. They're clean, but now they're completely exposed. Skipping this next step is like washing your face and not putting on moisturizer—you're leaving the surface vulnerable. This is where a quality tire dressing comes in, and trust me, it’s about way more than just shine.
A good dressing is essentially sunscreen and a raincoat for your tires. It provides crucial UV protection to fight off the sun damage that leads to cracking and that chalky, brown haze called "tire blooming." It also creates a slick barrier that repels water and prevents new grime from getting a foothold, which makes your next wash a whole lot easier.
Choosing Your Finish
The biggest choice you'll make here is about the final look. Are you going for a subtle, brand-new appearance or a high-gloss, dripping-wet shine? Tire dressings generally fall into two camps.
- Water-Based Dressings: My personal go-to for a clean, factory-fresh look. These formulas use natural oils and polymers to deliver a rich satin or matte finish. They're a breeze to apply evenly, are better for the environment, and won’t dry out your tires over the long haul.
- Solvent-Based Dressings: If you want that show-car, high-gloss "wet" look, this is your ticket. These are typically silicone-based and are known for their durability. Just be wary of cheaper options; they have a reputation for slinging product onto your paint and can potentially dry out the rubber over time.
It really boils down to your personal taste. A water-based product nourishes the rubber for a sophisticated, OEM look. A solvent-based dressing, on the other hand, delivers that head-turning, high-impact shine.
Application for a Perfect, No-Sling Finish
Here’s a pro tip that will save you a ton of cleanup headaches: never spray dressing directly onto the tire. That’s just asking for greasy overspray on your freshly cleaned wheels and paintwork. The right way is to apply the dressing to a foam applicator pad first.
Just squeeze a bit of product onto the pad and work it into the foam. Then, simply wipe it evenly across the tire's sidewall. Pay attention to the little details, like the grooves and raised lettering, to get a consistent finish. This method gives you total control.
Let the dressing soak in for a few minutes. Then, grab a clean, dry microfiber towel and give the tire a final, gentle wipe-down. This simple buff removes any excess product and is the absolute key to preventing "tire sling"—those annoying black specks that get flung down the side of your car once you start driving.
Got Questions About Tire Cleaning? I've Got Answers.
Alright, let's wrap up by tackling some of the questions I hear all the time from people just getting serious about detailing their tires. Getting these details right is what separates a decent wash from a professional one.
How Often Should I Be Cleaning My Tires?
Honestly, the best practice is to give your tires a good scrub every single time you wash your car. For most people, that's somewhere between two and four weeks.
Now, if you're living somewhere that gets real winters with snow, ice, and salted roads, you’ll want to wash them more often. That salt is incredibly corrosive and will just eat away at your rubber and wheels if you let it sit.
Is It Okay to Just Use Dish Soap?
I see this one a lot, and the answer is a hard no. Please, don't use dish soap on your tires. It’s a fantastic degreaser, which is great for pots and pans, but terrible for rubber. It strips away all the essential oils and protective compounds that keep your tires from drying out.
Using it will actually speed up the aging process, leading to cracking and that nasty, faded brown look nobody wants. Stick with a dedicated, pH-balanced tire cleaner—it's made for the job.
I can't stress this enough: using the wrong chemical is one of the most common mistakes in car care. Dish soap is designed to obliterate grease, and on your tires, that means it's removing the very elements that keep the rubber flexible and healthy.
What’s the Difference Between "Tire Shine" and "Tire Dressing"?
Good question. People tend to use these terms interchangeably, but there's a real difference that matters for the health of your tires.
- Tire Shine: This is often a cosmetic-focused product. Its main goal is to give you that high-gloss, wet look. Many are silicone-based and just sit on the surface.
- Tire Dressing: A quality dressing does more than just shine. It contains conditioners and UV blockers that actually penetrate the rubber to nourish and protect it from the elements.
For the best long-term results, always go for a protective dressing. You'll still get a great look, but you'll also be extending the life of your tires.
Ready to get that perfect, deep clean every time? The SwiftJet Car Wash Foam Gun connects to any garden hose, delivering thick, clinging foam that makes tire cleaning faster and more effective. Discover the effortless way to a professional-grade clean at SwiftJetUSA.com.