
When you're staring at rusty wheels, you're actually looking at a two-part problem that needs a two-part solution: a little bit of elbow grease and the right chemical cleaner. You'll need to physically scrub away the loose, flaky bits and then follow up with a chemical that dissolves the stubborn corrosion left behind. Get that combo right, and you'll have a clean, smooth surface ready for protection.
Why Your Wheels Rust and What to Do About It
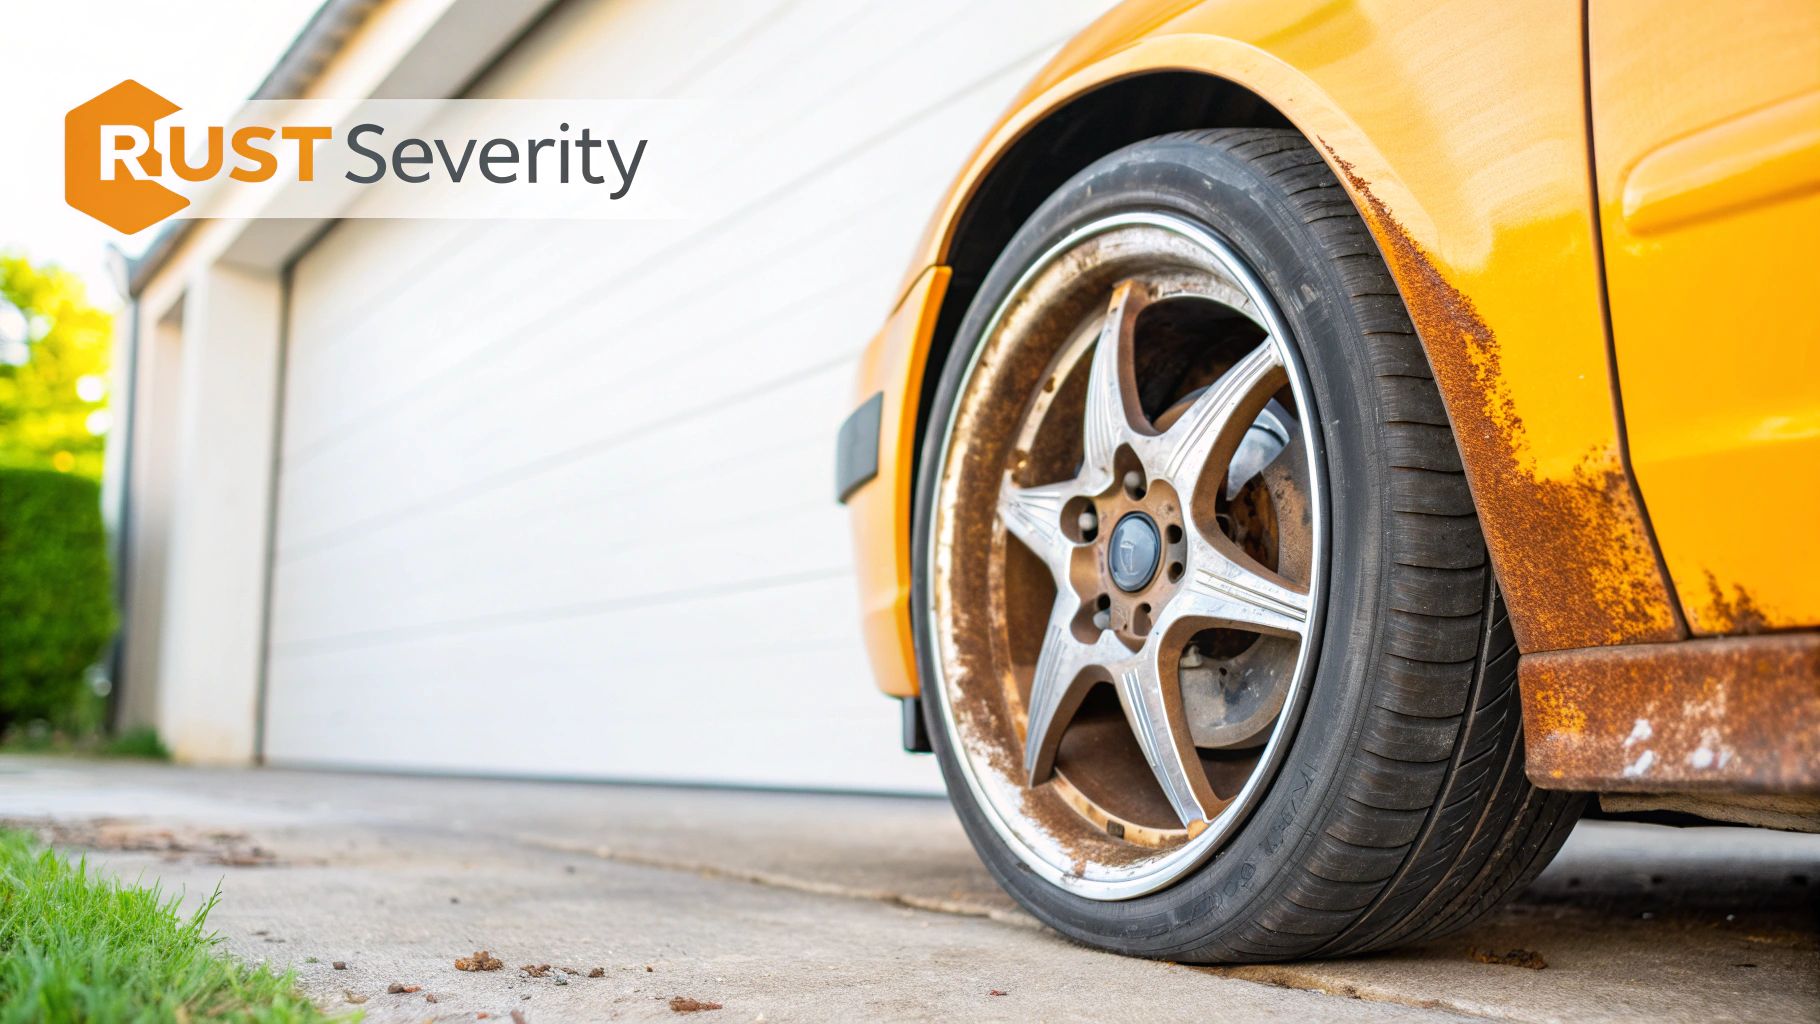
Before you grab a brush, it helps to understand what you're up against. Wheel rust isn't just ugly; it's an active chemical process that’s constantly being fed by things your car encounters every single day. Think of it as a team effort between road salt, relentless moisture, and that grimy, corrosive brake dust.
This trio of troublemakers attacks different types of wheels in different ways.
- Steel Wheels: These are tough as nails but are the most likely to get that classic, uniform layer of orange rust right on the surface.
- Alloy Wheels: Alloys are better at resisting rust, but they aren't immune. Their weakness is pitting and corrosion, where rust finds a way to dig into the metal underneath the protective clear coat.
- Chrome Wheels: Remember, chrome is just a shiny coating. If a rock chip or scratch gives moisture a way in, the metal underneath will start to rust. This is what causes that awful bubbling and flaking you sometimes see.
Identifying the Root Cause
Once you know why the rust is there and what kind of wheel you have, you can pick the right battle plan. You wouldn't use the same aggressive tactics on a delicate chrome finish that you'd need for a seriously rusted steel wheel—you'd end up doing more harm than good.
A tried-and-true method that works wonders on tougher jobs is pairing mechanical scrubbing (like a wire brush or a drill attachment) with a chemical rust dissolver. Many of the best ones contain phosphoric acid. The brush knocks off all the loose stuff, and the acid gets to work converting the leftover iron oxide into a new compound that you can simply rinse away.
Of course, this all points back to why proactive care is so important, especially after a long winter of salty roads. Getting that road salt off your wheels quickly can stop deep corrosion before it ever starts. For more on that, check out our guide on expert winter vehicle protection. Understanding these basics is the first step to getting those wheels looking great again.
Gathering Your Rust Removal Toolkit
Before you even touch the wheel, let's get your gear in order. Walking into a rust removal job unprepared is a surefire way to get frustrated and end up with a subpar finish. Think of it like a chef preparing their ingredients—having everything laid out makes the whole process smoother and safer.
This is about building the right arsenal for this specific task, not just grabbing a random brush from the garage.
Your Essential Rust Removal Toolkit
Here's a quick rundown of what you’ll need to have on hand. Don't skimp on the safety gear; the chemicals used for this job are no joke.
| Category | Essential Items | Recommended for Tough Jobs |
|---|---|---|
| Safety Gear | Impact-rated goggles, chemical-resistant gloves (nitrile is great) | A respirator mask if working in a poorly ventilated area |
| Cleaning Agents | Wheel-safe degreaser, dedicated rust dissolver/remover | Iron fallout remover for chemical decontamination |
| Agitation Tools | Stiff nylon brush, various detailing brushes for tight spots | A small wire brush (for unpainted steel wheels only) |
| Application & Rinsing | SwiftJet foam gun, two buckets (one for soap, one for rinse), microfiber towels | A pressure washer for a more powerful rinse |
Having this kit ready to go transforms a difficult chore into a straightforward, methodical process.
Why These Tools Matter
With your safety covered, let's talk about the hardware. The right combination of chemicals and brushes will do 90% of the heavy lifting, saving your back and your knuckles. A quality wheel degreaser is your first step to cut through the surface grime, allowing the rust dissolver to get straight to work on the corrosion itself.
When it's time to scrub, your brush choice is critical. For most wheel finishes, a stiff nylon brush is your best friend—it's aggressive enough to tackle rust without tearing up your clear coat. Reserve a wire brush only for severe rust on durable, unpainted steel wheels, as it will absolutely scratch alloy, chrome, or painted surfaces.
Expert Tip: To get your cleaner to work its magic, you need it to stay on the wheel. This is where a foam gun really shines. The SwiftJet foam gun, for example, creates a thick, clinging foam that doesn't just drip off. This extra dwell time gives the chemicals a chance to break down the rust far more effectively.
Once the hard work is done, you'll need your buckets and microfiber towels for a final rinse and dry. For a deeper dive into building out your complete kit, check out our guide on essential car detailing supplies.
Getting Down to Business: The Wheel Rust Removal Process
Alright, you’ve got your gear ready to go. Now for the fun part. Tackling rust on your wheels isn't about brute force; it’s about working smart. The single most important thing you can do for a thorough job is to get the wheel off the car. Seriously, don't skip this. It's the only way to get full access to the entire rim and the inner barrel where rust loves to hide.
Once the wheel is off, give it a good, strong blast with your hose or pressure washer. The goal here is just to knock off all the loose stuff—the surface-level dirt, grime, and caked-on brake dust. This quick pre-rinse clears the battlefield, letting your rust remover go to work directly on the iron oxide itself.
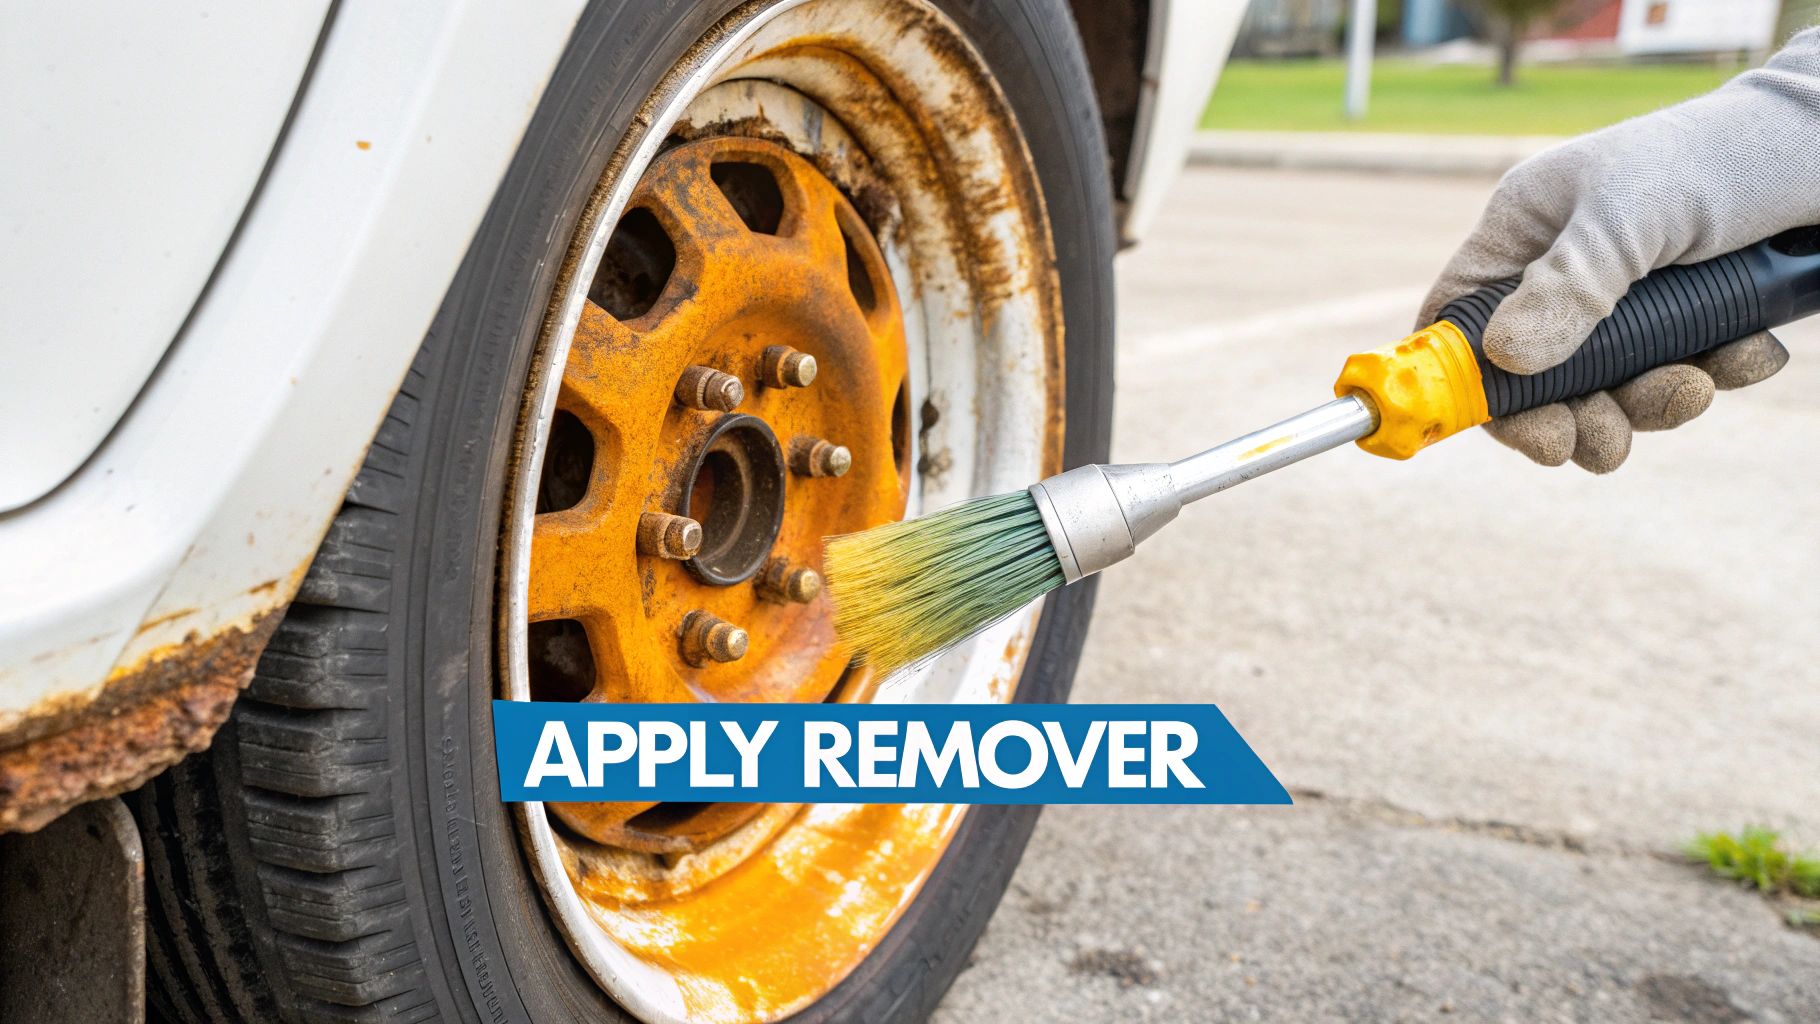
Applying the Rust Remover
This is where your chemical arsenal comes into play. For a truly even and effective application, a tool like the SwiftJet foam gun is invaluable. It lays down a thick, clinging foam that covers every nook and cranny of the wheel. Unlike a simple spray bottle, the foam sticks to vertical surfaces, which means the chemicals stay put and have time to work their magic.
This extended contact, or "dwell time," is what really allows the cleaner to penetrate and dissolve the rust deposits.
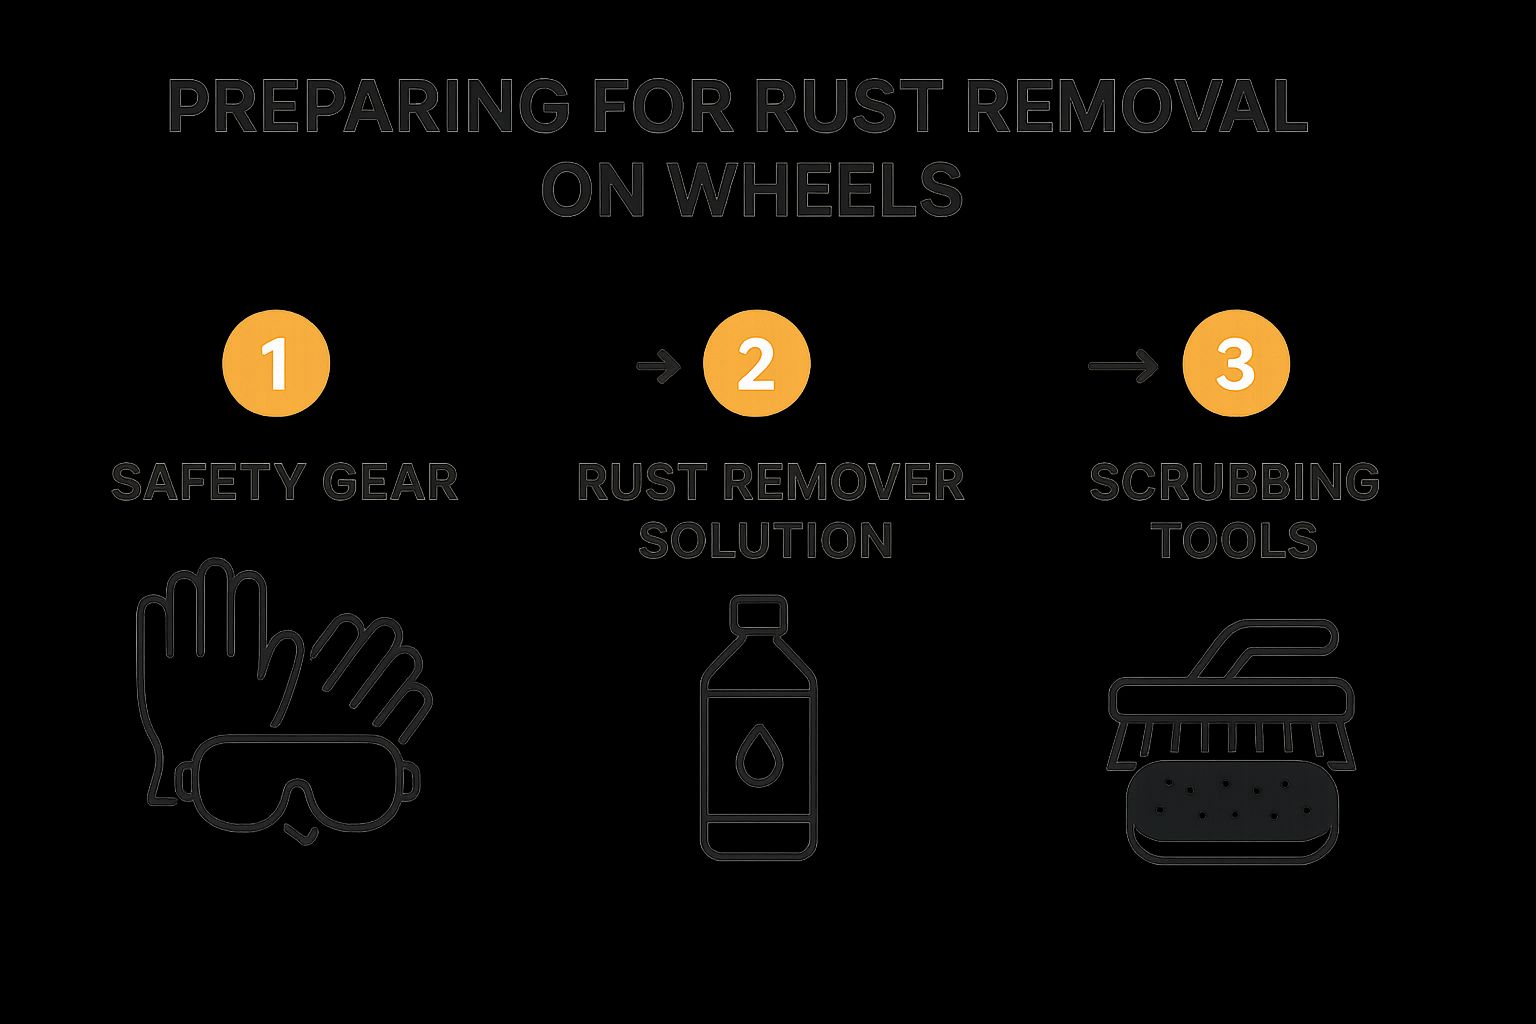
As you can see, a successful outcome starts with solid preparation. It’s a simple flow: protect yourself, apply the chemical solution, and then use your tools to physically agitate the rust.
Let the cleaner sit for the time specified on the bottle, which is usually around 5-10 minutes, before you start scrubbing.
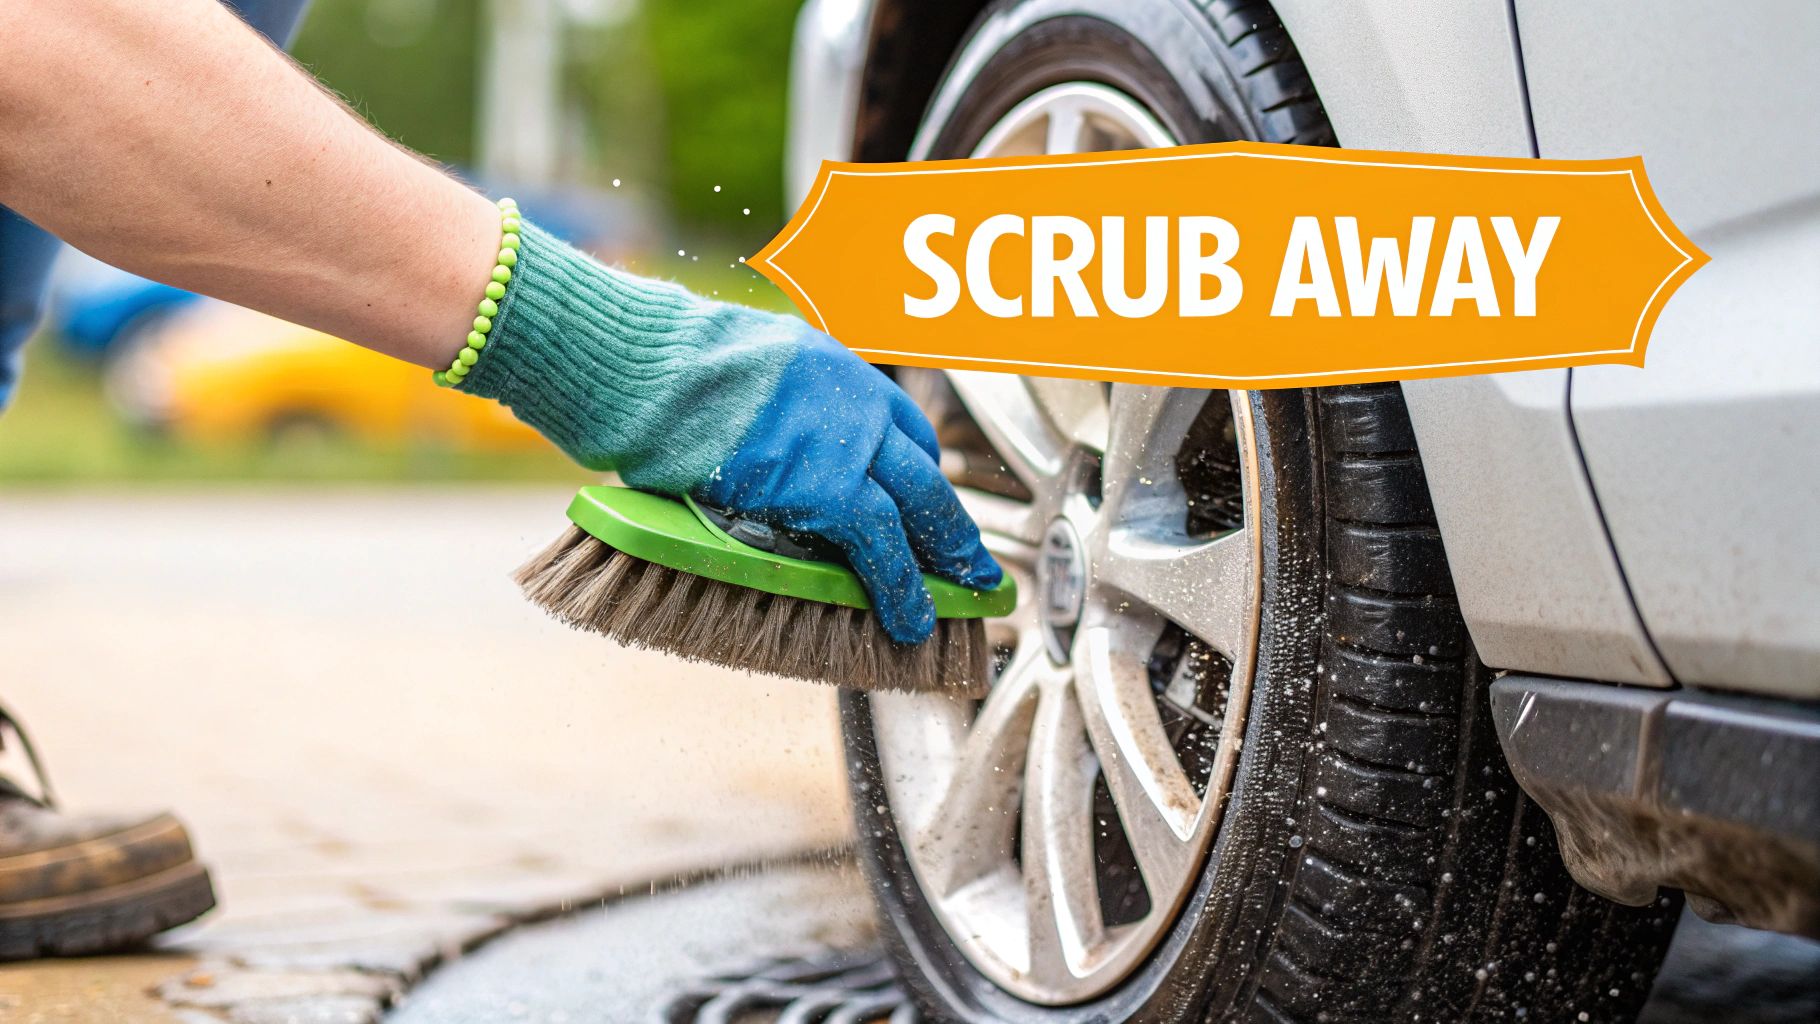
Agitation, Rinsing, and Finishing Up
Now it's time to put in a little elbow grease. Grab your brush—a stiff nylon one works for most wheel finishes, but you might need a small wire brush for stubborn rust on steel wheels—and start scrubbing the problem areas. I find it’s best to work in small, focused sections. This lets you see the cleaner and the bristles working together to lift the corrosion right off the surface.
Pro Tip: Never do this work in direct sunlight or on a hot wheel. The heat will cause your cleaners to evaporate in seconds, killing their effectiveness and potentially leaving nasty chemical spots on your finish. Always work in the shade on a cool surface.
After you’ve scrubbed every last bit of rust, give the wheel a final, thorough rinse. Use a powerful stream of water to blast away all the chemical residue and loosened rust particles. Don't rush this part. Any leftover cleaner can cause issues when you apply a protective sealant later.
For a deeper dive into wheel care, check out our guide on the best way to clean car rims for achieving that perfect, showroom-quality shine.
Finally, grab a clean microfiber towel and dry the wheel completely before moving on to the next step.
Choosing the Smartest Rust Removal Method
There’s no magic bullet for getting rust off your wheels. The best method really comes down to what you’re up against. Are you tackling a few light surface specks on a sturdy steel wheel, or are you facing deep, pitted corrosion on a polished alloy rim?
Choosing the wrong approach can mean a lot of wasted time and elbow grease. Even worse, it could permanently damage your wheel’s finish. Your choice will generally fall into one of two camps: physically forcing the rust off (mechanical) or dissolving it with a solution (chemical).
Mechanical vs Chemical Approaches
Mechanical removal is exactly what it sounds like—using physical force to scrub or grind away the rust. We’re talking about tools like wire brushes attached to a drill, abrasive sanding discs, or even aggressive steel wool. This approach is fantastic for heavy, flaky rust on tough surfaces like unpainted steel.
But for most wheels on modern cars, it's overkill and can cause more harm than good. A wire wheel will chew right through a clear coat, paint, or chrome finish in seconds.
Chemical removal takes a different path. It uses specialized formulas with acids or converters to break down and dissolve the iron oxide. This is a much more controlled and delicate method, making it the go-to for most alloy, painted, or chrome wheels where preserving the finish is critical. It takes a bit more patience since you have to let the chemicals work, but it’s far safer for the wheel itself.
Key Takeaway: Let the rust and the wheel type be your guide. For serious rust on basic steel, mechanical muscle is effective. For almost everything else, a chemical approach is the smarter and safer play.
When it comes to deciding which strategy is the best fit for your situation, this breakdown can help clarify the pros and cons.
Mechanical vs Chemical Rust Removal Methods
| Method Type | Ideal For | Key Advantages | Potential Downsides |
|---|---|---|---|
| Mechanical | Heavy, flaky rust on unpainted steel wheels. | Very fast for removing significant rust buildup. | High risk of scratching, gouging, or ruining wheel finishes. |
| Chemical | Surface rust on alloy, chrome, painted, or clear-coated wheels. | Safely dissolves rust without damaging the underlying surface. | Requires more time and patience; may need multiple applications. |
Ultimately, picking the right method is about matching the tool to the job. A heavy-handed mechanical approach on a delicate alloy wheel is a recipe for disaster, while a gentle chemical cleaner might not be enough for a severely corroded steel rim.
A popular middle-ground for polishing chrome wheels involves a gentle chemical paired with a very fine abrasive. Think something like oxalic acid and #0000 steel wool—it has just enough bite to lift the rust without creating the deep scratches you’d get from sandpaper or a wire brush. You can find some great real-world examples of how people use these techniques by checking out discussions from the Bike Forums community, where enthusiasts often share their restoration secrets.
Keeping Your Wheels Rust-Free for the Long Haul
Getting all that rust off feels great, but don't put your tools away just yet. Once you’ve stripped away the corrosion, you're left with bare metal. That freshly cleaned surface is now completely exposed and incredibly vulnerable to the elements. Without a new protective layer, you'd be surprised how fast the rust comes roaring back.
This final stage is all about sealing the deal and locking in your hard work. You’re essentially creating a durable shield between that pristine metal and the moisture, salt, and road grime that caused the problem in the first place. This is what separates a quick fix from a long-term solution.
Applying the Right Protective Barrier
The kind of protection you need really depends on your wheel’s original finish. Each type requires a slightly different approach to build an effective barrier against future rust.
- For painted or steel wheels, using a high-quality, rust-inhibiting primer is absolutely essential. This isn't just regular primer; it chemically bonds with the metal to block moisture and stop oxidation right in its tracks.
- For chrome and alloy wheels, your best bet is a premium wheel wax or a ceramic coating. These products create a slick, hydrophobic surface that sheds water and makes it much tougher for brake dust and dirt to stick.
No matter which product you use, the key is to apply a thin, even coat. Always follow the manufacturer's instructions to the letter for the best results.
Spending just 30 extra minutes to apply a protective coating now can extend the life of your rust-free finish by months, or even years. Honestly, it’s the most important step for preventing the same problem from happening all over again.
A simple maintenance routine also makes a huge difference. Wash your wheels regularly, especially after driving on salted winter roads, to get those corrosive agents off before they can cause trouble. A quick look-over every few weeks will help you catch any new rust spots early, letting you deal with them before they turn into another major project.
Got Questions About Tackling Wheel Rust?
Even with the best instructions, you're bound to run into a few head-scratchers when you're elbow-deep in a project. Getting rust off your wheels is no different. Let's clear up some of the most common questions that pop up.
What’s the Right Brush for the Job?
This is a big one, and the answer really comes down to what your wheels are made of. For the vast majority of modern wheels—alloy, chrome, or painted—your go-to tool should be a stiff-bristled nylon brush. It has enough backbone to scrub away surface rust but won't leave a mess of scratches behind.
Now, if you're working on something more heavy-duty, like an old set of unpainted steel wheels with thick, flaky rust, you can bring out the big guns. A wire brush, or even a wire wheel attachment on your drill, will make short work of it. Just be warned: this is an aggressive approach meant only for tough, non-cosmetic surfaces. Don't even think about using it on your nice alloys.
Can I Just Use Vinegar or Baking Soda?
You've probably seen a dozen DIY articles suggesting household staples like white vinegar or baking soda for rust. And while they aren't totally useless, they’re usually not up to the task of handling serious automotive rust that’s often mixed with caked-on brake dust.
The mild acid in vinegar can dissolve a bit of surface rust, but it takes forever and a whole lot of scrubbing. For anything beyond the lightest haze, a dedicated, pH-balanced rust remover is a much smarter choice. These products are formulated specifically for automotive finishes.
Ultimately, a purpose-built cleaner gives you reliable results without the guesswork or the risk of accidentally damaging your wheel's clear coat.
Why Did the Rust Come Back So Fast?
This is incredibly frustrating. You spend all that time making your wheels look perfect, and a few weeks later, those ugly orange spots are creeping back. The culprit is almost always a skipped final step: protection.
Once you’ve scrubbed the rust away, you've exposed bare metal. It’s now completely defenseless against moisture and air. You have to seal it up.
- For Painted or Steel Wheels: You'll want to apply a good rust-inhibiting primer followed by a top coat of paint.
- For Alloy or Chrome Wheels: A high-quality wheel wax or a more durable ceramic coating is the way to go.
This final layer acts as a shield, locking out the elements and making sure your hard work actually lasts. While older, more industrial methods often relied on just grinding rust away, this is too harsh for most consumer wheels. Today, the best practice is pairing a gentle abrasive with a quality chemical cleaner to get the job done right without wrecking the finish. You can dive deeper into these mechanical removal techniques on Canada.ca for some more technical insight.
Ready to make your next car wash faster, easier, and more effective? The SwiftJet foam gun attaches to any standard garden hose to deliver the thick, dirt-lifting foam you need for a professional clean. Shop the SwiftJet foam gun today!