
Safely cleaning your engine bay is about much more than just spraying some degreaser and hoping for the best. It's a methodical process that starts with smart preparation. Before any water or cleaner gets near your engine, the absolute key is to protect sensitive electrical components like the alternator and air intake. And when it's time to rinse, forget the pressure washer—a low-pressure garden hose is your best friend for preventing costly damage.
Why Bother Cleaning Your Engine Bay?
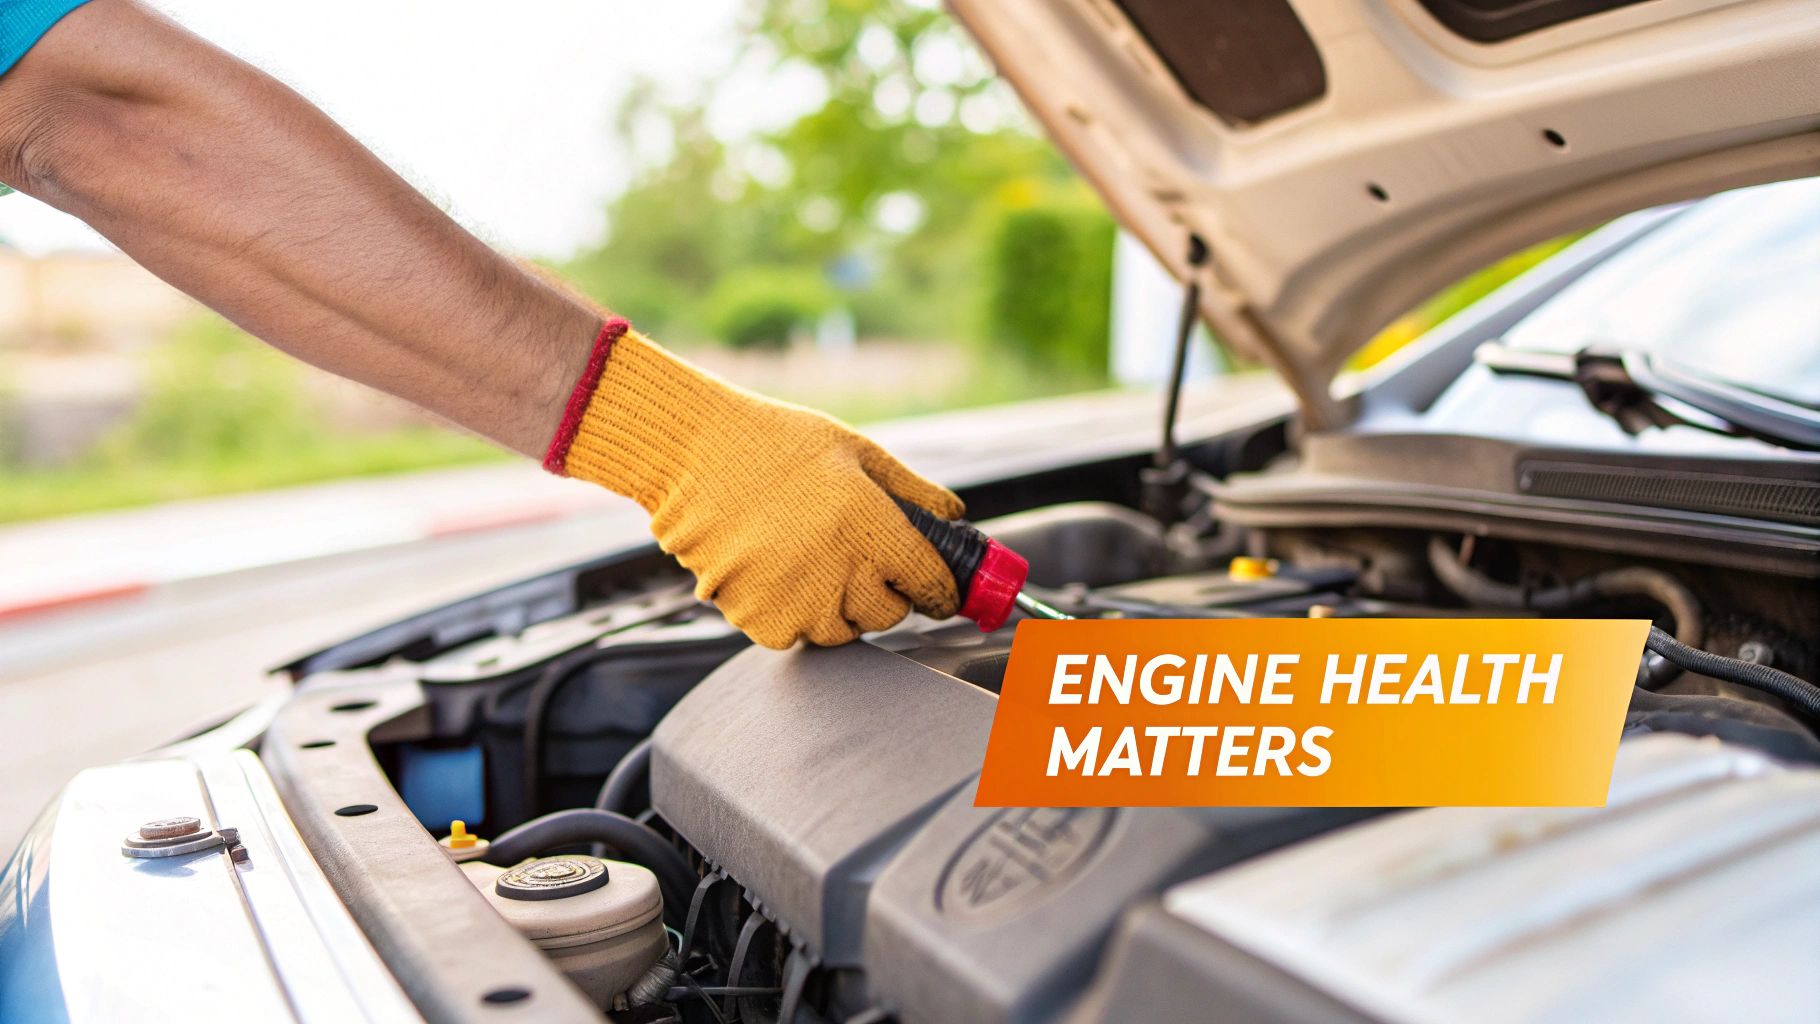
Most people just accept a dirty engine bay as a normal part of car ownership, but learning how to clean it safely is one of the smartest maintenance jobs you can tackle yourself. This isn't just about getting a showroom shine under the hood; it's about your car's long-term health, catching problems early, and even maintaining performance.
Think of a clean engine bay as a clear window into your vehicle’s health. Once you wash away the layers of road grime, caked-on oil, and dust, problems that were hiding in plain sight suddenly become obvious. It's a diagnostic tool that costs you almost nothing.
Spot Problems Before They Become Disasters
I remember a mechanic telling me a story about a routine engine detail he was doing. Under a thick cake of greasy dirt near the crankshaft pulley, he found a serpentine belt that was hanging on by a thread. If that belt had snapped on the highway, the driver would have instantly lost power steering and the alternator—a scenario that's both dangerous and expensive.
That's the real value of a clean engine. It helps you spot things like:
- Fluid Leaks: A fresh drip of oil or a tell-tale green stain from coolant is impossible to miss on a clean surface.
- Worn Parts: You can easily see frayed wires, cracked hoses, and corroded battery terminals.
- Unwanted Guests: Rodents love to build nests and chew on wiring, which is a lot easier to find when there isn't a year's worth of leaves and debris hiding it.
By keeping your engine bay clean, you're not just detailing—you're performing a visual inspection that can save you from a catastrophic failure down the road.
Help Your Engine Run Cooler and More Efficiently
Engines produce a massive amount of heat, and they're engineered to get rid of it. But a thick blanket of baked-on dirt and oil acts like an insulator, trapping that heat right where you don't want it. This puts extra stress on everything under the hood, from plastic engine covers to critical rubber hoses.
Over time, that trapped heat can make parts brittle and cause them to fail way sooner than they should. When you clean off that insulating layer of gunk, you let the engine cool itself properly, which helps everything last longer.
At the end of the day, cleaning your engine bay is a fantastic and rewarding DIY project. It helps you get to know your vehicle better and gives you the confidence to take a more active role in its upkeep. It’s a task that goes far beyond looks and becomes a core part of being a responsible car owner.
Getting Started: The Crucial Prep Work

Here's a piece of advice from years of experience: the secret to a great engine bay detail isn't the cleaner you use. It's the prep work. Jumping the gun and immediately soaking everything is the fastest way to cause problems. Taking the time to prepare properly is what separates a professional, damage-free result from a costly mistake.
Before you even grab a hose, it’s smart to understand what you're up against. Think of it like this: you wouldn't start a project without knowing the risks. It's a good idea to conduct a thorough risk assessment to get your head in the right space. This small step turns a potentially hazardous job into a controlled and genuinely satisfying task.
Rule #1: Let the Engine Cool Down Completely
This is non-negotiable. Never, ever try to clean an engine that's still hot or even warm to the touch. Spraying cool water and cleaners onto hot engine parts is a recipe for disaster.
For starters, any cleaner you spray will instantly evaporate, leaving behind ugly streaks and residue that are a nightmare to remove. More importantly, the drastic temperature shock can cause thermal stress, potentially leading to cracks in sensitive metal components like an exhaust manifold. A good rule of thumb? If you can't comfortably rest your hand on the plastic engine cover for 10 seconds, walk away and give it more time.
Pro Tip: We often use an infrared thermometer to check surface temps, making sure everything is below 40°C (104°F) before we begin. For most cars, letting it sit for at least an hour after a drive is plenty of time for it to cool down to a safe working temperature.
Protect the Sensitive Stuff—This Is Critical
Modern cars are rolling computers, and as we all know, water and electronics don't mix. This is, without a doubt, the most important part of your prep. Spending 15 minutes now covering up key components will save you from the massive headache and expense of electrical repairs later.
You don't need anything fancy. A few plastic sandwich bags, some aluminum foil, and a roll of painter's tape are your best friends here. The goal is simple: create a solid, waterproof barrier over anything that shouldn't get wet.
Your Engine Bay Protection Checklist:
- The Alternator: This is public enemy number one for water. Wrap it up securely in a plastic bag or a couple of layers of foil. Pay close attention to covering the vents.
- Air Intake: If you have an exposed, open-element air filter, either remove it entirely or wrap the opening tightly with a plastic bag and tape. Sucking water into your engine is a catastrophic failure you want no part of.
- Battery Terminals: While disconnecting the negative terminal is always a smart safety move, you should still cover both terminals to prevent any chance of corrosion or an accidental short.
- Fuse Box: Make sure the lid is latched down tight. For a little extra peace of mind, run a strip of painter's tape around the seam.
- Exposed Wires & Connectors: Take a quick look around for any obvious electrical plugs, ignition coil packs, or sensor connections that look exposed. A small piece of foil or plastic secured with tape is all you need.
This isn't about being paranoid; it's about managing real-world risk. Back in the day, older, more aggressive cleaning chemicals caused countless electrical gremlins. We’ve learned a lot since then. Simply covering the alternator and any main computer (ECU) can reduce the risk of an electrical short by as much as 75%. It's a standard practice for a reason.
Get Rid of the Loose Gunk First
The last thing to do before you introduce any water or cleaner is to get all the loose junk out. Over time, your engine bay becomes a collection bin for leaves, twigs, dirt, and all sorts of grime. If you just spray water on top of that, you create an abrasive, muddy mess that makes cleaning harder and can even scratch plastic surfaces as you scrub.
Grab a soft-bristled detailing brush and sweep out all the debris you can see, paying special attention to the cowl area by the windshield and around the strut towers. For an even better result, use a shop vac or compressed air to blast out the dirt hiding in all the tight corners. This quick "pre-clean" clears the way so your degreaser can attack the actual oil and grease, not a layer of leaves and dust.
Choosing Your Cleaning Arsenal: The Right Tools and Degreasers
The difference between a stunning, safely cleaned engine bay and one with stained plastics or fried electronics often boils down to the products you use. This isn't a brute-force job; it’s more of a tactical operation where the right gear is non-negotiable. Forget the harsh, solvent-based chemicals of yesterday. Modern engine bays are a complex mix of plastics, delicate rubber hoses, and aluminum components that demand a much gentler touch.
Your most important decision is the degreaser. The old-school stuff often relied on harsh petroleum distillates that, while great at cutting grease, would also dull plastic trim, dry out rubber, and even damage your car's clear coat from overspray. The best options today are water-based, pH-neutral, or citrus-based cleaners. These modern formulas are engineered to dissolve oil and grime without attacking the very materials they're supposed to be cleaning. They are your first line of defense in doing this job safely.
Picking the Right Degreaser
Choosing your cleaner is a critical safety step. In fact, highly alkaline degreasers with a pH over 13 are responsible for a staggering 28% of paint etching incidents during DIY cleanings. The entire industry is shifting toward safer, biodegradable alternatives that are kinder to your car and to you.
A foaming cleaner is a fantastic tool for getting a powerful yet safe clean. A product like the SwiftJet foam gun, which hooks right up to a standard garden hose, is perfect here. It creates a thick, clinging foam that allows the degreaser to dwell on vertical surfaces, giving it more time to break down stubborn grime instead of just running off. This targeted application helps prevent overspray and ensures the cleaner works exactly where you put it.
Choosing the right cleaner can be tricky. Here’s a quick breakdown to help you decide.
Safe vs Risky Engine Bay Cleaners
| Cleaner Type | Key Ingredient | Best For | Safety Risk Level |
|---|---|---|---|
| All-Purpose Cleaner (APC) | Surfactants, Mild Solvents | Light to moderate grease, dust, and grime on plastics and painted surfaces. | Low (when diluted) |
| Citrus-Based Degreaser | d-Limonene | Moderate to heavy grease and oil, stubborn residue. | Low to Moderate |
| Water-Based Degreaser | Alkaline builders, Surfactants | Heavy grease and caked-on oil on metal and robust components. | Moderate |
| Solvent-Based Degreaser | Petroleum Distillates | Extremely heavy industrial grease and tar. | High (Risky for modern cars) |
Ultimately, a good All-Purpose Cleaner or a quality citrus-based degreaser is the safest and most effective bet for the vast majority of engine bays.
Your Essential Tool Shopping List
Great chemicals are only half the battle. Your physical tools are just as important for getting the job done right without causing damage.
- Soft-Bristled Brushes: A set of boar's hair or synthetic detailing brushes is an absolute must. Their soft bristles are perfect for agitating dirt on painted surfaces, plastics, and around delicate emblems without leaving a scratch.
- Long-Reach Brushes: An engine bay is full of nooks and crannies. A long-handled, flexible brush will be your best friend for getting behind components and deep into the firewall area where grime loves to hide.
- Microfiber Towels: Stock up. You'll need plenty of these for drying everything off and wiping away any leftover residue. Their soft, absorbent nature is exactly what you need for a spotless, scratch-free finish.
For a more exhaustive look at what to keep in your garage, our car detailing supplies list is a great resource for both beginners and seasoned pros.
Critical Safety Note: Whatever you do, resist the urge to grab a high-pressure washer. It might seem like a quick way to blast away dirt, but its powerful stream can force water past weather seals and directly into sensitive electrical connectors. That's a recipe for shorts and expensive repairs. A simple garden hose with an adjustable spray nozzle has all the power you need for a safe and effective rinse.
Don't Forget Personal Protection
Your cleaning arsenal isn't complete without some basic personal protective equipment (PPE). You’ll be working around potentially sharp metal edges and chemical cleaners, so protecting yourself is key.
A good pair of gloves is essential. Protecting your hands from sharp components and chemicals is paramount; this guide to cut-resistant gloves can help you find the right pair for the job. Safety glasses are also a must-have to shield your eyes from accidental splashes. With the right tools and a safety-first mindset, you're ready to get started.
The Safe Engine Cleaning Process
Alright, you’ve done the prep work and have your tools lined up. Now comes the satisfying part. This is where all that careful taping and covering pays off, letting you safely blast away years of grime and bring that engine bay back to life. We’re going to walk through this just like a pro would, focusing on techniques that get the job done right without creating new problems.
The secret isn’t speed; it’s being methodical. Just blindly spraying cleaner everywhere is a rookie mistake that leads to missed spots and stubborn streaks. We’ll use a controlled approach that deep-cleans every surface without putting your engine’s sensitive parts at risk.
Applying Your Degreaser The Right Way
How you apply your cleaner sets the stage for the whole job. Most people instinctively start spraying from the top and work their way down. Don't do it. This causes the degreaser to run down dry, dirty surfaces, creating ugly streaks that are a pain to remove later.
The professional method is to work from the bottom up.
Start by spraying your degreaser on the lower parts of the engine bay first, then move upward. This simple trick keeps the surfaces below wet with product, so any runoff from above glides right over without streaking. Get a nice, even coat on all the grimy parts you can see—the plastic covers, firewall, and metal brackets—while steering clear of the sensitive spots you covered.
This visual guide shows the core tools used in the process, from applying the degreaser to the final rinse.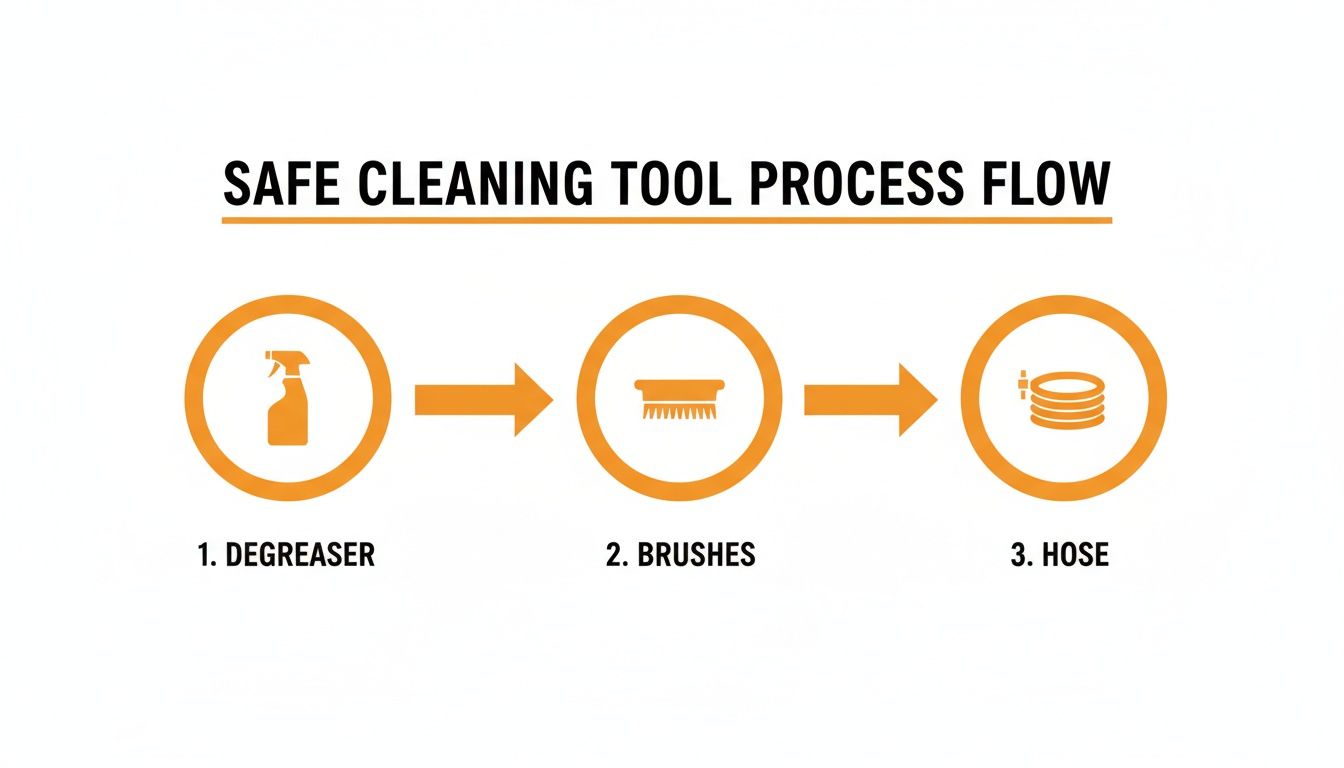
The flow from cleaner application to gentle agitation with brushes and a low-pressure rinse is the foundation of a safe and effective engine detail.
Understanding and Using Dwell Time
Once everything is coated, fight the urge to start scrubbing immediately. You need to let the cleaner do its job. This is called "dwell time"—the crucial window where the chemical formula gets to work, breaking down and lifting all that baked-on oil and gunk.
Give the product about 3 to 5 minutes to sit. You’ll literally see the dirt start to melt away. But here’s the most important rule: never let the cleaner dry on the surface. If it does, it can leave a chalky, almost impossible-to-remove residue. If you're working in the sun or on a windy day, you might need to give the area a light re-mist to keep it damp.
Expert Tip: On really nasty spots, like around a weeping valve cover gasket, you’ll see the degreaser turn a dark brown as it dissolves the oil. That’s your sign it’s working hard.
Agitation: Lifting the Grime
After the degreaser has had a few minutes to dwell, it's time to get hands-on. Agitation is the physical step that actually lifts the now-loosened grime off the surface so it can be rinsed away. Spraying and rinsing alone will never give you that truly clean finish.
Grab your soft-bristled detailing brushes and gently scrub all the surfaces you sprayed. Use your larger brushes for the big plastic engine covers and strut towers, then switch to your smaller, more nimble brushes to get into tight corners, around hoses, and between components. You don't need to use a lot of force; the goal is to gently work the grime loose, not scrub the paint off.
Key Agitation Focus Areas:
- Plastic Engine Covers: These are usually front and center, so a good scrub makes a huge difference.
- Valve Covers: A notorious collection spot for oil and dirt.
- Strut Towers and Firewall: Don’t forget the painted areas framing the engine bay.
- Fluid Reservoirs: Clean around the caps and sides of your coolant, brake, and power steering fluid tanks.
The Final Rinse: A Gentle Approach
This is it—the moment of truth where all your careful prep pays off. Remember, high pressure is the absolute enemy here. For a safe home cleaning, you must use a low-pressure water stream—no more than 40 PSI. This is critical for preventing water from being forced into electrical connectors and sensors. This one mistake is responsible for check engine lights in roughly 25% of DIY jobs.
Set your garden hose nozzle to a gentle "shower" or "mist" setting. This time, start rinsing from the top down. Gravity is your friend here, helping wash all the dirt and degreaser down and out of the engine bay. Be thorough. Make sure you rinse every nook and cranny you scrubbed, paying close attention to the radiator fins and other hidden spots.
I know it’s tempting to grab a pressure washer to speed things up, but the risk just isn't worth it. If you want to know more about the dangers, check out our guide on whether you can use a pressure washer on a car. For the engine bay, stick with the garden hose. It’s the safest and most effective tool for the job. Once you’re confident it's all rinsed clean, you’re ready for the final drying and dressing steps.
Drying and Finishing for Lasting Protection
You’ve done the hard part—the prep, the degreasing, and that careful rinse. It's tempting to just drop the hood and call it a day, but what you do next is what separates a decent job from a professional one. Skipping the drying and finishing stage is a classic rookie mistake, and it can leave moisture trapped where you least want it, leading to corrosion or electrical gremlins down the road.
The first priority is getting rid of all that standing water, especially in the spots you can't see. Gravity is not your friend here; it pulls water into every crack and crevice, and a simple towel wipe just won't cut it. This is where a little forced air makes a world of difference.
The Initial Blow-Dry
Your mission here is to blast water out of tight areas before it has a chance to settle. Pockets of moisture can hang out for days inside electrical connectors, around ignition coils, and within alternator housings. That’s a recipe for trouble.
An electric leaf blower is my go-to tool for this. It gives you a high volume of air without the harsh pressure of an air compressor, which can sometimes be too aggressive. Systematically work your way across the entire engine bay, paying close attention to:
- Electrical Connectors: Hit every plug and harness you can see.
- Ignition Coil Packs: Water pooling in spark plug wells is a common cause of misfires.
- Alternator Vents: Push as much air through these as you can to help it dry internally.
- Fuel Rails and Injectors: These spots have tons of nooks and crannies where water loves to hide.
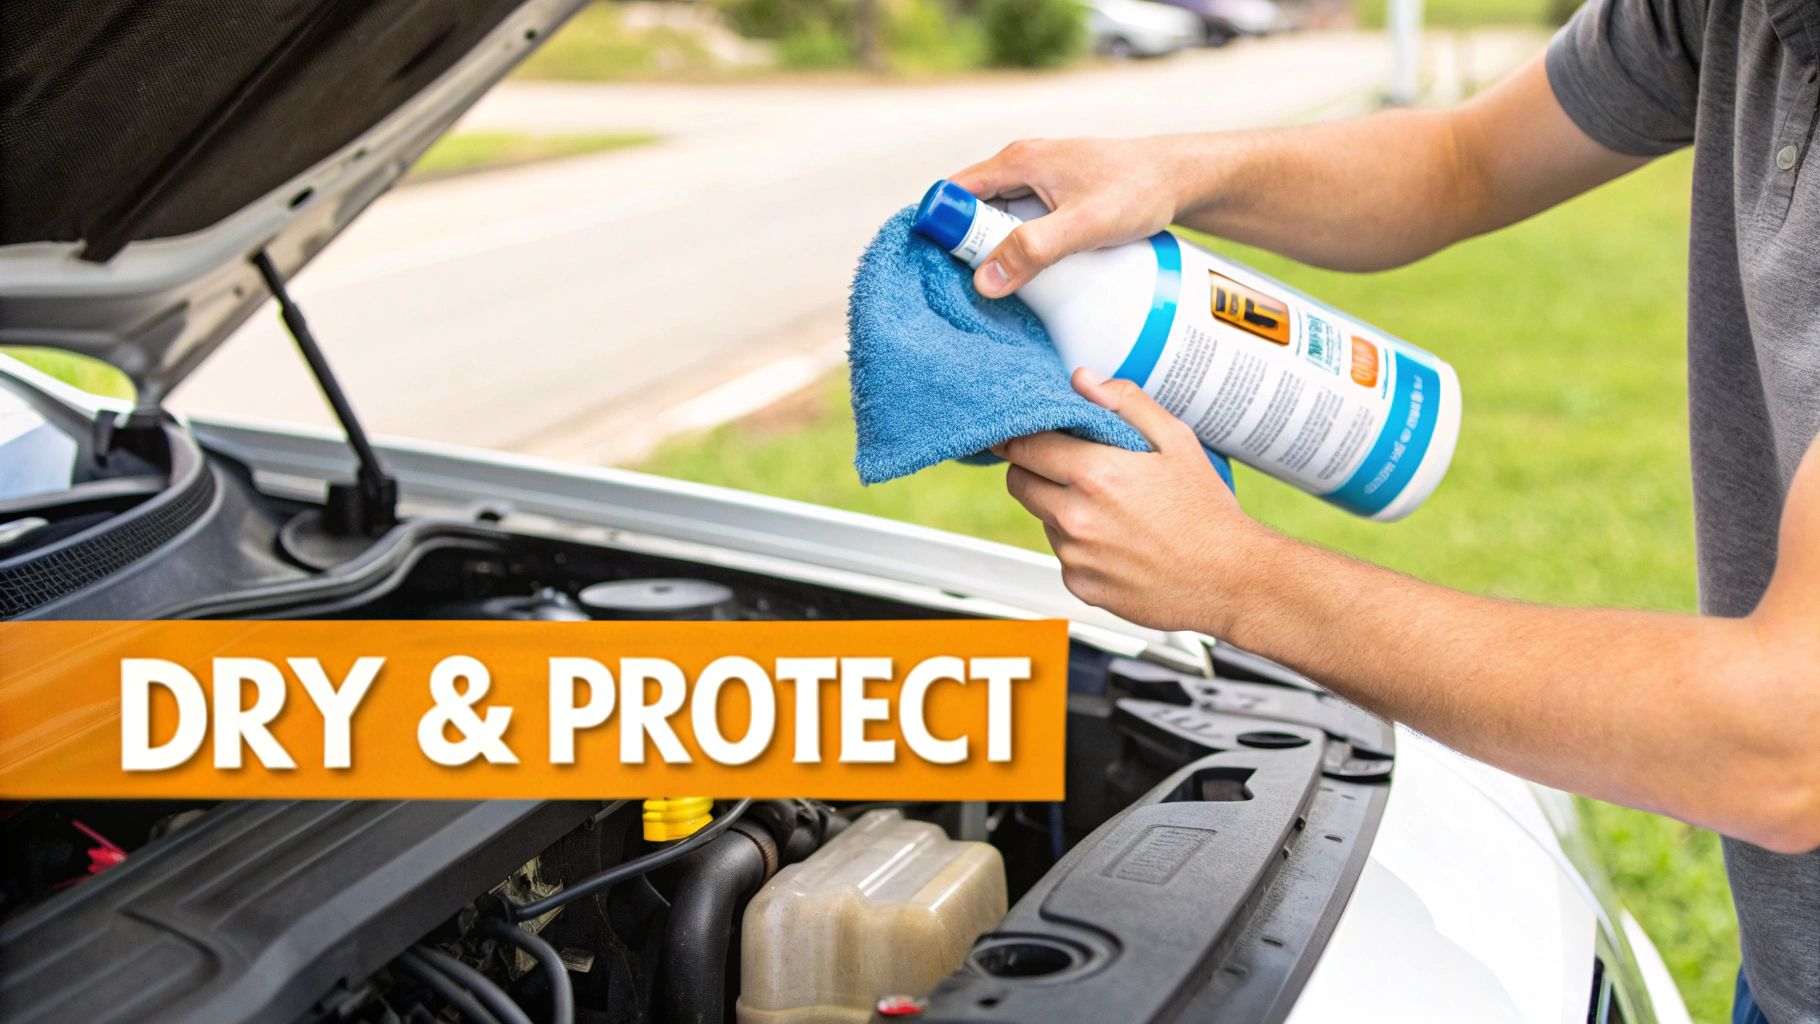
Once you've blown out the bulk of the water, grab a high-quality microfiber towel and wipe down all the accessible surfaces. This mops up any remaining droplets and preps everything for the final protective layer.
Leaving an engine bay to air dry is a gamble, plain and simple. Actively removing the moisture with forced air and towels is the only way to be sure you've prevented future water-related headaches. This is a non-negotiable part of cleaning an engine bay safely.
Applying a Protective Dressing
With the engine bay clean and bone-dry, it's time for the final touch: a protectant. This isn't just about making it look shiny; it's a critical maintenance step that nourishes the plastic and rubber components under the hood. The intense heat cycles in an engine bay make these materials brittle and prone to cracking over time, and a good dressing helps fight that.
Here's the key: you must use a water-based, non-silicone dressing. Silicone-based products can leave a greasy finish that becomes a magnet for dust and dirt. Worse, they can even degrade certain types of rubber hoses over the long haul. A quality water-based dressing gives you a rich, satin finish that looks clean and professional, not like an oil slick.
Just apply a small amount to a microfiber applicator or towel and wipe it onto all the plastic engine covers, rubber hoses, and black trim. Buff off any excess with a clean, dry towel to get an even, non-greasy finish. This layer not only revitalizes the look but also makes future cleanings way easier. It's a similar idea to protecting your paint; you can learn more about how protective layers work by reading about the best way to protect car paint.
The Final Step to Evaporate Moisture
Okay, almost there. It’s time to carefully remove all the plastic bags, foil, and tape you used to cover the sensitive parts. Give everything one last visual check to make sure it all looks right.
Now for the final, crucial step: start the car. Let the engine run for about 5 to 10 minutes with the hood closed. The natural heat from the engine will gently evaporate any last traces of moisture you couldn't reach, ensuring the entire bay is perfectly dry. Think of it as the final piece of insurance for a job well done.
Got Questions? We've Got Answers on Engine Cleaning
Diving into your engine bay for the first time can feel a little intimidating, even with a guide. It's the heart of your vehicle, after all. It’s completely normal to have a few lingering questions, so let's clear up some of the most common ones before you grab that hose.
The big one we always get is, "Can I really just spray water in there?" The answer is a resounding yes, but with one crucial condition: you have to do your prep work. Your engine bay is built to handle a downpour, but it's not designed to take a direct hit from a high-pressure washer. A gentle rinse from a garden hose is totally fine, but only if you've properly covered up all the sensitive electrical bits. Get the prep right, and you can rinse with confidence.
How Often Should I Be Cleaning My Engine?
This is another popular question, and there's no magic number. How often you need to clean your engine bay really boils down to how and where you drive.
For the average daily driver, a good deep clean once or twice a year is a great starting point. But, you’ll want to bump that up if your car sees tougher conditions:
- Dusty & Rural Roads: If you're frequently on gravel or dirt, all that dust can build up fast. A cleaning every 3-4 months will keep that abrasive grit from caking onto everything.
- Snowy Climates: Road salt is the enemy of metal. A thorough wash at the end of the winter season is non-negotiable to get that corrosive salt off and prevent rust.
- Off-Roading Adventures: Don't let that caked-on mud sit. It traps heat and moisture, which is a recipe for problems. Clean it as soon as you can after hitting the trails.
The key takeaway here is consistency. A quick clean every six months is infinitely better for your car's long-term health than letting a decade of grime accumulate into a weekend-long nightmare.
What if My Car Won’t Start After I Clean It?
Okay, this is the moment every car owner dreads. You’ve finished cleaning, everything looks amazing, you turn the key, and... nothing. Don't panic. Nine times out of ten, this isn't catastrophic damage—it's just a bit of misplaced water.
Before you even think about calling a mechanic, just wait. Pop the hood and let everything air out for a while, especially on a warm day. Evaporation is your best friend.
If patience isn't solving the problem, it’s time to bring out the leaf blower or compressed air for a second round. Be methodical and target the most likely culprits where water loves to hide:
- Ignition Coils & Spark Plug Wells: This is problem area number one. Water loves to pool in the spark plug wells, leading to a misfire.
- Alternator: Give the connections and any vents a good blast of air.
- Fuse Box: Open the cover and make sure it’s bone dry inside.
- Major Electrical Connectors: Go back over any large wiring harnesses you see and blow them out again.
Once you’ve done a thorough second pass, try starting the engine. More often than not, this forces out that one stray water droplet that was shorting out a connection. If it still refuses to cooperate, then it’s time to get a professional opinion.
For a powerful yet gentle clean every time, trust SwiftJet to deliver the perfect foaming action. The SwiftJet Car Wash Foam Gun connects to any garden hose, creating a thick lather that clings to grime, making your engine detailing safer and more effective.