
We've all seen it—that deep, almost liquid shine on a freshly detailed car that looks better than it did on the showroom floor. But when you try to get that same result at home, you often end up with a streaky, swirled mess. It's frustrating, and it feels like a secret you're not in on.
Why a Proper Exterior Wash Matters More Than You Think
Learning to clean your car's exterior the right way is far more than just a weekend chore. Think of it as an investment in your vehicle's health and value. When you let things like bird droppings, bug guts, and road grime sit on the paint, they're not just sitting there—they're actively eating away at your car's clear coat. This is what leads to permanent damage.
A proper, systematic wash routine is your best defense. It not only removes these harmful contaminants but also prevents the fine scratches and swirl marks that come from using the wrong tools and techniques.
It's Not Just About Looking Good
Getting disciplined about how you wash your car delivers results you can both see and feel. The benefits go way beyond just a shiny finish.
- Protects Your Investment: Regular, safe washing is the single best thing you can do to preserve your vehicle’s clear coat and paint. This prevents rust down the line and directly boosts its resale value.
- Saves You Time and Money: Doing it yourself—with the right gear—means you can skip the costly professional detailing services. More importantly, it prevents damage that would require expensive paint correction to fix.
- Makes Driving Safer: This one's often overlooked. Crystal-clear windows, mirrors, and lights aren't just for show; they dramatically improve your visibility, keeping you and everyone else on the road safer.
There's a reason the demand for better car care is exploding. The global car wash service market recently hit an incredible USD 34.31 billion and is expected to climb to USD 49.06 billion by 2030. This isn't just about more people going to automated car washes; it reflects a massive shift toward DIY enthusiasts looking for smarter, more effective ways to care for their vehicles at home. You can dig into the full car wash services market trends from Grand View Research to see the whole picture.
This is where modern tools like the SwiftJet Car Wash Foam Gun come into play. They're becoming incredibly popular because they can slash cleaning time by up to 50% compared to the old bucket-and-sponge method. That’s a game-changer, especially when you're dealing with SUVs and trucks, which now account for over 60% of all vehicles being washed.
This guide is designed to cut through the confusion and show you the exact methods and tools the pros rely on. We'll walk you through the entire process, step-by-step, turning a routine wash into a genuinely rewarding experience that leaves behind nothing but a flawless, mirror-like shine.
Equipping Your Home Detailing Arsenal
Before you even think about turning on the hose, know this: a pristine, swirl-free finish starts with the gear you choose. Grabbing an old t-shirt and a bottle of dish soap is the fastest way to inflict the exact kind of fine scratches and dullness you're trying to prevent. The real secret to a professional-level wash is understanding why each tool matters.
The Foundation: Your Washing and Drying Kit
The absolute cornerstone of a safe wash is the two-bucket method. If you're serious about your car's paint, this isn't optional. You'll need two simple five-gallon buckets, but the magic ingredient is a Grit Guard insert for each one.
Here’s how it works. One bucket is for your sudsy car shampoo, and the other holds plain, clean water for rinsing. After washing a single panel, like a door or a fender, your wash mitt is loaded with abrasive road grime. Instead of plunging it back into your clean soap, you first dunk and scrub it against the Grit Guard in the rinse bucket. This knocks all the dirt particles loose, which then sink to the bottom and get trapped under the guard. This simple step stops you from picking up that same grit and dragging it all over the next panel.
Now, let's talk about what goes in those buckets and what touches your paint.
-
Plush Microfiber Wash Mitt: Get rid of any old sponges you have. Their flat surfaces trap dirt and press it right into your clear coat. A good microfiber mitt has a deep, plush pile that pulls dirt away from the surface and traps it safely within its fibers, dramatically cutting down the risk of scratching.
-
pH-Neutral Car Shampoo: Dish soap is engineered to strip grease, which is great for dishes but terrible for your car. It will strip away any wax or sealant you have, leaving your paint completely exposed. A dedicated, pH-neutral car shampoo is designed to gently clean the surface without compromising your car's protective layers.
You'll also need a solid collection of high-quality microfiber towels for different jobs. For drying, invest in a large, plush, high-GSM (grams per square meter) towel. This lets you blot the car dry, absorbing huge amounts of water with each touch, rather than wiping and potentially causing scratches.
I can't stress this enough: most swirl marks are put on the car during the wash and dry process. Switching to the two-bucket method and using quality microfiber are the two biggest upgrades you can make to protect your paint.
The Game Changer: Adding a Foam Gun
While the two-bucket method is critical for the main wash, a foam gun is what separates a good wash from a great one. A modern tool like the SwiftJet Foam Gun is brilliant because it attaches right to your garden hose—no need for a pricey pressure washer. It works by mixing your car shampoo with water and air, blanketing your entire vehicle in a thick layer of clinging foam.
This foam isn't just for show. It sits on the surface and goes to work, softening and encapsulating all the heavy dirt and road grime. As the foam slowly slides down the car, it pulls that loosened debris with it. By the time you do your first rinse, a huge amount of the most dangerous grit is already off the car, before your mitt has even made contact.
This pre-wash step is a massive leap forward in paint safety. It makes the whole job faster, safer, and way more effective.
Foam Gun Wash vs Traditional Hose Wash
To see the difference, let's break down how a foam gun-assisted wash stacks up against the old-school bucket and hose method.
| Feature | SwiftJet Foam Gun Method | Traditional Method |
|---|---|---|
| Paint Safety | Excellent; foam lifts dirt away from the paint before contact, minimizing scratch risk. | Fair; relies solely on contact washing, increasing the chance of dragging grit across the surface. |
| Efficiency | High; covers the entire car in lubricating foam in minutes, loosening stubborn grime. | Low; requires manually washing every surface to loosen dirt, which is more time-consuming. |
| Water Usage | Moderate; efficient mixing creates foam without constant high-flow water use. | High; often involves excessive rinsing and frequent bucket refills, leading to more water waste. |
Ultimately, incorporating a foam gun into your routine is one of the most effective ways to reduce the risk of wash-induced damage while getting a better, more thorough clean.
Mastering the Pre-Wash and Foam Application
The secret to a truly scratch-free wash is that the most important work happens before your wash mitt ever touches the paint. This is the pre-wash, a deliberate step to lift off the heaviest, most abrasive grit without physical contact. Get this right, and you dramatically reduce the risk of creating those dreaded swirl marks.
First things first: give the entire car a thorough rinse. Grab a standard garden hose with a gentle spray nozzle—nothing too aggressive. Start at the roof and work your way down, panel by panel. Your goal isn't to blast away caked-on mud but simply to coax the loose stuff off. Think of it as clearing dust, pollen, and light road debris from the battlefield before the main event.
Unleashing the Power of Foam
With the loose contaminants gone, it’s time to bring in the heavy artillery for the more stubborn grime: a foam gun. A tool like the SwiftJet Foam Gun turns your car shampoo into a thick, clinging blanket of suds that goes to work for you. This is the touchless cleaning phase where the real magic happens.
This isn't just a gimmick; it’s a direct response to a very common problem. Detailing pros estimate that improper washing causes micro-scratches on 80% of vehicles every year. It’s no wonder the touchless car wash market is growing at a projected 8.2% annually—people are catching on that scrubbing a dirty car is a recipe for paint damage. A foam gun brings the safest part of a commercial touchless wash right to your driveway by dissolving and encapsulating dirt so it can be rinsed away harmlessly.
Getting started is simple. Fill the SwiftJet canister with water, then add your favorite pH-neutral car shampoo. A 1:10 soap-to-water ratio is a solid starting point, but feel free to adjust. You might want a thicker foam for a really grimy car or a thinner one for a light wash.
This diagram shows the modern essentials for a safe, professional-level home car wash.
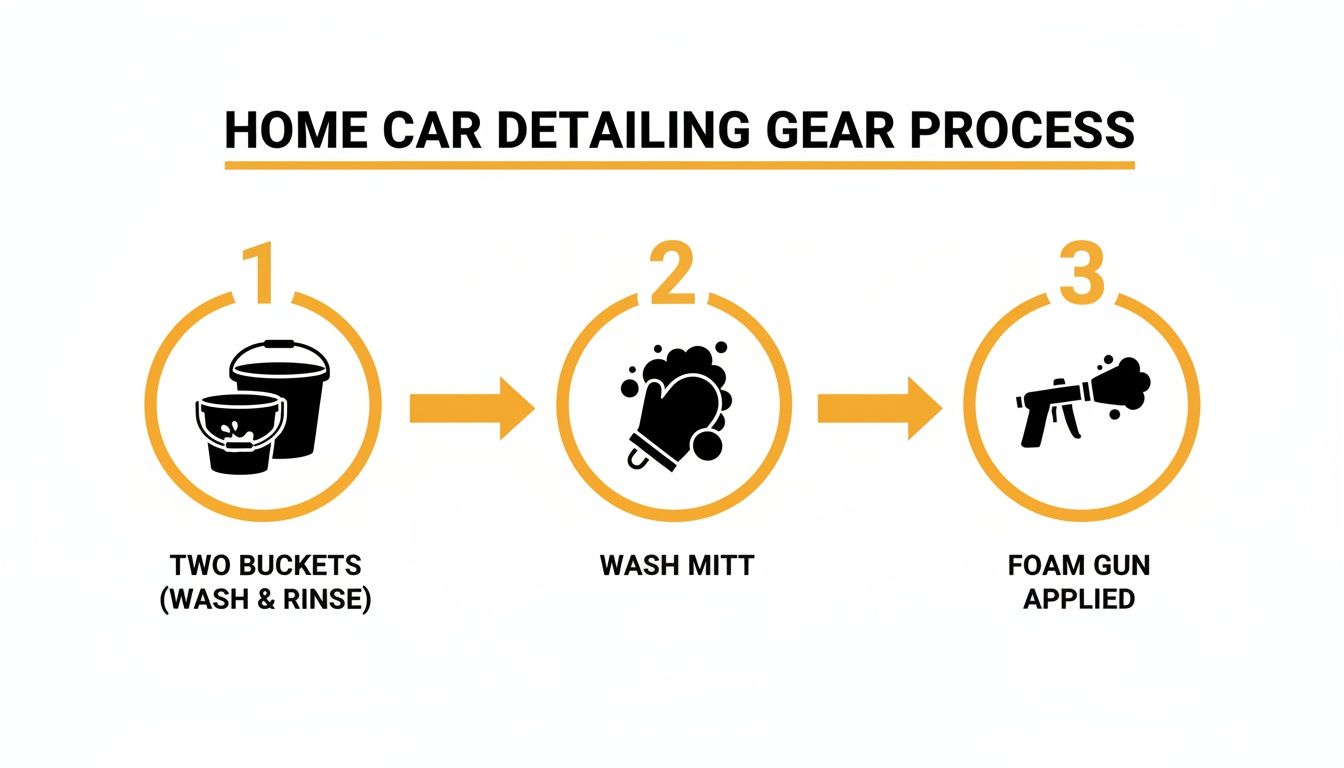
As you can see, tools like a quality foam gun and the two-bucket system have become central to doing the job right.
The Correct Foam Application Technique
Once your foam gun is loaded, the application itself is pretty straightforward, but you’ll want to be strategic about it. For the best results, always work from the top down.
- Start with the Roof: Blanket the roof first. This gives the suds maximum time to work as they slowly start their descent.
- Hit the Glass and Upper Panels: Next, cover all the windows, the hood, and the trunk. Focus on getting even coverage across these large, flat surfaces.
- Coat the Sides and Lower Body: Finally, work your way down the doors and quarter panels. Save the dirtiest parts of the car—the lower rocker panels, bumpers, and wheel wells—for last.
Pro Tip: Let the foam sit on the surface for about 5 to 10 minutes, but never let it dry, especially in direct sunlight. You’ll actually see the suds start to slide down the car, carrying the loosened dirt and grime with them. That’s your visual cue that it's doing its job.
This "dwell time" is where the heavy lifting happens. The cleaning agents in the shampoo are busy breaking down traffic film, bug guts, and other bonded gunk, lifting it all away from the paint and suspending it in the foam.
After a few minutes, give the car another complete rinse, again from top to bottom. You'll be amazed at how much cleaner the car looks already—and you haven't even touched it with a mitt yet. For a deeper dive, check out our complete guide on how to use a foam gun for perfect results every time.
By dedicating just a few extra minutes to a proper pre-wash and foaming, you're doing more to protect your paint than at any other point in the process. You’re making sure that when your wash mitt finally makes contact, the most dangerous, scratch-inducing particles are already long gone.
The Two-Bucket Method for a Safe Contact Wash
Now that the pre-wash has knocked off the heavy, abrasive grime, it's time for the contact wash. This is the moment your wash mitt actually touches the paint, so doing it right is everything. The absolute gold standard for preventing scratches during this step is the **two-bucket method**.The concept is simple but incredibly effective. You'll have one bucket with your car shampoo solution and a second one filled with plain water for rinsing. This system is specifically designed to stop the number one cause of swirl marks: dragging trapped dirt and grit across your car’s paint.
Setting Up Your Buckets for Success
Before you start, get your two buckets ready—ideally, five-gallon ones. For maximum protection, you absolutely want a Grit Guard insert sitting at the bottom of each one. This simple plastic grate is a game-changer; it lets dirt fall from your wash mitt and traps it at the bottom, so you can't pick it back up.
- Wash Bucket: Fill this one with warm water and your pH-neutral car shampoo, following the dilution ratio on the bottle. Give it a quick blast with your hose to whip up a nice, thick layer of suds.
- Rinse Bucket: This bucket gets filled with nothing but clean, plain water. Think of it as your mitt-cleaning station.
This setup forces you into a workflow that keeps your soapy wash water as clean as possible, which is the whole point. If you're not familiar with this piece of gear, our guide on using a car wash bucket with a grit guard explains why it's a must-have for anyone serious about their car's finish.
The Top-Down Washing Technique
With your buckets ready, you can start washing. The strategy is to work methodically from the top of the car down, tackling one small section at a time. This approach uses gravity to your advantage, ensuring dirty runoff flows down over areas you haven't washed yet, not over your clean panels.
Start with the roof. Dunk your microfiber wash mitt into the soapy water and gently glide it across half of the roof. Use straight, overlapping lines—not circles—and let the high-quality soap and mitt do the work. There's no need to apply heavy pressure.
After that section is done, here's the most important part of the process. Before that mitt goes back into the soap, plunge it into your rinse bucket. Swirl it around and scrub it against the Grit Guard. You’ll be surprised when you see the dirt and grit fall out of the fibers and settle at the bottom.
Only after your mitt is completely clean should you dip it back into the wash bucket for fresh, uncontaminated suds. This rinse-and-reload cycle is your single best defense against wash-induced scratches.
Just keep repeating this process as you move down the vehicle:
- Wash a single panel (like the hood, a fender, or one door).
- Dunk and scrub the mitt clean in the rinse bucket.
- Reload the mitt with fresh soap from the wash bucket.
- Move on to the next panel.
This discipline is what prevents the filth from your rocker panels from ever touching your hood.
Tackling Wheels and the Final Rinse
Always, always wash your wheels and tires last and treat them as a separate job. They are covered in nasty, abrasive brake dust and caked-on road grime. To avoid cross-contamination, use a completely different set of brushes, tools, and even a separate wash mitt just for them.
Once every body panel is clean, it's time for one last, thorough rinse. Start from the top and work your way down, making sure you flush all the soap out of every crack and crevice. Pay close attention to the gaps around doors, mirrors, and trim where suds love to hide. A perfect rinse is the key to a spot-free finish when you get to drying.
Drying and Protecting Your Flawless Finish
Here's a hard truth: you can undo all your careful washing work in the final ten minutes. Improper drying is probably the #1 cause of those frustrating water spots and fine swirl marks that show up in the sunlight. Getting this stage right isn’t just about getting the car dry; it's about preserving the pristine, scratch-free surface you just worked so hard to achieve.
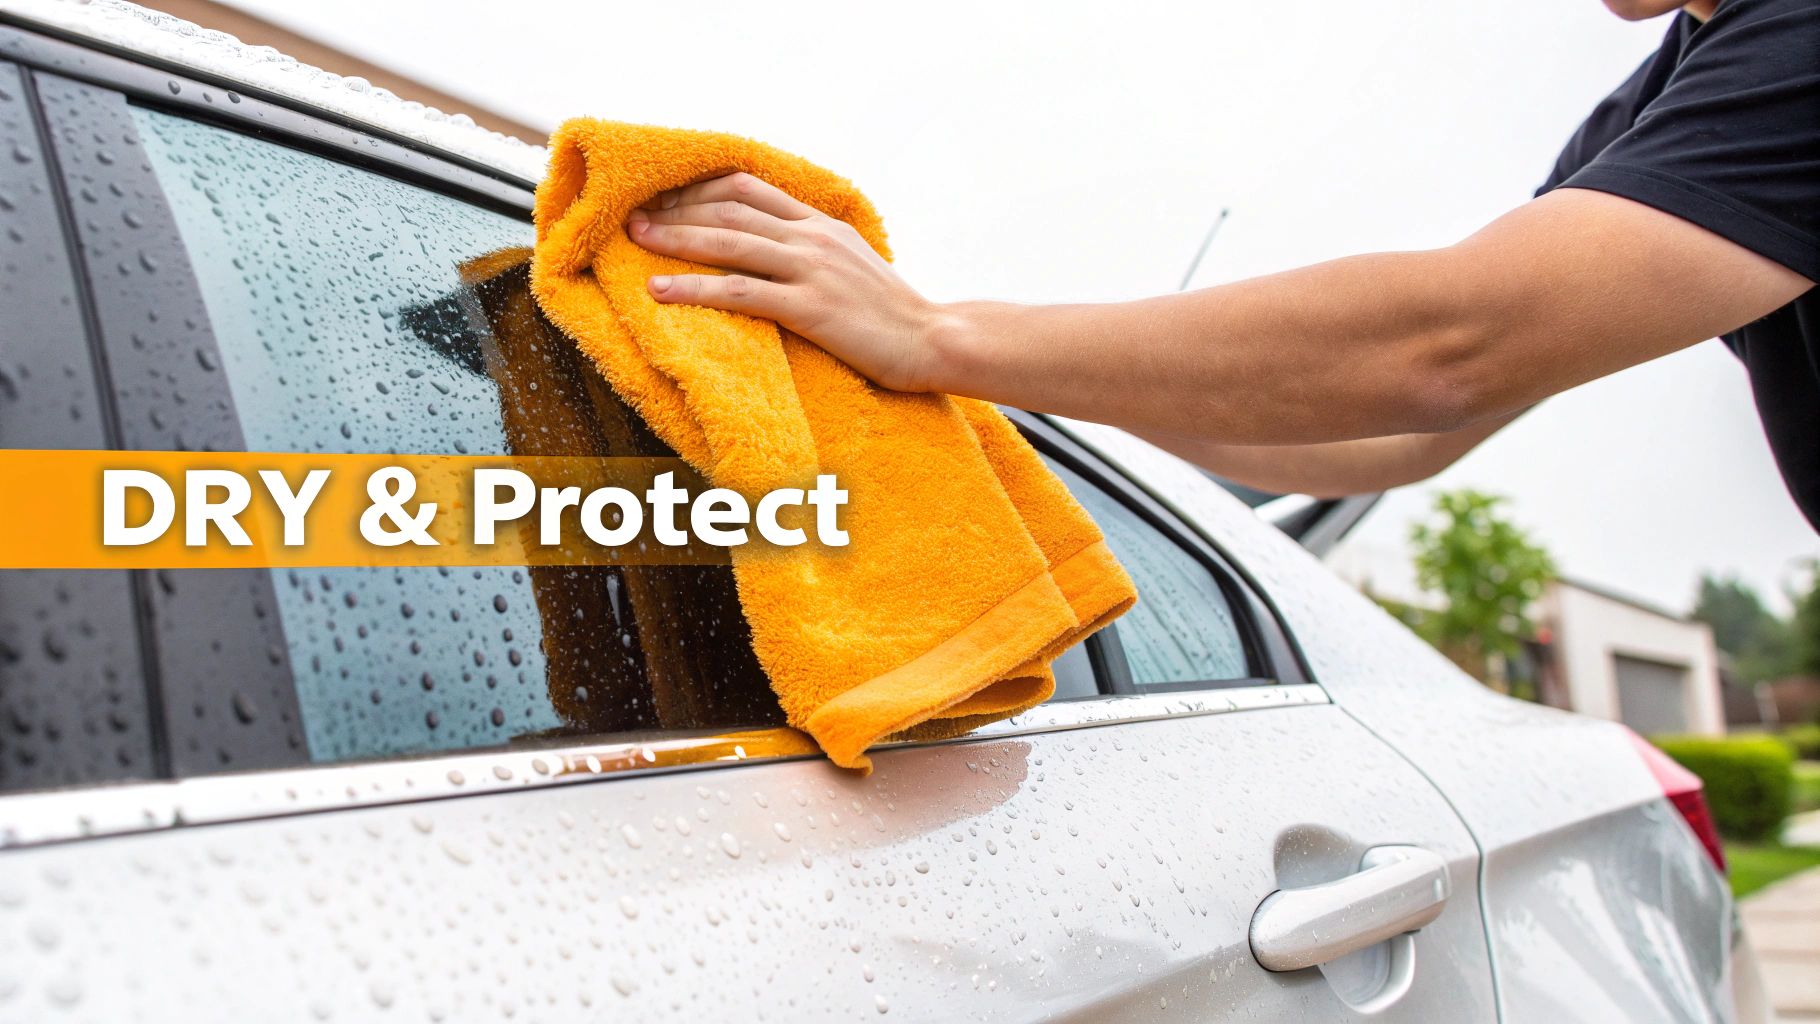
The biggest mistake I see people make is grabbing an old bath towel or, even worse, a squeegee. Both of these are notorious for dragging tiny, leftover grit particles across your clear coat, leaving a web of fine scratches. Your best friend here is a large, plush microfiber drying towel—look for one with a high GSM (grams per square meter) rating for maximum absorbency.
Instead of wiping back and forth, which creates friction and risks scratches, try the "blotting" method. Just lay the towel flat across a panel like the hood, gently pat it down, and lift. You'll be amazed at how much water a quality towel can pull off the surface in one go.
Choosing Your Drying Method
When it comes to drying, you’ve got a couple of great options. The goal is always the same: minimize contact with the paint to avoid scratches.
- The Blotting Method: This is the most popular and accessible technique. Using that high-quality microfiber towel, you simply lay, pat, and lift. It's simple, safe, and incredibly effective when you do it right.
- The Touchless Dry: If you want a truly zero-contact finish, a leaf blower or a dedicated car dryer is the way to go. These tools use powerful, filtered air to blast water off every surface and out of tricky spots like mirror housings, grilles, and emblems where water loves to hide.
For a deeper dive into these techniques, our guide covers the best way to dry a car after washing to guarantee a streak-free result every time.
The whole point of drying is to get every last drop of water off before the minerals inside it can etch into your paint and leave those stubborn water spots. Whether you choose air or towel, be thorough.
Unlocking the Next Level of Clean with a Clay Bar
Even after the perfect wash, your paint isn't truly clean. Don't believe me? Put your hand inside a plastic sandwich bag and gently glide your fingertips over the hood. Feel those tiny, gritty bumps? Those are bonded contaminants—things like rail dust, industrial fallout, and hardened tree sap—that a normal wash just can't remove.
This is where a clay bar treatment becomes your secret weapon. A detailing clay bar is a special resin compound that safely shears these contaminants off the surface, leaving behind glass-smooth paint. All you need is the clay bar and a lubricant—a dedicated clay lube works great, but a spray bottle with a bit of your car soap and water will also do the trick.
Work in small, manageable sections, about two feet by two feet. Spray the area generously with your lubricant and glide the clay bar back and forth with light pressure. At first, you'll feel it grabbing and catching on the contaminants. As it picks them up, it will start to glide effortlessly—that's how you know the area is clean.
Applying Your Paint's Armor
Now that the paint is perfectly clean and smooth, it's time for the final, most satisfying step: protection. This is what shields all your hard work from the sun and rain and gives your car that deep, wet-looking shine we all crave. You have two main options here: a traditional wax or a modern paint sealant.
- Carnauba Wax: A favorite among enthusiasts, this natural wax delivers an incredible depth and warmth, making dark colors look a mile deep. The trade-off is durability; it typically lasts a few weeks to a couple of months.
- Paint Sealant: These are synthetic polymers that create a hard, glass-like shell over your paint. Sealants provide much longer-lasting protection—often up to six months or more—and are fantastic at repelling water and dirt.
For either product, the application is pretty similar. Use a foam applicator pad to apply a very thin, even coat to one panel at a time using overlapping motions. Let it dry to a haze according to the product's directions, then gently buff it away with a clean, plush microfiber towel. This final buff is what protects your car and truly completes the professional finish.
Oops... Common Car Washing Blunders and How to Sidestep Them
Knowing the right way to wash your car is only half the battle. What truly separates a pro-level detailer from a weekend warrior is knowing what not to do. It’s shockingly easy to accidentally damage your paint while trying to clean it, turning a simple wash into an expensive repair job.
Let's walk through some of the most common—and most damaging—mistakes I see all the time.
The Sunny Day Wash Mistake
Washing your car on a bright, sunny day feels like the perfect chore, right? Wrong. Direct sunlight is your paint's worst enemy during a wash. The heat bakes the soap and water onto the surface before you can rinse it off.
The result? Stubborn water spots and a film of soap residue that can be a nightmare to remove. In some cases, this can even etch into your car's clear coat, leaving permanent marks. Always wash in the shade or on an overcast day if you can.
The "Any Soap Will Do" Fallacy
I can't stress this enough: never, ever use dish soap on your car. It’s designed to aggressively strip grease from your pots and pans, and it will do the same thing to your car’s protective layers.
Dish soap obliterates any wax or sealant you've painstakingly applied, leaving the clear coat naked and vulnerable to UV rays, bird droppings, and acid rain. Stick to a pH-neutral car shampoo formulated specifically for automotive finishes. It will clean effectively while preserving that crucial layer of protection.
The Dreaded Dropped Mitt
It’s a moment that makes every car enthusiast's heart sink. You're focused on cleaning a lower panel, and your wash mitt slips and hits the ground. Your first instinct might be to rinse it out and keep going, but that's the worst thing you could possibly do.
That mitt is now covered in grit, sand, and other abrasive particles from the ground.
If you drop your wash mitt, its job is over for this wash. Stop immediately. Grab a fresh one. Continuing with a contaminated mitt is like scrubbing your car with a piece of fine-grit sandpaper, guaranteeing a finish full of swirl marks and fine scratches.
This is the exact same reason why the two-bucket method is so critical. Dunking a dirty mitt back into your only bucket of soapy water just turns it into a gritty mess that you spread all over your paint.
Another common slip-up is simply using too much water. With a bigger focus on eco-friendly car care, tools that help you conserve are a game-changer. A traditional hose can guzzle 50-100 gallons of water in a single wash. In contrast, a good foam gun can slash that consumption by up to 60%, which is better for both the environment and your water bill. It's a key reason why sustainability is driving the car wash market forward.
Got Questions? We've Got Answers
Even with the best guide in hand, you're bound to have a few questions when you're out in the driveway, hose in hand. Let's tackle some of the most common ones that come up when you're aiming for that flawless finish.
So, How Often Should I Really Wash My Car?
The sweet spot for most drivers is a solid wash every two weeks. This is usually enough to keep the everyday grime, dust, and road film from building up and starting to cause real damage to your paint.
But you have to read the room—or in this case, the road. If you're dealing with salted roads in the winter, a constant barrage of bird droppings, or a thick yellow dusting of pollen every spring, you'll want to bump that up to once a week. Getting those corrosive elements off your paintwork quickly is the key to preventing them from etching into your clear coat.
Can I Just Dump Any Car Soap into a Foam Gun?
Technically, you could, but you really shouldn't. While most car shampoos will create some bubbles, you’ll see a night-and-day difference if you use a soap designed specifically for a foam gun. These are engineered to be thicker and more concentrated, creating that shaving-cream-like foam you're after.
The whole point of the foam is to have it stick around. You need that "dwell time" for the suds to grab onto the dirt and lift it off the surface. A standard soap just creates a watery mess that slides right off, taking its cleaning power with it.
What's the Real Difference Between Polish and Wax?
This is probably one of the most common mix-ups in car care, but it’s simple when you break it down: polishing corrects, and waxing protects.
Think of polish as a specialized treatment for the paint's surface. It's a super-fine abrasive that gently removes a tiny layer of the clear coat to smooth out imperfections. Wax, on the other hand, is like armor.
- Polish: This is what takes out fine scratches, swirl marks, and that dull, hazy look from oxidation.
- Wax/Sealant: This adds a protective, water-beading layer on top of your paint.
You polish to fix the finish, restoring its gloss and clarity. Then, you apply wax to seal in that hard work, protecting it from the elements and giving it that deep, wet-looking shine. Polishing is something you do maybe once or twice a year, while waxing is your regular maintenance, best done every few months.
Ready to stop scrubbing and start foaming? The SwiftJet Car Wash Foam Gun turns your standard garden hose into a pro-level detailing tool, laying down thick, dirt-destroying foam for a safer, faster clean. Grab yours at https://swiftjetusa.com and see the difference for yourself.