
To tackle those stubborn water spots on your windows, you need something acidic to cut through the mineral buildup. I've found that a simple, home-brewed solution often works wonders. Just mix equal parts white vinegar and distilled water in a spray bottle. It’s surprisingly effective at dissolving that chalky film without being harsh on the glass.
For those extra-tough spots that just won't budge, a paste made from baking soda and a little water can give you the gentle scrubbing power you need.
Why Do These Stubborn Water Spots Even Form?
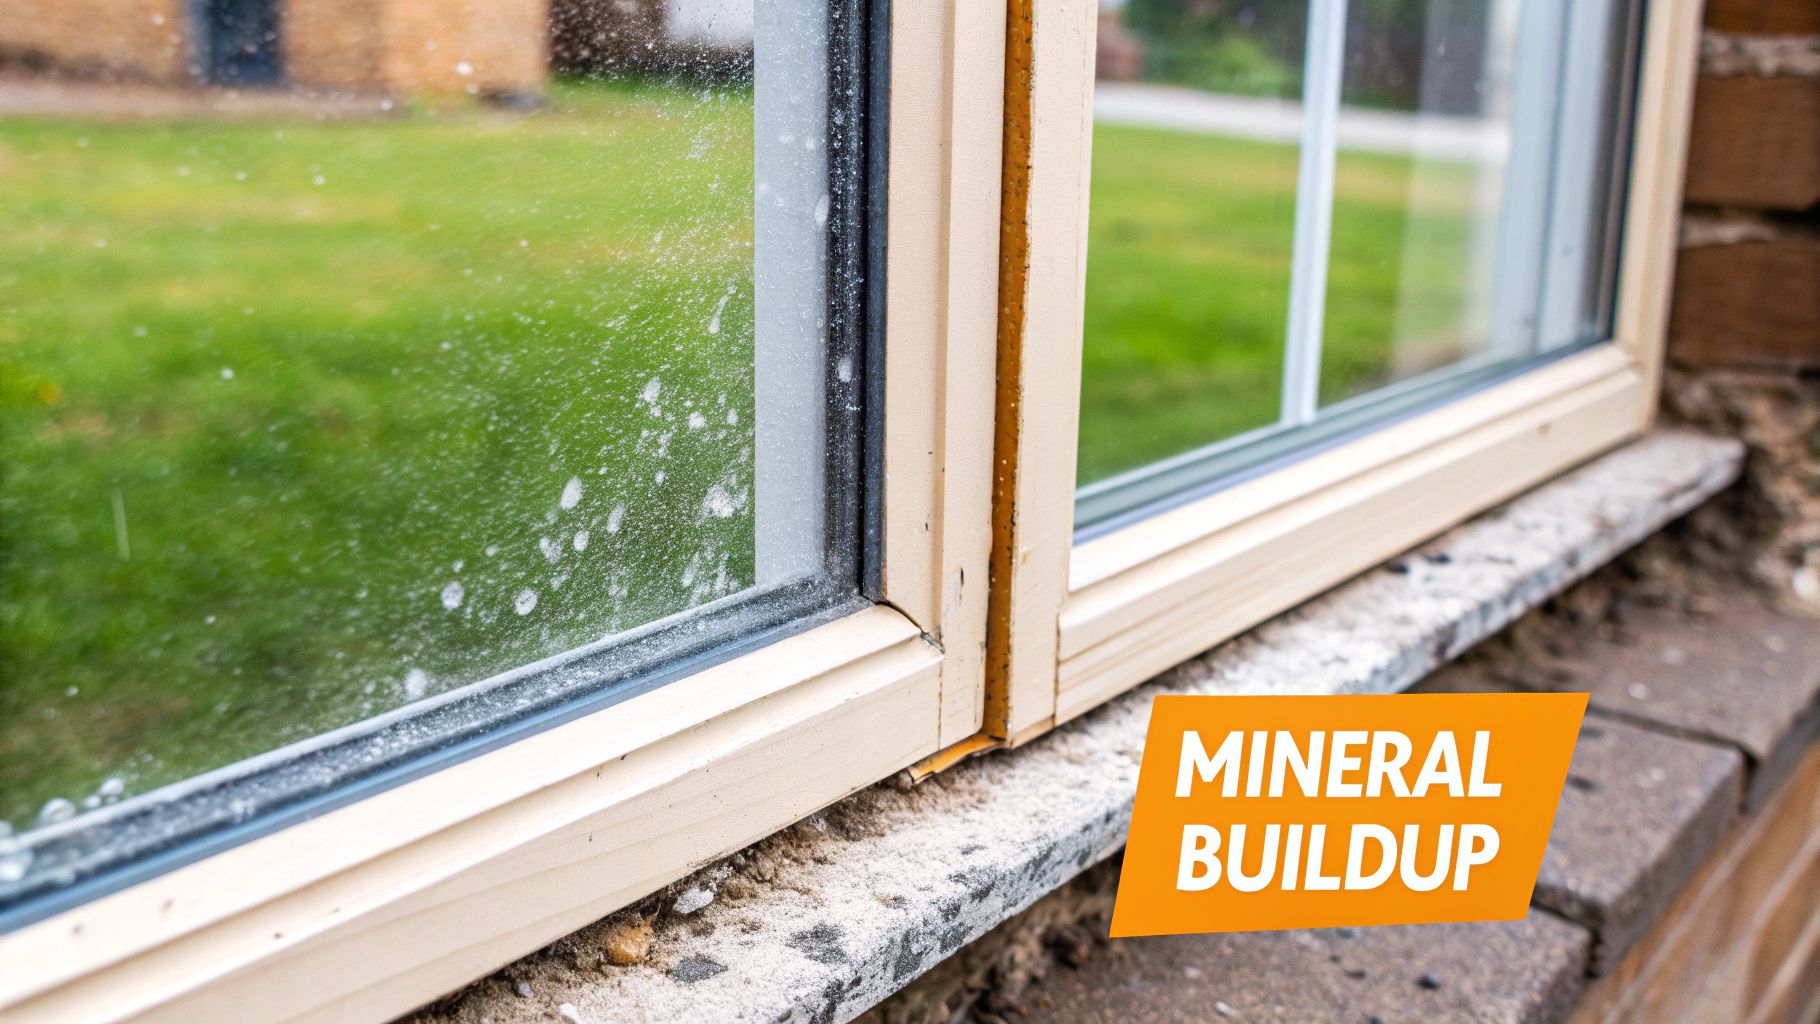
Before you grab your spray bottle, it helps to know what you're actually fighting. Those frustrating, milky spots aren't just dried water. They're mineral deposits—mostly calcium and magnesium—left behind when water evaporates. This is the classic sign of "hard water," a problem that plagues homes everywhere.
Often, the source is right in your own yard. A rogue sprinkler head hitting the same window day after day is a common cause. Rainwater running down your siding and onto the glass can also pick up minerals along the way, leaving spots behind. It’s a bigger issue than most people realize; severe spotting can reduce the amount of light coming through a window by as much as 15-20%.
Are They Stains or Is It Permanent Etching?
It's really important to figure out if you're dealing with a simple surface stain or something worse. The approach is totally different.
- Surface Stains: These are fresh deposits sitting right on the glass surface. If you run your finger over them, they might feel a little gritty. Good news—these can almost always be removed with the right cleaner and some elbow grease.
- Etched Stains: This is what happens when you let those minerals sit for too long. The alkaline deposits actually start to eat away at the glass, creating tiny, microscopic pits. This damage is called etching, and unfortunately, it's permanent. Standard cleaning methods just won't fix it.
The real takeaway here is to act fast. The longer a water spot bakes in the sun, the greater the chance it has to bond with the glass and cause permanent etching. Once that happens, your job gets a whole lot harder.
Getting a handle on your water quality is a great preventative step, and you can find helpful advice on understanding water quality to get started.
If you've ever dealt with these same annoying chalky spots on your car's paint or windows, you'll know exactly what I'm talking about. The science is the same. For more on that, take a look at our guide on tackling hard water spots on vehicles: https://www.swiftjetusa.com/blogs/news/hard-water-car-wash-mastery-tried-and-true-expert-solutions.
Getting Your Water Spot Fighting Toolkit Ready
Before you can tackle those annoying water spots, you've got to have the right tools for the job. Trust me, spending a few minutes getting your gear together now will save you a ton of frustration later. It’s the difference between a quick, satisfying clean and an afternoon spent scrubbing with poor results.
You probably have most of what you need lying around the house. The absolute essentials are at least two top-notch microfiber cloths. You'll use one for the actual cleaning and the other for buffing the glass completely dry, which is the secret to avoiding new streaks. You’ll also need a decent spray bottle for your cleaning mix and a good-quality squeegee for that pro-level, streak-free shine.
Your Cleaning and Safety Must-Haves
Now for the cleaning agents and a few other key items. For really stubborn mineral buildup, a non-abrasive scrub pad gives you some extra power without risking scratches. A simple bucket is also handy for mixing solutions or rinsing out your cloths as you go.
Here's a quick checklist of what to grab:
- Cleaners: Keep some distilled white vinegar around for a classic, effective DIY solution. For the really tough, baked-on spots, a commercial-grade mineral deposit remover is your best bet.
- Safety Gear: Don't skip the rubber gloves! This is especially important if you're using stronger commercial cleaners or even just vinegar, as they can be harsh on your skin.
The old saying "work smarter, not harder" definitely applies here. Having your toolkit ready means you're prepared for anything, from a light, misty film to those stubborn mineral rings that just won't quit.
A methodical approach is always best. You gather your tools, mix your solution, and then apply it. Simple.
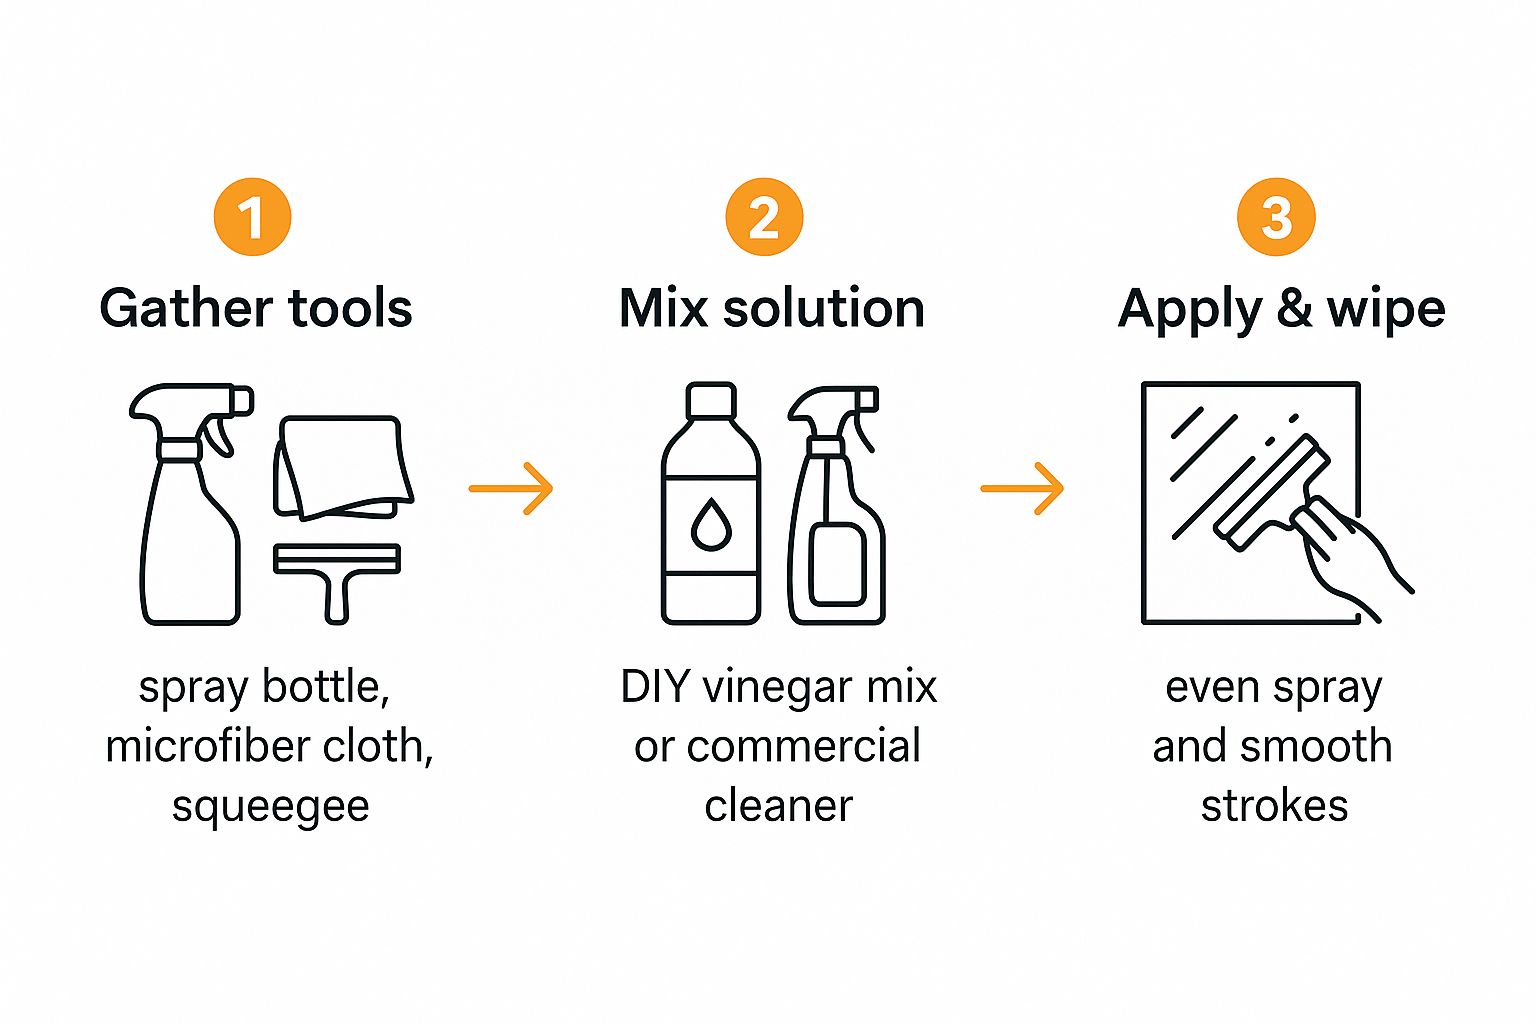
This workflow keeps things efficient and effective. And if you're looking to build out a more complete setup for keeping your car's exterior spotless, our guide to the essential car detailing supplies list has plenty of great recommendations.
Your Go-To DIY Methods for Spotless Windows

Ready to make those annoying water spots a thing of the past? Let's dive into a couple of proven, budget-friendly solutions you can mix up right in your kitchen. I'm not talking about vague advice here; these are precise recipes and techniques I've used myself to get windows crystal clear.
For most minor to moderate cases, your best bet is to start with the classic vinegar solution. The acetic acid in white vinegar is incredibly effective at breaking down the alkaline mineral deposits—like calcium and magnesium—that leave behind those chalky blemishes.
The Classic Vinegar and Water Spray
For light, fresh water spots that haven't had a chance to bake into the glass, this simple mixture is your first line of defense.
-
The Recipe: Grab a clean spray bottle and mix equal parts distilled white vinegar and distilled water. It's really important to use distilled water because it’s free of minerals, ensuring you don’t accidentally add more residue to the window.
-
The Technique: Spray the solution generously over the spots until the area is fully saturated. Now, here's the key: let it sit for 10-15 minutes. You have to give the acid time to dissolve the minerals. After waiting, give it a gentle scrub with a non-abrasive pad or microfiber cloth before wiping it all clean.
If you’re seeing these same spots on your car, the same basic principles apply. We have another guide specifically on how to https://www.swiftjetusa.com/blogs/news/how-to-remove-water-spots-from-windshield-easy-tips that you might find helpful.
The Powerful Baking Soda Paste for Tougher Stains
So, what do you do when the vinegar spray just doesn't cut it? For stubborn, layered mineral buildup, you’ll need something with a little more grit. A baking soda paste gives you just enough gentle abrasion to scrub away tough spots without scratching the glass.
Just mix baking soda with a small amount of water until it has a consistency like toothpaste. Apply this paste directly onto the stubborn spots and let it sit for a few minutes. Then, using a damp microfiber cloth, scrub the area in a circular motion. You should actually feel the mineral deposits breaking down as you work.
Pro Tip: Don’t be afraid to combine these methods. For really difficult stains, try spraying the vinegar solution first, letting it sit, and then applying the baking soda paste on top. This creates a fizzy reaction that can help lift the most stubborn minerals right off the glass.
Comparing DIY Water Spot Removal Methods
To help you choose the right approach, here's a quick breakdown of which solution works best for different types of water spots.
| Method | Best For | Strength | Caution Level |
|---|---|---|---|
| Vinegar & Water Spray | Light, fresh mineral stains | Mild | Low |
| Baking Soda Paste | Stubborn, layered deposits | Medium (Abrasive) | Medium |
| Vinegar & Baking Soda Combo | Extremely tough, set-in stains | Strong | High |
This table should give you a good starting point. Always begin with the mildest method and only move to a stronger one if needed to avoid any potential damage to your windows.
No matter which method you use, rinsing is non-negotiable. You need to get all the cleaning residue off the glass. For big windows, a tool like the SwiftJet foam gun on a gentle setting makes this part quick and easy.
And finally, the most important step: dry the glass completely. Use a clean, dry microfiber cloth or a quality squeegee to prevent new water spots from forming. For a truly professional finish, it's worth learning a few pro window cleaning techniques for a streak-free shine.
When Stubborn Water Stains Won't Budge
So, you’ve tried the vinegar and baking soda tricks, but those chalky spots are still staring back at you. When the usual DIY methods fail, it’s a sign you’re up against something more serious than simple mineral deposits.
Over time, those hard water minerals can actually start to etch the glass. Think of it like microscopic pitting that your everyday cleaners just can't get into. This is where you have to bring out the bigger guns to finally get rid of those water spots for good.
For these tough jobs, a commercial-grade mineral deposit remover is your next best step. These aren't your average window sprays; they're specifically formulated with mild acids and fine abrasives that are designed to dissolve and gently buff away that stubborn, baked-on buildup without scratching the glass. They work by chemically breaking down the tough bonds that have fused the minerals right onto the window's surface.
How to Use Stronger Cleaners Without Damaging Your Glass
When you're shopping, keep an eye out for products labeled "glass polish" or "mineral deposit remover." Before you go all-in, always test the cleaner on a small, out-of-the-way spot on the window first. This quick check ensures it won’t leave any unexpected haze or scratches behind.
Working with stronger chemicals means you have to be smart about safety.
- Always wear protective gloves. You don't want these products irritating your skin.
- Make sure the area is well-ventilated. Crack open a few other windows or doors to get the air moving.
- Read and follow the manufacturer’s instructions to the letter. This isn't the time for guesswork.
Use a microfiber applicator pad and apply the product using firm, overlapping circles. It might take a bit of elbow grease, but remember to let the chemical formula do the heavy lifting.
Here's a pro tip: After you've scrubbed and rinsed, run your fingers over the glass. If you can still feel a rough texture or see a faint outline of the spot, the glass is probably etched. Pushing it further with aggressive scrubbing at this point could do more harm than good. When you reach that stage, your best bet is to call in a professional glass restoration service. They have specialized tools to actually polish the surface of the glass itself, which is often the only way to truly erase deep etching.
Keeping Your Windows Spot-Free for Longer
Getting those stubborn water spots off is a great feeling, but let's be honest—the real win is keeping them from coming back in the first place. A few small adjustments to your routine can make a huge difference, saving you from having to deep-clean your windows all the time.
One of the biggest offenders I see? Sprinkler systems. Next time they’re running, take a quick look and see if any heads are spraying directly onto your windows. A simple adjustment can stop that constant cycle of mineral deposits before it even starts.
Another easy habit is to grab a squeegee after you wash your windows or even after a big rainstorm. Just a few quick passes will pull the water off the glass before it can evaporate and leave all those minerals behind. Problem solved.
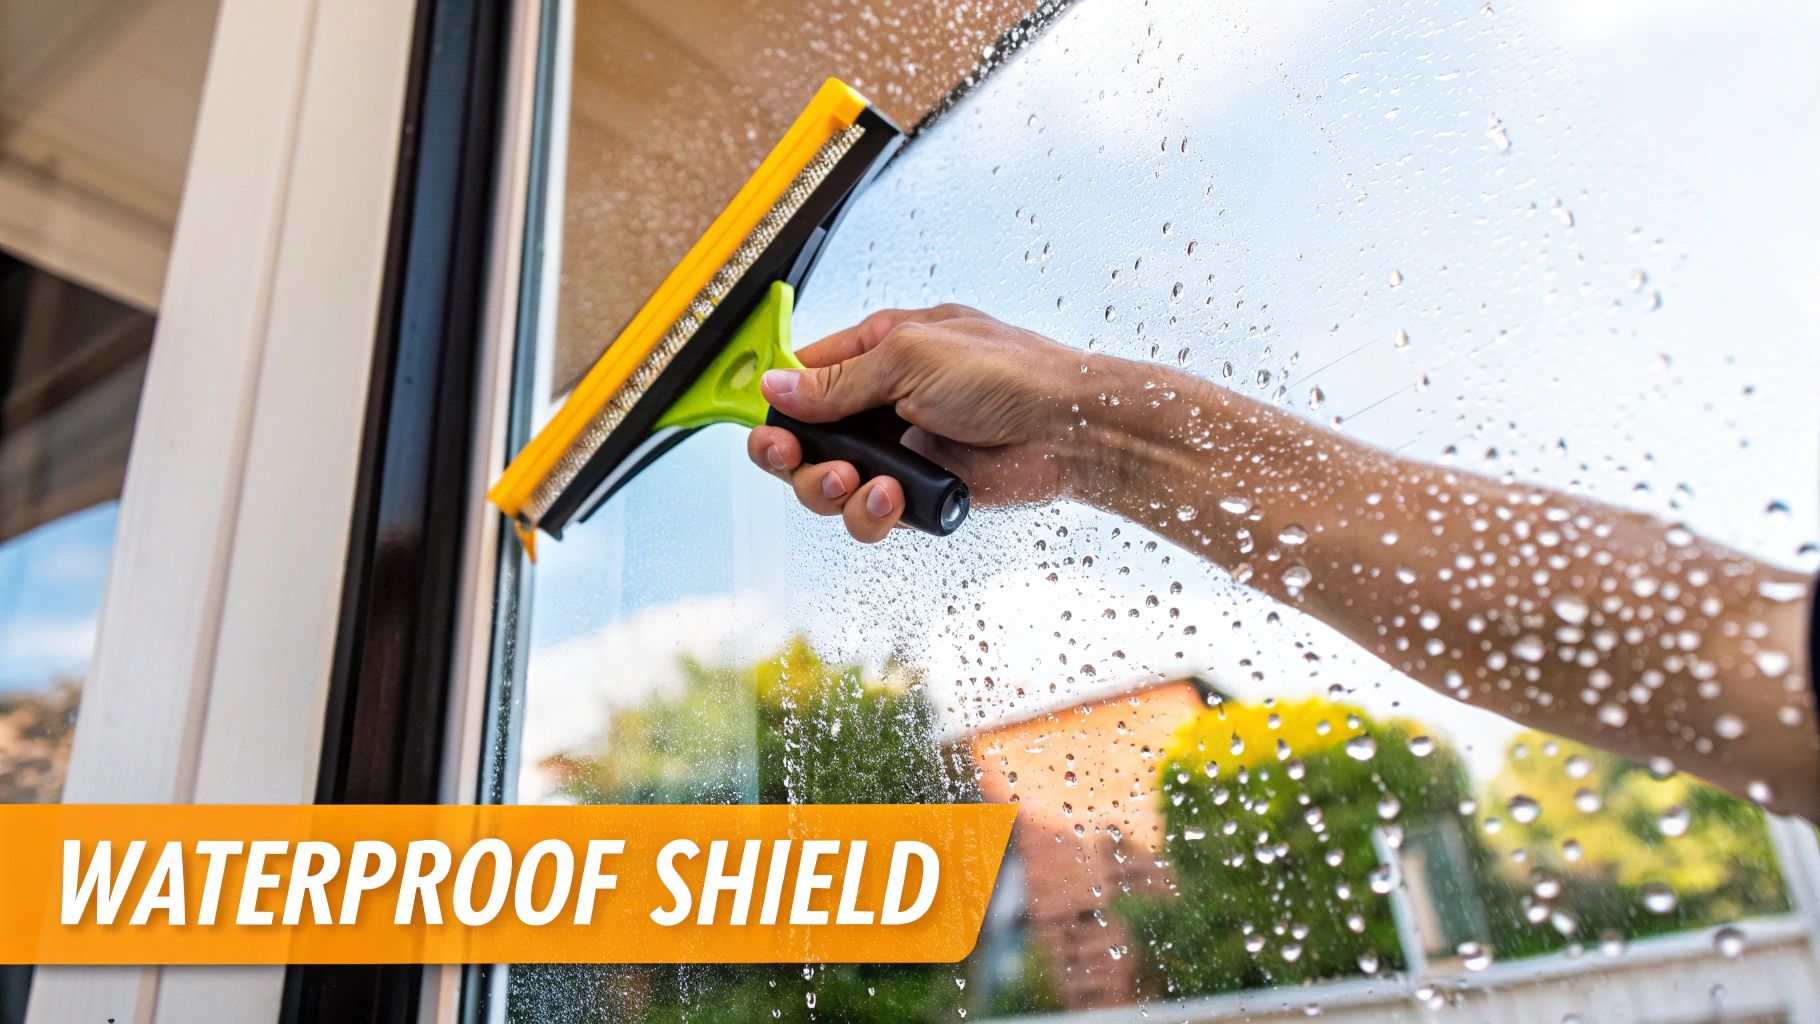
Creating a Protective Barrier
If you want a more hands-off, long-term fix, you should really look into a hydrophobic glass sealant. These products are fantastic. They create a super-slick, invisible barrier on your glass that literally makes water run for the hills.
Instead of clinging to the surface and drying into spots, water beads up and rolls right off, taking dirt and minerals with it. For anyone living in an area with hard water, this is a total game-changer for maintaining clean windows.
Think of it like waxing your car. You're adding a protective layer that not only keeps the glass cleaner for much longer but also makes your next cleaning job way easier. Grime just can’t stick as well to the treated surface.
Most of these sealants are incredibly easy to use. Just spray the product onto a clean, dry window and buff it off with a microfiber towel. That's it. For just a few minutes of work, you get months of protection and a lasting, spot-free shine.
Of course, here is the rewritten section with a more natural, human-written tone.
Still Have Questions About Water Spots?
Even after you've tried a few methods, some questions always seem to pop up about getting those stubborn water spots off your windows for good. Let's tackle some of the most common ones I hear so you can get the job done right.
A big one is whether a regular glass cleaner, like Windex, can cut it. While it’s fantastic for everyday grime and fingerprints, your average household glass cleaner just doesn't have the muscle to break down mineral deposits. You really need something acidic, like simple white vinegar or a specialized cleaner, to dissolve the stubborn calcium and magnesium that create those chalky spots.
Is the Damage Permanent? How to Tell if It's Etched
This is the question that causes the most worry: "Are these spots here to stay?" The easiest way to find out is to do a quick test after you've cleaned and dried the window. Gently run your fingernail over the area where the spots were.
If the glass feels perfectly smooth, congratulations! The stain is gone. But if you feel any roughness or a slight indentation, that means the minerals have started to etch the glass. For minor etching, you can sometimes buff it out with a glass polishing compound. Deeper damage, though, might mean it's time to call a professional.
The real difference comes down to texture. A surface stain sits on the glass, while etching is damage in the glass. This is why tackling water spots as soon as you see them is so important—it prevents the problem from becoming permanent.
Are Abrasives Like Steel Wool Actually Safe?
I get this question a lot. People are understandably nervous about taking something like steel wool to their windows. The answer is yes, but with some very important caveats. You can use #0000 grade steel wool, which is the super-fine stuff, but only on plain, untreated glass. Never, ever use it on tinted windows, low-E coatings, or any other special finish, because it will scratch them permanently.
If you decide to go this route, always play it safe:
- First, test it out on a small, out-of-the-way corner.
- Make sure you use a lubricant, like plenty of soapy water or window cleaner.
- Keep the pressure light and even.
When you're careful, it can be a surprisingly effective tool for those really tough, built-up spots.
And when it’s time to rinse, whether you've used vinegar or steel wool, a quick and thorough rinse is key. The SwiftJet foam gun gives you a nice, even spray that washes away all the cleaner and loosened grime without leaving any residue behind.