

You roll on that final coat, step back, and the surface still doesn't look right. Maybe it's a door that catches the light and shows every tiny bump. Maybe it's trim with faint roller marks, or a cabinet panel that dried with that pebbled, slightly plastic look painters call orange peel. That's the moment most DIY jobs go sideways, not because the paint was bad, but because the wrong roller or the wrong technique was doing the work.
A foam paint roller can solve a very specific problem. It's built for smooth, lint-free application on flat, hard, non-textured surfaces. Used correctly, it can get you much closer to that sprayed look people want on doors, baseboards, cabinets, and metal. Used the wrong way, it can create the exact defects you were trying to avoid.
That distinction matters. Rollers started as a speed tool. The foundational paint roller technology was invented in 1940 by Norman Breakey in Canada, and after World War II, over 50,000 units were produced, helping establish roller painting as a faster alternative to brushes and paving the way for later versions like foam rollers (history of the paint roller). The foam version didn't change that history by being faster. It changed it by being more precise on the right surfaces.
If your finish still looks rough after a careful paint job, the fix usually isn't “work harder.” It's choosing a tool that matches the surface, sanding better, and using a lighter hand than is often applied. If you're still seeing nibs or tiny raised defects, a quick read on 220 grit sandpaper for finish prep helps clarify how fine sanding fits into a smoother topcoat.
Why Your Paint Finish Isn't Perfectly Smooth
Most bad-looking “smooth surface” paint jobs fail in one of three ways. The roller leaves lint. The brush leaves ridges. Or the finish dries with a subtle texture that only shows once the light hits it from the side.
A foam paint roller is meant to prevent the first problem and reduce the second. It doesn't shed fibers the way fabric covers can on slick surfaces, and it lays down a thinner coat that levels better when the conditions are right. That's why it belongs in the conversation when you're painting trim, doors, shelves, cabinets, or furniture with a smooth face.
The real issue is usually mismatch
People often treat all rollers as interchangeable. They aren't. A standard wall roller is built to carry more paint and cover more area. A foam paint roller is more like a finishing tool. It trades bulk paint delivery for surface quality.
That's a good trade on a flat door panel. It's a bad trade on a textured wall.
A roller can only leave the finish its material allows. If the cover sheds, holds too much paint, or creates texture under pressure, the paint job tells on you after it dries.
Smooth paint starts before the paint dries
If you're chasing a factory-like finish, you have to stop thinking only about coverage. Coverage is easy. Surface quality is harder. Foam rollers reward controlled paint loading, light passes, and surfaces that are already close to perfect.
That's why so many DIY jobs disappoint. The painter gets the color right, but the finish quality never gets addressed. The foam paint roller works best when you treat it as a precision tool, not just a smaller roller.
How to Choose the Right Foam Paint Roller
Walk into a paint aisle and it's easy to grab the first foam cover you see. That's how people end up blaming the tool when the underlying issue was choosing a roller that didn't match the job.
Where foam rollers shine
Foam rollers are best on surfaces that are:
- Flat and smooth like cabinet faces, flush doors, baseboards, trim, shelves, and metal panels
- Visible in reflected light where lint, stipple, and roller texture stand out fast
- Painted with gloss or semi-gloss products where every surface defect becomes more obvious
According to Proroller's overview of foam roller use, foam rollers can produce up to 95% smoother finishes on flat surfaces than fabric rollers, and 68% of professional detailers prefer them where a lint-free result matters.
That doesn't make them universally better. It makes them better at one thing.
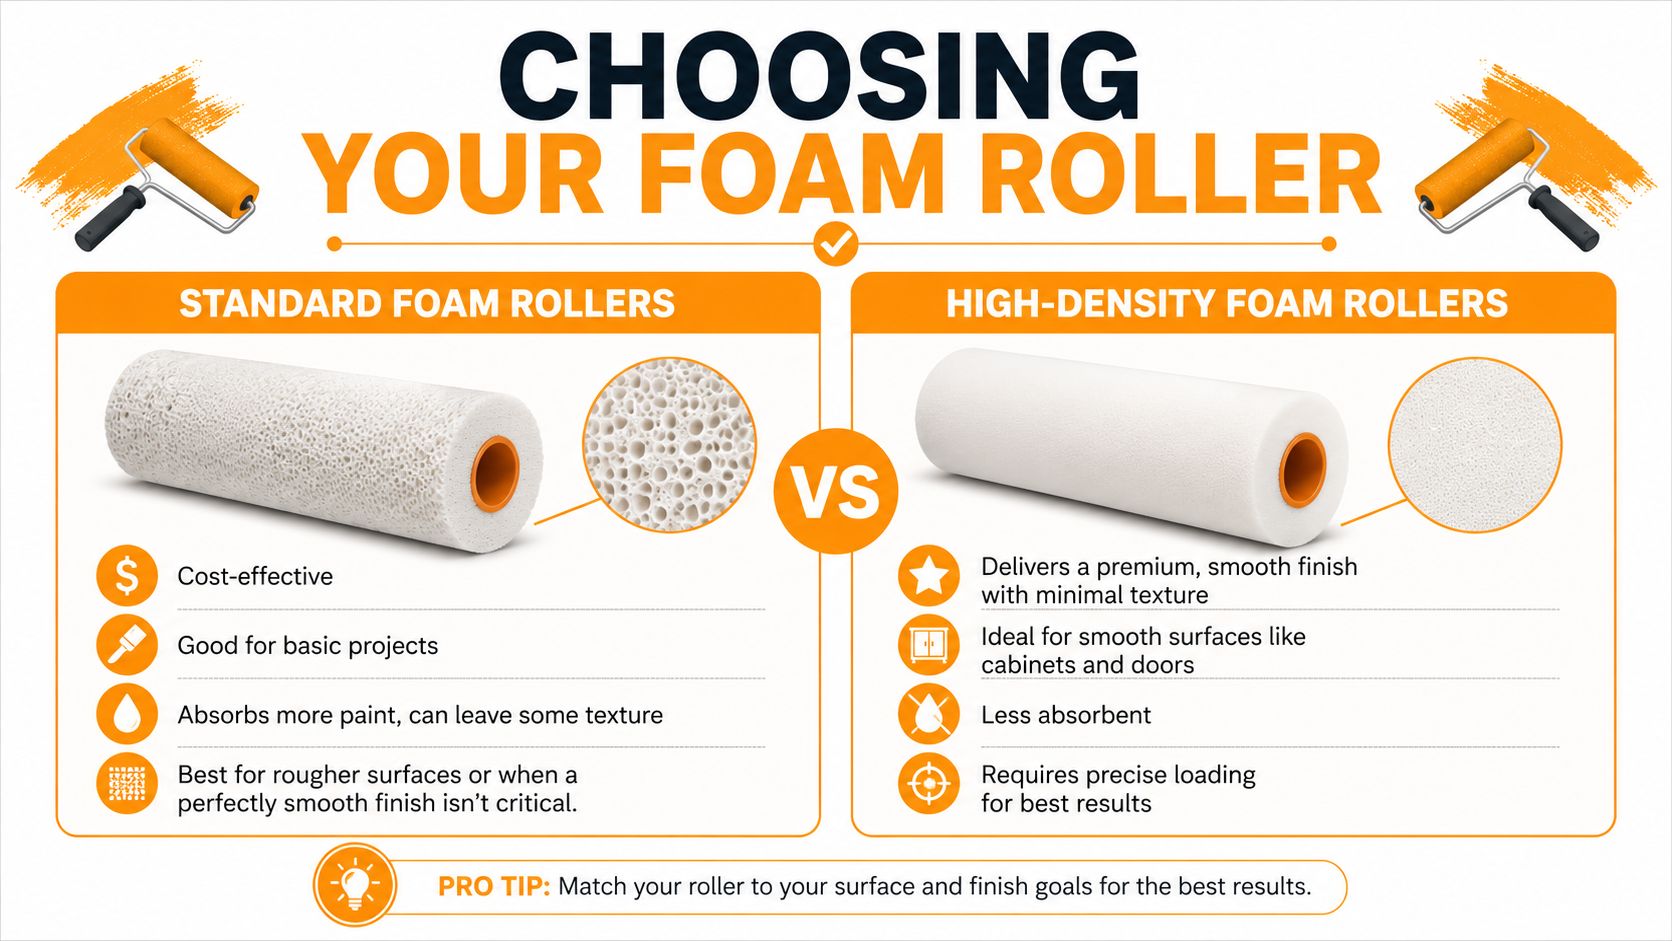
Standard foam versus high-density foam
Not all foam sleeves feel the same in use. The big practical difference is how tightly the foam is structured.
| Roller type | Best use | Trade-off |
|---|---|---|
| Standard foam | Basic small projects where finish quality matters somewhat | Can be less controlled and may leave more texture |
| High-density foam | Doors, cabinets, trim, furniture, and other finish-critical work | Holds less paint and demands better technique |
High-density foam is the one to reach for when you want the smoothest possible coat. It doesn't flood the surface. That's exactly why it can look so good, and exactly why people struggle with it on larger areas.
Foam versus fabric
This is the decision that matters more than brand names.
- Choose foam when the surface is smooth and you care most about a fine, clean finish.
- Choose fabric when the surface is larger, less perfect, or needs heavier paint loading.
- Avoid foam on rough or textured substrates. It won't conform well and tends to leave uneven coverage.
Buying rule: If your main concern is “How do I make this look smoother?” choose foam. If your main concern is “How do I cover this fast and evenly?” choose fabric.
A foam paint roller isn't the superior roller. It's the superior roller for a narrow set of jobs. That's exactly why pros keep one around.
Prepping Your Surface for a Flawless Foundation
A foam paint roller exposes surface flaws instead of hiding them. That's why prep matters more with foam than with a thick fabric cover.
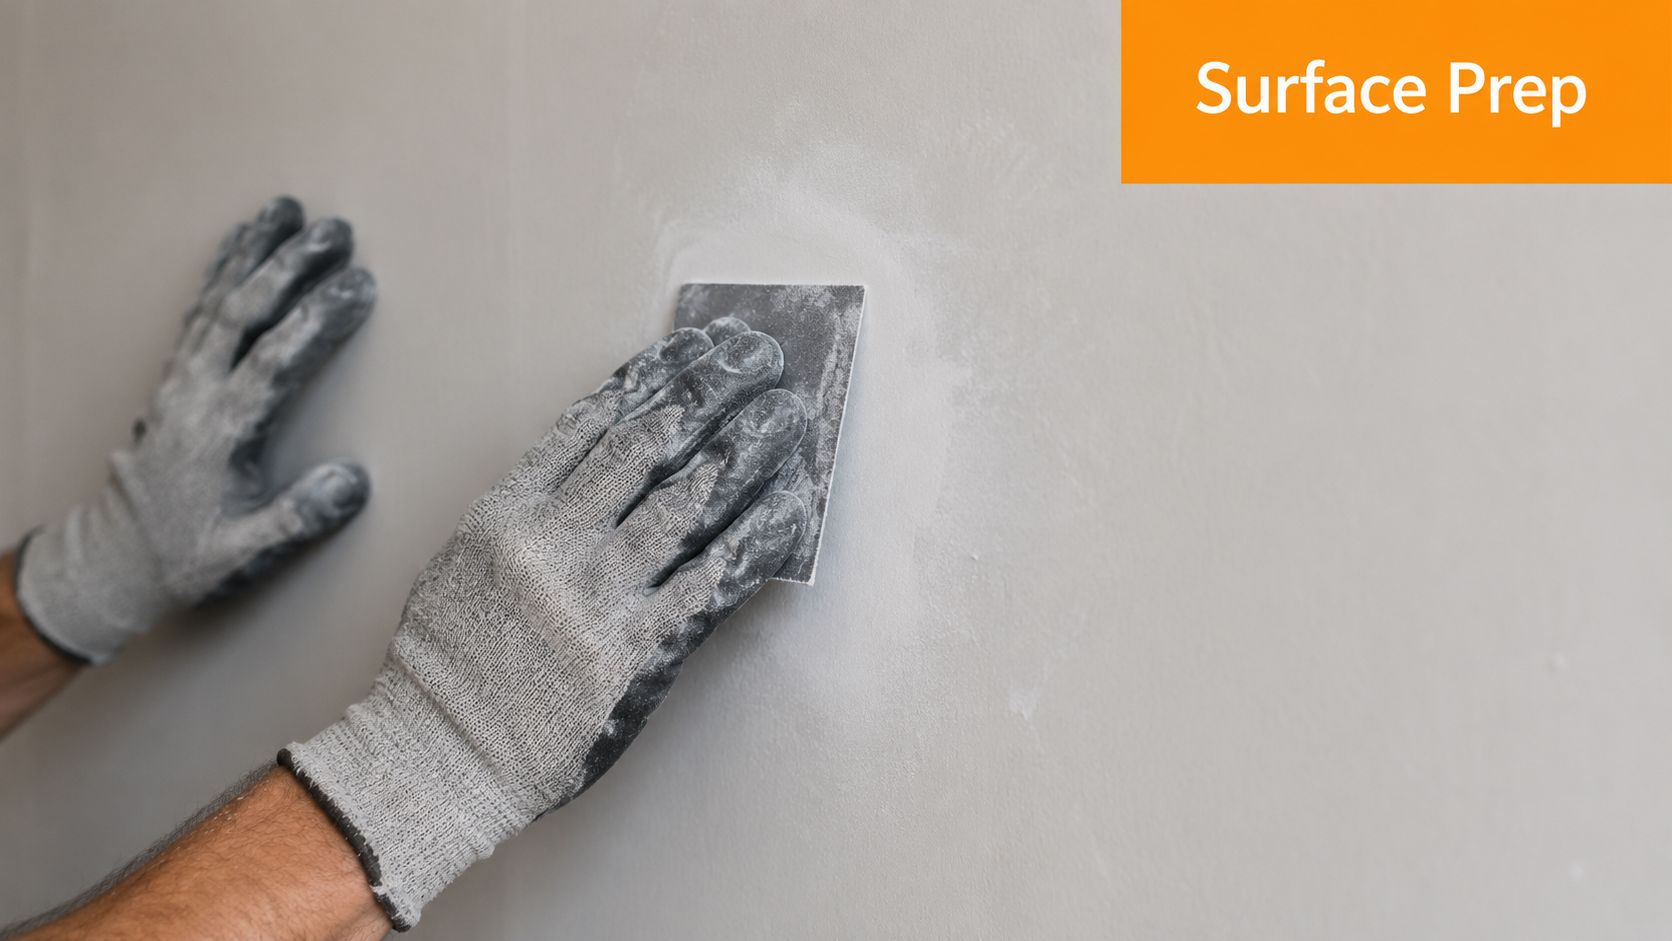
Use your eyes, then your hand
Start with a visual check, but don't stop there. Run your palm and fingertips across the surface. You'll feel defects that your eyes miss, especially on trim, doors, and furniture.
Look for:
- Raised dust or nibs that will telegraph through a thin finish
- Old drips and edge buildup from previous coats
- Pinholes, dents, or filler shrinkage that need another pass
- Grease and hand oils near knobs, pulls, and high-touch areas
Clean first, sand second
Dust, wax, and grease interfere with leveling. Clean the surface thoroughly, let it dry, then sand lightly to even out the profile. If you're working around floors, furniture, or hardware, protecting the area matters almost as much as the sanding. A sturdy 9 x 12 canvas drop cloth for paint prep makes that part easier and keeps debris from spreading back onto the work.
If the project is outdoors, prep discipline matters just as much. Deck stain and paint both fail early when dirt stays in the grain, which is why guidance on how to ensure a perfect deck finish is useful even if you're mostly painting interior surfaces. Clean substrate, sound coating.
Smooth paint doesn't start with the roller. It starts when the surface feels boringly uniform under your hand.
Fix defects before the first coat
Fill dents. Let filler cure. Sand again. Wipe off the dust. If you skip that cycle, the foam roller will lay a neat, even coat over an uneven base, and the finish will still look wrong.
That's the hard truth with foam. It won't rescue a sloppy substrate. It makes good prep look excellent, and weak prep look obvious.
Perfecting Your Foam Roller Application Technique
The effectiveness of its use largely determines the success or failure. A foam paint roller doesn't respond well to force. It responds to control.
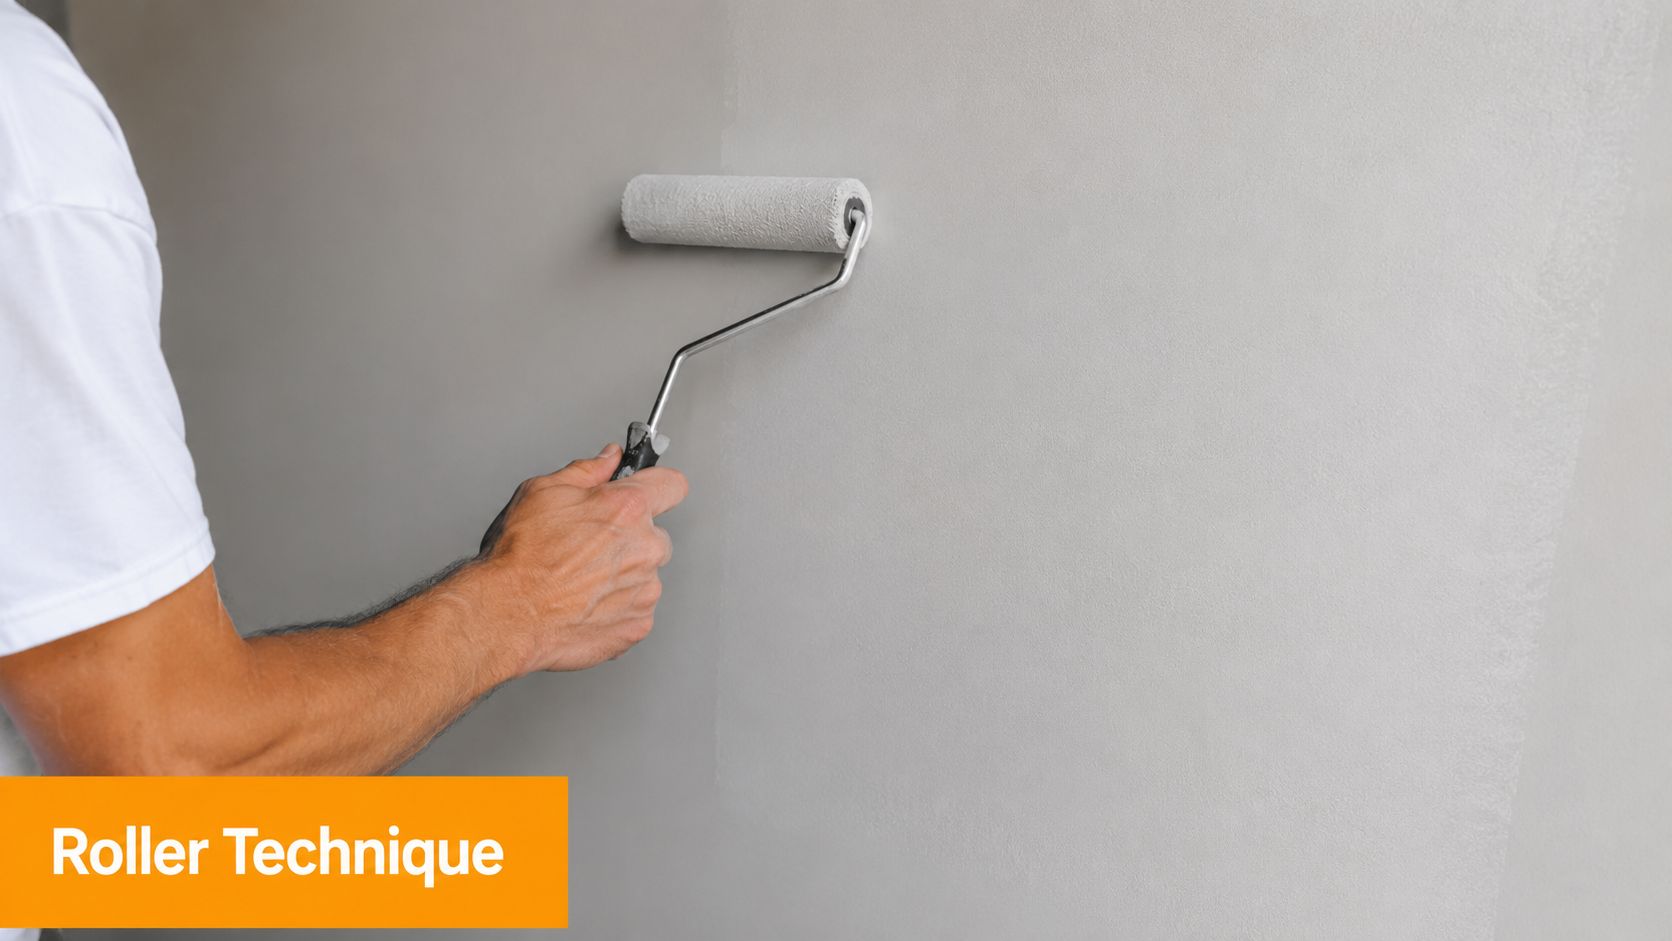
Load less paint than you think
Dip the roller lightly into the tray and work off the excess. A properly loaded foam roller shouldn't look swollen with paint, and it definitely shouldn't drip from the ends.
The feel matters. When it's loaded correctly, it glides. When it's overloaded, it starts pushing paint around instead of laying it down.
According to Bob Vila's roller guidance, foam rollers deliver a professional finish on smooth surfaces with an 85% success rate for touch-ups, but only when they're used lightly in a single direction. That same guidance notes that foam rollers often create drips and buildup in tight nooks, which is why pros brush those areas first.
Roll in one direction and finish lightly
Don't scrub. Don't mash. Don't chase every wet spot.
Use long, overlapping passes in a single direction. Then make one final feather-light pass to level the surface. Painters often call this “laying off” or “tipping off” with the roller. The purpose is simple: remove any small bubbles, thick edges, and uneven pressure marks before the paint starts setting.
A good pass looks almost too gentle to work. That's usually the right pressure.
If you can hear the roller squishing paint loudly, you're probably overloading it or pressing too hard.
Brush the details, roll the flats
This is one of the most missed points in DIY tutorials. Foam rollers are not automatically the best precision tool just because they're small.
For tight profiles, corners, inside trim details, or areas near hardware:
- Cut in with a quality brush so you can place paint exactly where it belongs.
- Keep the brushed paint thin so it doesn't build up at edges.
- Use the foam roller only on the broad flat sections to level and unify the finish.
If you want a second perspective on that handoff between brush and roller, this guide on getting a professional finish with a paint roller lines up well with what experienced painters do in the field.
Know when to stop
One of the fastest ways to ruin a promising coat is overworking it. Once the paint starts to tack, extra passes create drag marks and texture. Put the coat on, level it, and leave it alone.
That restraint is the difference between a smooth finish and a fussy one.
Common Foam Roller Mistakes to Avoid
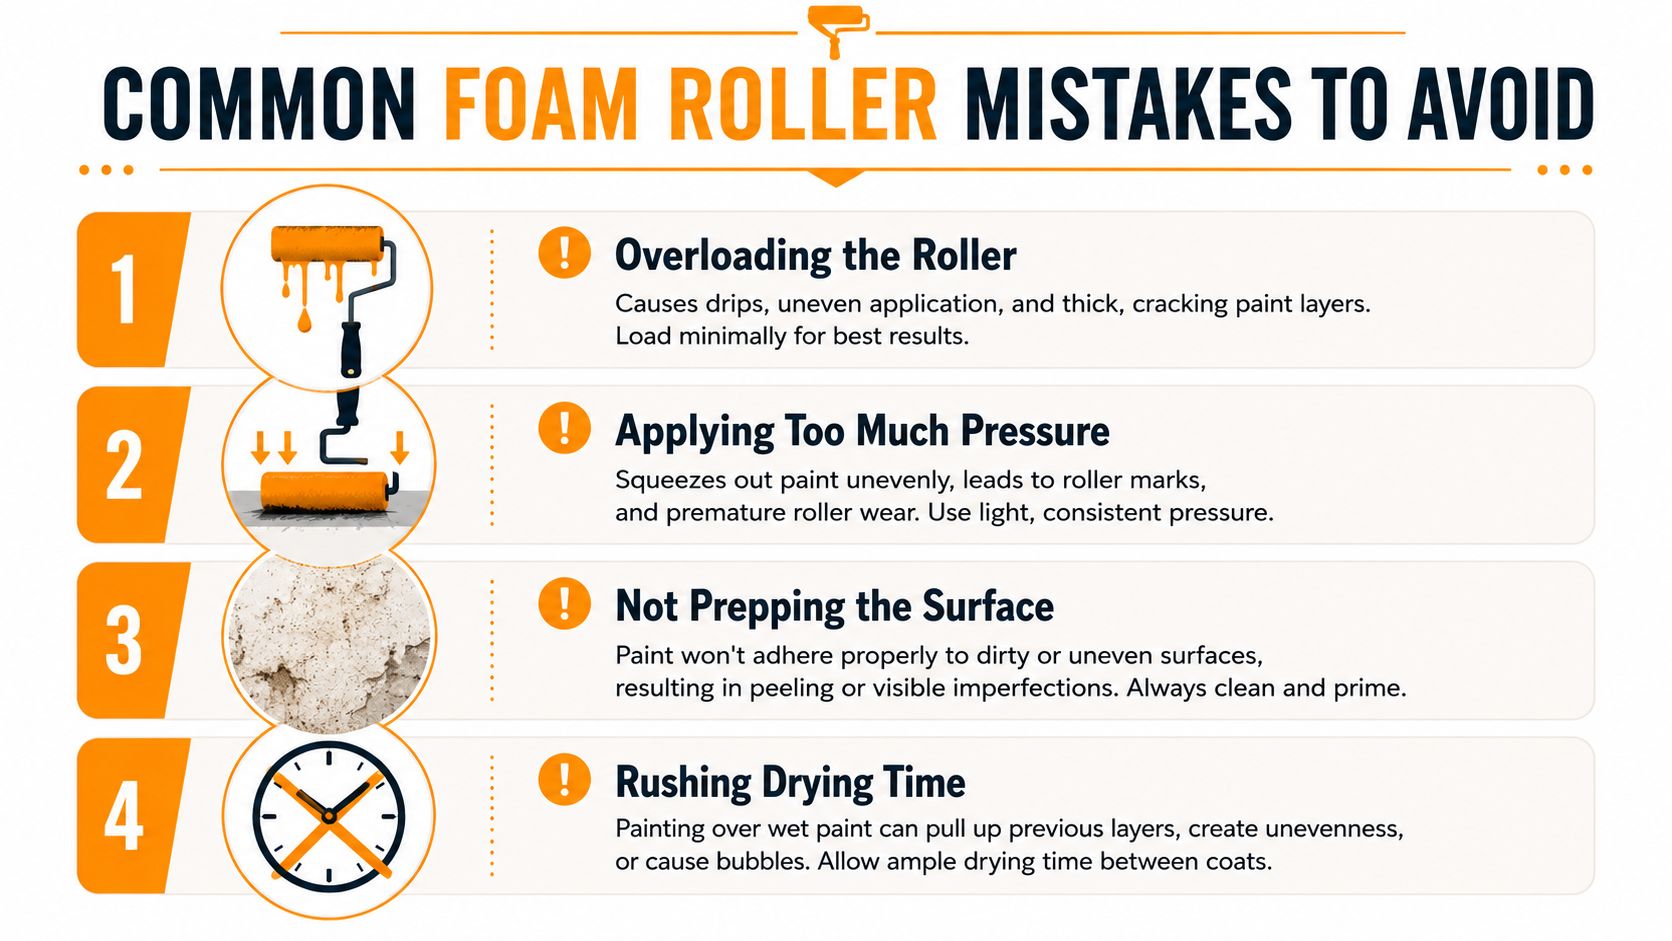
The most frustrating foam roller failure is orange peel. The surface looks coated, but once it dries, it has that pebbled texture that kills the clean, hard look you wanted.
Why orange peel happens
Many people assume orange peel means the paint was bad. More often, the foam roller was being asked to carry a thicker coat than it can distribute evenly. Foam holds significantly less paint than fabric alternatives, so when you try to force heavy coverage, the finish starts to stipple instead of level.
That's especially common on later coats when the painter wants to “get it done in one more pass.” The roller starts skipping, the hand pressure goes up, and the paint piles in tiny ridges.
According to Painters World's roller advice, excessive pressure is responsible for 55% of splatter incidents, and trying to apply thick coats with foam often leads to a visible orange peel texture because foam rollers hold much less paint than fabric covers.
The mistakes that cause most bad finishes
-
Pressing to get more coverage
This compresses the foam and forces paint out unevenly. You get ridges, bubbles, and a roller pattern instead of a leveled film. -
Using foam on the wrong surface
If the wall or panel has texture, voids, or uneven profile, the foam cover rides over high spots and misses low spots. -
Trying to make one coat do too much
Foam works better with thinner, controlled coats. Heavy coats look efficient while wet and disappointing after they dry. -
Rolling into tight corners and profiles
Paint gathers where the foam can't release evenly. The result is buildup, drips, or a fat edge line.
Shop-floor rule: If a foam roller starts feeling like hard work, the setup is wrong. Either there's too much paint, too much pressure, or the surface isn't a foam-roller job.
What to do instead
If you're painting trim, doors, or baseboards, keep the coat light and trust the second pass. For edge-heavy work, a dedicated brush method matters. These tips for painting trim are worth reviewing because trim is where buildup and texture show up fastest.
A few practical fixes help immediately:
- Reduce the paint load on the roller before it touches the surface.
- Slow your hand speed so the roller can release paint evenly.
- Stop after the leveling pass instead of re-rolling the same patch.
- Switch tools when needed rather than forcing foam into detail work.
Orange peel isn't random. It's usually a clear signal that the foam roller was being used like a fabric roller. They don't behave the same, and they shouldn't be driven the same way.
Cleaning and Storing Your Roller for Lasting Use
A foam roller that dries stiff or misshapen won't give you a clean finish next time. Clean it as soon as you're done.
For latex paint, wash with warm water and soap, then work the paint out by squeezing and rinsing until the water runs clear. Don't twist the foam aggressively. That can tear it or deform the sleeve.
For oil-based paint, use the appropriate solvent, then follow with a thorough cleanup so residue doesn't stay trapped in the foam. However you clean it, the goal is the same: get all paint out of the pores and out of the ends.
Dry it without crushing it
Set the roller where air can circulate around it. Don't leave it sitting on one edge while wet if you can help it. Foam can flatten and hold that shape.
Once dry, store it in a sealed plastic bag or wrap it so dust doesn't settle into the surface. That matters more than people think. A clean roller cover can pick up grit in storage and transfer it straight into your next finish coat. If you already keep detailing and finishing tools organized, the same logic behind caring for a microfiber applicator pad applies here too. Clean tool, clean result.
Respect the roller's shape and cleanliness after the job, and it will reward you on the next one.
A foam paint roller works best when you use finesse instead of force. That's the whole game. Match it to smooth surfaces, keep the coats light, brush the tight areas first, and don't ask it to do a fabric roller's job.
If you care about clean finishes and better tools around the house, take a look at SwiftJet. Their gear is built for people who appreciate controlled application, easier cleanup, and practical results, whether you're detailing a vehicle, handling home projects, or upgrading the way you work.
