
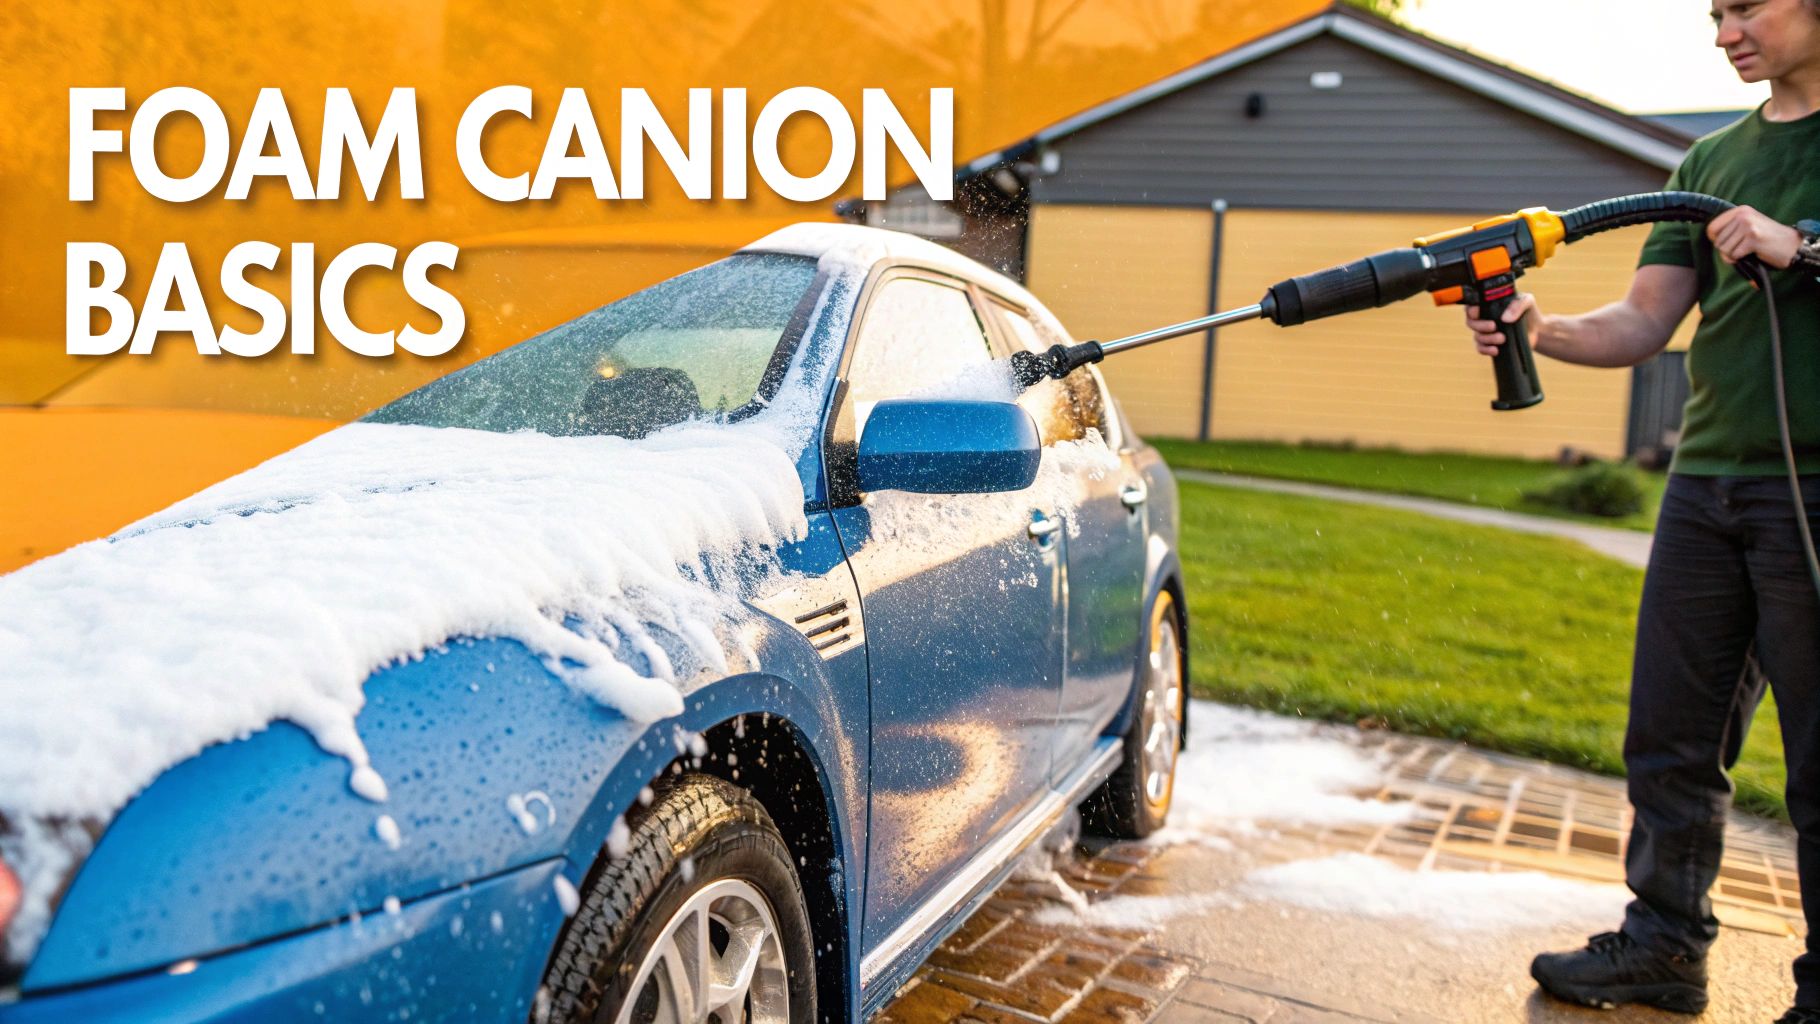
If you're serious about getting a professional, swirl-free car wash at home, a foam cannon for your pressure washer is the one accessory you absolutely need. It's a game-changer. This simple tool connects to your pressure washer, blending soap and a high-pressure water stream into an incredibly thick, sticky foam that pulls dirt right off your car's paint before a wash mitt ever touches the surface.
Why a Foam Cannon Will Transform Your Car Wash
Still using a bucket and sponge? You might be doing more harm than good. That old method often means you’re just pushing dirt and grit across your paint, creating those fine, web-like scratches we all hate. A foam cannon completely flips that script. Instead of scrubbing the grime off, you let the foam do the hard work.
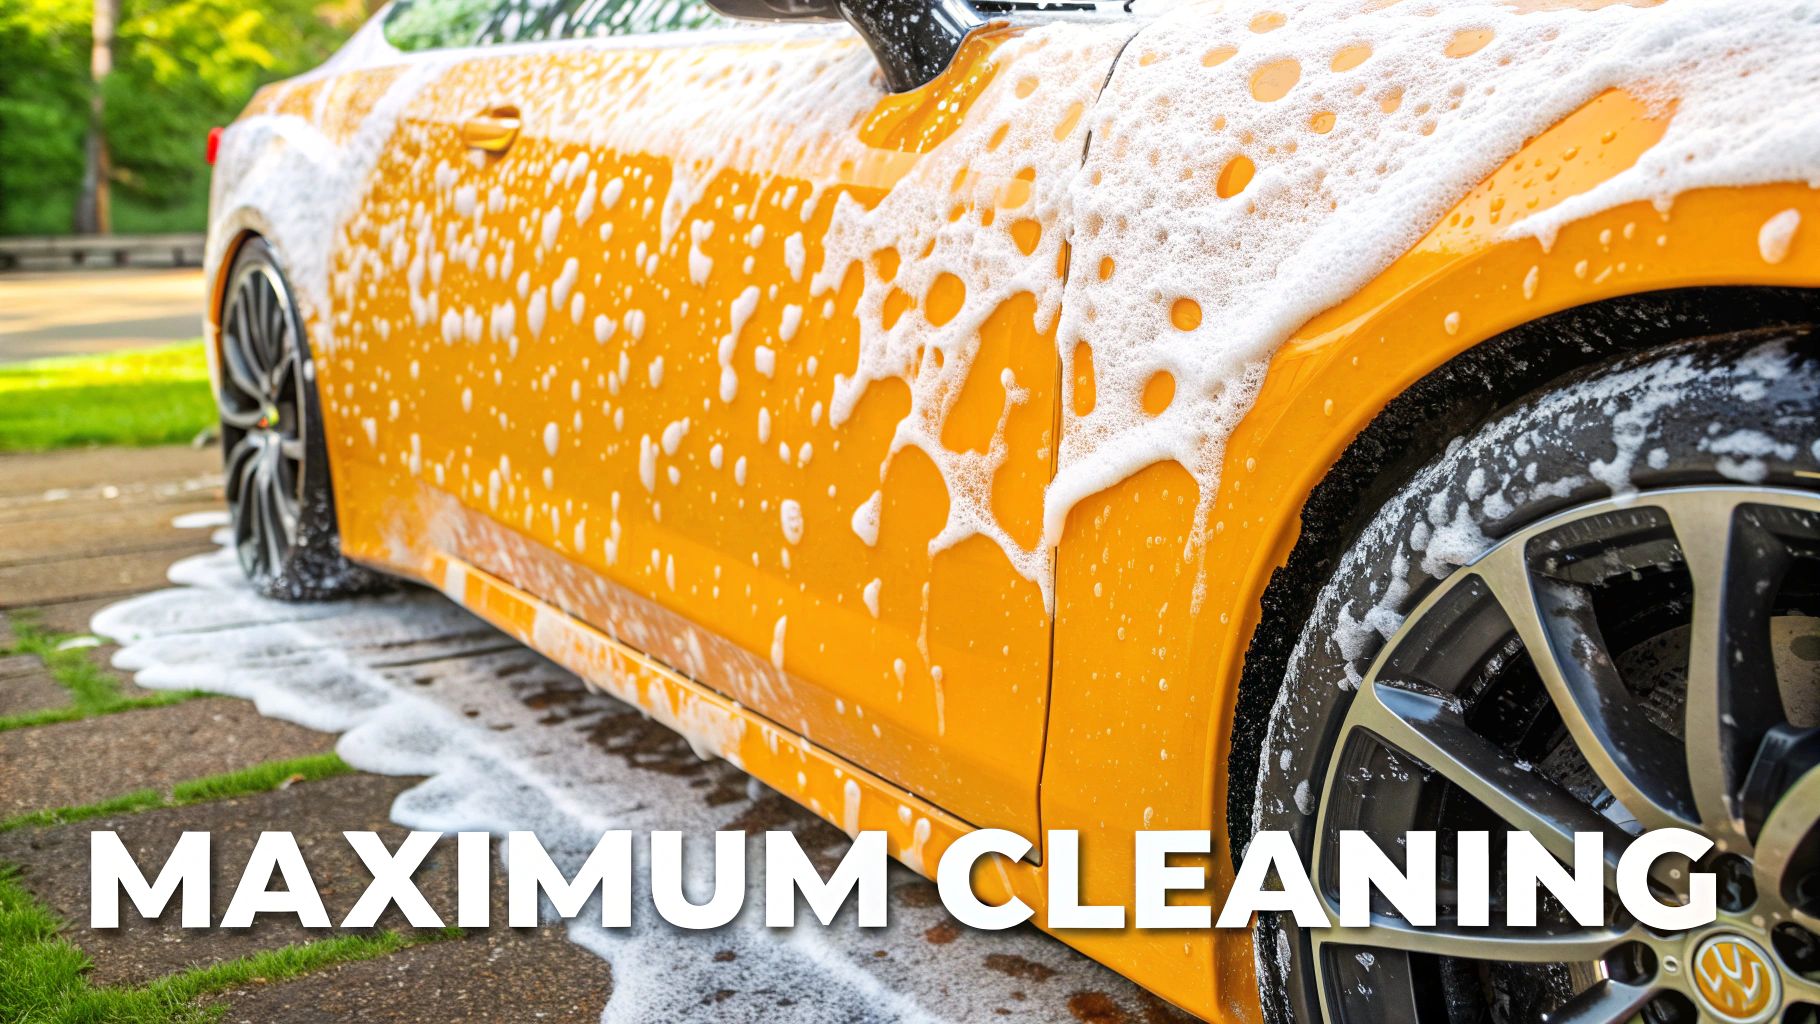
The whole process is incredibly satisfying. The cannon completely covers your vehicle in a rich, clinging foam that goes to work immediately, softening and encapsulating all the dirt particles. You let it sit for a few minutes—this is called "dwell time"—and then simply rinse it away. This pre-wash step gets rid of the most harmful, abrasive dirt, which dramatically cuts down the risk of scratching when you finally do your hand wash.
The real magic of a foam cannon lies in its ability to provide lubrication. When it's time to use your wash mitt, you're gliding it over a slick, soapy surface rather than a dry, gritty one, preserving your car's delicate clear coat.
This approach isn't just safer for your paint; it's also way more efficient. You’ll find you use less elbow grease, save water, and even use less soap concentrate than you would with a traditional two-bucket wash.
It's no surprise that this is becoming the go-to method for enthusiasts and pros alike. The foam gun market hit a value of around $100 million in 2024, and it's on an upward trend, mostly thanks to demand from the automotive world. If you're curious, you can explore more data on the foam gun market's expansion to see just how popular these tools have become.
At the end of the day, adding a foam cannon for your pressure washer to your detailing arsenal turns a chore into a genuinely enjoyable process. It’s a smart investment in protecting your vehicle’s finish and keeping it looking its best for years to come.
How to Choose the Right Foam Cannon
Picking the right foam cannon for your pressure washer isn't about grabbing the first one you see. It's a bit of a matching game—you need to align the cannon’s specs with your pressure washer’s power to get that thick, satisfying foam. Get it wrong, and you’ll end up with a sad, watery mess and a lot of wasted soap.
Before you even think about specs, look at the build quality. I always tell people to go for cannons with solid brass fittings and connectors. You might save a few bucks on plastic parts upfront, but they're notorious for cracking or stripping under pressure. Investing in brass from the start means you won't be buying another cannon a few months down the road.
Match the Orifice to Your Machine
Here’s the detail that makes or breaks your foam: the orifice size. It’s a tiny nozzle inside the cannon that controls the water flow, and it’s the secret to creating that shaving cream-like consistency. A mismatched orifice can either give you runny suds or, worse, put a dangerous amount of strain on your pressure washer’s pump.
Here’s a simple breakdown based on my experience:
- For Lower-Powered Electric Washers (Under 1.8 GPM): You’ll want a 1.1mm orifice. It's designed to restrict the flow just enough to build pressure and whip up thick foam, even with less powerful machines.
- For Gas-Powered or Strong Electric Washers (Over 1.8 GPM): Stick with the standard 1.25mm orifice. It’s the sweet spot for these more powerful units, giving you great foam without overworking the motor.
Don't underestimate how much build quality affects performance. The pros use cannons built with durable materials for a reason—they stand up to heavy use and deliver consistent results every single time. It's the difference between a tool that works and one you have to fight with.
Adjustability is Key for Control
A good foam cannon for a pressure washer should put you in the driver's seat. Look for two main adjustment points. The first is a dial on top, which lets you tweak the soap-to-water ratio. This is how you control the foam's thickness, going from a light sudsing for a dusty car to a heavy blanket for caked-on mud.
The second is the nozzle itself. It should twist to change the spray pattern from a wide, gentle fan to a more focused, powerful stream. Having this control means you can adapt on the fly to whatever cleaning job you're tackling.
To help you sift through the options, I’ve put together a quick comparison of the most important features to look for.
Foam Cannon Feature Comparison
| Feature | What to Look For | Why It Matters |
|---|---|---|
| Build Materials | Solid brass fittings, stainless steel internals, heavy-duty plastic bottle | Durability and longevity. Brass won't crack under pressure or corrode like cheaper metals. |
| Orifice Size | 1.1mm for <1.8 GPM washers; **1.25mm** for >1.8 GPM washers | Foam quality. Matching the orifice to your washer's output is critical for thick, clinging foam. |
| Adjustable Nozzle | Ability to switch between a wide fan and a direct stream | Versatility. A wide fan covers large areas quickly, while a direct stream helps with stubborn spots. |
| Soap Control Dial | A top-mounted dial to adjust the soap-to-water ratio | Efficiency and control. Lets you dial in the perfect foam thickness and conserve soap. |
| Bottle Capacity | Typically 32 oz (1 liter) | Convenience. A larger bottle means fewer refills, especially when washing bigger vehicles like trucks or SUVs. |
Choosing a cannon with these features ensures you get a tool that’s not just effective but also adaptable to your specific needs. For a much deeper dive into the nitty-gritty of what makes a great tool, check out our ultimate guide to choosing an auto foam gun.
Getting Your Foam Cannon Dialed In
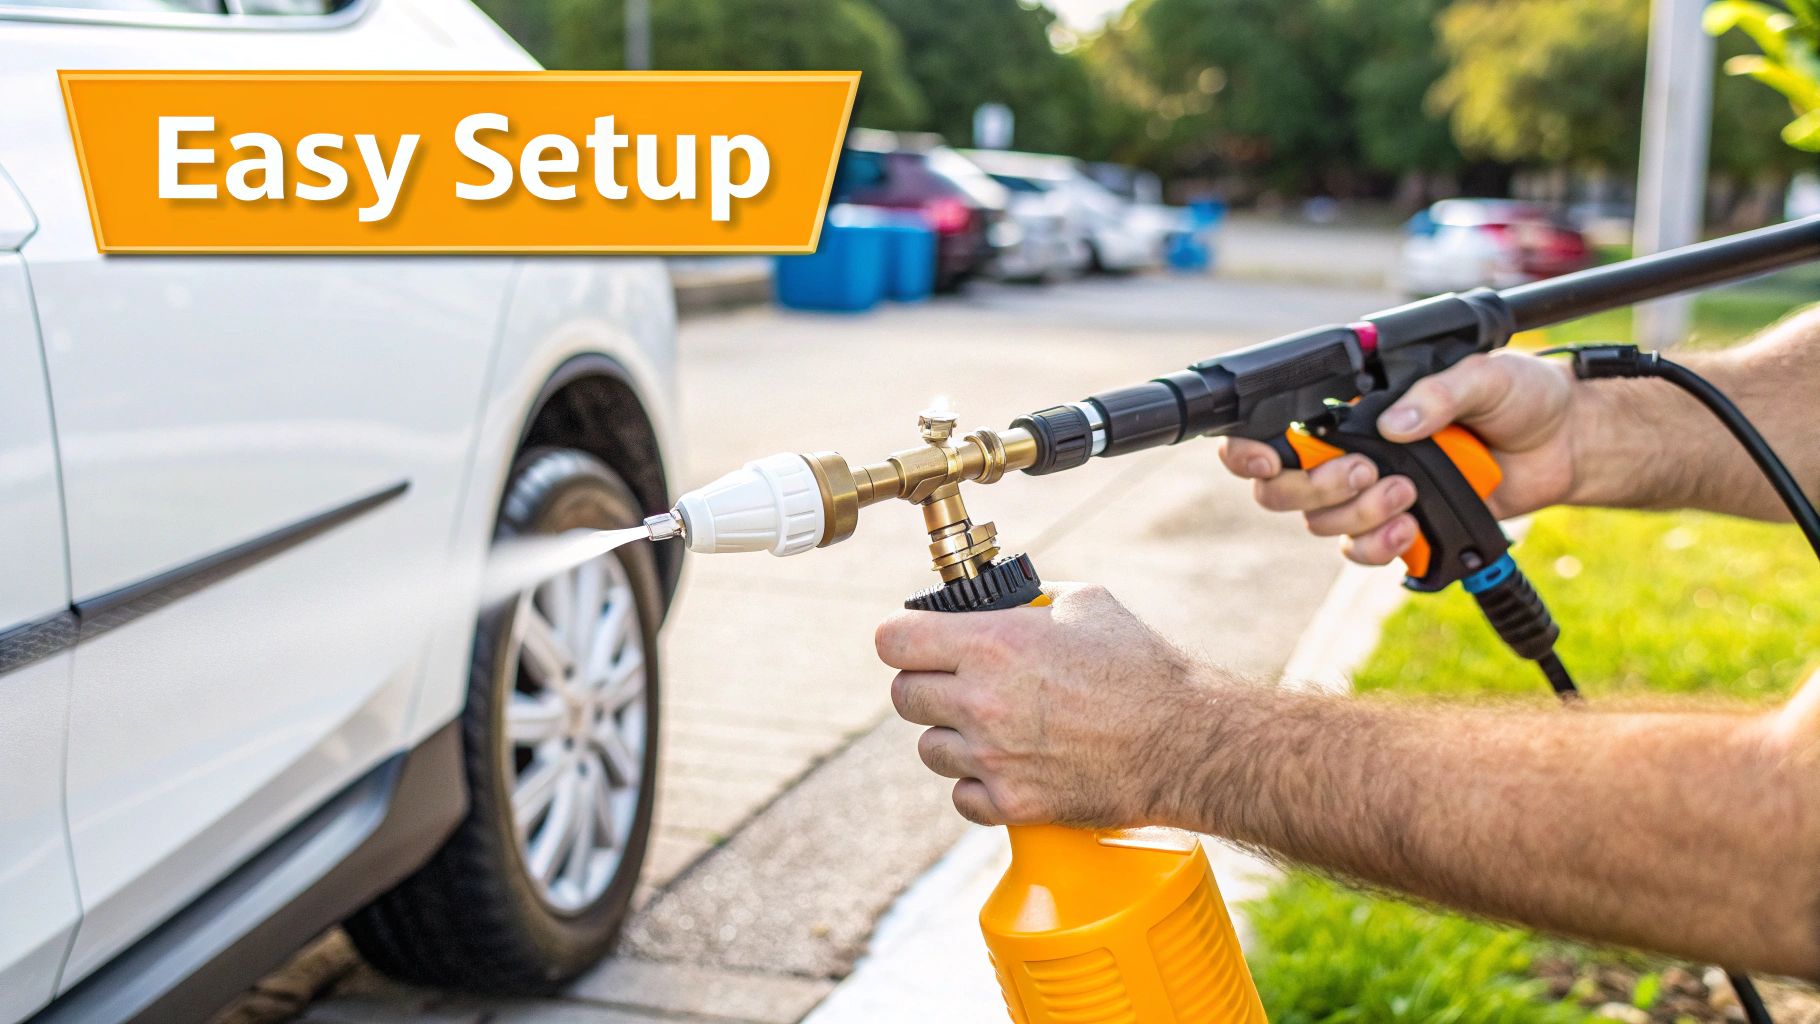
So, you've got your new foam cannon for a pressure washer out of the box. That's the easy part. Now, let's get it hooked up and ready to throw some serious foam. Getting this initial setup right is what separates a professional-style wash from a sudsy disappointment.
First things first, let's get it connected. Your foam cannon has a quick-connect plug that needs to snap onto the end of your pressure washer wand. You're listening for a solid "click." Once it's on, give it a little tug to make sure it's secure. Trust me, a loose connection is the most common reason for leaky, low-pressure foam.
Mixing Up the Perfect Suds
With the cannon attached, it's time to talk about the soap. This is where the magic really happens. The right soap-to-water ratio determines whether you get that thick, shaving-cream-like foam or just a sad, runny mess.
There isn't one perfect formula for every situation. It really depends on how filthy your car is and the type of soap you're using.
For a standard wash on a car with just a bit of road dust, a 1:10 ratio is usually my go-to. That’s one part soap to ten parts water. In a typical 32 oz (about 1 liter) cannon bottle, you'll pour in about 3 oz of soap and top it off with water.
But what if you just got back from a muddy weekend trip? You'll need more firepower. For caked-on grime, I'd ramp it up to a 1:5 ratio to create a much thicker, more powerful foam that can really dig in and start breaking down that heavy dirt.
Here’s a tip I learned the hard way: Always add the water to your cannon bottle before you add the soap. If you do it the other way around, you'll create a bottle full of bubbles before you even start, messing up your measurements and giving you weaker foam.
This image breaks down how everything from your pressure washer's power to your choice of connector impacts the final result.
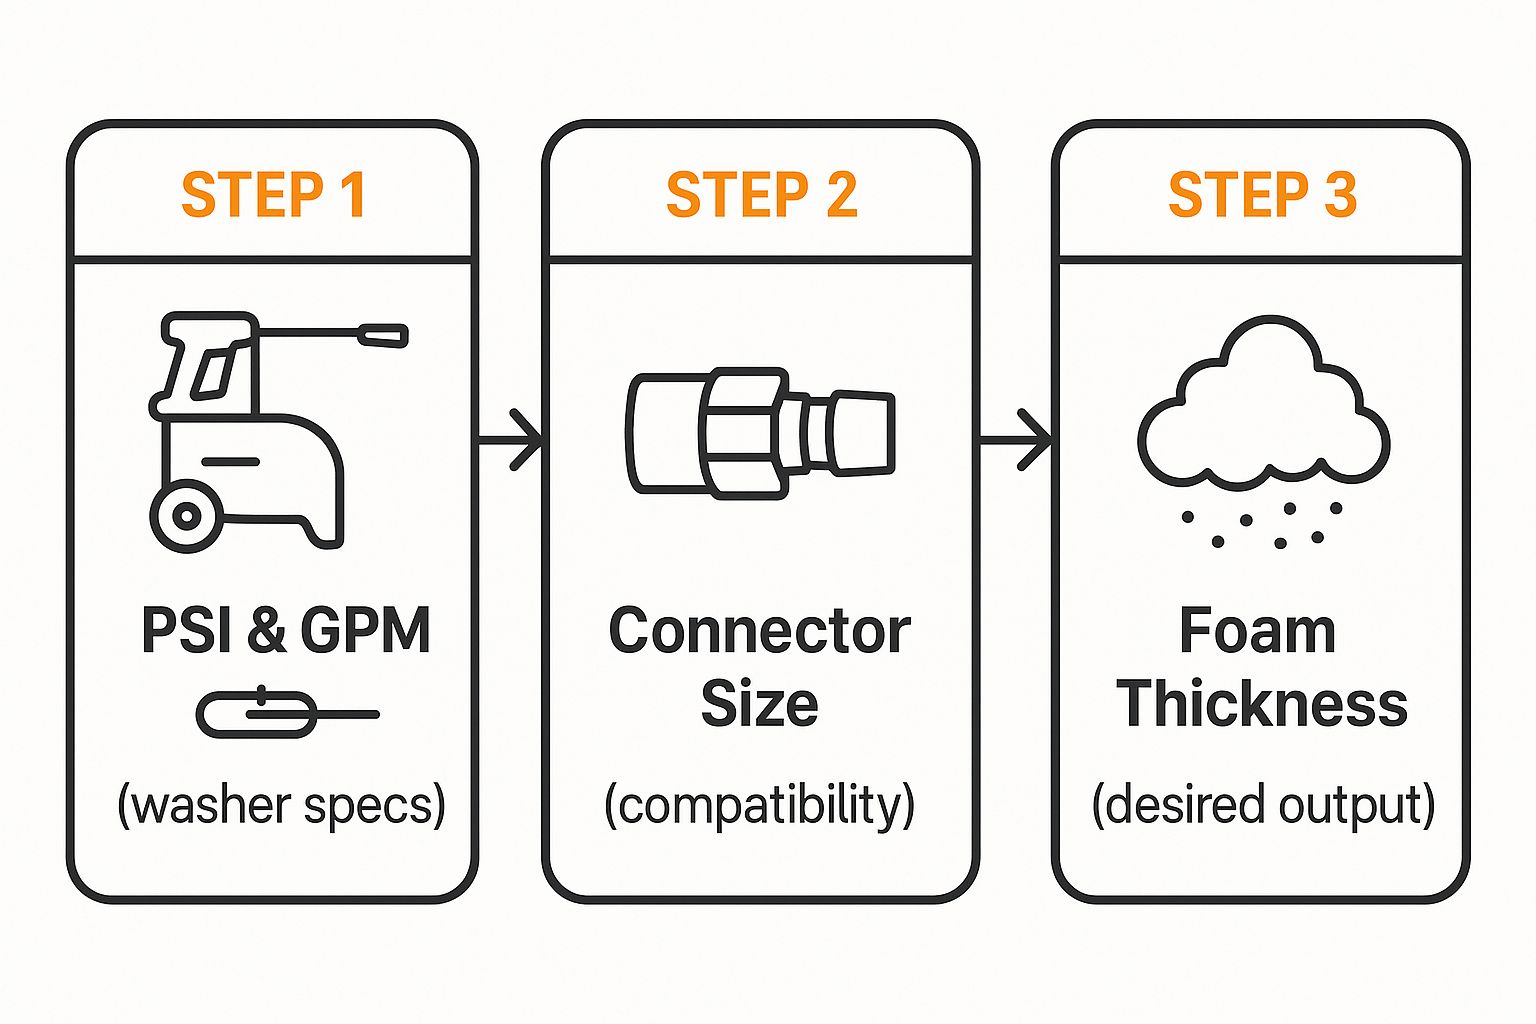
As you can see, getting great foam is a bit of a science. It’s all about balancing the power of your machine with the right cannon settings.
Fine-Tuning for Flawless Foam
Once your soap and water are mixed, screw the bottle tightly onto the main brass body of the cannon. Now you've got two adjustments to play with, and these are what give you total control.
- The Top Knob: This is your foam density dial. It controls how much soap mixture is pulled into the water stream. Turn it toward the "+" symbol to get that super-thick foam. Dial it back toward the "-" for a wetter, runnier consistency.
- The Front Nozzle: This shapes your spray. Twist it one way and you’ll get a wide fan pattern, which is perfect for blanketing large areas like the roof or doors. Twist it the other way for a direct, pinpoint stream that’s great for blasting grime off wheels or lower body panels.
It might take a minute of fiddling to find the perfect settings for your setup, but it's worth the effort. Once you've got it dialed in, you'll be able to lay down a perfect blanket of foam every single time. If you really want to become a pro, our detailed foam cannon soap ratio guide digs even deeper into getting that mixture just right for any job you can throw at it.
Mastering Your Foam Application Technique
Alright, this is the fun part—covering your car in a thick blanket of suds. But there’s a method to the madness that separates a quick spray-down from a truly professional detail.
Before you even pull the trigger on the foam cannon, give your vehicle a solid pre-rinse with just water. This step is non-negotiable. It blasts away the heavy, loose grit and grime, so your foam can get straight to work on the tougher, bonded-on contaminants.
When you're ready for the foam, remember this pro tip: start at the bottom and work your way up. It might feel backward, but it’s the right way to do it. This prevents the soap and dirt from the roof and windows from running down and creating streaks over the lower panels you just foamed. No re-washing the same spot twice.
Dialing in Your Coverage
Your foam cannon for a pressure washer puts you in the driver's seat. You have two key adjustments to master.
- The Front Nozzle: This controls your spray pattern. Twist it to create a wide, horizontal fan perfect for blanketing large areas like the hood or doors. Then, tighten it up for a more direct, powerful stream to attack wheel wells or bug-splattered grilles.
- The Top Knob: This is your soap-to-water mixture control. Turning it clockwise generally gives you a thicker, richer foam, while going counter-clockwise thins it out. You’re looking for that sweet spot.
The goal is a foam that looks and feels like shaving cream. It should be thick enough to cling to vertical surfaces and do its job, but not so heavy that it immediately slides off onto your driveway.
The Importance of Dwell Time
Once you've coated the vehicle, just step back and let the foam work. This is called "dwell time," and it’s where the real cleaning happens. The active agents in the soap are busy encapsulating dirt particles and lifting them safely away from your paint.
You'll want to let the foam sit for at least 5-10 minutes for a really deep clean. The biggest mistake you can make, though, is letting it dry. Washing in direct sunlight or on a hot day can speed this up, and dried soap can leave stubborn spots. If you see it starting to dry, it’s time to rinse.
For a deeper dive, check out our guide on the top tips for a sparkling finish with a foaming car wash to really take your technique to the next level.
Getting That Perfect Foam: Pro Tips & Common Pitfalls
So, you've got the basics down. Now, let's get into the little details that make a huge difference between a decent wash and a truly professional-looking one. A few small tweaks can solve most of the common frustrations people have with their foam cannon for a pressure washer.
The $10 Upgrade for Insanely Thick Foam
If you’re using an electric pressure washer, especially a lower-powered one, this is the single best trick in the book. Most cannons ship with a standard 1.25mm orifice. Swap it out for a 1.1mm orifice.
This tiny change creates more back-pressure, which forces the soap and water mixture to work harder. The result? That thick, shaving-cream-like foam you see in all the detailing videos. It’s a simple, cheap upgrade that delivers dramatic results.
Solving the Dreaded Watery Foam Problem
Getting runny, weak foam is by far the most common complaint I hear. Nine times out of ten, it’s not a faulty cannon. It’s one of these three things:
-
Check Your Soap Mix: Are you being too stingy with the soap? A super diluted 1:12 or 1:15 ratio often just won't cut it. Try bumping it up to a richer 1:8 mix and see how much thicker the foam gets.
-
Clean That Little Filter: Buried inside the cannon is a small mesh agitator. Over time, it gets gunked up with dried soap scum, which kills your foam production. An easy fix is to soak it in a vinegar-and-water solution to dissolve all that buildup.
-
Use Warm Water: This one’s a game-changer. Always mix your soap concentrate with warm water in the bottle. It helps the soap dissolve fully and creates a much more consistent, rich lather.
Here's the most important maintenance tip I can give you: After every single wash, run clean water through the cannon for about 30 seconds. This tiny step prevents clogs before they start and keeps your cannon working like new.
It’s no surprise these tools have exploded in popularity with the rise of DIY car care. The global foam cannon market is on track to hit around $500 million by 2025 and shows no signs of slowing down. Learn more about the foam cannon market's growth trends to see just how essential they've become. Nailing these simple techniques ensures you're getting the most out of yours.
Answering Your Top Foam Cannon Questions
When you're first getting started with a foam cannon for a pressure washer, a few questions always seem to pop up. Let's tackle them head-on so you can skip the guesswork and get right to that satisfying, super-thick foam.
Can I Just Use My Regular Car Wash Soap?
Technically, yes, but you'll likely be disappointed with the outcome. Soaps made specifically for foam cannons are much more concentrated. They’re designed to whip up into a thick, clinging foam that sticks to your car's surface.
That "hang time" is exactly what you want—it gives the soap more time to break down and lift away stubborn road grime and dirt, which is the whole point of pre-washing with foam.
Why Is My Foam So Watery?
This is easily the most common issue people run into, and it's almost always one of three things.
First, take a look at your soap-to-water ratio. You might just need a bit more soap in the bottle. Second, and a very frequent culprit, is a clogged internal mesh filter. Soap scum can build up in there over time. Lastly, your pressure washer’s GPM (gallons per minute) rating might not be a great match for the standard orifice in the cannon, preventing it from creating enough suds.
Here’s a pro tip that prevents 90% of foam cannon problems: After every car wash, run plain water through your foam cannon for about 30 seconds. This simple step flushes out any leftover soap residue, stops clogs from forming, and keeps it ready to go for next time.
Ready to see what a real foam cannon can do for your car wash routine? Check out the high-performance SwiftJet Car Wash Foam Gun and we’ll throw in a free microfiber wash mitt with your order. Get your SwiftJet foam cannon today!