
If you've ever wanted to get that thick, satisfying layer of car wash foam without investing in a pressure washer, the Chemical Guys Foam Blaster Car Wash Foam Gun is the tool you've been looking for. It's built for detailing enthusiasts who want professional results right in their own driveway, turning any standard garden hose into a serious foaming machine.
Transform Your Driveway Car Wash Experience
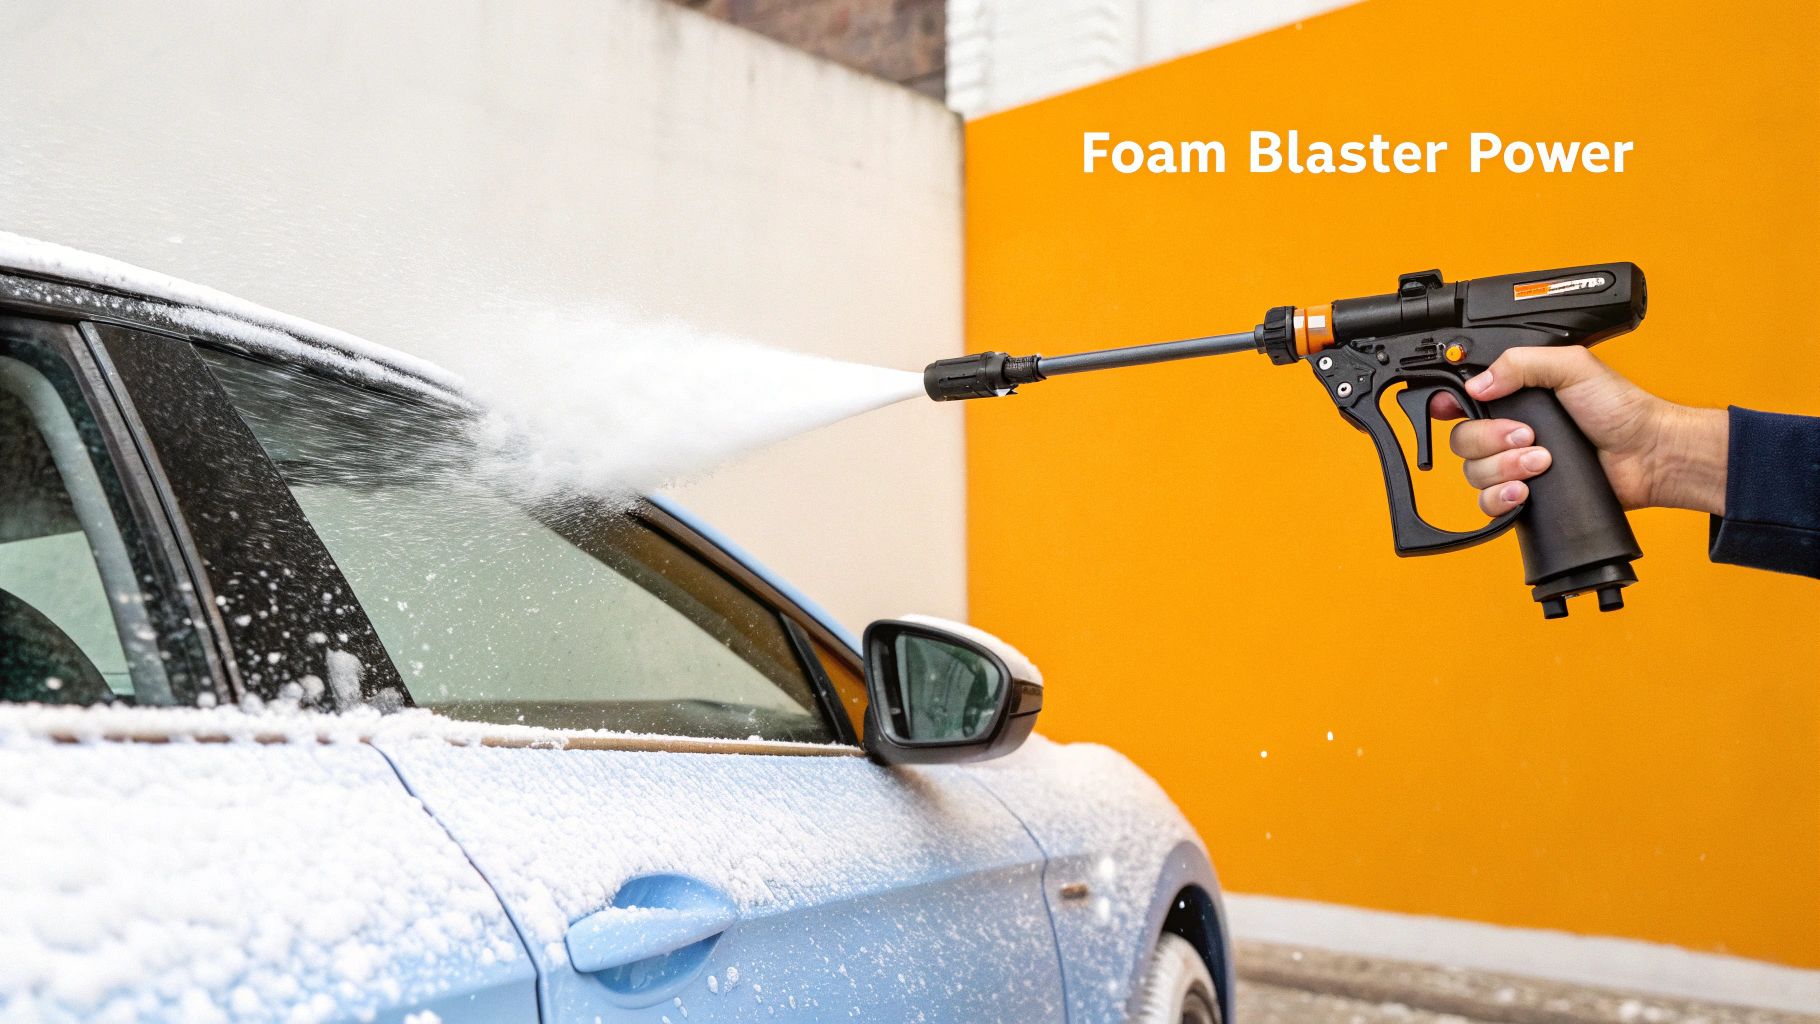
Ever see those videos of detailers completely blanketing a car in suds? That's not just for show. The secret for many of us who detail at home is a tool like the Chemical Guys Foam Blaster. It's the perfect middle ground between a simple bucket wash and a full-blown foam cannon setup, giving you that thick, clinging foam with the hose you already own.
The beauty of this tool is its simplicity. It hooks right up to a standard garden hose, so there's no complex setup. This one piece of gear can completely change your weekend wash routine.
Why Pre-Wash Foaming Matters
So, what’s the big deal with all that foam? The Foam Blaster’s main job is to lay down a thick pre-wash layer, and this is absolutely critical for a scratch-free wash. Here’s what’s happening when those suds are sitting on your car:
- It Lifts and Loosens Grime: The foam works its way into all the caked-on dirt, dust, and road film, breaking it down and lifting it off the surface before you ever touch the paint.
- It Adds Crucial Lubrication: When it's time to wash with a mitt, you're gliding it over a slick, soapy layer, not dragging gritty dirt across your clear coat. This is your best defense against swirl marks.
- It Washes Safer: By rinsing away the heaviest, most abrasive contaminants first, you’ve already handled the most dangerous part of the wash.
A good pre-wash isn't just a fancy step—it's the single most important thing you can do to protect your car's finish. Think of it as insurance for your paint, preserving that deep shine for the long haul.
Before we get into the how-to, it’s worth understanding the benefits of a detailed hand wash compared to automated car washes to see why this level of care matters so much. When you get your home setup dialed in, you can get results that machine washes just can't match.
For a complete rundown, check out our guide on how to https://www.swiftjetusa.com/blogs/news/car-wash-at-home. You’ll see exactly how a foam gun like this one makes the entire process safer, more effective, and honestly, a lot more enjoyable.
Assembling Your Foam Blaster for Flawless Performance
Getting your Chemical Guys Foam Blaster from the box to your garden hose is a quick job, but a few small details make a massive difference in how well it works. A proper, leak-free setup is the secret to creating those thick, satisfying suds from your very first wash.
The goal is simple: get a solid, watertight seal at every connection point. This ensures all the water pressure from your hose goes into one thing—making amazing foam.
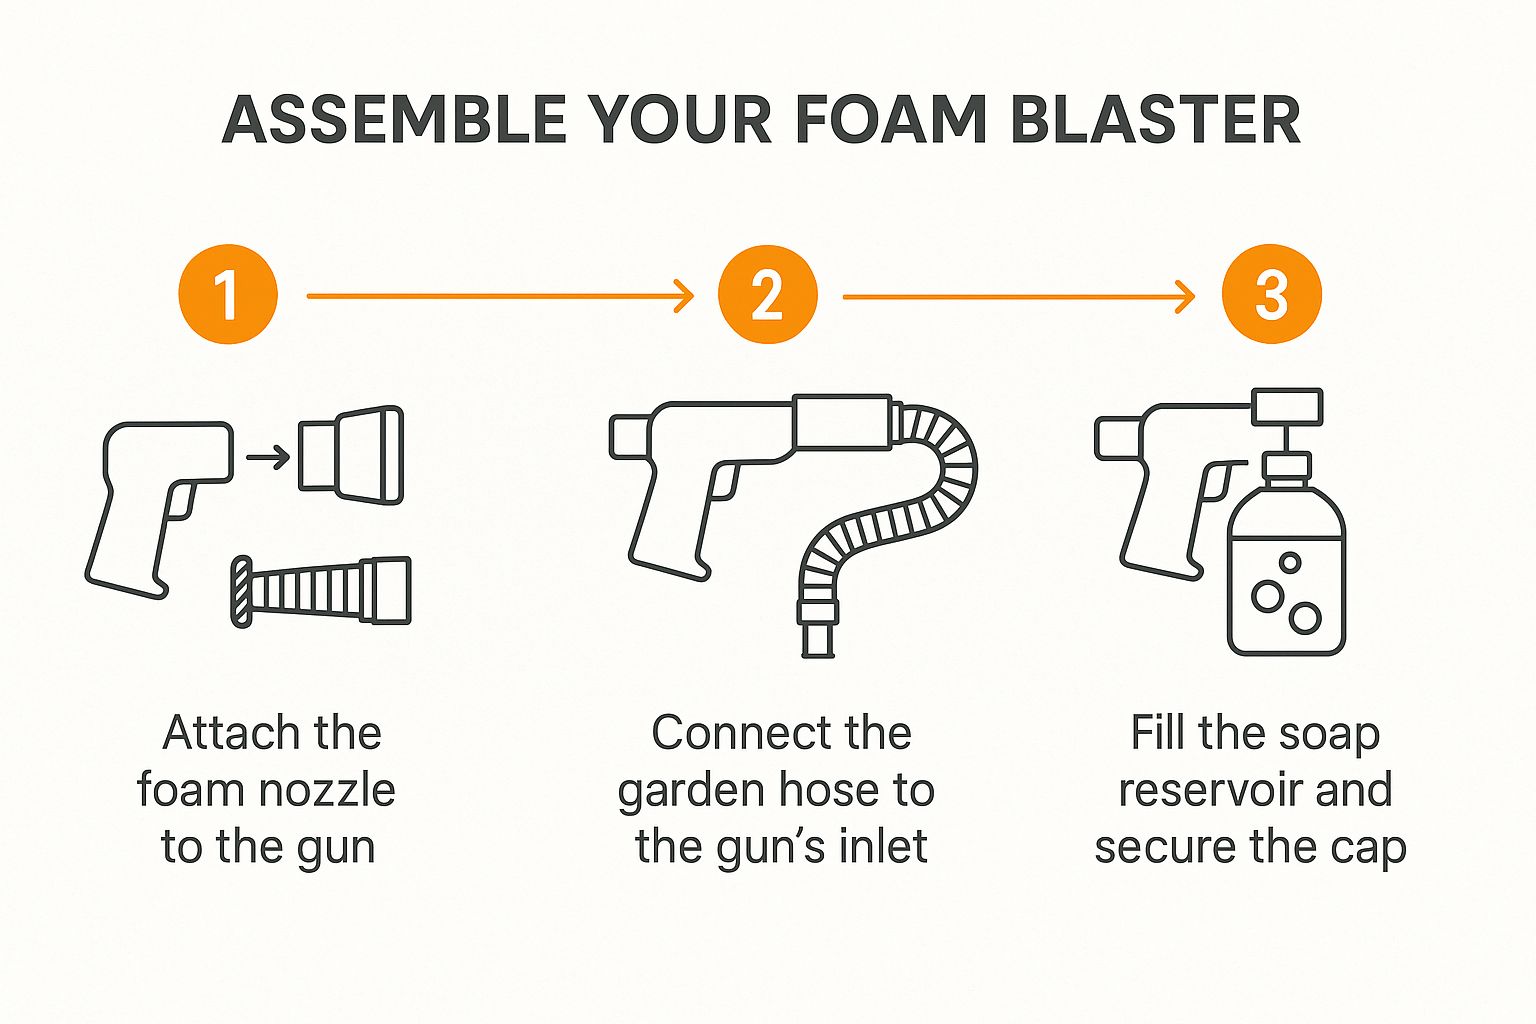
As you can see, the process is incredibly straightforward. You'll be ready to foam down your car in just a couple of minutes.
Understanding Your Foam Blaster Parts
Before we connect everything, let's quickly break down the main components. Knowing what each part does will help you troubleshoot any issues and get the most out of your foam blaster.
| Component | Primary Function | Pro Tip |
|---|---|---|
| Clear Soap Canister | Holds your diluted soap and water solution. | Fill with water first, then add soap to prevent excessive sudsing inside the canister itself. |
| Heavy-Duty Gun Body | The central unit that mixes air, water, and soap. | This houses the dial that controls your soap-to-air ratio, which is key for foam thickness. |
| Quick-Release Nozzle | Connects the entire unit to your garden hose. | If you ever get a drip, wrap the threads with a little plumber's tape for a perfect seal. |
| Adjustable Spray Tip | Shapes the foam spray pattern. | A wide fan is great for covering large panels like doors and hoods; a narrow stream helps with grilles and wheels. |
Getting familiar with these pieces is the first step to becoming a foam-washing pro.
Connecting the Main Components
First things first, grab the clear soap canister and screw it onto the bottom of the main gun body. You just need to hand-tighten it until it feels snug. Overtightening can stress the plastic threads, so just a firm twist is all it takes to prevent any soap solution from leaking out.
Next up is the quick-release nozzle. This is what connects directly to your garden hose. Pop that onto the back of the gun body. This connection is where leaks sometimes happen, but it’s an easy fix.
Pro Tip: Before every single wash, give the connections a quick check. A loose canister or a wobbly hose connection is almost always the reason for weak, watery foam.
Finally, take a second to play with the two main controls on your Chemical Guys foam blaster car wash foam gun. The spray tip at the front twists to change the foam pattern from a precise stream to a wide, generous fan. The dial on top is your secret weapon—it regulates the air-to-soap mixture, letting you fine-tune the foam from a light lather to a thick, clingy blanket.
Nailing the Perfect Soap-to-Water Ratio
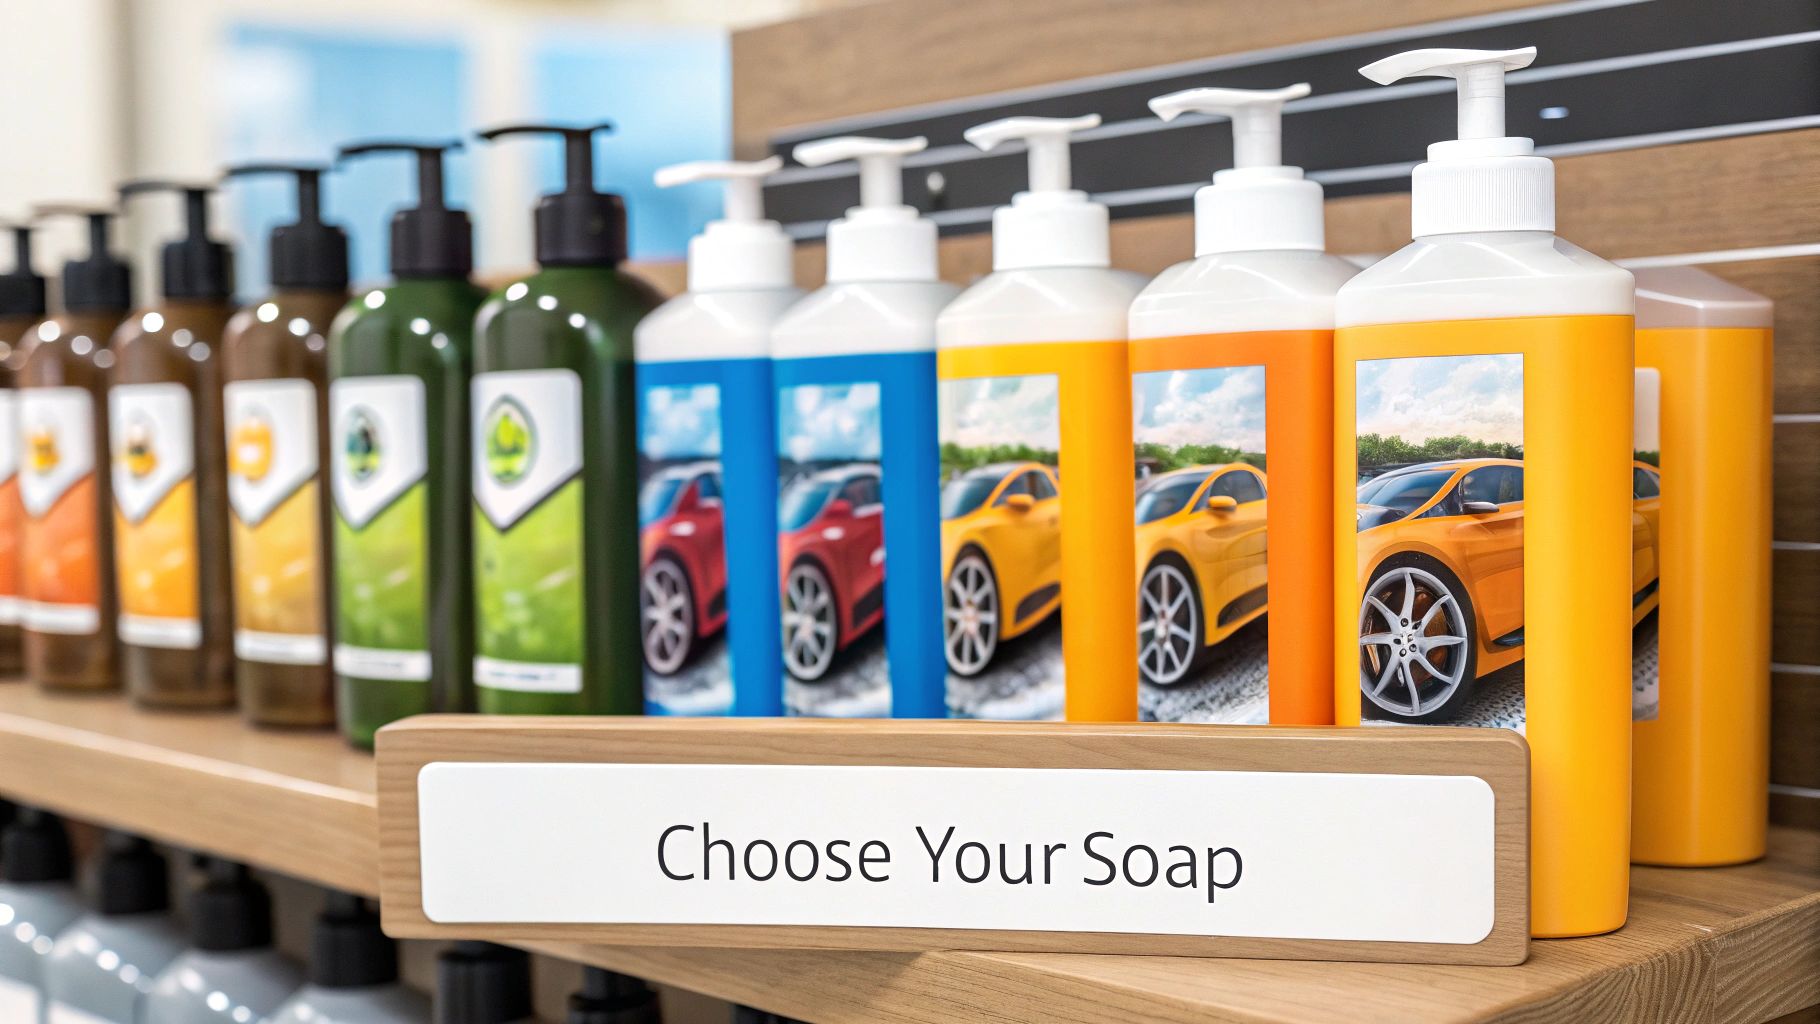
The real magic behind that thick, satisfying foam isn't just the foam gun itself—it's what you put inside. Getting the soap-to-water ratio just right is a bit of an art, and it’s the secret to getting the most out of your Chemical Guys foam blaster car wash foam gun.
First things first, you have to use the right kind of soap. A high-suds, pH-neutral soap like Chemical Guys Honeydew Snow Foam is specifically designed with surfactants that whip up into a dense, clingy foam. This is incredibly important because it means the soap cleans effectively without stripping away any wax or ceramic coatings you've applied. Using dish soap or other household detergents will absolutely ruin that protective layer over time.
Finding Your Sweet Spot
Getting started is easy. I always begin by adding about 1 to 3 ounces of car wash soap directly into the canister. After that, I slowly fill the rest with warm water, which really helps the soap dissolve and mix evenly.
My Personal Tip: Pour the soap in first, then add the water. If you do it the other way around, you’ll end up with a canister full of suds before you even attach the nozzle, making it impossible to get an accurate mixture.
Now, that 1 to 3 ounce range isn't a hard and fast rule. The perfect mix really comes down to a couple of key factors:
- Your Local Water: Hard water is the enemy of suds. Its high mineral content fights against foam formation, so if you're in an area with hard water, you’ll probably need to use closer to 3 ounces of soap to get that rich lather.
- The State of Your Car: Is it just a light layer of dust from sitting in the garage? 1 ounce will do the trick. Are you trying to wash off a week's worth of mud and road grime? You'll want the extra cleaning power of a stronger 3-ounce solution.
It's no surprise that tools like these have exploded in popularity. The low-pressure foam gun market is actually projected to hit an estimated $350 million by 2025. That growth just goes to show how effective and simple they've made it for anyone to get professional-looking results at home.
For a more in-depth breakdown, be sure to read our complete guide on the perfect foam cannon soap ratio.
Pro Techniques for Foam Application
Alright, you've got your soap mixed and ready to go. Now for the fun part. Using your Chemical guys foam blaster car wash foam gun is more than just making a soapy mess; there's a real technique to it that gets your car cleaner while protecting the paint.
First things first, always give the vehicle a quick rinse with plain water. You're just trying to knock off the loose stuff—dust, pollen, bigger bits of dirt. Getting that layer off first means the foam can immediately start working on the tougher, stuck-on grime instead of wasting its energy on surface dust.
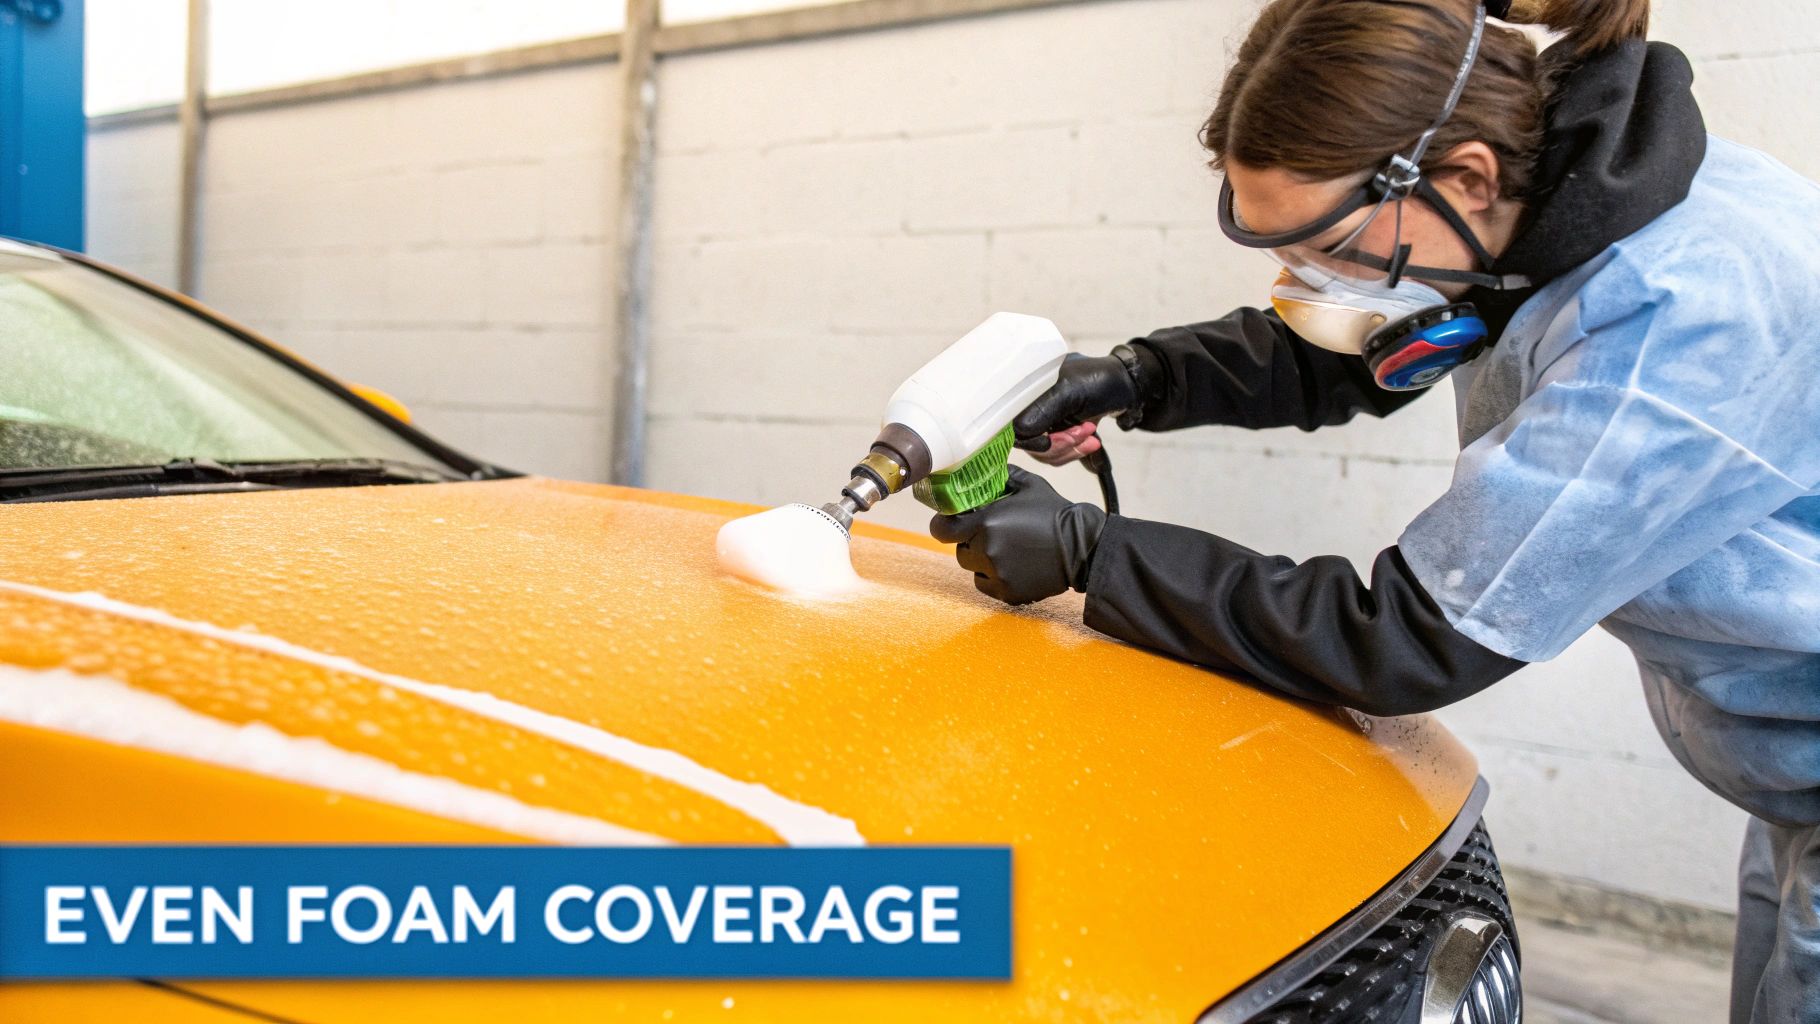
Applying Foam the Right Way
Now, grab that foam blaster. Here's a tip that might feel backwards at first: start at the bottom of the car and work your way up.
Why? It's simple. The lower parts of your car are always the dirtiest. Starting there gives the suds the most time to break down all that heavy road grime. It also prevents clean foam from the top getting immediately contaminated by dirty runoff from the panels below. This little change in your process makes a huge difference.
The biggest mistake I see people make is letting the foam dry. If the sun is beating down, it'll bake the soap right onto your paint and leave spots. Always try to wash in the shade or on a cooler, overcast day.
Once you’ve covered the entire vehicle in a thick blanket of foam, just let it sit. This is what detailers call "dwell time," and it's where the cleaning action really happens. Give it about 3-5 minutes. You'll actually see the foam start to drip and pull the dirt down and off the paint.
This is the whole point of a foam cannon wash. The suds are lifting and lubricating all those abrasive dirt particles, getting them ready to be rinsed away safely. This step alone drastically cuts down the risk of creating swirl marks because you're minimizing how much you physically have to touch the paint.
Keeping Your Foam Blaster in Prime Condition
You know that satisfyingly thick foam you get from your Chemical Guys foam blaster? Keeping it that way is surprisingly simple. A little post-wash care is all it takes to prevent clogs and ensure your foam gun delivers peak performance every single time.
The absolute most important thing you can do is flush the system. Seriously, don't skip this.
Once your car is clean, just unscrew the soap canister, dump out any leftover suds, and fill it with fresh water. Screw it back on and give it a good spray for about 30 seconds.
That one simple action pushes all the leftover soap residue out of the nozzle and internal parts. If you let that stuff dry in there, it's the number one reason you'll end up with weak, watery foam or a sputtering spray pattern down the road.
A Quick Check-Up and Smart Storage
Before you hang it up, take a few seconds for a quick visual inspection. It’s a small habit that really extends the life of your tool and makes sure it's good to go for the next wash.
Here's my quick mental checklist:
- Filter First: I always glance at the small filter where the garden hose connects. It's a magnet for tiny bits of debris that can mess with your water flow.
- Nozzle Health: Take a look at the adjustable spray tip. You want to make sure it's clear of any gunk that could throw off your foam pattern.
Think of it this way: you're making a small investment to protect your gear. A clean, well-maintained foam blaster doesn't just work better, it lasts a whole lot longer.
This kind of reliability is a big deal. The market for foam cannons and guns is huge—sales topped 20 million units in 2023, with a value well over $500 million USD. Brands like Chemical Guys stay on top because their products perform, and a little maintenance on your end keeps it that way.
Curious about what's happening inside the tool? For a deeper dive into the mechanics, check out our article on how a car wash foam gun works.
Got Questions About Your Foam Blaster?
Even with a tool as simple as the Chemical Guys foam blaster car wash foam gun, you're bound to have a few questions. That's perfectly normal. Getting the right answers means you can stop troubleshooting and get back to what you came here for: a fun, sudsy car wash.
Let's walk through some of the most common things people ask, from first-timers to seasoned detailers. Nailing these details will help you get the most out of your foam gun every single time you use it.
Can I Just Use Any Car Wash Soap?
You can, but you really shouldn't. For that thick, shaving-cream-like foam, you need a high-foam, pH-neutral car soap. Soaps from brands like Chemical Guys are engineered with special surfactants designed to produce dense suds that cling to the paint. Most importantly, they won't strip off your wax or sealant.
Whatever you do, absolutely avoid using dish soap. Its degreasers are way too aggressive for car paint. Over time, it will dull your finish and eat away at any protective coatings you’ve applied.
Why Is My Foam So Watery?
This is the number one issue people run into, and it's almost always a simple fix. If your foam is runny and sad-looking, it's typically one of three culprits: your soap mix, your water pressure, or the gun's setting.
- Your Soap Ratio: Try adding another ounce of soap to the canister. Sometimes a little more concentrate is all it takes.
- Your Water Flow: Is your spigot opened all the way? Check for any kinks in your garden hose that might be choking the water pressure.
- The Adjustment Dial: This is the big one. Turn the dial on top of the gun towards the ‘+’ symbol. This forces more air into the mix, which is what actually whips the soap and water into thick foam.
I'd bet that nine times out of ten, the air-mix dial is the problem. It’s there to let you control the foam's thickness, so don't be shy about cranking it all the way up if you're after that super-rich, blanket-of-suds effect.
Does the Foam Gun Replace a Hand Wash?
Not entirely, no. Think of the foam blaster as the perfect pre-wash step that makes your hand wash infinitely safer for your paint. Its main job is to loosen and lift the heavy, gritty dirt from the surface. When you rinse that foam away, you're getting rid of the most dangerous, scratch-inducing particles before your wash mitt ever touches the car.
For a truly perfect wash, you'll still want to follow up with a gentle two-bucket wash. The foam does the heavy lifting, and a quality microfiber mitt takes care of any leftover grime that’s bonded to the paint.
Ready to take your car wash to the next level and get that scratch-free shine? The SwiftJet Car Wash Foam Gun delivers that thick, clinging foam you're looking for, using just your standard garden hose. Get yours today and experience a faster, safer, and more effective wash.