
You don’t need to be a professional detailer to get that thick, satisfying blanket of car wash foam. With the right car wash foam gun from a store like Autozone, you can turn a Saturday chore into a genuinely enjoyable experience. This one tool is your secret weapon against the swirl marks and fine scratches that plague so many cars.
Your First Step to a Showroom Shine
The golden rule of washing a car and keeping the paint looking pristine is simple: touch the surface as little as possible. Every time you drag a wash mitt across your car, you're potentially grinding leftover dirt and grit into the clear coat. Over time, this creates a web of micro-scratches that makes the paint look dull.
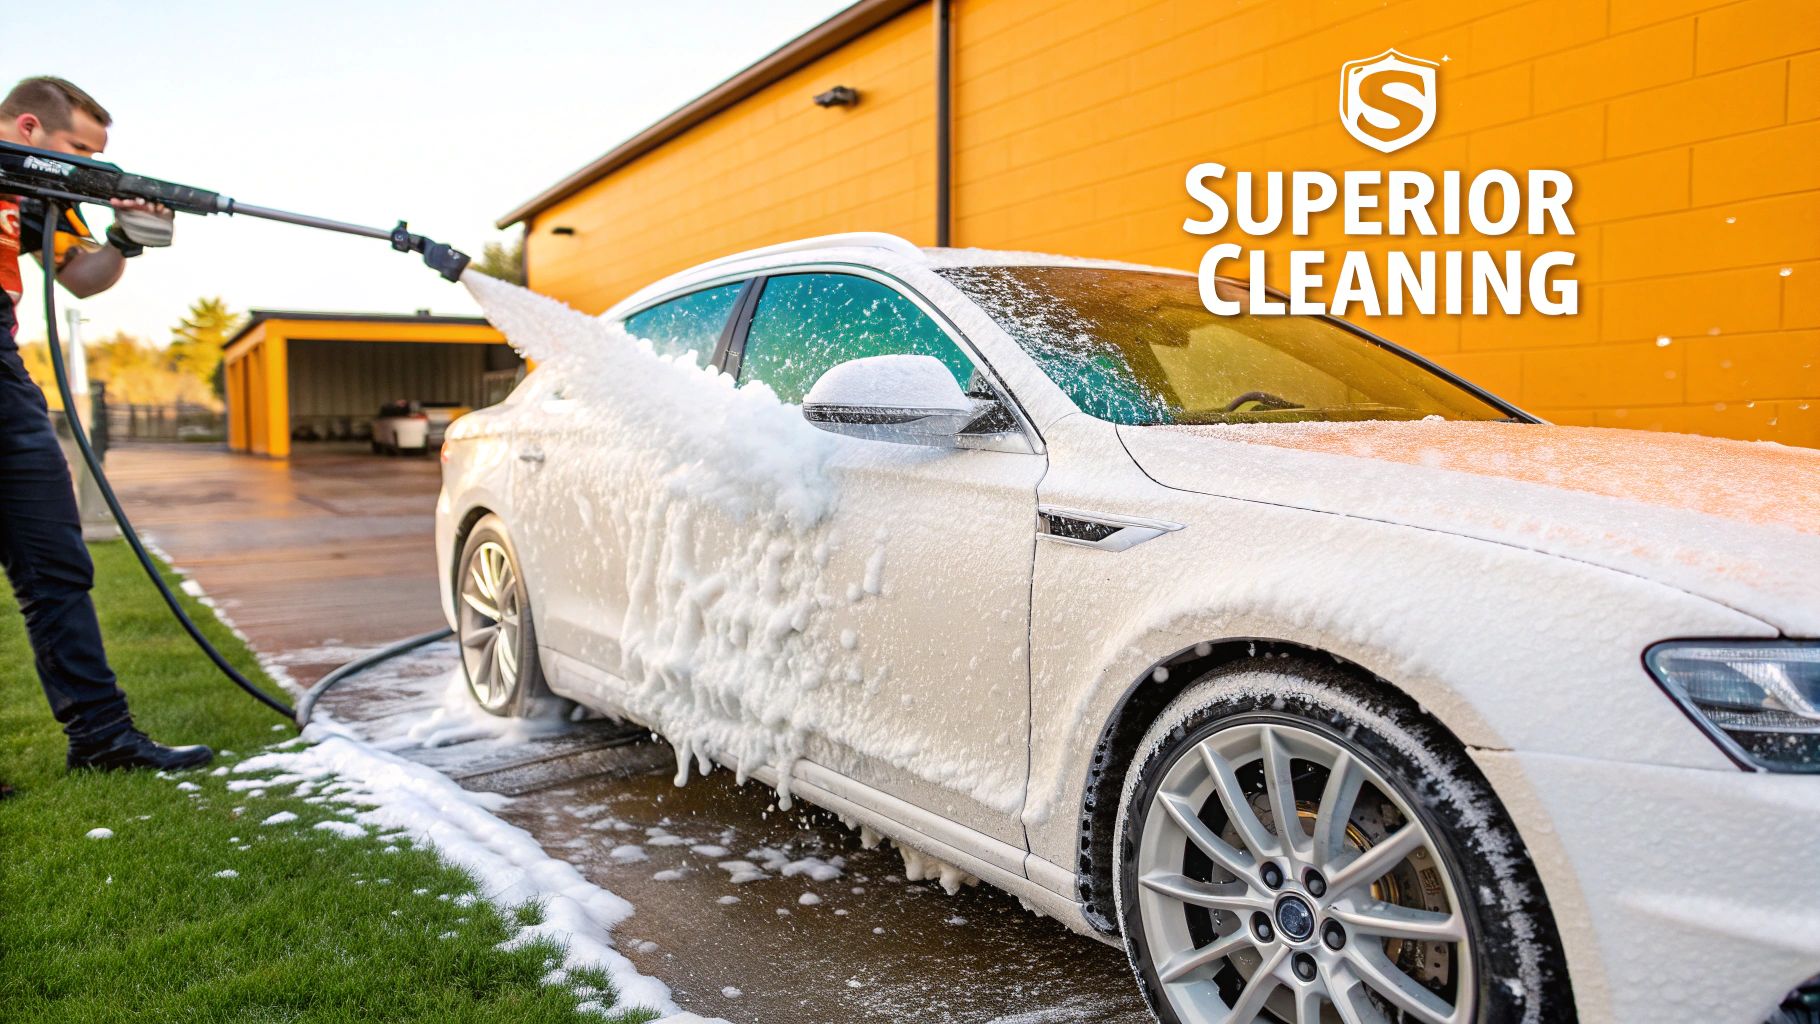
A foam gun completely flips the script. Its main job is to pre-soak your vehicle, letting thick, clinging suds do the heavy lifting for you. The foam works to soften, lift, and encapsulate all that heavy road grime and dust. Let it sit for a few minutes, and you can rinse most of the abrasive junk away before your wash mitt ever touches the paint. It’s a game-changer for protecting your finish.
Garden Hose Gun or Pressure Washer Cannon?
When you start shopping, you’ll find two main types of foamers. Knowing how they differ is key to picking the right tool for your needs and your garage setup.
To make the choice easier, let's break down the key differences between these two popular tools.
Foam Gun Type at a Glance
| Feature | Garden Hose Foam Gun | Pressure Washer Foam Cannon |
|---|---|---|
| Power Source | Standard garden hose | Pressure washer |
| Foam Quality | Runny, soapy suds | Thick, clinging foam |
| Cost | Lower initial investment | Higher (requires pressure washer) |
| Best For | Hobbyists, maintenance washes | Enthusiasts, deep cleaning |
| Ease of Use | Very simple, plug-and-play | Requires setup and handling a wand |
Ultimately, the garden hose gun is a fantastic entry point, while the pressure washer cannon is the tool for those chasing detailing perfection.
Here's a closer look at each:
-
Garden Hose Foam Guns: These are the most straightforward and accessible option. Just screw it onto your garden hose, and your home’s water pressure does the work, mixing soap from the canister to create a layer of suds. They're perfect for anyone who wants a much safer wash than the old bucket-and-sponge method without buying a pressure washer.
-
Pressure Washer Foam Cannons: If you’ve seen those videos of cars covered in what looks like shaving cream, this is the tool they're using. A foam cannon requires a pressure washer, but it uses that high-pressure stream to create an incredibly dense, thick foam that sticks to the car like glue. This is the top choice for serious enthusiasts.
It's no surprise that these tools are becoming more popular. The global foam gun market is currently valued at around $100 million and is expected to climb to $150 million by 2033. The automotive world is a huge part of that growth, as more people learn about safer, more effective ways to care for their cars. You can even read the full research on foam gun market trends to see how the industry is evolving.
A high-quality foam gun isn't just about making your car look clean; it's a fundamental tool for preserving your vehicle's paint integrity for years to come.
This chart breaks down the performance you can expect from different types of foam guns.
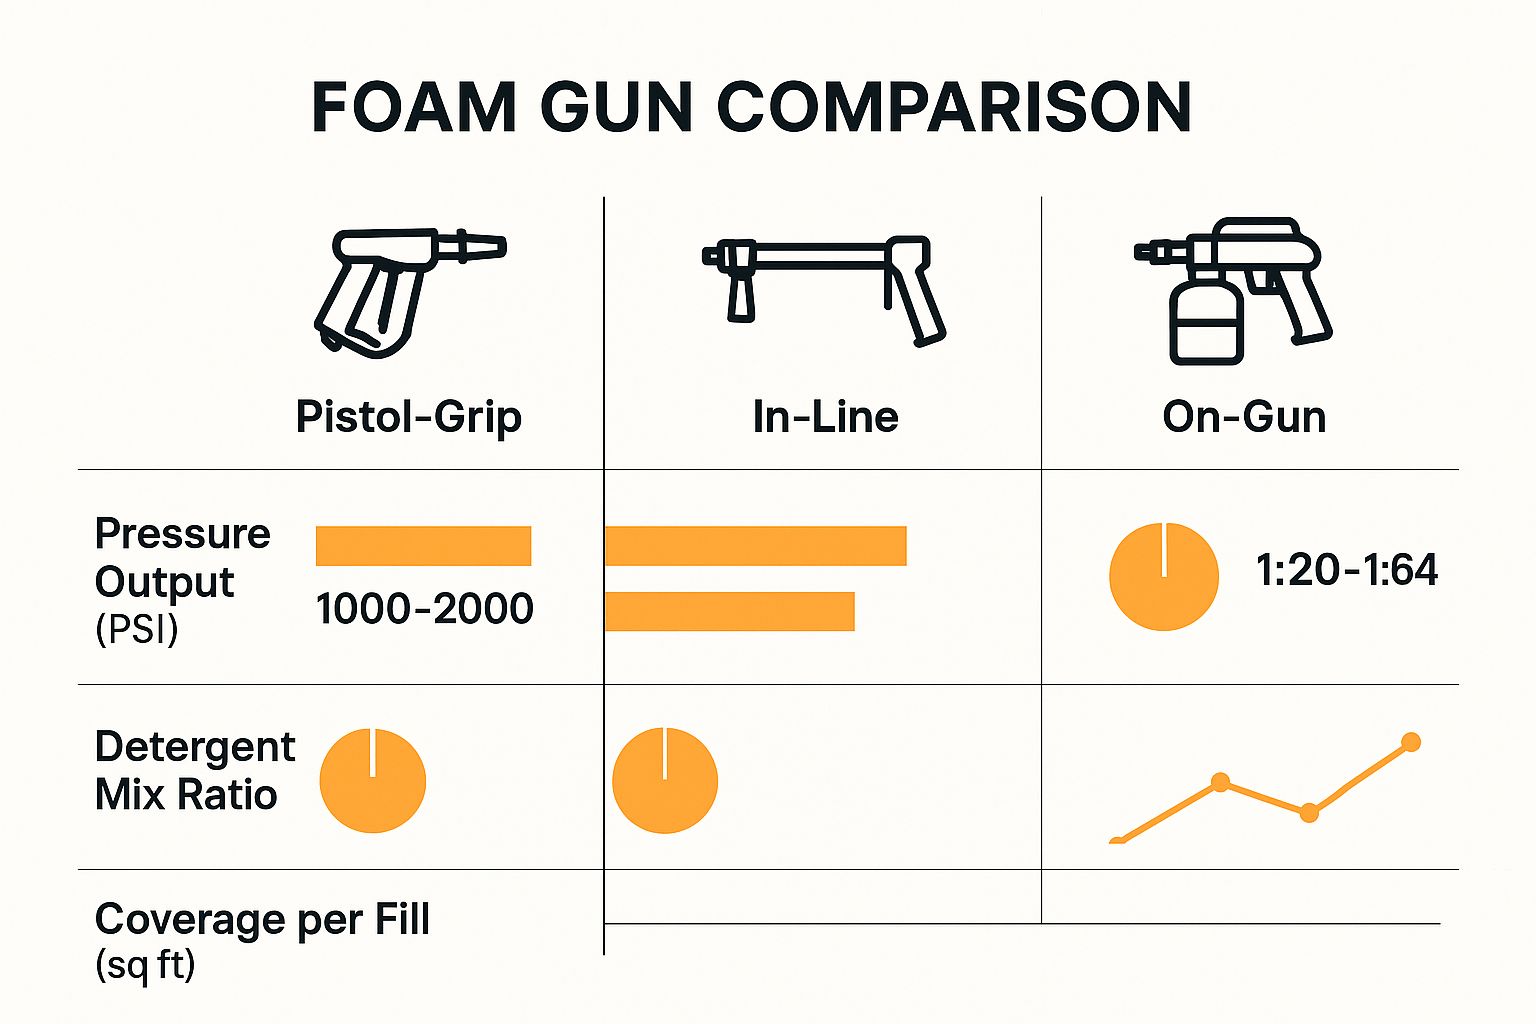
As you can see, while water pressure plays a big role, it's the detergent mix ratio that really dictates the quality and thickness of the foam you'll get.
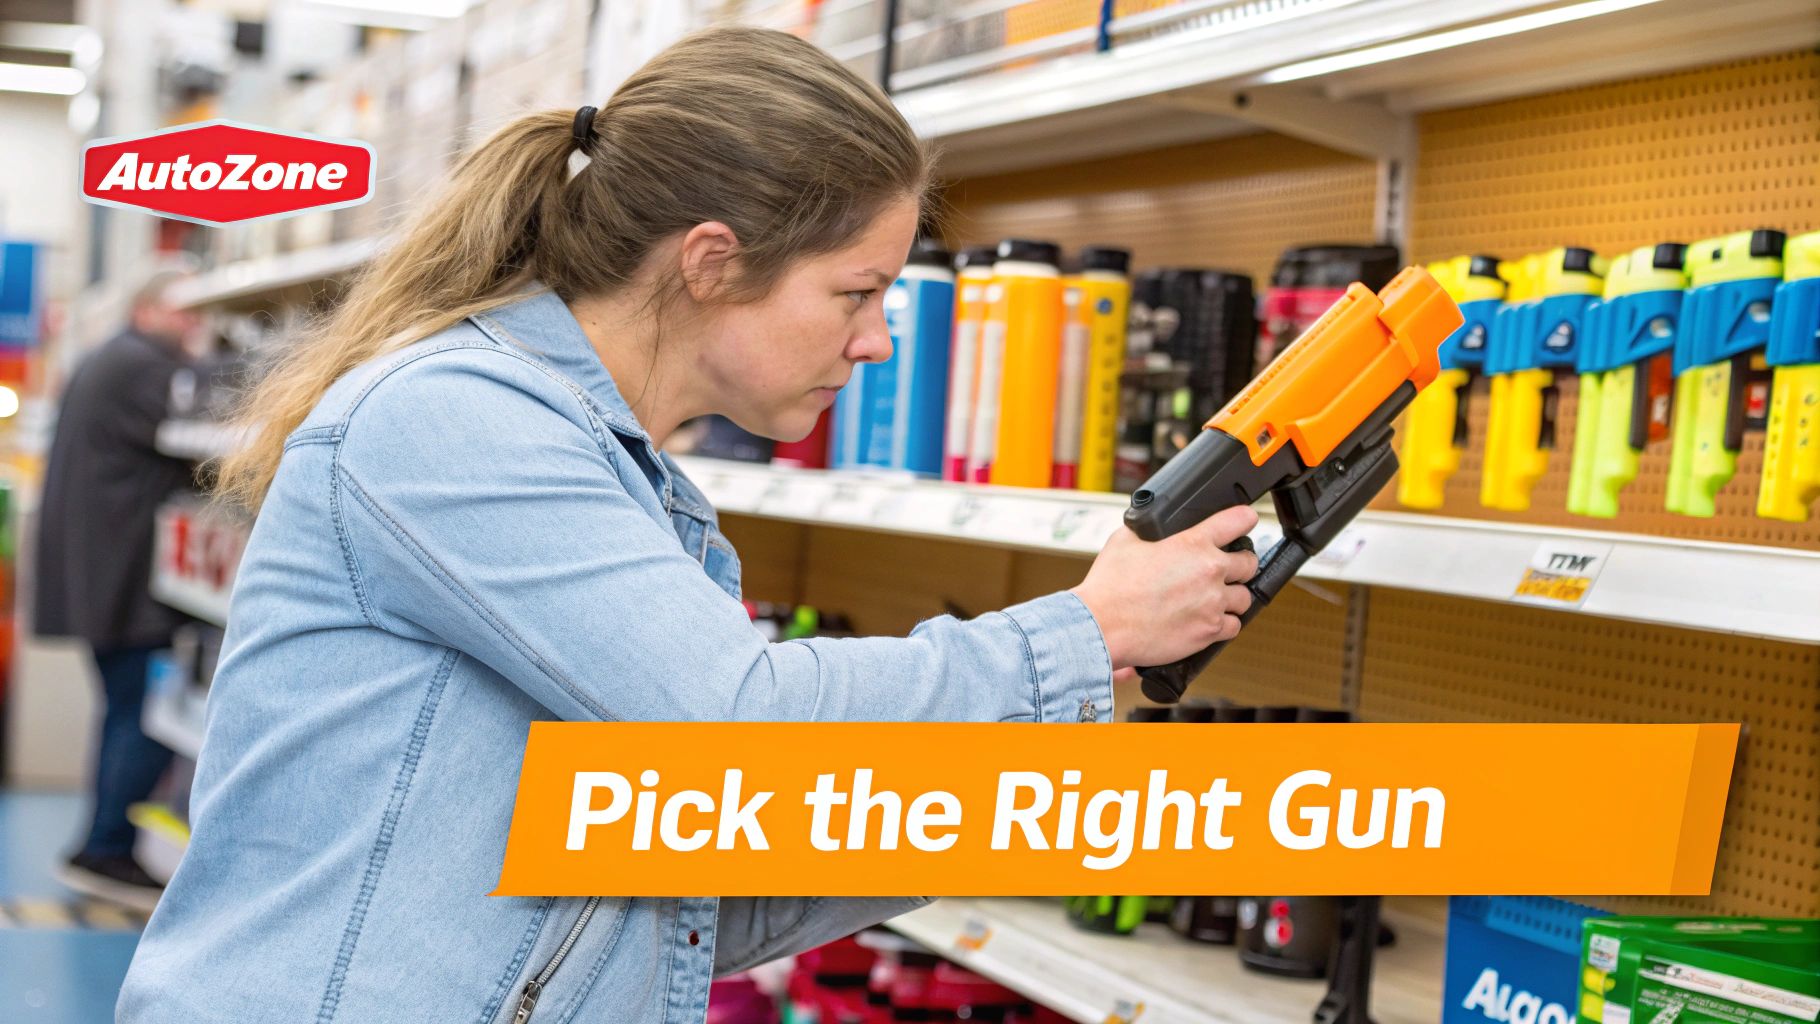
Picking a Foam Gun at Autozone
Walking into a store like Autozone can be a bit much. You’re faced with a wall of shiny boxes, all promising the perfect wash. When you're trying to find the right car wash foam gun at Autozone, it's easy to feel lost. My goal here is to give you a simple playbook to cut through the marketing hype and focus on what actually makes a good foam gun.
First things first, you need to decide on the build quality. This is usually a trade-off between durable metal parts and lighter, more affordable plastic.
A foam gun with heavy-duty brass fittings will almost always outlast its plastic counterpart. If you're serious about detailing and plan to use it often, the extra cost for brass is a solid long-term investment. That said, a well-made, high-impact plastic model is often lighter on both your wallet and your arms during a long wash session.
Canister Size and Spray Control
Now, let's talk about the canister—the part that holds your soap. If you’re washing a big truck or an SUV, a larger 32-ounce reservoir is a lifesaver. It means you can foam the entire vehicle without having to stop and mix more solution. For a compact car or just a quick touch-up wash, a smaller canister makes the whole tool feel more agile and less tiring to use.
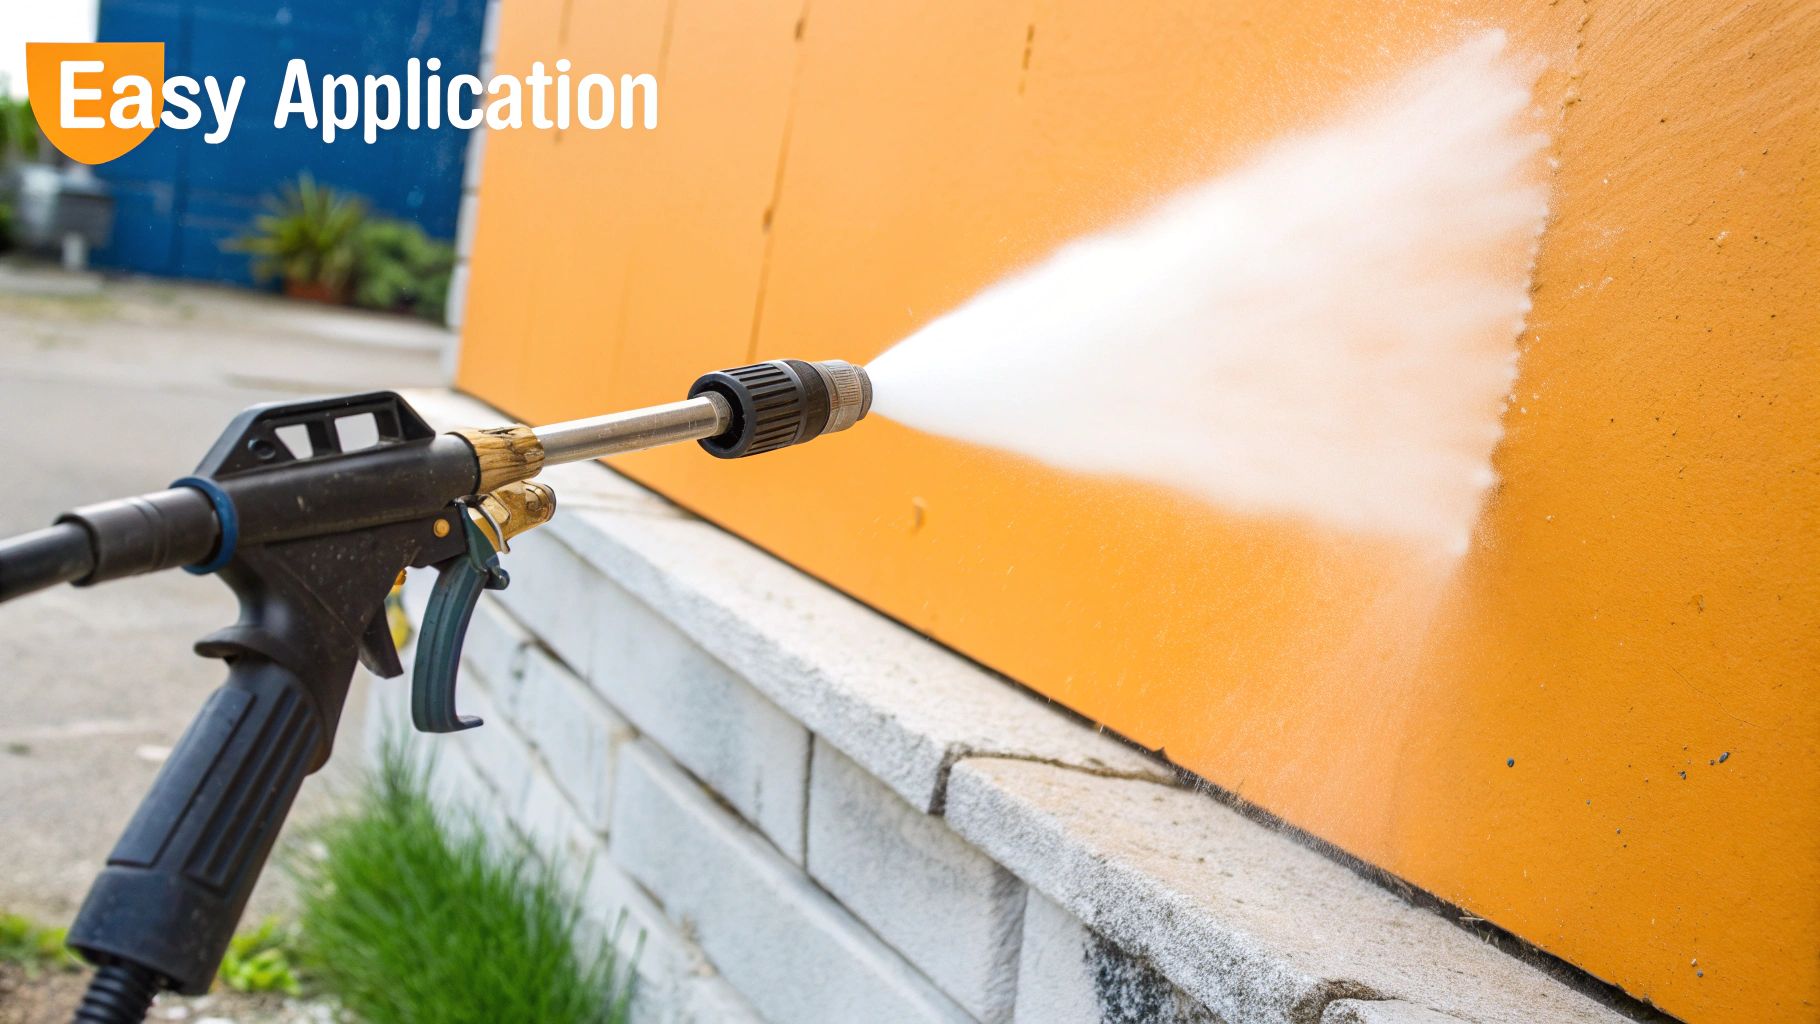
One feature I absolutely insist on is an adjustable nozzle. The power to change the spray pattern from a wide fan to a narrow stream is what separates a decent tool from a great one.
- A wide fan setting is your go-to for covering large areas fast. Think hoods, roofs, and doors. It lays down a nice, even blanket of foam.
- A narrow jet setting is for surgical strikes. It’s perfect for blasting grime out from behind wheel wells, rocker panels, or that collection of bugs on your front bumper.
This kind of control really makes a difference in the final result.
I see this all the time. My neighbor, who's a total detailing nut, uses a pressure washer cannon to get that super-thick, shaving-cream foam. On the other hand, my buddy with the vintage Mustang loves his simple hose-end foam gun because it's no-fuss and gets the job done on a Sunday morning.
Making the Final Call
Ultimately, the best foam gun for you comes down to your personal needs. Consider the car you drive, how often you wash it, and even where you’ll store the tool. If you want to dig even deeper into all the options, check out this ultimate guide to choosing an auto foam gun.
It's also worth noting that you're part of a bigger trend. The market for low-pressure foam guns—the kind that attach to a regular garden hose—is already valued at around USD 500 million. Experts expect it to keep growing as more people look for smarter, more water-conscious ways to wash their cars at home. By picking a good foam gun, you're not just buying a tool; you're adopting a more efficient and responsible way to keep your car looking its best.
Getting Your New Foam Gun Ready for Action
Alright, so you've unboxed your new foam gun. Now for the satisfying part—getting it assembled and dialed in for that perfect, thick layer of suds. Taking a few moments to set it up correctly now will save you from the frustration of leaks or weak, watery foam later on.
First things first, let's connect the canister to the main body of the gun. They usually just screw together, but I’ve learned a pro tip that makes a huge difference: wrap a little plumber's tape around the canister threads before you twist it on. It’s a simple trick that ensures a perfect, watertight seal, so you won’t have soapy water dripping all over your hands mid-wash.
With the canister on, it's time to connect the whole unit to your water source. Whether you're using a standard garden hose or hooking it up to a pressure washer, this connection point is notorious for leaks. Double-check that the quick-connect fitting or threaded adapter is seated properly and give it a firm twist to make sure it's secure.
Nailing the Soap-to-Water Ratio
The real secret to that satisfying, clingy foam lies in the mix you create inside the canister. Get this soap-to-water ratio wrong, and you'll end up with runny suds that just slide off the paint before they can do any real cleaning.
For a reliable starting point, I always begin with a ratio of 1 part soap to 5 parts warm water. This usually means pouring 2-3 ounces of your go-to car wash soap into the empty canister first, followed by 10-15 ounces of warm water. Using warm water is key here; it helps the soap dissolve completely for a much richer foam.
A quick piece of advice: don't just blast the water in. Pour it slowly down the side of the canister. This prevents the soap from foaming up inside before you’ve even started, which can throw off your measurements.
This initial ratio is a great baseline, but think of it as a starting point, not a hard rule. You'll likely need to fine-tune it based on your specific situation.
- Water Hardness: If you know you have hard water, you’ll probably need a little extra soap to get the same sudsy result.
- Soap Type: Some car wash soaps are super-concentrated and require much less product. Always glance at the manufacturer's recommendations on the bottle.
- The Job at Hand: If you're tackling a car caked in mud, a slightly richer foam mixture can provide some extra cleaning muscle.
Once your solution is mixed and the gun is hooked up, you're all set to cover your car in foam. If you're looking for a complete walkthrough of the entire washing process, this guide on how to use a foam gun has some great visuals and tips.
How to Get That Perfect Clingy Foam
This is where the magic really happens. Applying the foam is more of an art than a science, and learning to master your foam gun's adjustments is the secret to creating that thick, satisfying layer of suds that clings to your car. It’s all about creating the right kind of foam for the job.
Most foam guns have two main controls you'll need to get familiar with. The first is a dial, usually on top, that controls the soap-to-water ratio. The second is the nozzle itself, which lets you change the spray pattern from a narrow, focused jet to a wide, gentle fan. The real trick is learning how to use these two adjustments together to get incredible results.
Dialing in Your Foam Thickness
That top dial on your foam gun is essentially your foam thickness controller. When you turn it toward the “+” or “max” setting, you're letting more soap concentrate into the water stream. The result? A much denser, richer foam. If you turn it the other way, toward “-” or “min,” you dilute the mixture for a lighter, runnier foam.
So, which setting should you use? It really depends on how dirty your car is.
- Light Dust & Maintenance Washes: You don't need to go crazy with the foam here. A thinner mix with a wide spray pattern is all you need to lift light dust without wasting your good soap.
- Heavy Grime & Post-Road Trip Messes: This is when you want that super thick, shaving-cream-style foam. Crank that soap dial all the way up. This creates a heavy blanket that will stick to the sides of your car, giving it more time to break down all that caked-on dirt and grime.
Mastering Your Application Technique
How you spray the foam onto your car is just as crucial as the foam's consistency. If there's one pro-level trick you need to adopt, it's this: start at the bottom of the vehicle and work your way up.
I know, it sounds backward. But trust me, it works. Applying foam to the dirtiest areas first—like the rocker panels, lower doors, and bumpers—gives the suds the most time to dissolve the heavy stuff. As you move up the car, the foam from above runs down, giving those lower sections a continuous re-soaking.
This bottom-up method is the single biggest thing you can do to level up your pre-soak. It keeps the entire car saturated and turns a quick spray-down into a seriously effective dirt-lifting treatment.
Once your car is completely covered, just let the foam sit and do its thing for about 3-5 minutes. The key is to never let it dry on the paint. Watching it slowly slide off the car, taking all the dirt and grit with it, is easily one of the most satisfying parts of detailing.
This "dwell time" is also a huge help in preventing pesky water spots later. For a deeper dive into that, check out our guide on how to remove water spots when washing your car. Nail these foam gun techniques, and you'll be on your way to a perfect, swirl-free finish every time.
Keeping Your Foam Gun in Top Condition
Your car wash foam gun is a pretty low-maintenance tool, but a little bit of care goes a long way. Think of it like any other quality piece of equipment—if you treat it right, it'll treat you right for years to come. A quick post-wash routine is the secret to getting that perfect, thick foam every single time. If you skip it, you're asking for clogs and weak suds down the road.
The single most important thing I do after every wash is flush the whole system with clean water. It’s a non-negotiable step. Once the canister is empty of soap, I just fill it up with plain water from the tap.
Then, I'll screw it back onto the gun, hook up the hose, and spray clear water through the entire assembly for at least 30 seconds. This simple flush is incredibly effective at preventing soap scum from drying inside the gun’s delicate internals. That leftover residue is the number one cause of clogs, especially in the fine mesh filter that actually creates the foam.
Simple Deep Cleaning and Smart Storage
Every few months, or whenever I notice the foam isn't as rich as it used to be, I'll give the gun a slightly deeper clean. It sounds like a chore, but it really only takes a few minutes.
I just carefully take the nozzle and quick-connect fittings apart. Then, using a small brush, I'll gently scrub the individual pieces, paying close attention to that little mesh screen and any other small openings where soap could hide.
While it's disassembled, it's also the perfect time to give the rubber O-rings a quick look. Check for any cracks or signs of wear. These little gaskets are crucial for a leak-free seal, and you can grab cheap replacements at any hardware store or from Autozone.
Proper storage is just as important as cleaning. I can't stress this enough: don't leave your foam gun lying around outside. If water freezes inside, it can easily crack the plastic housing or damage the brass fittings. I always keep mine in a garage cabinet, safe from the elements and accidental drops.
Taking just a few minutes for this post-wash care ensures your car wash foam gun from Autozone is always ready to go. It's a small price to pay for the satisfaction of knowing you'll get thick, clingy foam and a better, safer wash every time.
Answering Your Top Foam Gun Questions
Let's be honest, getting that perfect, thick foam can sometimes feel like a dark art. You mix your soap, hook everything up, and get… watery suds that just slide right off the paint. It’s a common frustration, but usually, it's an easy fix.
Most of the time, weak foam comes down to a simple soap-to-water imbalance. A good starting point for most soaps you’d grab from a place like Autozone is a 1:5 ratio—one part soap to five parts warm water. From there, you can fine-tune it. Turn the dial on top toward the "+" for a richer, denser foam or toward the "-" if you want something a bit lighter.
A quick pro-tip: always use warm water in your canister. It makes a huge difference in how well the soap concentrate dissolves, which is key to getting those thick, clinging suds.
Troubleshooting Weak Foam and Clogs
If you’ve dialed in your soap ratio and the foam is still thin, the next culprit is almost always a clog. Your foam gun has a small mesh filter inside, and it doesn’t take much for soap scum or hard water deposits to gum it up.
Here’s my routine to keep it clear:
- Give the filter a quick rinse under warm tap water after every couple of washes.
- If you see stubborn gunk, a soft-bristled brush will knock it loose.
- I recommend swapping the filter out entirely every 6 months or so just to ensure you're always getting maximum foam output.
Clogging is hands-down the number one cause of weak foam. A quick rinse after each use is the easiest way to prevent it and takes less than a minute.
Don't forget about the nozzle tip, either. It can get blocked and disrupt your spray pattern. If the stream looks off, just unscrew the tip, let it soak in a bucket of warm, soapy water for about five minutes, then rinse and reattach it.
Keeping Your Foam Gun Maintained and Leak-Free
Nothing is more annoying than a dripping foam gun, wasting soap and soaking your shoes. Leaks almost always happen at a connection point, especially if you're using plastic adapters which can warp over time.
This table covers the usual suspects and how to fix them fast:
| The Problem | What's Likely Happening | The Quick Fix |
|---|---|---|
| Dripping at the head | The O-ring is worn out. | Grab a replacement O-ring from the Autozone parts aisle. |
| Leaking at the canister threads | The seal isn't tight enough. | Wrap the threads with a little PTFE (plumber's) tape and hand-tighten firmly. |
| Spraying from the hose fitting | It's just a loose connection. | Snug it up with a wrench or, if the adapter looks worn, swap it out. |
A solid, leak-free seal means all your pressure and shampoo go where they’re supposed to—onto your car. After you're done washing, always flush the gun with plain water for 30 seconds. This simple step prevents soap residue from building up inside and causing problems down the road.
A Word on Compatibility
I get a lot of questions about using the same foam gun with a garden hose and a pressure washer. It's usually not a simple swap. The fittings are completely different.
- Garden hose foam guns, like many from Autozone, typically use a standard ¾" garden hose fitting.
- Pressure washer foam cannons need a ⅜" quick-connect adapter to work.
- You can find universal adapter kits for around $8–$12 that might let you switch, but be careful.
Important: Trying to force a connection between mismatched fittings is a great way to damage the seals on your equipment and potentially void your warranty.
Compatibility also applies to your soap. While most car wash soaps from Autozone work fine, some highly concentrated professional-grade soaps might need a much lower setting on your gun's dial. Always glance at the bottle for the recommended dilution rate before you start mixing.
Is It Worth Upgrading to a Premium Foam Gun?
This is the big question. Do you really need to spend more? It depends entirely on what you're doing.
- For the casual user: If you're just washing the family car on a Saturday, a standard garden hose foam gun is more than enough to get the job done.
- For the enthusiast or pro: If you're tackling seriously caked-on mud or detailing cars for clients, a pressure washer foam cannon is a game-changer. The pre-soak is far more effective and will genuinely cut down your cleaning time.
Think of it like this: I have a friend, Jake, who runs a mobile detailing business in Denver. He switched from a hose-end gun to a proper foam cannon, and he told me it cut his pre-soak and wash time in half. His clients immediately noticed the difference in the finish, and that simple upgrade helped him land more repeat customers.
Ultimately, the right foam gun, combined with a little bit of upkeep, will become one of the most reliable tools in your car care arsenal. With these tips, you can stop troubleshooting and start enjoying a faster, more effective wash.
Ready to see the difference for yourself? You can grab the SwiftJet Car Wash Foam Gun at swiftjetusa.com and start making thick, clingy foam that gets your car truly clean.