

You wash the wheels. They look perfect for a day. Then one commute, one grocery run, or one weekend drive later, the front wheels already wear that gray-brown film again. If you own a performance sedan, a heavy SUV, or anything with wheels that show brake dust easily, you know the routine. The face of the wheel gets dirty first. The barrel gets worse. Tight spoke patterns turn basic cleaning into knuckle work.
That cycle is why so many DIYers start looking for the best ceramic wheel coating. They’re not chasing hype. They want less scrubbing, less harsh cleaner, and less damage from baked-on dust.
Your Battle Against Brake Dust Ends Here
Many drivers start caring about wheel protection after they’ve had enough of cleaning the same wheels over and over. Gloss black wheels are the usual breaking point. Freshly washed, they make the whole car look expensive. Two drives later, they look neglected.
Ceramic wheel coatings solved a genuine problem, and the market around them is no longer niche. The global wheel ceramic top coat market reached USD 425 million in 2024 according to Growth Market Reports. That matters because it tells you this category has moved well beyond a pro-detailer specialty. Products are better, application methods are clearer, and wheel-specific chemistry now exists for a reason.
Brake dust itself also varies by vehicle and pad compound. If you're trying to understand why some setups dust more than others, this explainer on ceramic brake pad technology is useful background. Wheel protection makes more sense when you understand what’s landing on the rim.
What separates a good wheel coating guide from marketing copy is simple. Genuine wheels don’t live in perfect test conditions. They see:
- Daily heat cycles from stop-and-go driving
- Road film and salt that slowly attack the finish
- Tight barrels and spoke pockets where products get missed
- Different wheel textures that don’t all behave the same
Ceramic coating doesn't make wheels self-cleaning. It makes dirt less able to stick hard.
That’s the difference worth paying for. A proper coating won’t stop your wheels from getting dirty. It changes the kind of dirt you’re dealing with. Instead of bonded grime that needs aggressive agitation, you’re usually facing loose contamination that rinses and washes off with far less effort.
Understanding Ceramic Wheel Coating Technology
A ceramic wheel coating is best thought of as a liquid-applied protective film that bonds to the wheel surface and leaves behind a hard, slick, chemically resistant layer. On a practical level, that means brake dust, road grime, and water have a harder time grabbing onto the finish.
What the coating is doing
Wheel coatings work because they lower surface energy. You don’t need the chemistry degree version of that. The useful version is this: a coated wheel becomes slick enough that water beads, grime releases easier, and the surface doesn’t hold contamination as stubbornly as bare clear coat, bare powder coat, or an old wax layer.
Traditional waxes and sealants sit on the surface and wear away quickly, especially around heat. A wheel-specific ceramic is built for a much nastier environment.
Here’s the practical difference:
| Protection type | Real-world character |
|---|---|
| Wax | Easy to apply, short-lived, weak around heat |
| Polymer sealant | Better than wax, still temporary on wheels |
| Standard ceramic | Stronger bonding, better chemical resistance |
| Advanced wheel ceramic | Built for heat, brake dust, and repeated wash cycles |
SiO2 and why wheel formulas differ
Many coatings are built around SiO2, or silicon dioxide. That’s the common base people refer to when they say “ceramic.” It’s useful because it creates the glass-like behavior people want: water beading, slickness, chemical resistance, and a hardened sacrificial layer.
But wheel coatings often go further than a paint coating. A wheel sits close to the brakes. It sees repeated heating and cooling, and that expansion cycle matters. The better wheel products aren’t just hard. They also need enough flexibility to survive those thermal swings without becoming brittle.
Practical rule: For wheels, don't judge a coating by gloss alone. Heat behavior matters more than showroom shine.
Why wheel prep changes the result
A coating bonds to the surface underneath it, not to your effort level. If the wheel still carries iron fallout, old dressing, or cleaner residue, the coating locks onto contamination instead of the finish itself. That’s when people say a product “didn’t last,” even though the bigger problem was prep.
A good ceramic wheel coating doesn’t hide mistakes. It exposes them.
That’s why experienced detailers obsess over decontamination, proper wipe-down, and even application patterns. The chemistry is advanced, but the result still depends on clean paint, clean powder coat, or clean clear coat.
Benefits of Ceramic Coated Wheels in Use
The biggest benefit of the best ceramic wheel coating isn’t that your wheels stay spotless forever. They won’t. The primary gain is that dirt stops turning into punishment.
Top ceramic wheel coatings like Titan Alpha Quartz deliver 2-3+ years of durability and heat resistance over 1,800°F, while traditional wax lasts weeks and resists less than 150°F, and standard ceramics typically offer 1-2 years with heat resistance around 1,000°F, according to Titan Coatings. On wheels, those differences aren’t abstract. They show up in how fast the protection falls off after repeated hot braking, summer driving, and wash cycles.
Easier cleaning is the first thing you notice
Fresh brake dust usually loosens with a rinse and light agitation instead of clinging like it’s fused to the finish. That changes your wash routine in three ways:
- You use less aggression because you’re not grinding at baked-on residue.
- You use safer chemistry more often, especially pH-neutral wheel cleaners.
- You spend less time in spoke corners and barrels where contamination usually hangs on.
That’s a major quality-of-life upgrade for anyone cleaning multi-spoke wheels, dark finishes, or larger truck wheels with deep barrels.
Heat resistance matters more than most buyers realize
Wheel coatings fail when people treat them like paint coatings with a wheel label. A front wheel on a heavy, fast, or frequently driven vehicle gets punished by heat. If the product can’t tolerate that environment, the hydrophobic behavior drops off and the wheel starts behaving like an unprotected surface again.
That’s why high-heat formulas stand apart. The coating has to survive repeated thermal cycles and still release contamination cleanly later.
Chemical resistance protects the finish itself
A coating also acts as a buffer between your wheel finish and the abuse of road life. Salt, grime, and stronger cleaners have a harder time reaching the wheel itself when a bonded layer sits on top.
This matters most for:
Daily drivers in winter climates
Road salt changes the whole equation. Even a strong coating won’t make winter easy, but it gives you a sacrificial layer between contamination and the finish.
Expensive aftermarket wheels
Machined faces, complex painted finishes, and custom powder coat all cost more to refinish than most owners expect. Protection makes more sense when replacement or refinishing is painful.
Vehicles that generate visible front-wheel dust
Sports sedans, performance coupes, and heavier vehicles often make the problem impossible to ignore. On those, wheel coating pays back in labor saved alone.
The right coating doesn't eliminate maintenance. It lowers the cost of every wash after the first one.
Appearance still matters
The slick, freshly detailed look lasts longer on a coated wheel because grime doesn’t mute the finish as quickly. On gloss wheels, that usually means sharper reflectivity and a cleaner look between washes. On non-gloss wheels, the win is less about shine and more about easier upkeep, assuming the coating is compatible with the finish.
How to Choose the Right Ceramic Wheel Coating
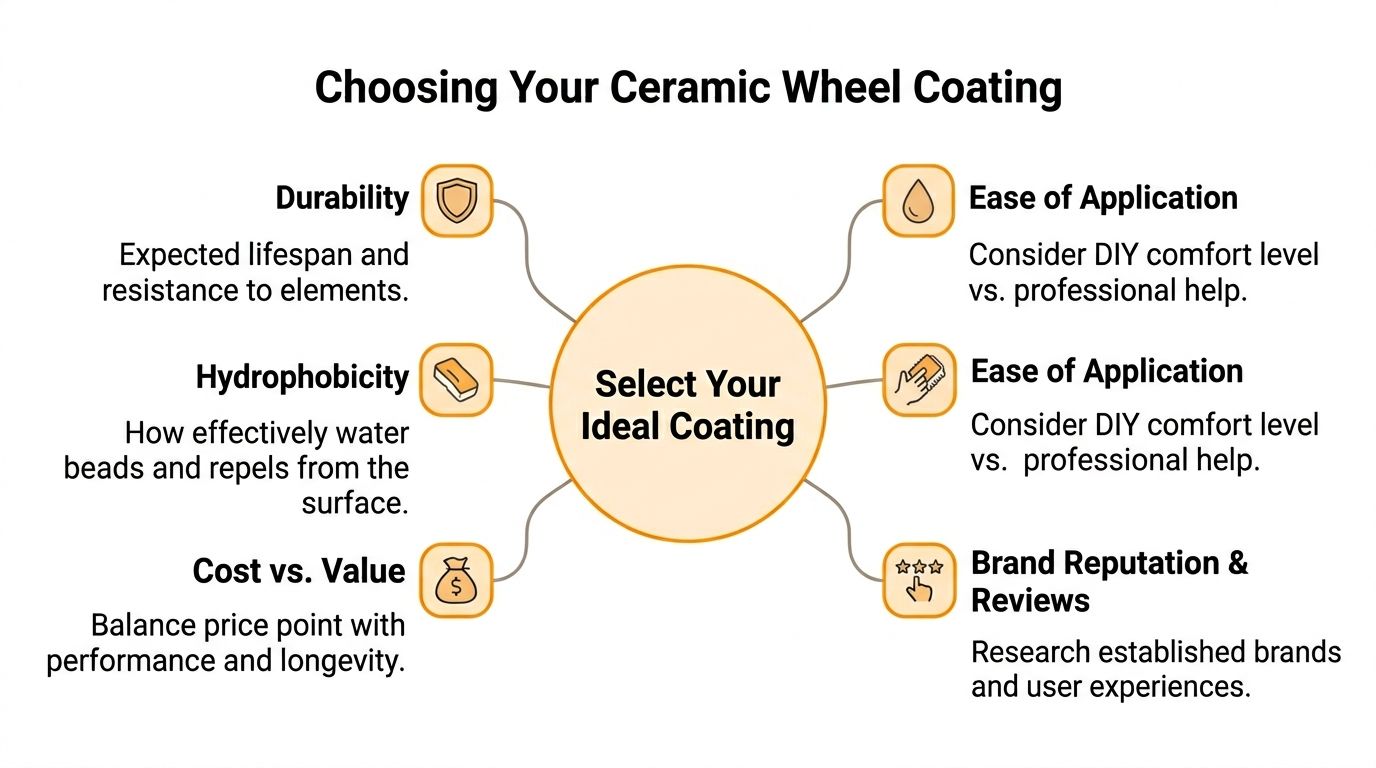
Most buyers choose a wheel coating the wrong way. They shop by brand familiarity, packaging, or whatever product gets called “best” in a generic roundup. A better approach is to match the coating to the wheel, the vehicle, and how you use it.
Start with the wheel finish, not the product
Often, mistakes occur here. Gloss painted and gloss clear-coated wheels are the easiest surfaces for ceramic coatings. They’re smoother, easier to inspect, and more forgiving during leveling.
Matte, satin, and textured wheels are a different job. Ceramic wheel coatings may underperform or fail prematurely on those finishes because the micro-texture can trap contaminants and cause uneven application, reducing repellency by up to 30% in real-world tests according to Chemical Guys.
That doesn’t mean you can’t coat those wheels. It means you should change your expectations and your process.
If your wheels are gloss
A full ceramic coating makes the most sense. You’ll get the clearest visual payoff and the easiest wipe-off during maintenance.
If your wheels are matte or satin
Be more conservative. Test a hidden section first. Watch for darkening, streaking, or uneven flash. On some wheels, a simpler sacrificial product is the smarter choice.
If your wheels are textured
Expect more labor. Texture can hold residue during application and later hold contamination during maintenance. “Best” here often means “least risky,” not “most durable on paper.”
Match the coating to how the vehicle is driven
A weekend cruiser and a daily-driven German sedan don’t need the same thing. Neither does a tow rig or a track-day car.
Use this framework:
| Your use case | What to prioritize |
|---|---|
| Daily commuter | Easy application, strong dust release, simple upkeep |
| Performance car | Heat tolerance, consistent behavior after hard braking |
| Show car | Finish quality, clean leveling, low chance of smearing |
| Winter daily | Chemical resistance, realistic maintenance expectations |
| Matte or satin wheels | Surface compatibility and forgiving application |
Decide how much risk you want during application
Some wheel coatings are rewarding and not forgiving. Others are easier for first-timers but may feel less “pro grade” in how they apply.
Ask yourself:
- Can you recognize flashing? If not, choose a user-friendly formula.
- Can you work indoors or in stable conditions? If not, avoid finicky coatings.
- Will you remove the wheels? If yes, you can justify using a more serious product.
- Do you want a coating or a maintenance product? They’re not the same.
If you're comparing a true coating to a lighter maintenance option, this overview of ceramic spray coating helps clarify where sprays fit and where they don't.
Look past “years of protection”
Longevity claims matter, but they’re incomplete without context. Daily-driven wheels face front-wheel heat, road salt, neglected wash intervals, and tight geometry that makes full coverage harder. A coating that looks unbeatable in ideal conditions can be ordinary on a commuter car that sees winter grime and infrequent cleaning.
Buy for your conditions, not the label. The best ceramic wheel coating on the wrong surface is still the wrong product.
A smart buyer’s checklist
Before you commit, check these five points:
- Finish compatibility if the wheel is matte, satin, textured, or raw-looking
- Heat behavior if the vehicle is heavy, powerful, or driven hard
- Ease of use if you’re a first-time coating user
- Maintenance demands because some products stay strong only with careful washing
- Access to the inner barrel since that’s where neglected brake dust piles up fast
That’s how you choose well. Not by hype. By fit.
Your Step-by-Step Wheel Coating Application Guide
Freshly coated wheels are satisfying for about a week. Then the true test starts. Heat cycles, repeated washes, and packed-on brake dust expose every shortcut you took during prep, especially on daily drivers and on satin or textured finishes that do not hide smears the way glossy paint sometimes does.
A wheel coating job is won before the first drops touch the surface. Application is the short part. Surface prep, lighting, and cure control decide whether the coating stays slick and easy to clean or turns into a patchy mess.
Step 1 clean the wheel completely
Start with a proper wash to remove loose grit before any contact cleaning. On wheels, the hidden areas matter as much as the face. Barrels, lug recesses, spoke backs, and the area around the valve stem collect the contamination that later causes poor bonding.
Use a dedicated wheel cleaner if the wheels carry old brake dust or road film, then agitate with the right tools instead of forcing one brush into every opening. A practical guide to choosing the right wheel cleaning brush for barrels, spokes, and lug areas helps here.
For shops and advanced DIYers cleaning intricate parts with baked-on residue, some of the newer modern automotive cleaning solutions are worth understanding, especially where manual cleaning reaches its limit.
Step 2 decontaminate before coating
A wheel can look clean and still be contaminated. Embedded iron from brake dust, tar spots, and old dressing residue all interfere with bonding. If the coating lands on contamination, durability drops and water behavior gets inconsistent fast.
A proper decon cycle usually looks like this:
- Iron remover for embedded metallic fallout
- Tar remover where road residue or adhesive is present
- Clay or synthetic decon media if the surface still feels rough
- Final rinse and full dry before solvent prep
Take drying seriously. Water trapped around center caps, lug holes, spoke joints, or the inner lip often creeps out during application.
Step 3 strip oils and check the finish
Once the wheel is clean and dry, wipe it with a paint-safe panel prep or solvent wipe to remove oils, cleaner residue, and fingerprints. That gives the coating direct contact with the wheel finish instead of a thin film of leftovers.
This is also the point to slow down and inspect the finish type. Gloss wheels are usually straightforward. Satin, matte, machined, and textured finishes need more care because missed residue, towel marks, or high spots can show unevenly and be harder to correct after curing.
Pay extra attention to these areas:
- Behind spokes
- Around lug holes
- Center cap edges
- The inner lip
- The barrel if the wheel stays mounted
If the wheel stays on the car, be honest about access. You can still protect the face well, but full barrel coverage is harder, and that affects real-world durability where brake dust loads up the heaviest.
Step 4 apply in small sections
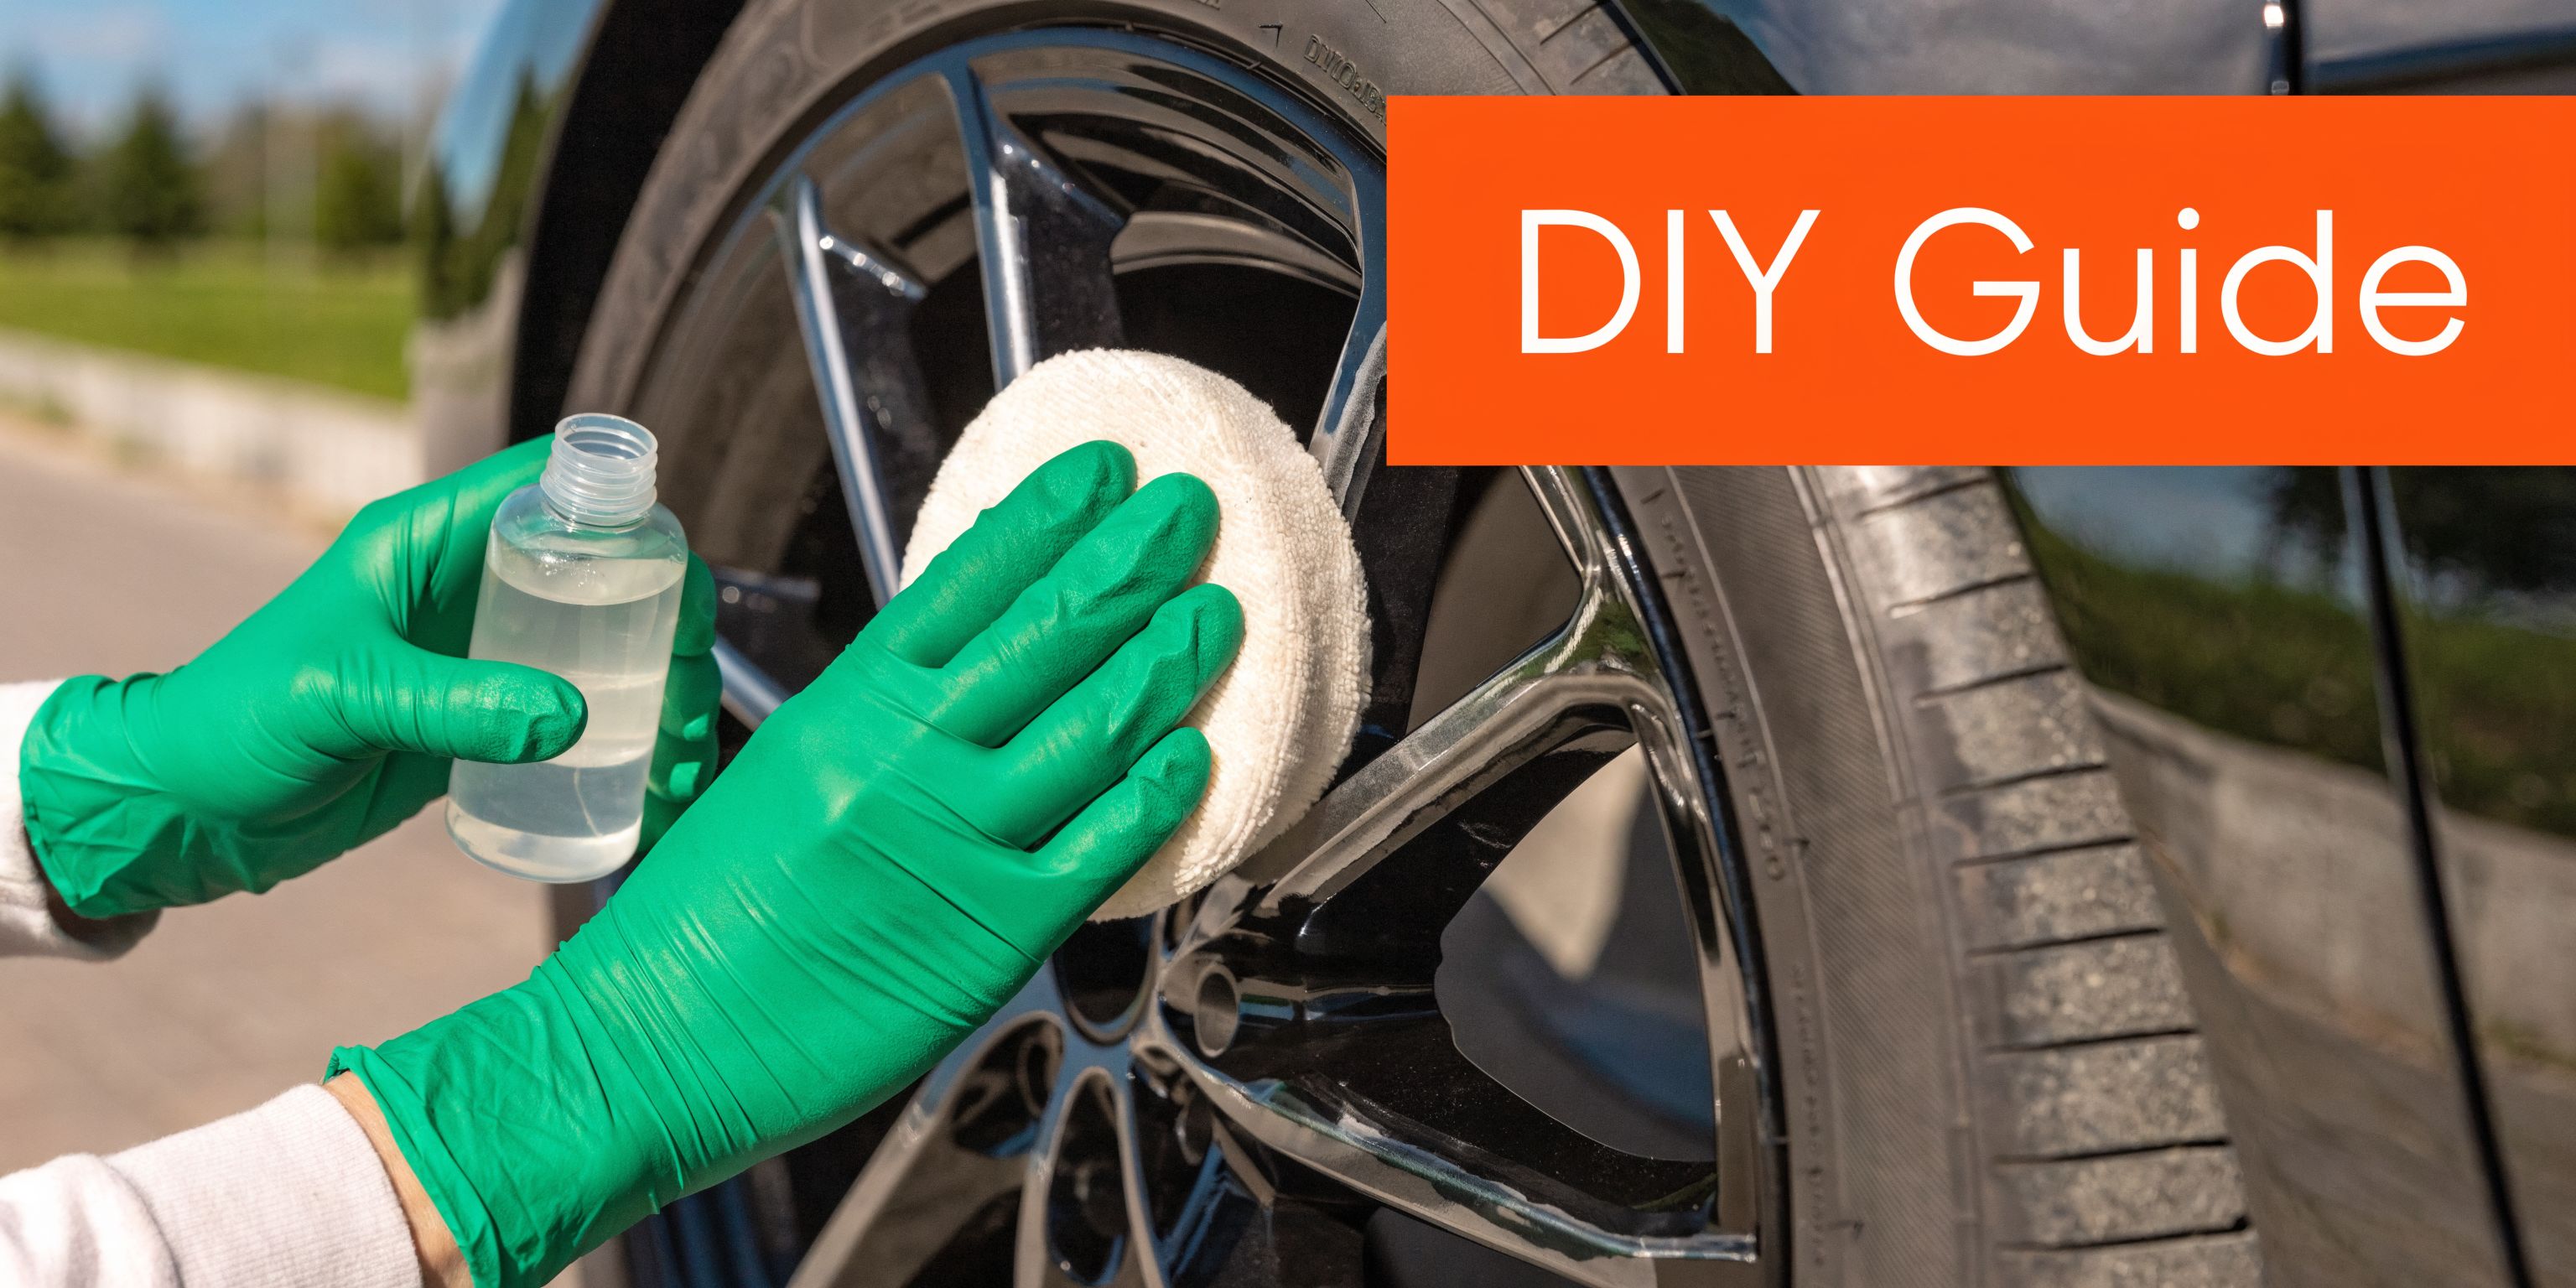
Use a suede or microfiber applicator and work one section at a time with a controlled cross-hatch pattern. That keeps film thickness more even and makes it easier to see where product has been laid down.
Keep the application thin. Extra product does not create extra protection. It creates more residue to level and raises the chance of streaking, especially on darker wheels and low-gloss finishes.
A few drops at a time is enough once the applicator is primed.
Step 5 watch the flash and level cleanly
As the coating flashes, you may see a light haze, slight rainbowing, or a damp-looking patch. Level it with a clean microfiber before it hardens into a high spot.
Use one towel for the first wipe and a second for the follow-up check. Strong lighting matters here. On satin and matte wheels, high spots can be subtle during application and obvious the next day.
Conditions change how much working time you get:
| Bad condition | Why it causes trouble |
|---|---|
| Direct sun | Speeds flashing and shortens leveling time |
| Hot wheel surface | Makes the coating grab and smear |
| High humidity | Changes flash behavior and can make leveling less predictable |
| Dusty work area | Drops contamination onto the surface while coating is still open |
Step 6 let it cure without interruption
Once the wheel is coated and leveled, leave it alone for the full cure period listed by the manufacturer. Keep it dry. Avoid immediate driving if the product warns against early heat exposure.
This part gets ignored all the time. A wheel may look finished long before the coating has stabilized. Water, heat, or even handling too soon can weaken the result and shorten how long the wheel stays easy to clean.
The best DIY wheel coating jobs usually look uneventful while they are happening. Clean surface. Thin application. Careful wipe-off. Patience. That approach beats rushing every time.
Top Coating Recommendations for Your Vehicle
Saturday morning. The front wheels are brown again, the barrels are hot from yesterday’s drive, and the product that looked perfect on the box now has to prove itself on your actual car. That is where wheel coating choices get real. Daily-driven durability matters more than marketing language, and wheel finish matters more than many buyers expect.
The right ceramic wheel coating depends on brake dust load, heat, wheel design, and how picky you are about application behavior. A coating that works beautifully on a gloss-painted five-spoke wheel can be frustrating on a textured satin OEM finish with tight pockets and rough casting.
For the daily-driven commuter
Choose a product that is forgiving first and impressive second. On a commuter, the biggest gain is easier cleaning after repeated road miles, not chasing the longest lab-style durability claim.
Look for:
- easy leveling in normal garage temperatures
- good brake dust release during regular washes
- low risk of obvious high spots on faces and spokes
- reasonable performance even if your prep and wipe-off are not perfect
That usually means skipping the most temperamental coating on the shelf. For school runs, traffic, and supermarket parking lots, predictable behavior beats a product that only shines under ideal conditions.
For performance cars and heavy brake users
Gtechniq C5 Wheel Armour remains a well-known wheel-specific option because it was built for high-temperature wheel duty rather than adapted from a paint coating. Gtechniq positions it as suitable for wheels, brake calipers, and exhaust tips, with heat resistance up to 600C and durability of up to 2 years on wheels, according to the product page for Gtechniq C5 Wheel Armour.
That makes it a sensible fit for:
- sports sedans with dusty front pads
- performance coupes
- heavy trucks and SUVs that load the brakes hard
- cars that see repeated heat cycling
In real use, the appeal is not just heat tolerance. It is the balance. C5 has a long enough track record that detailers know what to expect from it on daily drivers, and that counts for a lot.
For buyers chasing maximum heat tolerance
If your wheels see frequent hard stops, mountain driving, towing, or track use, prioritize a coating with a proven wheel-specific temperature rating and a reputation for staying slick after repeated heat cycles. That usually pushes you toward higher-end products.
The trade-off is application sensitivity. Higher-spec wheel coatings often flash faster and punish rushed leveling, especially on warm wheels or in humid conditions. DIY users can still get excellent results, but the margin for error gets smaller.
For gloss wheels on appearance-focused cars
Gloss wheels show the cosmetic upside of coating better than any other finish. The surface stays brighter between washes, and brake dust usually comes off with less effort before it has time to bite into the finish.
That is especially noticeable on black, anthracite, and machined gloss wheels where light dust changes the look quickly. If appearance is the priority, coating gloss wheels usually feels worth the prep time.
For matte, satin, or textured wheels
Non-gloss finishes do not always deliver the dramatic before-and-after effect people expect, and they can be less forgiving if the coating grabs unevenly or dries patchy in textured areas. Product choice needs more restraint in such cases.
A safer approach is:
- test the product on a hidden section first
- favor coatings with calmer wipe-off behavior
- inspect from multiple angles before cure
- consider whether a regular maintenance routine with the right alloy wheel polish guide and gentler protection strategy makes more sense for that finish
On difficult wheel finishes, the best result often comes from the most controllable product, not the one with the boldest claim on the label.
Maintaining Your Coated Wheels and Avoiding Pitfalls
A fresh coating gets all the attention. Maintenance decides whether that coating feels worth the effort six months later.
The biggest misconception is that a wheel coating is a one-time job with no follow-up. In real use, especially on daily drivers, performance tapers when the wheel sees repeated contamination, neglected wash intervals, and winter chemistry. Long-term durability is still the weakest area in most reviews. Anecdotal reports from detailing forums suggest even strong coatings can see a 30% efficacy loss after a single winter in heavy road-salt regions, as noted by Adam’s Polishes.
Wash for preservation, not punishment
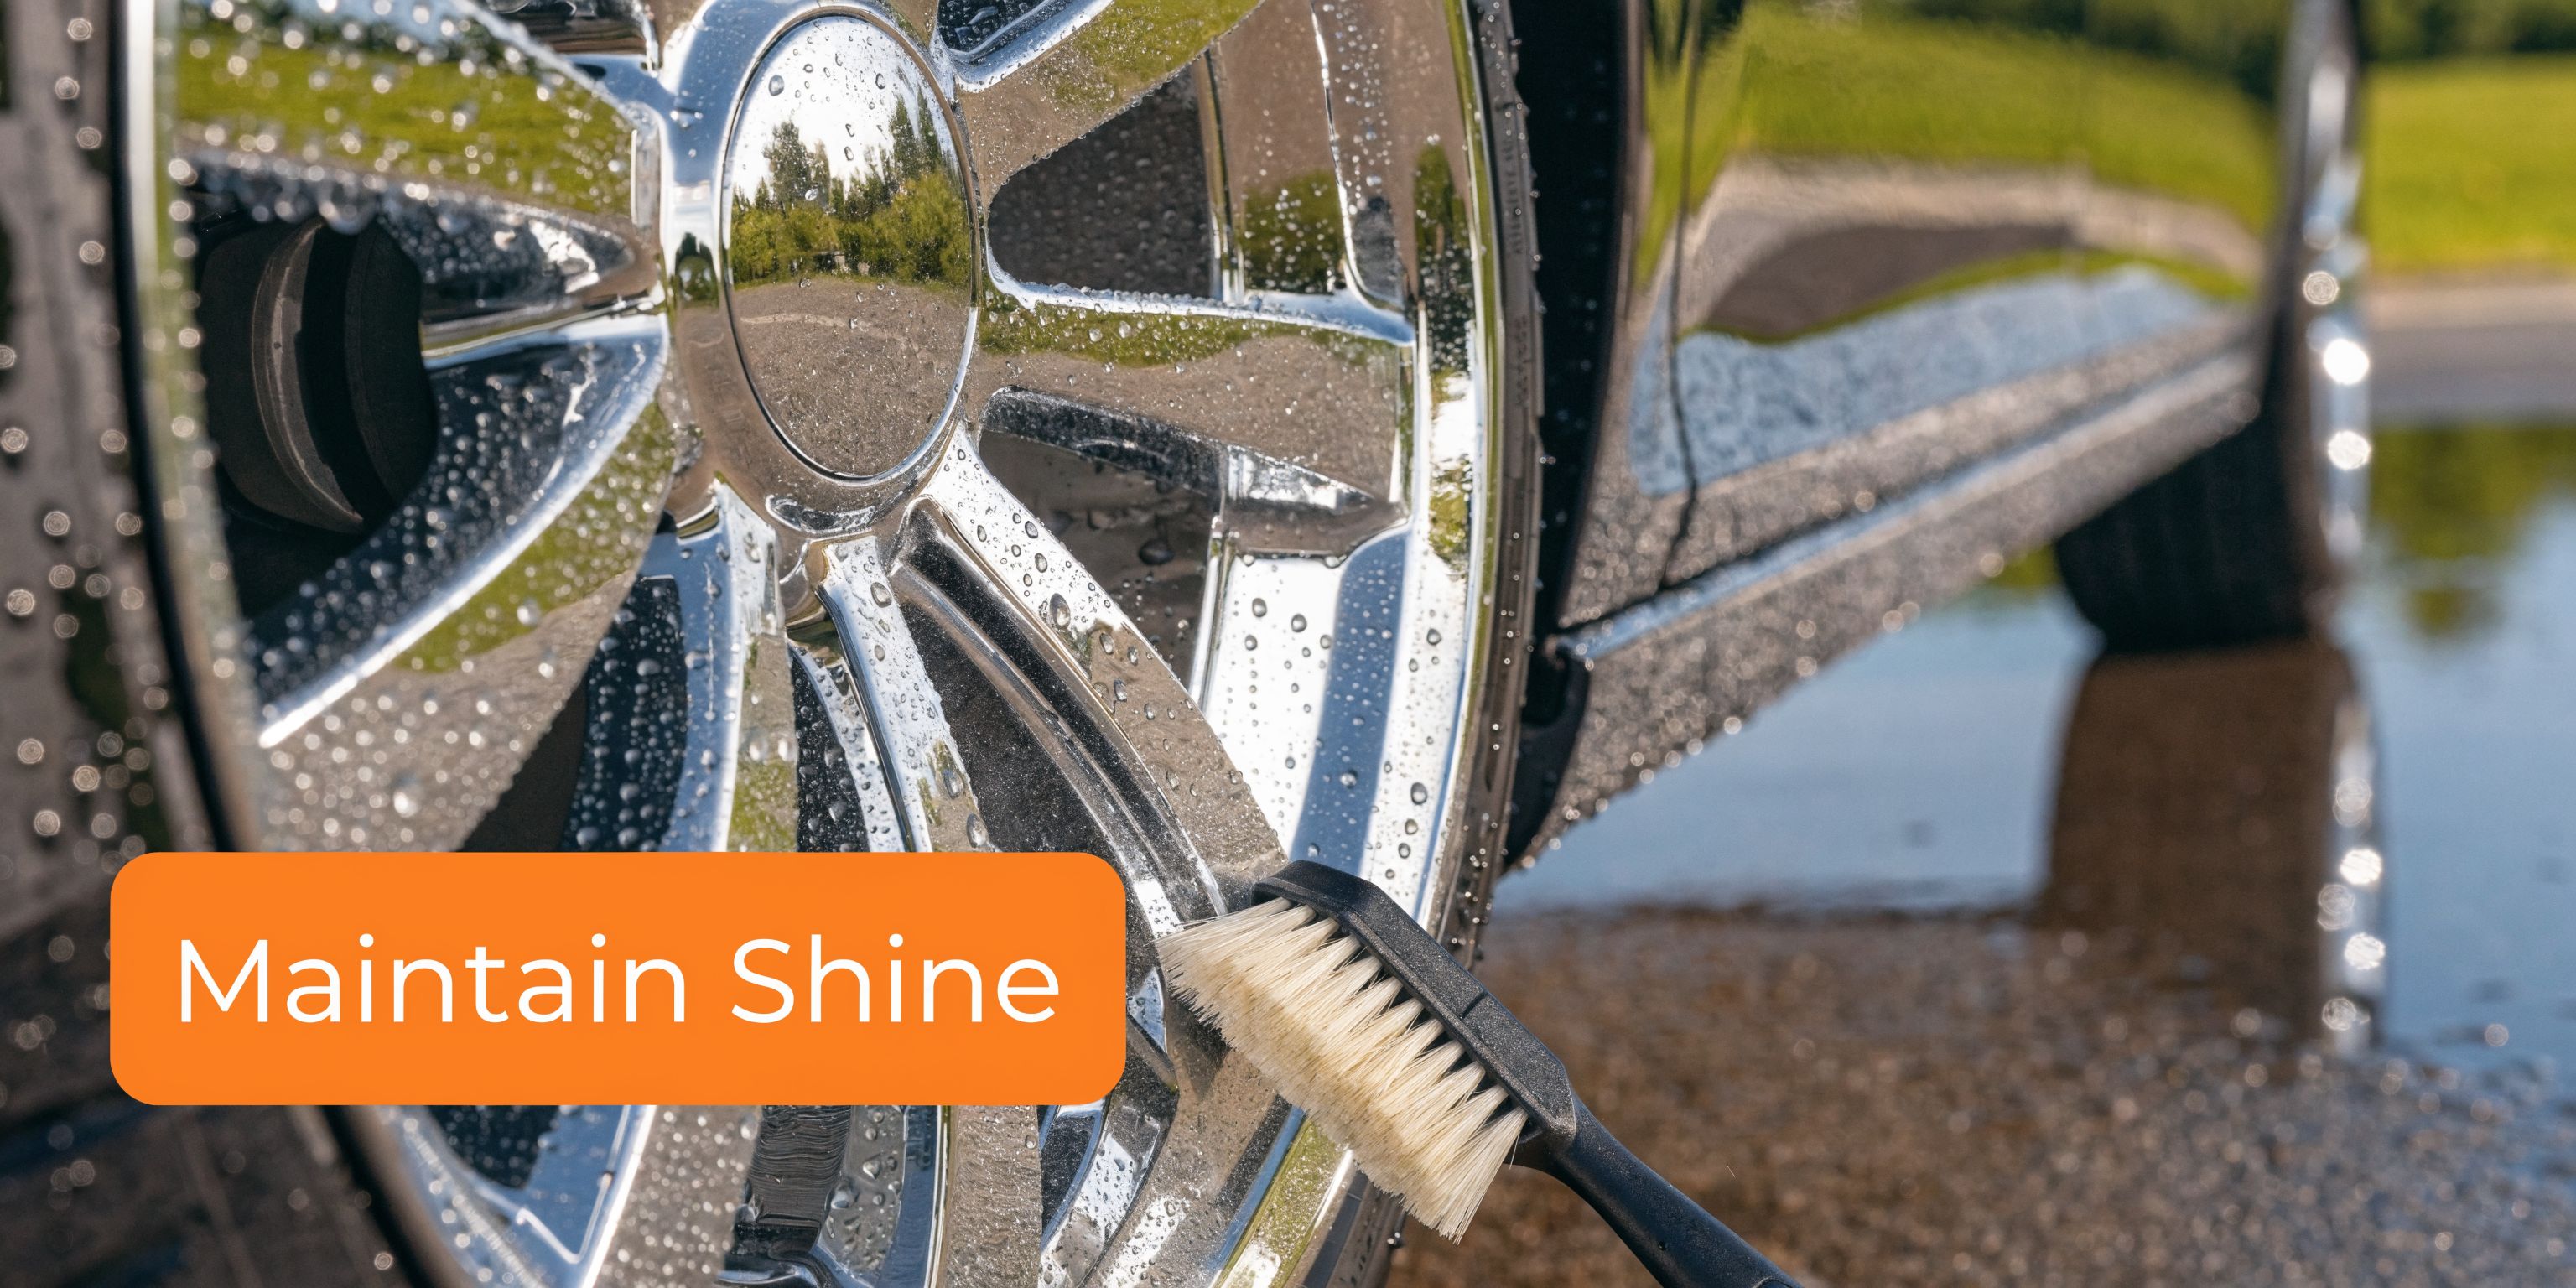
The goal is to remove contamination before it builds into something that needs harsh chemicals and aggressive scrubbing. Coated wheels respond best to regular, gentle cleaning.
A good maintenance routine looks like this:
- Rinse first to knock off loose grit
- Use pH-neutral soap for normal washes
- Agitate lightly with soft wheel tools
- Dry thoroughly if you want to avoid water spotting
If you’re restoring neglected wheels before recoating, a guide to alloy wheel polish can help you think through finish correction before protection.
Learn the signs of a coating that’s fading
Don’t judge a coating only by whether water beads dramatically. Beading can weaken before protection disappears entirely, and a dirty wheel can fake poor behavior.
Look for patterns instead:
Dirt starts sticking harder
If normal road film and brake dust need much more agitation than they used to, the release properties are dropping.
The wheel stops drying cleanly
Water may sheet differently, cling longer, or leave a duller residue than before.
One area fails before the rest
Front wheels, inner barrels, and spoke pockets often degrade first. That doesn’t always mean total failure. It may mean those areas need more attentive cleaning or eventual reapplication.
A coating usually declines unevenly. Inspect the hottest, dirtiest areas first.
Avoid the mistakes that kill performance early
Most premature failures trace back to a short list of errors:
| Mistake | What it causes |
|---|---|
| Weak prep | Poor bonding and early drop-off |
| Applying too much product | Smearing, streaks, hardened high spots |
| Coating hot wheels | Uneven flash and difficult leveling |
| Using harsh cleaners constantly | Faster wear of the protective layer |
| Ignoring winter contamination | Heavy buildup that overwhelms the coating |
What to do about high spots
If you catch a high spot early, you can often level it with a clean towel or a small amount of fresh product on the applicator, depending on the coating. If it cures fully, correction usually means polishing that area and recoating it.
That’s why lighting matters so much during application. Prevention is easier than repair.
Keep expectations realistic
Even the best ceramic wheel coating won’t stop physical damage. It won’t prevent curb rash. It won’t make textured wheels behave like smooth gloss wheels. It also won’t turn a neglected winter wheel into a self-cleaning part.
What it does, when chosen well and maintained properly, is make every wash easier and give the finish a buffer against the grime that normally beats wheels up.
Frequently Asked Questions About Ceramic Wheel Coatings
Should you coat brand-new wheels right away
Yes, if the finish is in good shape and you can prep them properly. New wheels are easier because you’re not fighting years of baked-on contamination. They still need cleaning and a proper surface wipe, but they usually give the cleanest starting point.
How do you remove an old or failed wheel coating
Treat removal like correction, not like washing. First clean and decontaminate the wheel thoroughly. If the old coating is uneven or visibly failing, mechanical polishing is usually the reliable way to remove the remaining layer before reapplying. On matte or satin wheels, be careful. Abrasive correction can alter the finish, so test cautiously and choose the least aggressive method possible.
Is professional application worth it
Sometimes. It makes the most sense when the wheels are expensive, the finish is difficult, or you want the inner barrels coated with the wheels removed. It also makes sense if you know you’re not confident spotting flash or leveling high spots.
If you have a clean garage, patience, and decent lighting, a careful DIYer can get an excellent result on gloss wheels. If the wheels are textured, intricate, or show every mistake, paying for experience can save money and frustration.
Can ceramic coating stop brake dust completely
No. It changes adhesion, not physics. Brake dust still lands on the wheel. The difference is that it usually doesn’t bond as aggressively, so removal is easier and safer.
Should matte and satin wheels always be coated
Not always. Some do well. Some are more trouble than they’re worth. If the finish is delicate or very textured, a lighter sacrificial protection product may be the smarter choice.
If you want wheel cleaning to feel easier before you even get to the coating stage, take a look at SwiftJet. A thick-foam wash setup helps you remove loose grime safely, which is exactly what coated and uncoated wheels both need to stay looking right.
