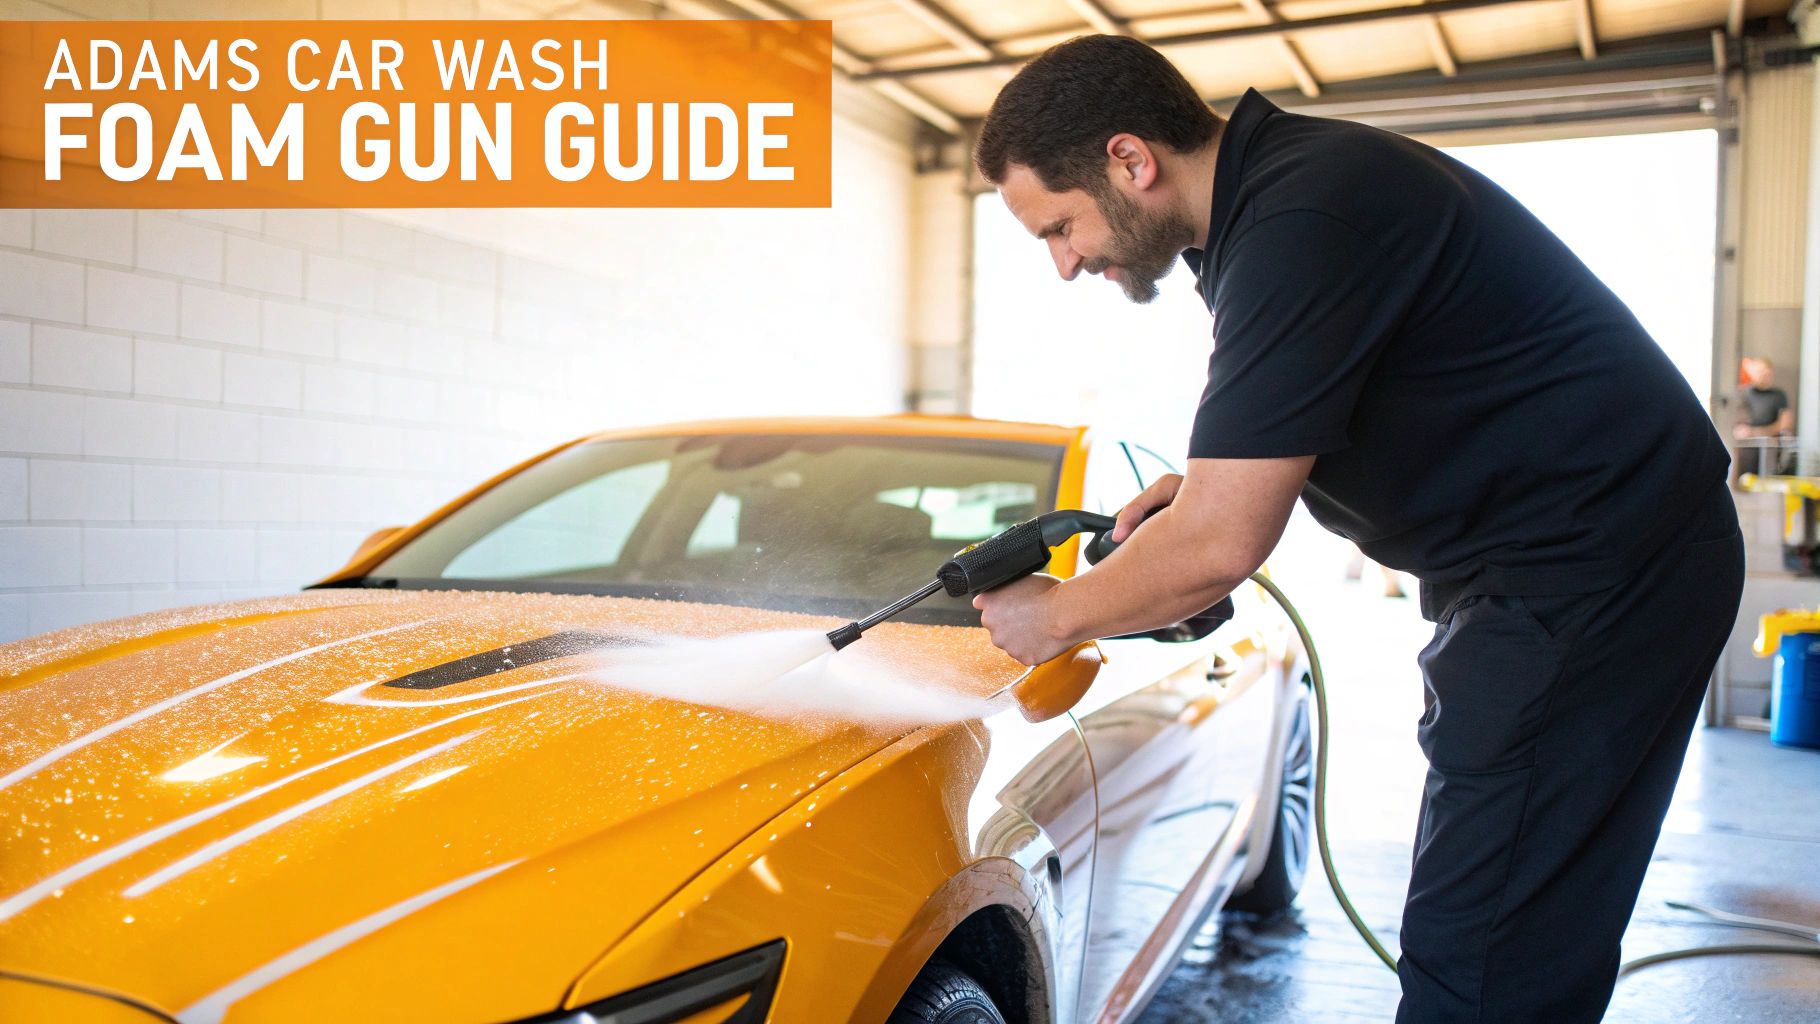
A foam gun, like the popular ones from Adam's Polishes, completely changes the game when it comes to washing your car. It starts the whole process by blanketing your vehicle in a thick, clinging layer of suds. This isn't just for show—this foam is doing the crucial first step of safely lifting abrasive dirt away from the paint. It acts as a lubricant, which is your best defense against the scratches and swirl marks that old-school bucket washing is notorious for creating.
Why a Foam Gun Is a Smarter Way to Wash Your Car
It’s easy to get caught up in how cool the thick foam looks, but the real benefit is the science behind a safer, more effective wash. We're not just making shaving cream for your car; we're fundamentally changing how dirt and grime interact with your paint's delicate clear coat.
Think about a traditional wash. You're essentially dragging a mitt full of gritty particles directly across the paint. That's a recipe for micro-scratches. A foam gun, on the other hand, creates a rich lather that surrounds and encapsulates those dirt particles. The foam is designed to cling to vertical surfaces, giving high-quality soaps like Adam's Mega Foam the "dwell time" they need to break down road film, bug guts, and bird droppings without you ever having to scrub aggressively.
The Secret to a Scratch-Free Finish
Here’s a simple way to picture it: the foam acts like a protective cushion between your wash mitt and the paint. As it slowly drips down the sides of your car, it pulls the loosened, abrasive grit away with it. By the time you actually touch the car with a mitt, the surface is already significantly cleaner. This dramatically cuts down the risk of marring the finish.
This pre-soak method gives you a few major wins over older techniques:
- Serious Lubrication: The thick foam creates an incredibly slick surface, letting your wash mitt glide over the paint instead of grinding against it.
- Better Cleaning Muscle: That all-important dwell time lets the pH-balanced soap do the heavy lifting, dissolving stubborn grime that a quick hose-down would leave behind.
- Way More Efficient: You can cover your entire vehicle in a perfect, even layer of soap in a fraction of the time it would take to keep dunking a mitt in a bucket.
This Isn't Just a Gimmick
The massive shift towards foam guns proves they work. The global market for foam cannons saw sales rocket past 20 million units in 2023 alone. This is a clear sign that both professional detailers and weekend enthusiasts have fully embraced this safer cleaning method. This isn’t some passing fad; it’s a permanent move toward preserving your vehicle’s paint like a pro.
Take a look at the Adam's Polishes foam cannon setup below. It shows you the key parts that work in harmony to produce that signature thick foam we're all after.
You can see the heavy-duty brass head, the adjustable spray nozzle, and the wide-mouth canister are all built for performance and to last through countless washes. Of course, picking the right tool for the job is the first step. If you're not sure where to start, check out our ultimate guide to choosing an auto foam gun for perfect car cleaning. At the end of the day, getting a quality foam gun is a direct investment in keeping your vehicle looking its best and protecting its value.
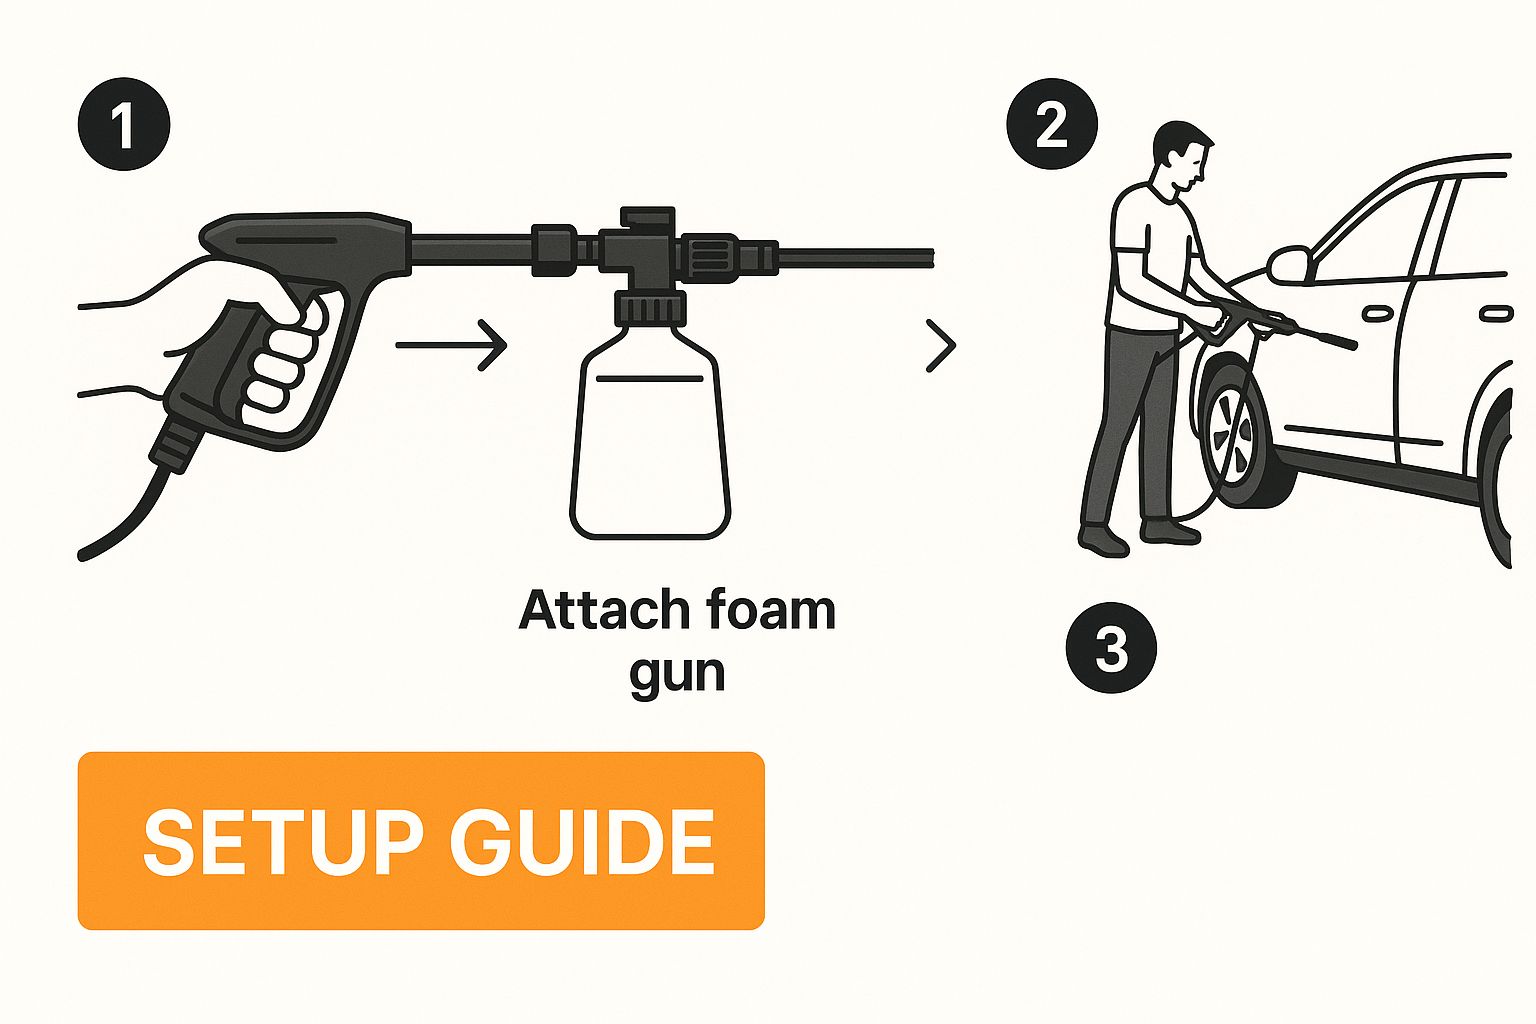
Your First Setup Out of the Box
Unboxing a new piece of detailing gear is always a good time. Let's get your new Adam's car wash foam gun put together and ready to go in just a couple of minutes. The goal is to get you foaming up your car, not stuck reading instructions.
Inside, you'll find a few key parts. The first thing you'll notice is the heavy-duty brass head—it has some real heft to it, which is a good sign of quality. You’ll also have the large canister, a plastic siphon tube, and the 1/4" quick-connect plug that lets you snap the foam gun onto your pressure washer wand.
Assembling for a Leak-Free Wash
Getting this thing set up is a breeze.
First, grab the clear siphon tube. You're going to push it onto the little brass nipple on the underside of the main head. Give it a firm push to make sure it's on there all the way. If this connection is loose, it won't be able to pull the soap mixture up properly, and you'll get watery, sad-looking foam.
Next up is the quick-connect plug. Here's a little trick I always use to guarantee a watertight seal: wrap the threads with a few layers of Teflon tape (thread sealant tape) before screwing it into the back of the brass head. This simple step takes ten seconds and saves you from those annoying drips that can drive you crazy during a wash.
With the plug and tube attached, go ahead and screw the big canister onto the bottom of the head until it's snug. That’s it—you're fully assembled and ready to add soap.
Here’s a Pro Tip: One of the best things about the Adam's design is the dual-thread system. You can use the huge included canister for washing your truck or SUV, or you can screw a 16oz Adam's soap bottle right onto the head. It's incredibly handy for smaller jobs or when you want to use up the last bit of a specific soap without transferring it.
The massive 35-ounce canister is a real game-changer, easily letting you foam down an entire vehicle without stopping to refill. Paired with stainless steel internals that fight off corrosion, this setup is clearly built to last. You can see more about its construction on the official Adam’s Polishes product page.
Now that we're assembled, let's talk about getting that perfect soap-to-water ratio dialed in.
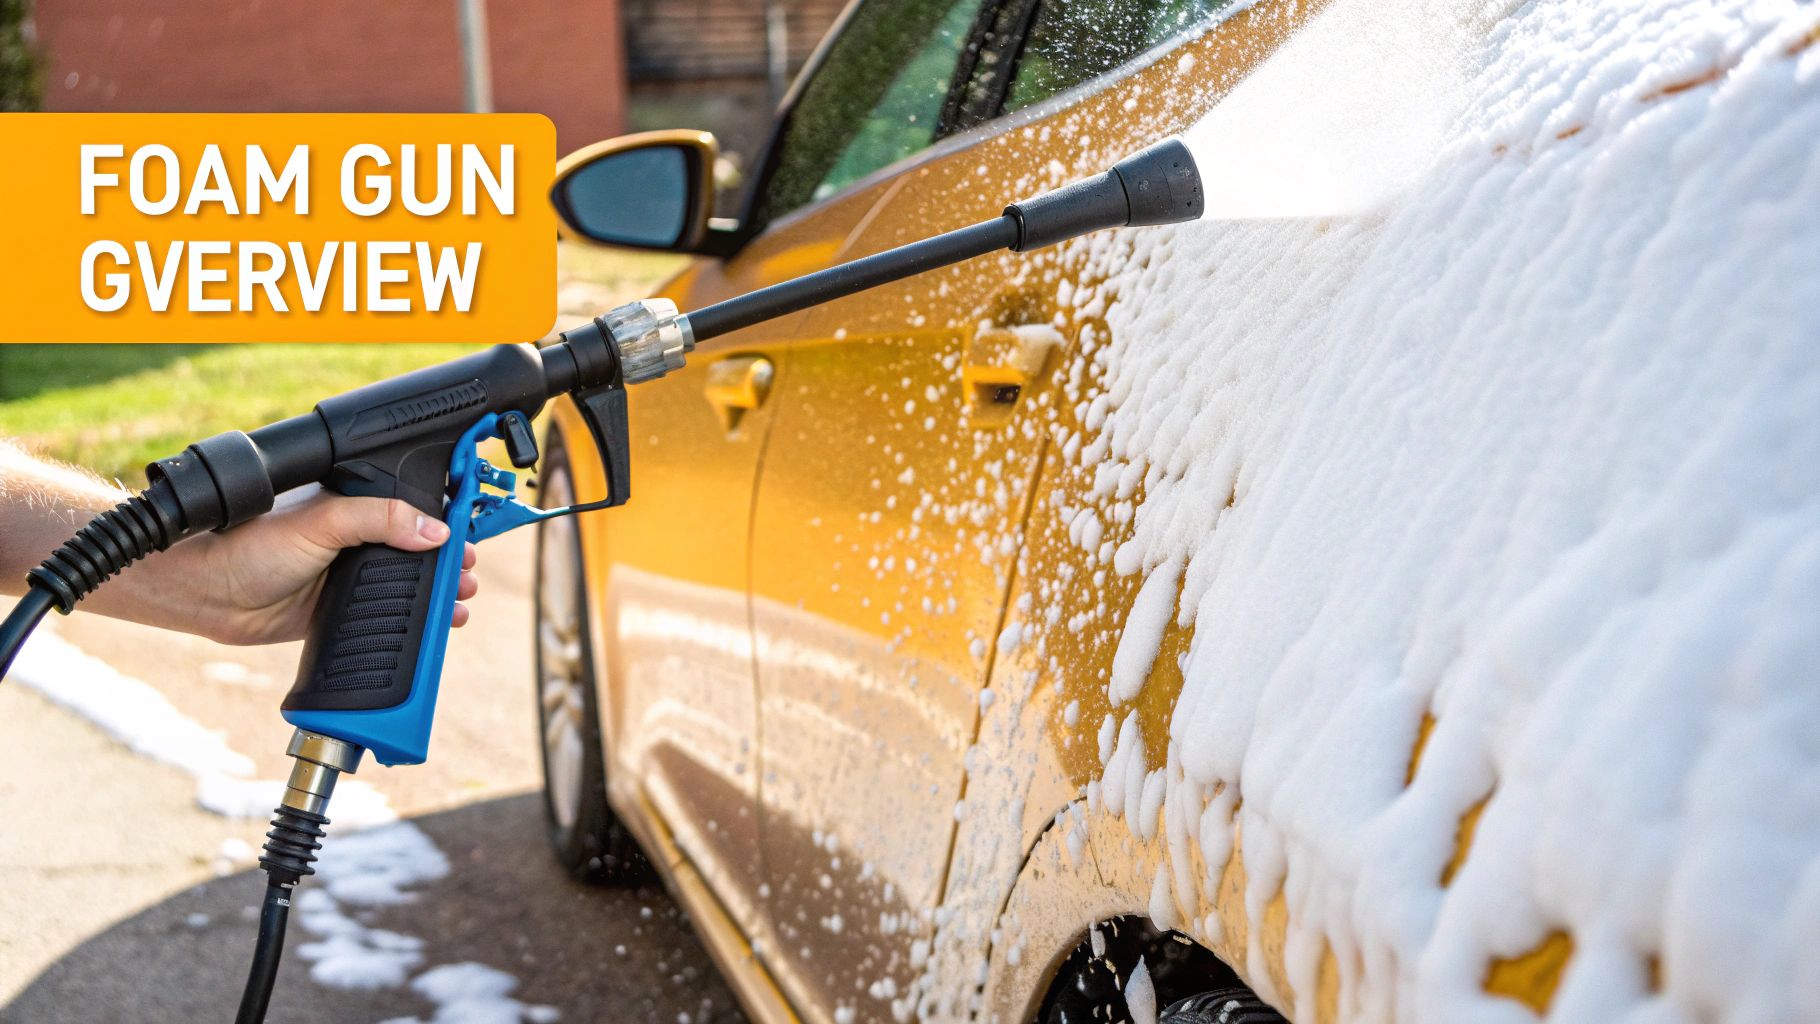
How to Get That Perfect Shaving Cream Foam
Ever wondered how detailers get that thick, satisfying foam that just clings to a car? It’s not magic, and it's not about using a ton of soap. It's all about mastering the three key adjustments on your Adams car wash foam gun: the soap-to-water ratio, the top air knob, and the front spray nozzle. Once you get the hang of these, you’ll be blanketing your car in perfect, shaving cream-like suds every single time.
First things first, you need to get your foam gun hooked up to your pressure washer. The whole process is designed to be pretty straightforward, with a quick and secure attachment that sets you up for a great wash. This visual gives you a good idea of how it all connects.
With everything connected, it's time to dial in your settings and make some foam.
Nailing the Soap-to-Water Ratio
The foundation of great foam starts right in the canister. While you can always play around with the mixture, I’ve found that a 1:10 soap-to-water ratio is the sweet spot for getting thick, clinging suds without wasting product.
For the standard 35oz canister that comes with the Adams foam gun, that looks like this:
- Add about 3-4 ounces of a quality foaming soap (Adam's Mega Foam is a solid choice).
- Slowly top off the rest of the canister with water, but be sure to leave a little space at the top.
Getting this dilution right is a game-changer. You'll find you use far less soap than with a traditional bucket wash, and the adjustable spray patterns ensure you get maximum coverage. It’s all about working smarter, not harder.
This mix is strong enough to produce that dense foam we’re after but diluted enough that you aren't just pouring your soap down the drain. If you want to see this in action, our guide on how to use a foam gun walks through the full application process.
Mastering the Top and Front Adjustments
With your soap solution ready, the real fine-tuning happens with the two controls on the foam gun itself. These are what let you customize the foam's thickness and spray pattern on the fly, adapting to different parts of your car as you go.
The Top Air Adjustment Knob
Sitting right on top of the brass head, this knob is your foam thickness controller. It dictates how much water gets mixed with the soap solution as it sprays.
- Turn it clockwise (+): This move restricts water flow, pulling more soap from the canister. The result? Thicker, denser foam that’s perfect for clinging to vertical panels like doors and fenders.
- Turn it counter-clockwise (-): This opens things up, allowing more water through. You’ll get a wetter, runnier foam, which is great for a quick pre-rinse or on areas that aren’t heavily soiled.
The Front Spray Nozzle
The very front of the nozzle twists to change the spray pattern's shape, much like the wand on your pressure washer.
- Twist for a narrow stream: This gives you a concentrated jet of foam, ideal for blasting grime out of tight spots like the grille, wheel wells, or around emblems.
- Twist for a wide fan: This creates a broad, horizontal spray. It’s exactly what you need for covering large panels like the roof, hood, and doors quickly and evenly.
Foam Consistency Troubleshooting Guide
Even with the best instructions, sometimes your foam might not come out exactly as you want. Don't worry, it's usually a simple fix. This little table should help you diagnose and solve any common foam issues you run into.
| Problem Observed | Primary Cause | How to Fix It |
|---|---|---|
| Foam is too watery/runny | Not enough soap in the mix or the top air knob is too far open (-). | Turn the top knob clockwise (+) to restrict water flow. If that doesn't work, add a bit more soap concentrate to your canister. |
| Foam is too thick/sputtering | Too much soap concentrate in the canister, creating a mix that's too thick to pull smoothly. | Dilute the solution by adding more water to the canister. Turn the top knob counter-clockwise (-) slightly to introduce more water. |
| Spray pattern is uneven | The front nozzle is clogged or not adjusted correctly. | Ensure the front nozzle is clean. Twist it fully from the narrow to the wide setting a few times to clear any blockage. |
| No foam, just soapy water | The siphon tube isn't properly seated in the canister or the internal mesh filter is clogged. | Check that the plastic siphon tube is securely pushed onto the bottom of the brass body. If that's fine, you may need to clean the internal mesh filter. |
A quick adjustment is usually all it takes to get back to perfect foam.
By combining these three elements—the right soap ratio, the air adjustment, and the spray pattern—you have complete control. You can start by laying down a thick blanket over the entire car, then instantly switch to a pinpoint stream to tackle those trouble spots, all without missing a beat.
Weaving the Foam Gun Into Your Wash Routine
Having the right tool is one thing, but knowing how to build an effective workflow around it is what really separates a good wash from a great one. Sure, blasting foam all over your car is the fun part, but to get that truly scratch-free shine, you need to make your foam gun part of a proven process. This routine ensures you’re cleaning safely and effectively, every single time.
Start With a Solid Pre-Rinse
Before a single bubble touches your paint, grab your pressure washer or garden hose nozzle and give the entire vehicle a thorough rinse. Always start from the top and work your way down. The whole point here is to knock off all the heavy, loose contaminants—we're talking caked-on mud, layers of dust, and gritty sand.
If you skip this, you’re essentially asking the foam and your wash mitt to do too much heavy lifting. You'd just be grinding those big, abrasive particles into your clear coat later on. A proper pre-rinse can safely remove up to 70% of the surface dirt before you ever touch the car. It sets the stage for a much safer wash.
The Art of Applying the Foam
Alright, now for the main event. Attach your foam gun and completely blanket the vehicle in a thick layer of suds. Just like with the pre-rinse, technique matters. Work from the top down. Hit the roof first, then the windows, hood, trunk, and finish with the sides and bumpers.
This top-down approach lets gravity become your assistant. As the foam slowly drips down the car, it's constantly working on the dirt below, maximizing the cleaning power you get from every drop of soap.
Crucial Tip: Dwell Time is Everything
Once the car is covered, just let the foam sit and do its thing for about 3-5 minutes. This is the "dwell time," and it's when the magic happens. The active agents in the soap are breaking down stubborn grime, road film, and oils. The key is not to let it dry on the surface, especially in direct sun, but you have to give it enough time to work.
The Two-Bucket Contact Wash
After the foam has had a chance to dwell, it's time for the contact wash. This is where the foam truly shines, acting as an incredible lubricant between your wash mitt and the paint. Grab two buckets—one with your car wash soap and another with just clean water for rinsing your mitt.
Again, start from the top and work down in small, manageable sections.
- Dunk your clean microfiber mitt into the soap bucket.
- Gently wash a single panel, like a door or half the hood.
- Now, rinse the mitt thoroughly in the clean water bucket before going back for more soap.
This process is critical. It prevents you from picking up dirt from a rocker panel and dragging it all over your hood. For those without a pressure washer, a quality car wash foam gun for a garden hose can still produce plenty of slick suds for this all-important step.
Final Rinse and Drying
With the wash complete, detach the foam gun and give the car one last, thorough rinse to get all the soap residue off. As always, top to bottom is the way to go to ensure a clean, streak-free finish.
Finally, dry the vehicle immediately. Use a high-quality microfiber drying towel or an electric car dryer to avoid water spots. This last step is what reveals that swirl-free, gleaming finish you just worked so hard for. Following this complete process transforms your foam gun from a fun accessory into the heart of a professional-grade detailing system.
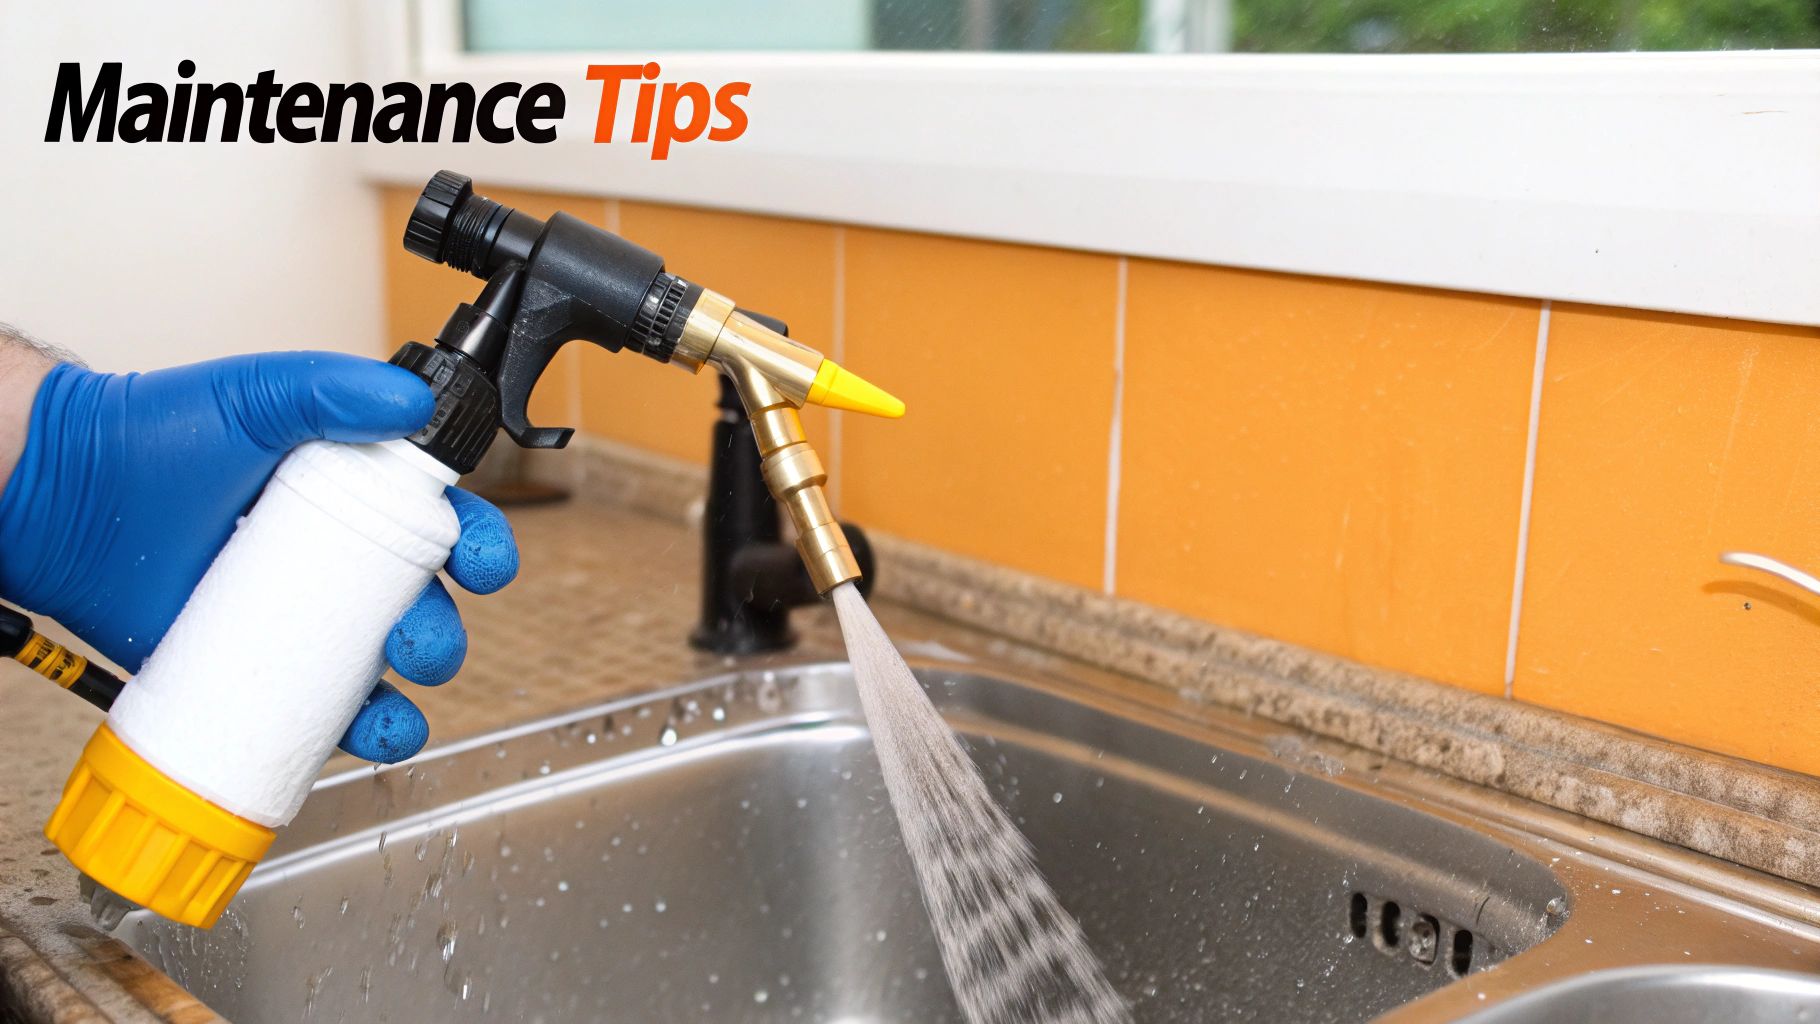
Keep Your Foam Gun Firing Like New
You've invested in a great tool to keep your car looking its best, and a little bit of care will make sure it performs perfectly for years to come. Honestly, the single most important thing you can do is flush it with clean water after every single wash. It's a simple habit that sidesteps most of the common headaches I see people run into.
This quick rinse prevents soap residue from drying and gunking up the works. When that stuff hardens inside the delicate mesh filter and tiny orifices, you'll start to see problems—sputtering, weak foam, or a spray pattern that just isn't right.
The Post-Wash Flush: A Non-Negotiable Step
Once you're done foaming down your car and have disconnected the gun from the pressure washer, the cleanup is a breeze.
- First, unscrew the soap canister and dump out any leftover soap.
- Fill that canister about halfway with clean, preferably warm, water.
- Screw it back onto the foam gun head.
- Finally, reconnect it to your pressure washer and spray for 20-30 seconds until the water runs completely clear.
This whole routine takes less than a minute, but I can't stress this enough: it's the number one thing that will keep your Adams car wash foam gun working like it did on day one.
The Occasional Deep Clean
Every few months, or whenever you feel like the foam isn't as thick as it used to be, it’s time for a quick deep clean. This just means taking things apart a little to get to the components that can get clogged with mineral deposits from hard water or built-up soap scum.
Go ahead and carefully unscrew the nozzle assembly. Inside, you'll find the small orifice and a stainless steel mesh filter. I've found that soaking these little parts in a 50/50 mix of white vinegar and water for about 30 minutes works wonders. The vinegar gently dissolves any stubborn buildup that a plain water flush might leave behind, restoring that perfect, thick foam.
Proper maintenance is a mindset that applies to your whole vehicle, not just your tools. Beyond the foam gun, it’s smart to follow an essential car maintenance checklist to stay on top of everything from tire pressure to fluid levels.
Lastly, let's talk storage. After cleaning, let all the parts air dry completely before you put them back together. Find a dry, safe spot for your foam gun where it won’t get banged up. This protects the plastic canister from cracks and the internal seals from damage, ensuring it's always ready for action.
Got Questions? We've Got Answers
Even after you get the hang of your foam gun, a few questions always seem to pop up. Let's walk through some of the most common ones I hear from fellow detailers so you can get back to what you enjoy—getting that perfect, glossy finish on your car.
What Kind of Pressure Washer Do I Actually Need?
This is the big one, but the answer is simpler than you might think. You really don't need some fire-breathing, commercial-grade pressure washer to get that thick, shaving cream-like foam. The Adams car wash foam gun was designed specifically to play nice with the kind of pressure washers most of us have in our garages.
So, what should you look for? Here’s a quick checklist:
- Flow Rate: You'll want at least 1.3 GPM (Gallons Per Minute). This is key for generating that rich, dense foam.
- Pressure: Anything in the 800 to 3,500 PSI range is the sweet spot.
- Connection: It uses a standard 1/4" quick-connect plug. Good news—this is the most common fitting you'll find on wands these days.
Odds are, the pressure washer you've already got—or the one you've been eyeing at the hardware store—is going to be a perfect match.
Can I Just Use Any Old Car Soap?
Technically, you can, but the results will speak for themselves. You'll see a night-and-day difference if you use a soap that's actually meant for a foam gun, like Adam's Car Shampoo or their Mega Foam. These are loaded with surfactants that are engineered to whip up into a thick, stable foam that clings to the paint.
If you try to run a regular, low-suds soap through the gun, you're probably going to be disappointed. No matter how you adjust the settings, you’ll likely get a thin, watery solution that just sheets right off the car. For that satisfying, professional-looking foam, stick with a dedicated high-foaming soap.
It's not just about the suds, either. A quality, pH-neutral foaming soap is designed to be gentle on your car's existing wax, sealant, or ceramic coating. You get a deep clean without stripping away that crucial layer of protection you worked so hard to apply.
Why Is My Foam Gun Sputtering and Acting Weird?
If your foam gun is suddenly sputtering or spitting out weak, runny foam, it's almost always one thing: a clogged internal filter. Over time, soap residue can dry up inside that tiny mesh filter, choking off the flow of water and soap.
Thankfully, the fix is usually pretty straightforward. First, try running a full canister of clean, warm water through the gun. This can often be enough to flush out the gunk. If that doesn't do the trick, it’s time for a quick deep clean.
You'll need to carefully take apart the head of the foam gun to get to the small stainless steel mesh filter inside. Just let it soak in a 50/50 mix of white vinegar and water for about 30 minutes. This will dissolve any hard water deposits or caked-on soap scum, getting it back to peak performance and bringing back that thick foam you love.
Ready to completely change your car wash game with that thick, paint-saving foam? The SwiftJet Car Wash Foam Gun is the tool that makes getting a professional, scratch-free wash at home an absolute breeze.