

Ever wondered how professional detailers get that impossibly deep, liquid shine on a car's paint? It’s not magic—it's a meticulous process, and 1200 grit sandpaper is one of the secret weapons for getting there.
Think of it this way: lower grit sandpapers are for heavy lifting and major changes. But 1200 grit? That’s your finesse tool. It’s for dialing in the details and creating a flawless canvas right before the final polishing stages.
What Is 1200 Grit Sandpaper and When Should You Use It?
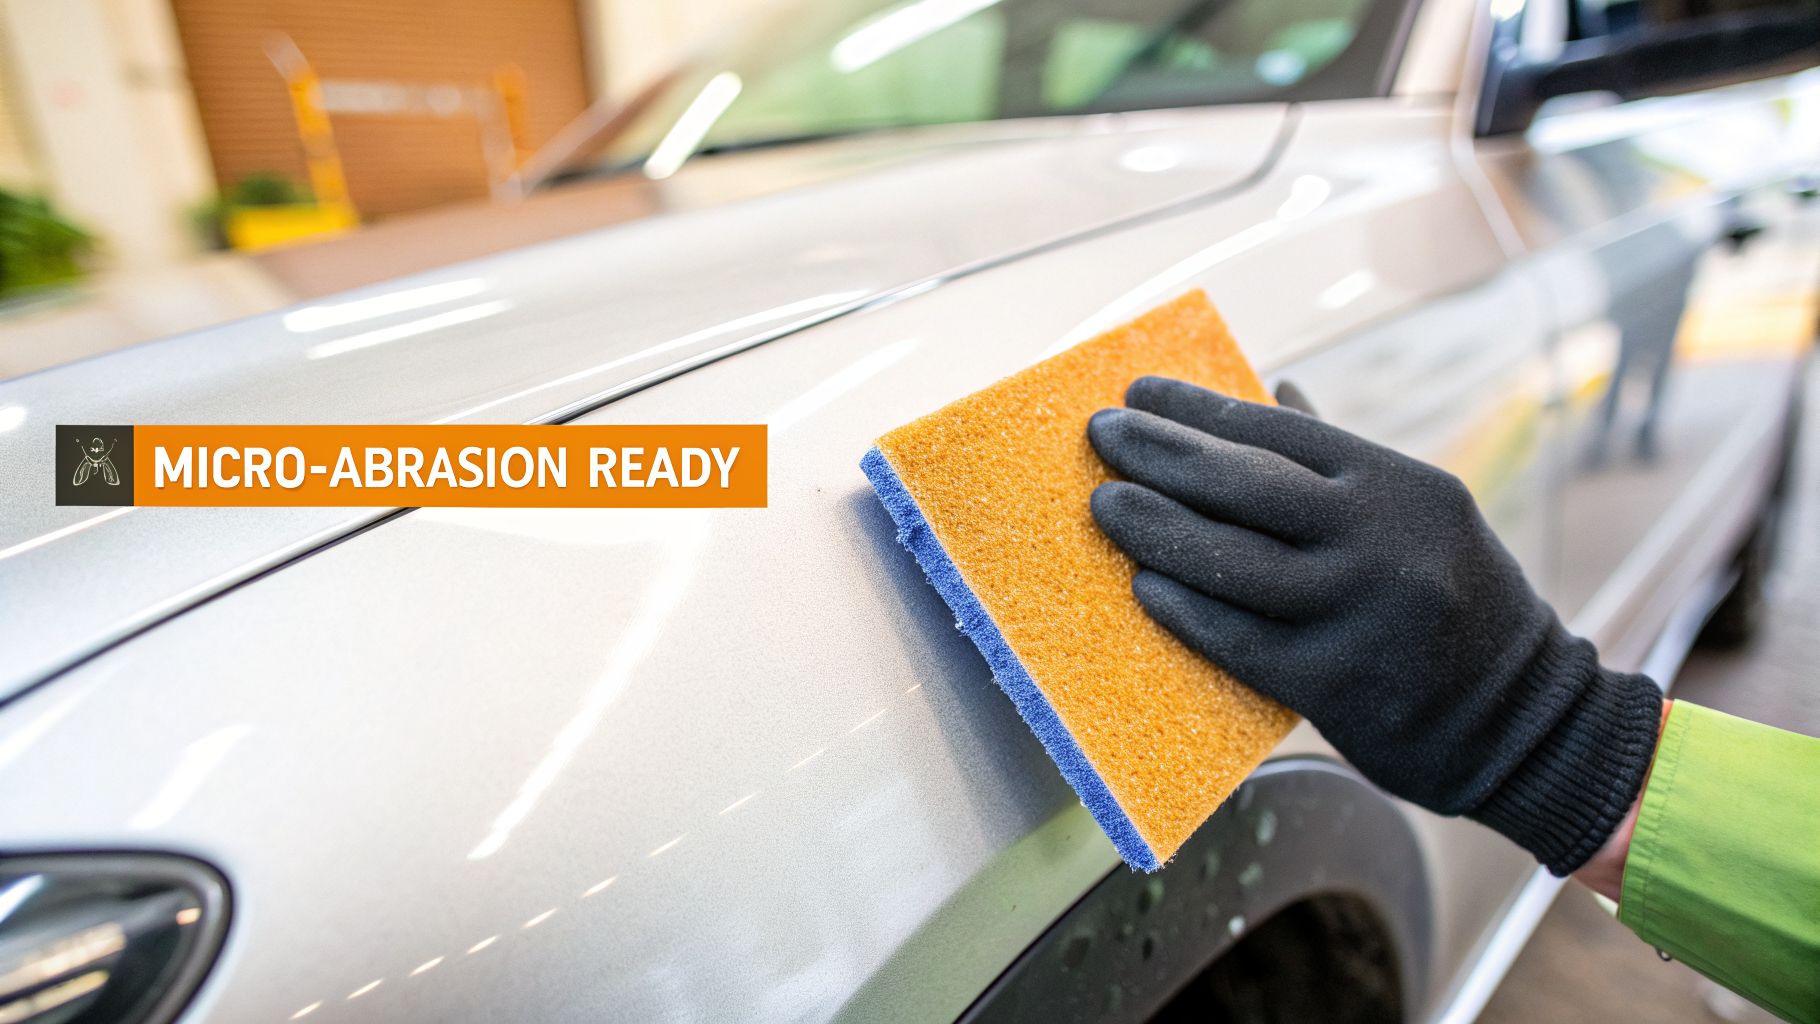
Welcome to the world of fine-finishing, where the difference between good and great is measured in microns. If you've ever seen a car with a true mirror finish, you've witnessed the handiwork of ultra-fine abrasives like 1200 grit sandpaper. It's the critical link between aggressive defect removal and the final buffing that brings out the gloss.
Imagine your car’s clear coat as a perfectly still lake. Over time, things like swirl marks, fine scratches, or the "orange peel" texture from a fresh paint job create ripples on that surface. 1200 grit sandpaper is designed to gently calm those ripples, carefully leveling the clear coat to restore a perfectly flat, uniform plane. This is a process we call micro-abrasion.
Understanding Micro-Abrasion
Micro-abrasion is the name of the game when you're using fine-grit sandpaper. Unlike a coarse 320 grit paper that tears away material, 1200 grit works on a microscopic scale. Its job isn't to fix deep gouges; it's to refine the surface after a more aggressive grit has already done the heavy work.
Think of it as replacing bigger, uglier scratches with thousands of tiny, uniform ones. These new scratches are so shallow and consistent that your polishing compound can easily erase them in the next step, revealing a perfect shine.
This is the key to a show-car finish. That hazy, matte surface left behind by 1200 grit sandpaper is exactly what you want. It's the ideal foundation for compounding and polishing, allowing you to achieve a depth and clarity that's simply impossible otherwise.
The Role in Modern Detailing
Modern abrasives have come a long way. Back in 1833, John Oakey’s first patented sandpaper used powdered glass on a simple backing—a revolutionary step for its time. You can learn more about the fascinating history and manufacturing of abrasives.
Today, 1200 grit sandpaper is a highly engineered tool for specific tasks. For pro detailers and serious DIYers, its main jobs are:
- Removing Orange Peel: This involves leveling the bumpy texture of a new clear coat to make it perfectly flat and reflective.
- Refining Deeper Scratches: After using a 1000 grit paper to knock down a scratch, 1200 grit smooths out the 1000-grit sanding marks, preparing the surface for even finer grits or polishing.
- Spot Repairs: It's perfect for carefully sanding down blobs of touch-up paint, allowing them to blend seamlessly with the surrounding finish.
Once you understand its place in the process, you'll see that 1200 grit isn't just another piece of sandpaper—it's an essential piece of the paint correction puzzle.
The Evolution of Abrasives: From Crushed Shells to Engineered Grit
It’s easy to take a simple sheet of 1200 grit sandpaper for granted, but what you're holding is actually the result of centuries of innovation. To really get why it works so well, you have to look at where it all started. For most of human history, "sanding" just meant grabbing whatever rough material was lying around—a far cry from the precision tools we have today.
Believe it or not, the earliest version of sandpaper we know of comes from 13th-century China. Craftsmen there came up with a pretty clever trick: they glued things like crushed shells, seeds, and sand to parchment to smooth out their work. You can get a great rundown of the history of sandpaper and see just how far we've come. For hundreds of years, that basic idea didn't change much.
The Game-Changer: Synthetic Abrasives
The real breakthrough came in the late 19th century when scientists started creating synthetic abrasives in a lab. This completely changed the game. Instead of relying on inconsistent, naturally found materials like sand, we could now engineer the grit itself.
This leap from natural to synthetic gave us two massive advantages that define modern abrasives:
- Consistency: Suddenly, every single abrasive particle could be manufactured to a precise size and shape. No more guesswork.
- Performance: These lab-made materials were often much harder and sharper than anything found in nature, meaning they cut faster, cleaner, and more efficiently.
Think of it like this: the old method was like using a rough, hand-carved stone to shape wood, while the new synthetic abrasives were like a modern, laser-cut surgical scalpel. Both get the job done, but the level of precision and predictability is worlds apart. That technological jump is exactly why a sheet of 1200 grit can give you such a flawless finish on a car's clear coat.
From Brute Force to Precision Engineering
These advancements paved the way for the highly specialized tools we rely on for automotive finishing. A modern sheet of 1200 grit sandpaper isn't just "fine grit"—it's a piece of advanced technology. The abrasive particles aren't just small; they are meticulously graded to create a perfectly uniform scratch pattern that’s shallow enough to be buffed out with ease.
The abrasive material itself, usually silicon carbide for wet sanding, is chosen because it fractures as you use it, constantly creating new, sharp cutting edges. This self-sharpening action is critical for maintaining a consistent cut when you’re working on something as delicate as automotive clear coat. It all goes to show that picking the right type of sandpaper is just as important as picking the right grit number to get that perfect, mirror-like shine.
How to Wet Sand Your Car's Paint Like a Professional
Alright, let's get our hands dirty. In automotive work, 1200 grit sandpaper truly shines when used for wet sanding, and knowing how to do it right is what separates a decent job from a jaw-dropping one. It might seem like a scary step, but once you get the feel for it, it becomes a predictable part of achieving that perfect, mirror-like finish.
The secret ingredient here is water. It does a few critical things at once: it acts as a lubricant to help the paper glide instead of gouge, it keeps the paint surface cool, and it whisks away the residue you're sanding off. This keeps the sandpaper from getting clogged up (we call that "loading"), ensuring you get a consistent cut across the entire panel.
Preparing for a Perfect Finish
Before a single grain of sandpaper touches your paint, you need to prep the area meticulously. One stray piece of dirt trapped under your paper can dig in and create a scratch that’ll set you back hours.
- Clean the Panel: Wash the area thoroughly and then use a clay bar. You need to pull out any and all embedded grit from the clear coat. This step is non-negotiable.
- Soak Your Sandpaper: Throw your sheet of 1200 grit paper into a bucket of clean water with a couple of drops of car soap. Let it soak for a good 15-20 minutes. This softens the paper, making it more flexible and far more effective.
- Use a Sanding Block: Never, ever sand with just your fingers. Your fingertips create high-pressure points that will leave ugly ripples in the paint. Always wrap the paper around a quality, firm-but-flexible sanding block to maintain perfectly even pressure.
To get that pro-level shine, understanding clear coat finishes and how they behave is just as important as your technique, much like it is for high-end marine applications.
The Wet Sanding Technique
With everything prepped, the sanding itself is all about smooth, controlled motions. Keep the panel and your paper constantly wet with a spray bottle filled with your water-and-soap mix.
Use straight-line motions only, either back-and-forth or up-and-down. Avoid sanding in circles at all costs; those little swirls are a nightmare to polish out later. Overlap each pass by about 50% to make sure you get uniform coverage. Let the paper do the work—you only need light, steady pressure.
Pro Tip: Every few passes, stop, wipe the area dry with a clean microfiber towel, and inspect your work under good light. You're done when the entire surface has a uniform, hazy, and dull appearance. If you see any shiny spots, those are low spots you've missed. That consistent matte finish is your green light to move to the next step.
The precision we're talking about is only possible because of how far abrasive technology has come. Check out this diagram showing the journey from simple rocks to the engineered materials we use today.
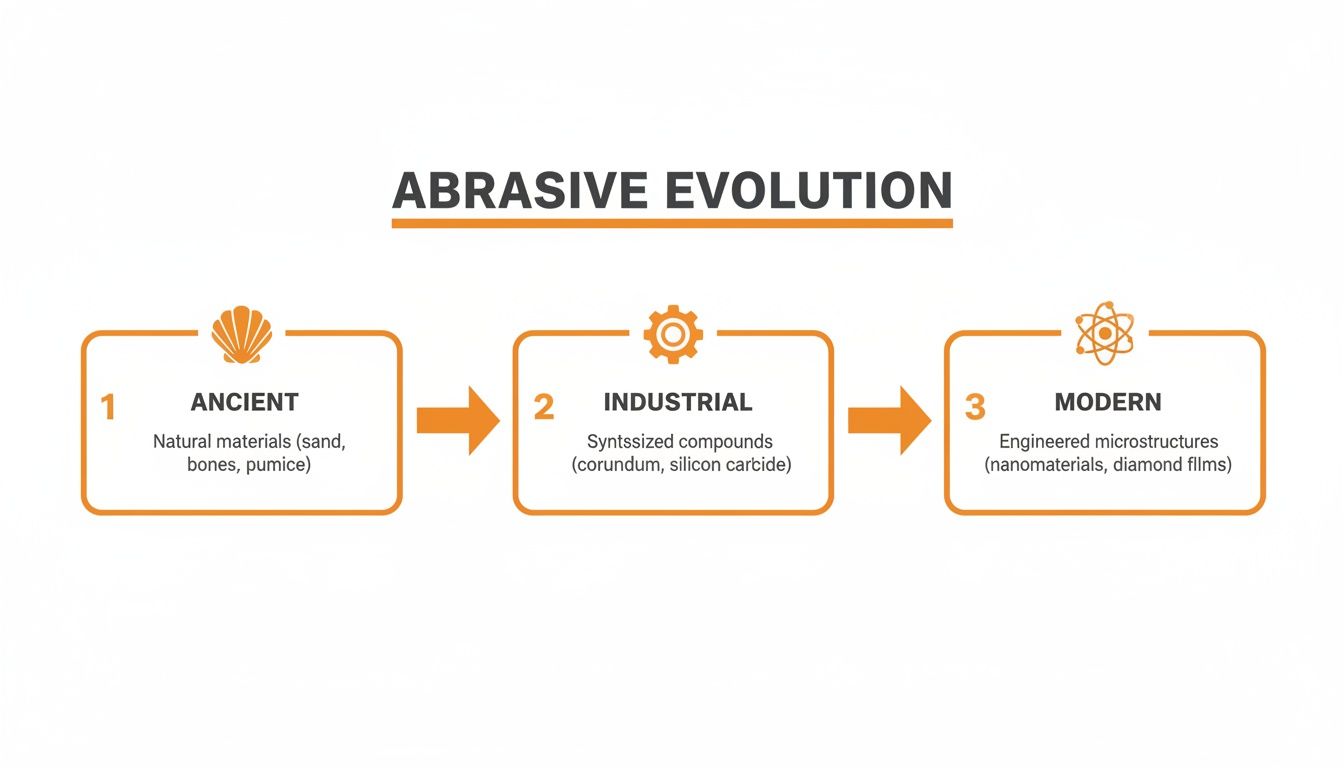
This evolution is what allows us to confidently level a car's clear coat with such predictable results. Once you've achieved that perfect, uniform surface with 1200 grit, the next stage is to remove those fine scratches. You'll either step up to an even finer grit or move straight to compounding and polishing. If you're ready to bring back that gloss, our guide on choosing the right car buffer polisher will help you pick the perfect tool for the job.
Choosing the Right Sandpaper for Your Automotive Project
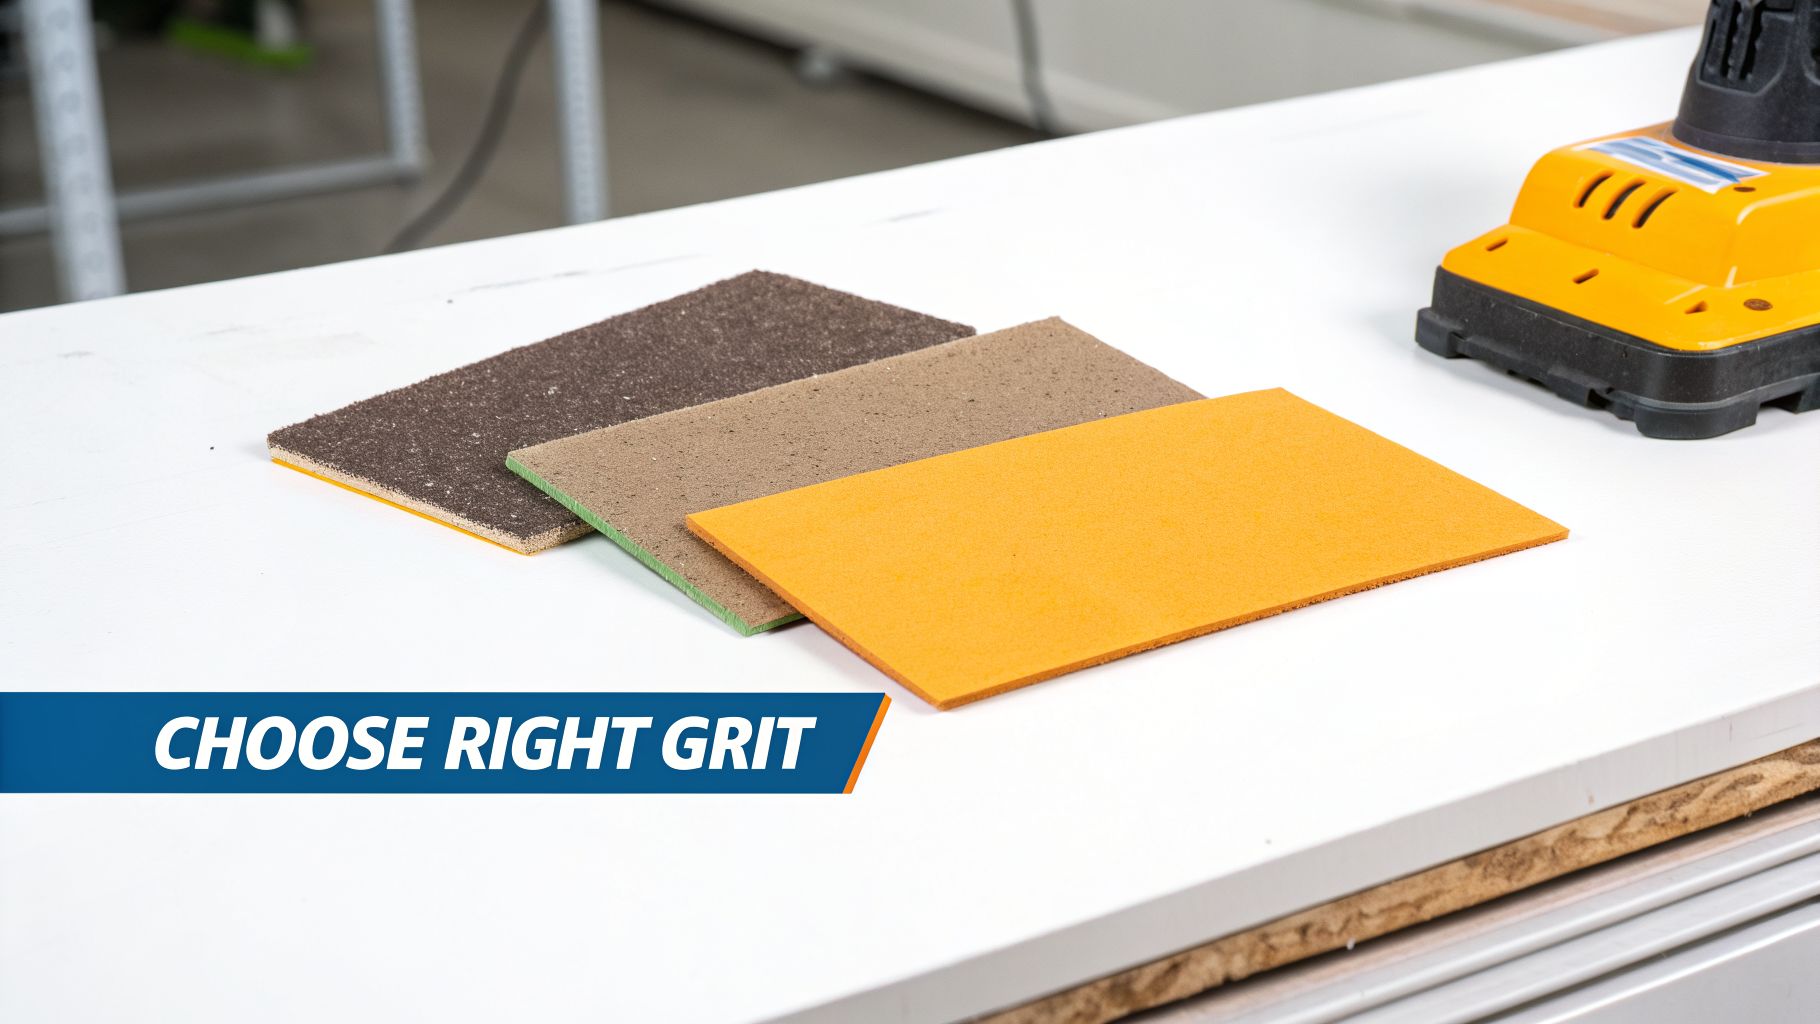
Walking into an auto parts store and staring at the wall of sandpaper can feel a little intimidating. There are so many options. But here's the thing: not all sandpaper is the same, and picking the right one is what separates a botched job from a flawless finish.
Beyond the grit number itself, two key factors truly define how sandpaper will perform on your car: the abrasive material and the backing. Especially when you're working with fine-finishing papers like 1200 grit sandpaper, these details matter. They control how the paper cuts, how it holds up to use, and whether it can hug the complex curves of a car body.
Once you know what to look for, you're no longer just guessing. You're choosing the right tool for the job and setting yourself up for professional-level results every time.
Abrasive Material Showdown
The tiny, sharp particles that do the actual work are the abrasive grains. Modern sandpaper has come a long way from the early days of using natural materials like sand or flint. The synthetic abrasives developed in the late 19th century were a game-changer, offering incredible consistency and durability. You can dive deeper into the history of these materials on Brassnail.com.
For the kind of fine finishing we do on cars, you'll mainly run into two types:
-
Silicon Carbide (SiC): This is the champion for wet sanding clear coats. Silicon Carbide is incredibly sharp but also brittle. As you sand, its microscopic particles fracture, constantly exposing new, razor-sharp edges. This "self-sharpening" action is exactly what you want for a smooth, uniform finish with 1200 grit sandpaper.
-
Aluminum Oxide (AlO): Think of this as the tough, long-lasting workhorse of the abrasive world. It’s more durable than SiC, which makes it great for aggressive material removal or machine sanding. However, its particles tend to round over and become dull with use, which isn't ideal for the delicate work of hand-sanding a clear coat to perfection.
Understanding Sandpaper Backings
The backing is the foundation that the abrasive grains are glued to. It’s what gives the sheet its flexibility, strength, and water resistance—all crucial factors when you're working on a vehicle.
Think of the backing like the suspension on a car. A stiff, track-focused suspension is great on a smooth racetrack, but you need something more flexible and forgiving for a bumpy country road. The right backing lets the abrasive do its best work on the unique "terrain" of a car panel.
Here are the common backings you'll find for automotive work:
-
Paper: The classic choice. Paper backings come in different weight ratings, but for wet sanding, you absolutely need one that is specifically rated as waterproof. A standard paper backing will quickly turn to mush and fall apart once it gets wet.
-
Film: This is the premium, modern option and my personal preference for finish work. A film-backed sandpaper uses a thin sheet of polymer as its base, making it 100% waterproof, incredibly durable, and far less likely to tear. Its perfectly uniform surface gives you a much more consistent scratch pattern, which is a huge advantage when sanding around curves and body lines.
Where 1200 Grit Fits in the Sanding Spectrum
To really get a feel for 1200 grit sandpaper, you have to see the bigger picture. Think of automotive sanding less as a single action and more like climbing down a ladder, where each rung takes you closer to a perfectly smooth finish.
The whole game is about systematically replacing big, ugly scratches with smaller, finer ones. You start with a coarser grit to knock down a major flaw, but that paper leaves its own set of scratches. You can't just jump from, say, 600 grit straight to a polisher—the gap is just too wide. This is why a proper grit progression isn't just a suggestion; it's the only way to get professional results.
Mapping Your Grit Progression
Your sanding strategy is all about creating a smooth hand-off from one grit to the next. The job of each sandpaper sheet is to completely erase the scratch pattern left by the one before it. This is where 1200 grit shines, serving as a crucial link in the chain.
-
Before 1200 Grit: You’ve likely just finished with an 800 or 1000 grit paper. These are your workhorses for leveling out heavy orange peel or the marks from even more aggressive grits. They get the job done, but they leave behind a noticeable, hazy finish.
-
After 1200 Grit: The next rungs on the ladder are your refining grits—think 1500, 2000, and even 3000. Their only job is to soften the fine scratches left by the 1200 grit, creating a uniform, satin-like surface. This step is what makes the final polishing stage quick, easy, and effective.
Here's the key takeaway: Trying to polish out 1000-grit scratches is a slow, frustrating battle. But you can easily sand them out with 1200 grit. In turn, a polisher makes quick work of 2000 or 3000-grit scratches. Each step makes the next one dramatically easier.
Automotive Sanding Grit Comparison Chart
To truly visualize this process, it helps to see where 1200 grit stands in relation to its neighbors. The chart below lays out the common progression used in automotive paint correction, showing how each grit prepares the surface for the next step.
| Grit Number | Primary Use Case | Resulting Surface |
|---|---|---|
| 400-600 | Heavy defect removal, paint run leveling, shaping | Very coarse, deep scratches, visibly rough |
| 800-1000 | Medium defect removal, orange peel reduction | Noticeable haze, uniform but distinct scratch pattern |
| 1200 | Refining 1000-grit marks, light orange peel | Smooth matte finish, fine scratches visible up close |
| 1500-2000 | Pre-polishing, removing 1200-grit marks | Very uniform satin finish, nearly ready for polish |
| 3000-5000 | Final sanding step before compounding | Silky smooth, minimal scratches, very low haze |
As you can see, 1200 grit is the perfect middleman. It’s not for heavy lifting, nor is it the final word in refinement. It's the essential bridge that connects initial correction with final finishing.
Why This Progression Matters
Imagine trying to slide a new bearing onto a rusty wheel spindle. A restorer might start with 600 grit to knock off the major corrosion, but that leaves its own marks. Following up with 1200 grit sandpaper erases those 600-grit scratches, leaving a surface smooth enough for a precision fit.
The exact same principle applies to your car's paint. You're creating a surface that’s perfectly prepped for the next stage of refinement. Sticking to a proper grit progression saves you time, prevents excessive heat buildup during polishing, and is the most reliable path to that deep, flawless, mirror-like shine you're after.
If you're tackling even rougher jobs, it's helpful to understand the more aggressive end of the spectrum. For more on that, see our guide on what 220 grit sandpaper is used for.
Common Wet Sanding Mistakes and How to Avoid Them
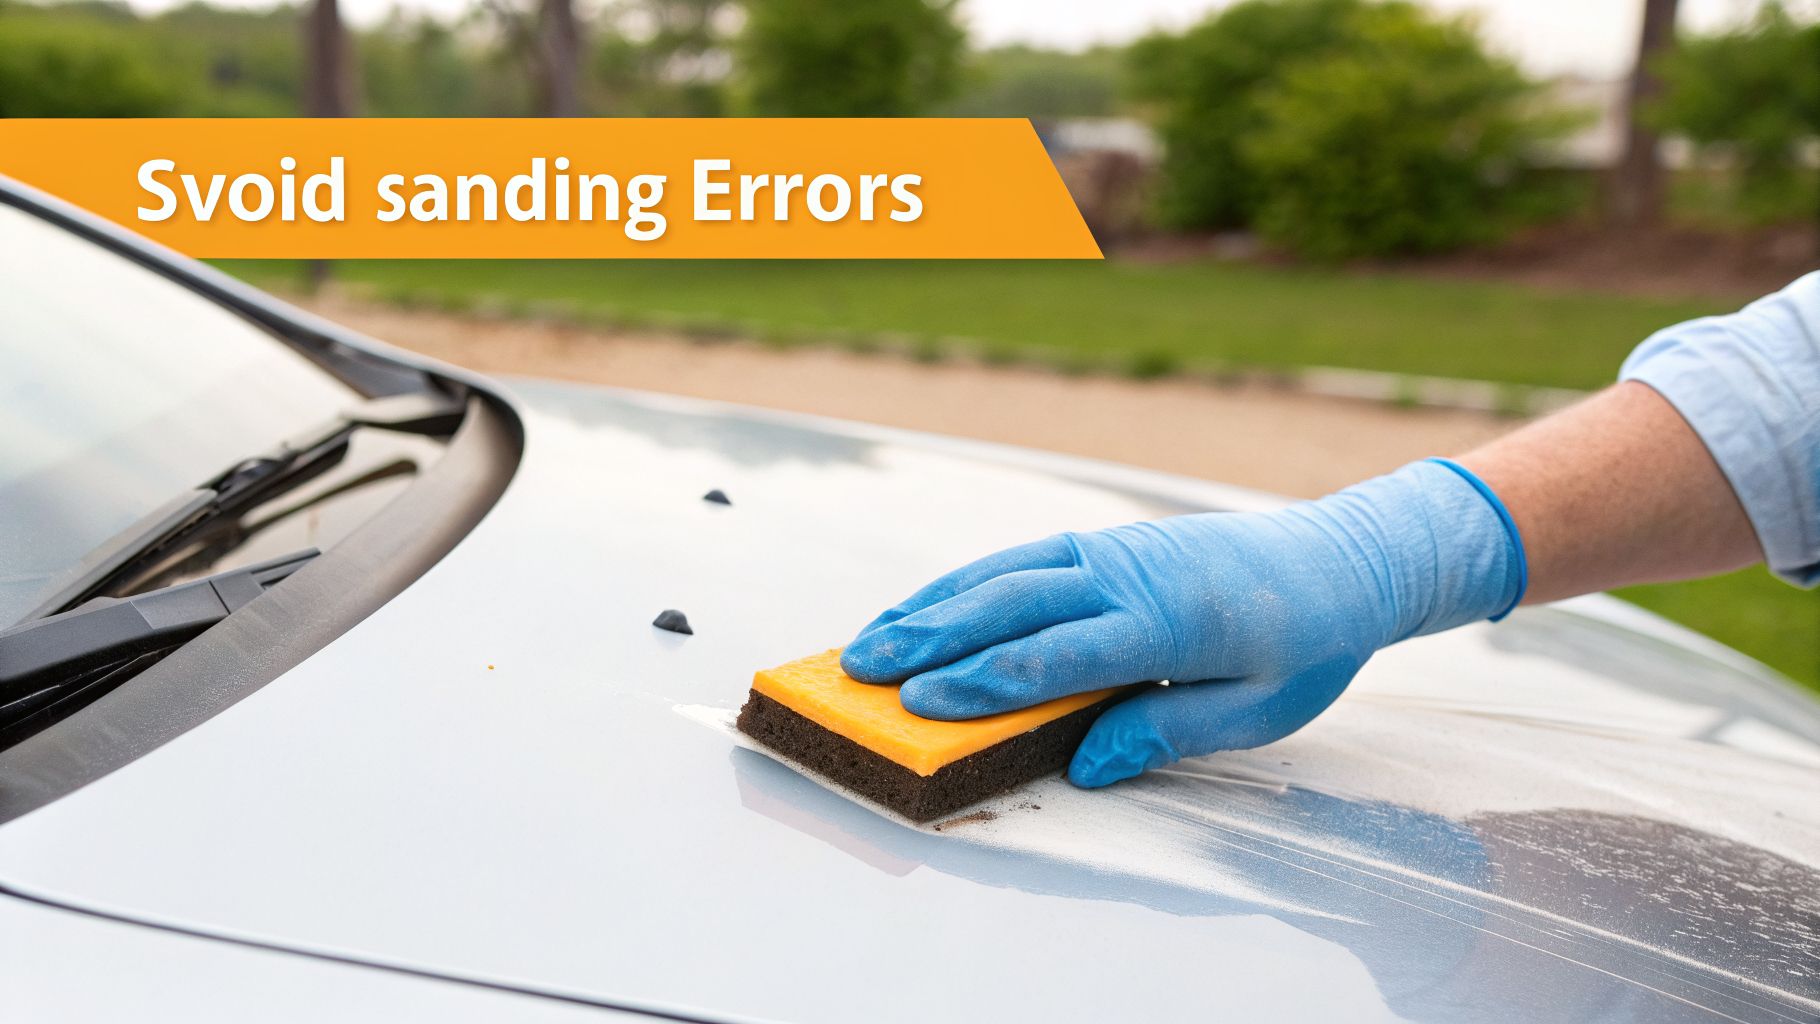 Even for seasoned pros, wet sanding is all about precision. It's a game of inches where tiny mistakes can lead to big headaches. When you're working with something as fine as 1200 grit sandpaper, your technique is everything, and sidestepping the common pitfalls is what separates a show-car finish from a costly repair.
The absolute number one mistake I see is sanding without enough water. If your surface is just damp—or worse, dry—the sandpaper will bite into the clear coat. This creates nasty, deep gouges that are a real pain to remove later. Your panel and the paper should be soaking wet at all times. No exceptions.
Right behind that is applying uneven pressure. It's tempting to just use your fingertips, but this is a critical error. Doing so creates subtle low spots and "finger tracks" in the finish. You might not even see these little waves until you start polishing, and then suddenly, your reflection is a distorted, rippling mess.
Correcting Common Errors
So, how do we get it right? It all comes down to discipline. First, a firm but flexible sanding block isn’t optional; it's mandatory. It's the only way to spread the pressure evenly and keep the surface perfectly flat.
Next, you have to fight the urge to sand in circles. It feels natural, but it’s the fastest way to create swirl marks that will haunt you during the polishing stage.
Instead, commit to a consistent pattern of straight-line passes. Overlap each stroke by about 50%. This method ensures you cover every inch of the panel and leaves behind a uniform scratch pattern, which is exactly what you want for the next step.
Key Takeaway: You're aiming for a consistent, dull haze across the entire panel. If you see any shiny spots, you missed a section. If you see deep, random scratches, something's wrong with your technique.
Finally, don't get lazy with cleanup. Failing to wipe the panel down completely when switching grits is a recipe for disaster. Any stray abrasive particles from a coarser paper will get trapped under your 1200 grit sandpaper and keep cutting deep scratches into the surface you just refined.
Follow these simple rules for a great result every time:
- Always Use a Block: It guarantees even pressure and a truly flat surface.
- Keep It Wet: Generous lubrication is your best friend in preventing deep scratches.
- Sand in Straight Lines: This makes the polishing process infinitely easier.
- Clean Meticulously: Remove all sanding residue before you even think about moving on.
Once you’ve refined the surface and have that perfect haze, it's time to bring back the gloss with a good polish. A high-quality heavy cut compound is specifically made to make quick work of these fine sanding marks. To learn more about that process, check out our detailed guide on how to use a heavy cut compound and restore that deep shine.
Your Questions About 1200 Grit Sandpaper Answered
Alright, we've covered the main techniques, but theory is one thing and practice is another. I know that once you're in the garage, sandpaper in hand, new questions always pop up. Let's get ahead of those and tackle some of the most common things people ask about working with 1200 grit sandpaper.
Can I Use 1200 Grit Sandpaper for Woodworking Projects?
You absolutely can, but it’s not for shaping or heavy lifting. Think of it as a finishing tool. For woodworkers, 1200 grit is what you’d reach for when you want to take a dense hardwood from smooth to a truly glass-like polish, especially right before applying a penetrating oil finish.
It's also the perfect choice for de-nibbing. When you're applying coats of varnish or lacquer, tiny dust particles inevitably settle on the wet surface. A light, gentle scuff with 1200 grit is just enough to knock those nibs off, creating a perfect surface for the next coat to bond to without cutting through your finish.
How Do I Know When I Am Done Sanding with 1200 Grit?
This is all about visual consistency. You're done when the entire area you’ve been sanding has a uniform, dull haze. All the original gloss from the clear coat should be gone, replaced by a consistent, flat sheen. There should be no shiny spots or isolated glossy specks remaining.
The best way to be sure is to stop, wipe the panel completely dry with a clean microfiber, and look at it under a bright shop light held at a low angle. Any spots that still have a shine are low spots you've missed. You'll need to go back over them until they match the dull haze of the rest of the surface.
Do I Have to Use a Finer Grit After 1200 Before Polishing?
Technically, you could jump straight from 1200 grit to a polishing compound. But take it from someone who’s tried it—don’t. It makes the job much harder than it needs to be.
Taking a few extra minutes to refine the surface with a finer grit like 2000 or 3000 is the professional’s shortcut to a flawless finish. This extra step dramatically cuts down on the work your compound and polisher have to do. You’ll use a less aggressive pad, generate less heat, and most importantly, you’ll all but eliminate the risk of leaving fine scratches (pigtails) that show up in the final gloss. It’s a classic case of “go slow to go fast.”
Ready to make every wash easier and more effective? The SwiftJet Car Wash Foam Gun turns your garden hose into a high-powered foam cannon for a deep clean with less effort. Experience a professional-grade wash at home.
